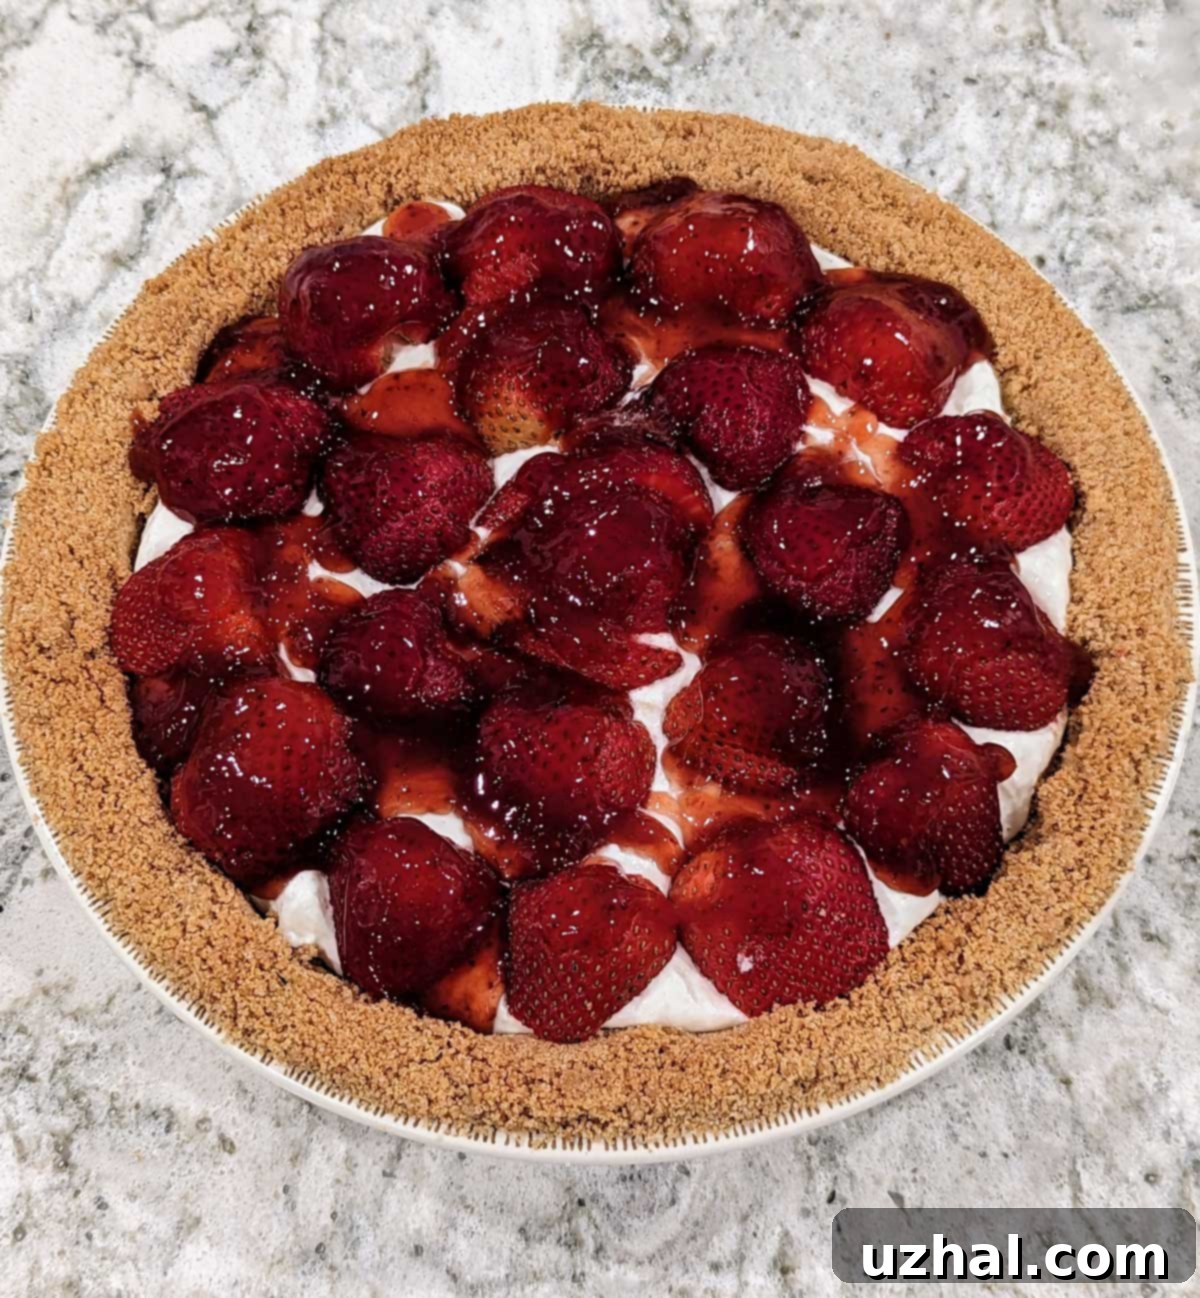
Delightful No-Bake Strawberry Yogurt Pie: Your Ultimate Refreshing Dessert Recipe
This exquisite no-bake strawberry yogurt pie was born from a fortunate coincidence – a carton of strawberry yogurt nearing its expiration date. Rather than letting it go to waste, a spark of inspiration led to a delightful culinary adventure. The result? A fun, vibrant Strawberry Yogurt Pie that quickly became a household favorite, and a wonderful opportunity to revisit some forgotten baking techniques. This recipe proves that sometimes, the best creations come from making the most of what you already have, transforming simple ingredients into a show-stopping dessert.
Experience the Perfect Harmony of Texture and Flavor
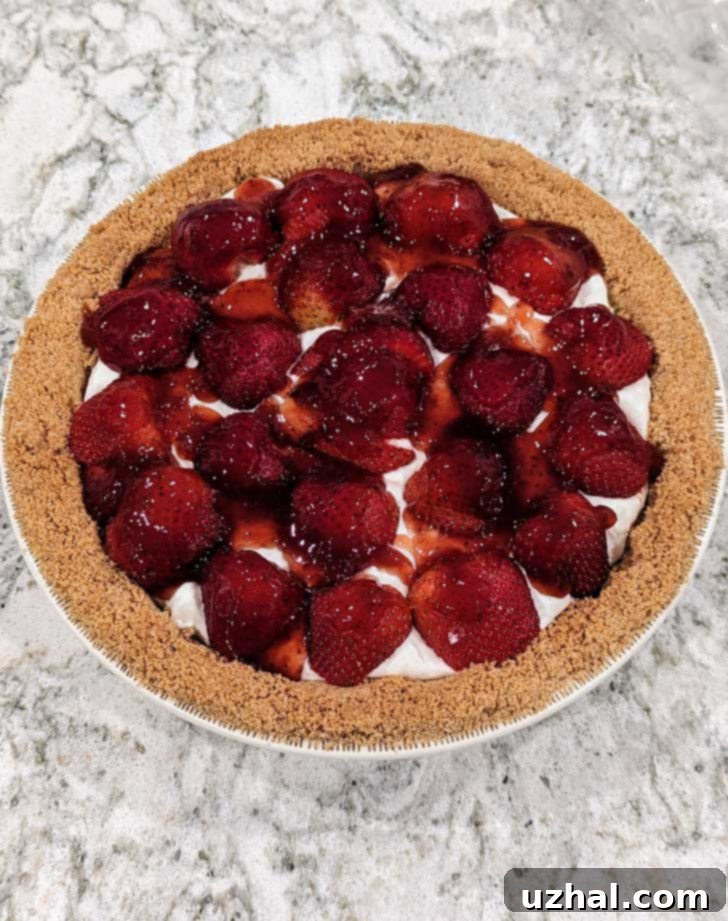
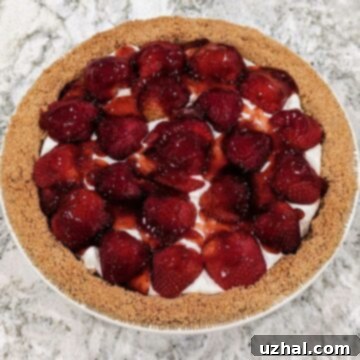
While my initial dream might have been a grand, cloud-like pink strawberry chiffon pie, this delightful creation stands as a truly satisfying alternative. It offers a unique sensory experience with every bite, masterfully combining various textures and tastes. The pie boasts a light, fluffy, and subtly tart vanilla-infused base, providing a refreshing counterpoint to the sweet, fresh strawberries piled on top. These vibrant berries are then artfully brushed with a glistening strawberry jelly, adding both shine and an extra layer of fruitiness. This design allows the natural beauty and intense flavor of fresh strawberries to truly shine, making it an ideal summer dessert or a refreshing treat any time of year. The interplay between the creamy, cool filling and the juicy, bright strawberries is what makes this pie an unforgettable experience.
The Foundation: Choosing and Making Your Graham Cracker Crust
The crust forms the crucial foundation for any great pie, and for this strawberry yogurt pie, a graham cracker crust provides the perfect complement. You have two excellent options: a convenient store-bought crust or a flavorful homemade version. Both come with their own distinct advantages and considerations. Store-bought graham cracker crusts offer unparalleled convenience, arriving pre-made and perfectly sized for a standard pie dish. They are also reliably sturdy, minimizing the risk of a crumbling crust when serving. However, for those who prioritize taste and a customized experience, a homemade crust is often the superior choice. The depth of flavor and fresh aroma of a scratch-made crust are simply unmatched.
For my first attempt at this strawberry yogurt pie, I opted for a store-bought crust from Aldi. It certainly delivered on convenience and held together beautifully, but I found myself missing the rich, buttery, and slightly spiced notes that only a homemade crust can provide. If you choose to make your own, it allows you to control the sweetness and butter content, ensuring it perfectly balances the light, tart filling. For a homemade crust, aim for an 8 or 9-inch shallow pie tin or dish rather than a deep-dish pan, as a thinner crust works beautifully with this lighter filling. A less sweet crust is generally recommended, as the sweetness from the jelly topping will contribute significantly to the pie’s overall flavor profile. Making a homemade crust is surprisingly simple: combine finely crushed graham crackers with melted butter, a touch of sugar, and a pinch of salt. Press this mixture firmly into your pie dish and bake briefly for a few minutes until lightly golden and fragrant. This small extra step elevates the entire pie to another level of deliciousness.
Crafting the Irresistible Strawberry Yogurt Pie Filling
The heart of this dessert lies in its creamy, tangy, and utterly delightful filling. The ingredient list is straightforward, yet each component plays a vital role in achieving the perfect balance: unflavored gelatin, cold water, softened cream cheese, powdered sugar, vanilla extract, heavy whipping cream, your chosen yogurt, and, of course, fresh strawberries and strawberry jelly for the topping. Getting the filling just right involves understanding how these ingredients interact.
Initially, I prepared the first pie using strawberry-flavored yogurt, and I worried the filling wasn’t sweet enough. However, I soon discovered a clever secret: the strawberry jelly drizzled over the fresh berries on top naturally drips down into the pie as it chills, infusing it with just the right amount of sweetness and an intensified strawberry flavor. This unexpected interaction beautifully balances the tartness of the yogurt. For the second pie, I opted for plain nonfat yogurt (an accidental purchase that turned out to be a happy one!). The plain yogurt added a delightful “smack of tartness” that wonderfully complemented the eventual sweetness from the jelly, resulting in an even more balanced and nuanced flavor. While strawberry-flavored yogurt works perfectly fine, I highly recommend using plain yogurt if possible to achieve that perfect sweet-tart dynamic. Should you prefer, vanilla yogurt can also be a lovely substitute, offering a milder, sweeter base.
The gelatin is essential for setting the pie, giving it that wonderfully firm yet jiggly texture. Proper preparation of the gelatin is key: always bloom it in cold water first to prevent clumping, then gently heat it just enough to dissolve, being careful not to boil it. The cream cheese provides a rich, smooth base, while powdered sugar sweetens it without adding graininess. Vanilla extract enhances all the flavors, so using a good quality extract is noticeable. Whipping cream adds airiness and a luxurious mouthfeel, transforming the mixture into a light, cloud-like consistency. When combined, these ingredients create a filling that is both indulgent and incredibly refreshing.
Explore the Charm of Mini Strawberry Yogurt Pies
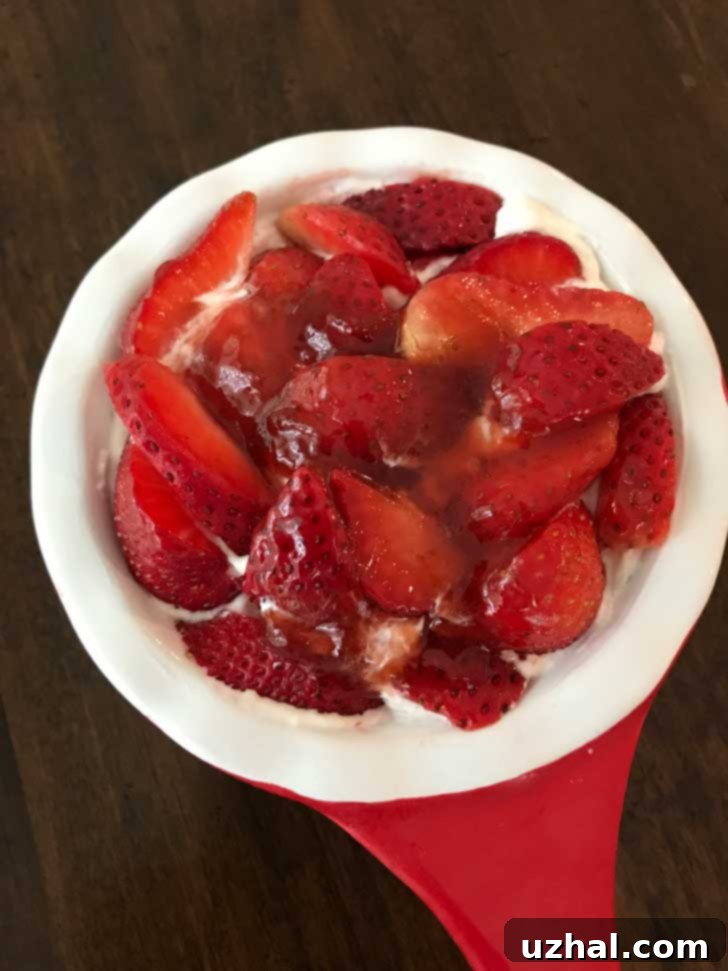
While this recipe is designed for a full-sized pie, the versatility of the ingredients allows for charming individual portions. During my recipe testing, I experimented with making smaller versions using little ceramic casserole dishes, and the results were absolutely adorable! These mini pies are not only cute but also incredibly practical for portion control and elegant presentation. The pie pictured below was made with approximately one-fifth of the main recipe’s ingredients, but you can easily adjust the quantities based on the specific size of your individual ramekins or casserole dishes.
An added benefit of preparing mini pies is the option to completely skip the gelatin. Because these smaller portions are typically eaten directly from their individual dishes, the structural integrity provided by gelatin is less critical. The cream cheese and whipped cream base, along with chilling, provides sufficient stability for serving in a bowl. This makes the mini version an even simpler, quicker option for a delightful personal dessert. They are perfect for entertaining, brunches, or simply when you desire a smaller, guilt-free treat. Imagine a tray of these delightful mini pies, each topped with a single perfect strawberry – a truly impressive and effortless dessert.
Detailed Steps for Crafting Your Perfect Strawberry Yogurt Pie
Creating this delicious strawberry yogurt pie is a straightforward process when broken down into manageable steps. Pay attention to the details, especially regarding the gelatin and chilling times, to ensure a perfect result every time.
- Dissolve the Gelatin: Begin by pouring ¼ cup of cold tap water into a small, microwave-safe bowl or custard cup. Evenly sprinkle one envelope (about 2 ½ teaspoons) of unflavored gelatin over the water. Allow the gelatin to sit undisturbed for 1-2 minutes; this crucial “blooming” step allows the gelatin granules to absorb the water and swell, preventing clumping when heated. Do not add gelatin directly to hot or boiling water, as it will instantly seize and become gummy. Once bloomed, gently heat the gelatin mixture. Microwave for approximately 5-10 seconds, or just until it’s barely warm enough to dissolve the gelatin completely when stirred. Avoid boiling it, as this can weaken its setting power and will require a longer cooling time. Alternatively, you can use a very small saucepan over low heat on the stovetop, stirring constantly until dissolved. Set aside to cool to lukewarm or room temperature while you prepare the other ingredients. It must not be hot when added to the cream cheese mixture, or it could curdle or melt it.
- Prepare the Cream Cheese Base: In a medium-sized mixing bowl, combine the softened cream cheese, powdered sugar (start with ¼ cup and adjust to taste, keeping in mind the jelly topping adds sweetness), and vanilla extract. Using an electric mixer, beat these ingredients together on medium speed until the mixture is smooth, light, and creamy, with no lumps of cream cheese remaining. Ensure your cream cheese is at room temperature for the best results, as cold cream cheese will be difficult to blend smoothly.
- Whip the Cream Cheese Mixture: Pour the heavy whipping cream directly into the cream cheese mixture in the same bowl. Continue beating with the electric mixer on medium-high speed until the mixture becomes thick and forms soft peaks. This process incorporates air, giving the pie filling its characteristic light and fluffy texture. Avoid over-beating, as it can turn granular.
- Combine with Yogurt and Gelatin: Gently fold in the yogurt of your choice (plain is recommended for its tartness) and the (mostly cooled but can be lukewarm) dissolved gelatin mixture. Stir until all ingredients are just blended and the mixture is uniform. Do not overmix. The gelatin should be cool enough not to cause any curdling or melting of the cream cheese or cream.
- Chill the Filling: Carefully spoon the prepared filling into your chosen graham cracker crust. Smooth the top with a spatula. Cover the pie loosely with a piece of plastic wrap or wax paper, ensuring it doesn’t touch the surface of the filling, to prevent a skin from forming. Chill the pie in the refrigerator for a minimum of 4 hours, or preferably overnight, until it is fully set and firm. Adequate chilling time is crucial for the gelatin to work its magic.
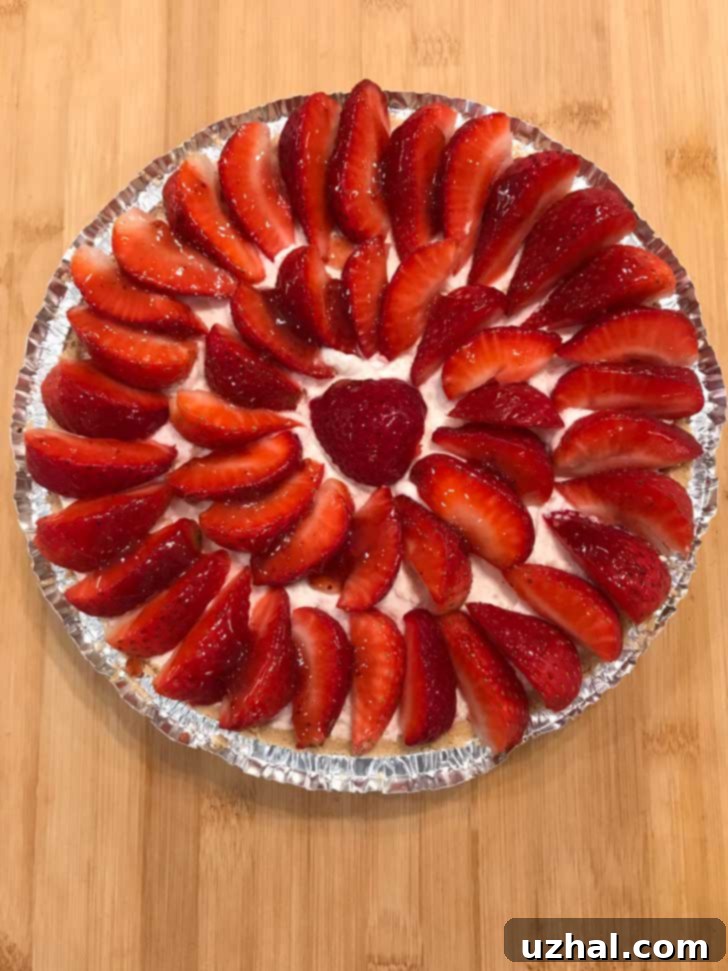
- Prepare the Strawberries: Once the pie filling is set, prepare your fresh strawberries. Hull about a pound of fresh strawberries by removing the green tops and the small core. For best results and minimal waste, use a strawberry huller or a small paring knife to scoop out the stem. Then, depending on their size, halve the strawberries. If you have particularly large strawberries, you might want to halve them and then slice them into thirds for more manageable pieces. Arrange the prepared strawberries decoratively over the top of the chilled pie. You can create concentric circles, a random scatter, or any pattern you desire to showcase their vibrant color and shape.
- Glaze with Strawberry Jelly: To create the beautiful glossy topping, place 2-3 tablespoons of strawberry jelly in a small microwave-safe bowl. Heat it in the microwave for 5 to 10 seconds, or just until it becomes slightly liquid and easily stirrable. If you don’t have a microwave, gently melt the jelly in a very small saucepan over low heat on the stove. If the jelly is too thick, you can thin it with a tiny amount of water or a squeeze of lemon juice. Drizzle the melted jelly evenly over the arranged strawberries. For a more precise application, use a pastry brush to gently brush the jelly over each strawberry, ensuring a beautiful, shiny glaze. Return the pie to the refrigerator to chill for at least another hour before serving. This allows the jelly to set slightly and meld with the fresh berries.
A Deeper Look at Your Strawberry Yogurt Pie Ingredients
Understanding each ingredient’s role and how to select it can significantly impact the success and flavor of your strawberry yogurt pie. Here’s a comprehensive rundown:
- Graham Cracker Crust: While convenient, store-bought Keebler-type crusts are readily available and perfectly sized. For the best flavor, however, I highly recommend making one from scratch. A homemade crust offers a fresher taste and allows you to control the sweetness. Use an 8 or 9-inch shallow pie tin or dish; a deeper dish will result in a very thin layer of filling. A less sweet crust tends to complement the sweet-tart filling and jelly topping better, providing a balanced flavor profile.
- Unflavored Gelatin: This recipe calls for one envelope of unflavored gelatin, which typically equates to about 2 ½ teaspoons. I specifically use Knox brand. Proper blooming in cold water and gentle heating are crucial for a smooth, lump-free set. Gelatin is what gives this pie its stable, yet delightfully wobbly, texture.
- Cream Cheese: Ensure your cream cheese is fully softened to room temperature before beginning. This is vital for achieving a smooth, lump-free filling. Cold cream cheese will result in a clumpy texture that is difficult to incorporate. Light cream cheese can be successfully used as a substitute without significantly altering the texture or flavor.
- Powdered Sugar: The recipe suggests ¼ to ⅓ cup of powdered sugar. Initially, ¼ cup might seem insufficient for sweetness, but remember that the strawberry jelly topping will add a significant amount of sweetness as it drips into the pie. This balance creates a perfectly delightful, not-too-sweet filling that pairs wonderfully with the fruit topping. Adjust to your preference, but err on the side of less sweetness in the filling.
- Vanilla Extract: Given the simplicity of the filling flavors, the quality of your vanilla extract truly shines through. Opt for a good quality pure vanilla extract; imitation vanilla won’t deliver the same depth and warmth of flavor.
- Heavy Whipping Cream: This ingredient adds luxurious richness and a light, airy texture to the pie. There’s no need to whip it separately; simply add it to the cream cheese mixture and beat until soft peaks form. For those looking for an alternative or a lighter option, I successfully tested a mini version using the equivalent weight of Cool Whip. Therefore, using light or sugar-free Cool Whip should work well, especially for the mini pies, offering a slightly lighter dessert.
- Yogurt: My first pie featured Aldi’s strawberry-flavored Greek yogurt. While it worked, the second attempt with nonfat plain yogurt (an accidental purchase!) yielded a superior pie. The plain yogurt introduced a delightful “smack of tartness” that beautifully contrasted with the sweetness from the jelly, resulting in a more complex and satisfying flavor profile. While nonfat was perfectly fine, next time I would aim for low-fat or full-fat plain yogurt for an even creamier texture. Any flavor can work, but plain offers the best balance.
- Fresh Strawberries: Choose the freshest, ripest strawberries you can find. Their natural sweetness and vibrant color are key to this pie’s appeal. Hulling strawberries (removing the stem and core) is far less wasteful than simply cutting off the tops and is surprisingly easy to do once you get the hang of it. Don’t worry if your fruit arrangement isn’t Pinterest-perfect; the natural beauty of the berries is enough. Arrange them artfully in concentric circles or simply scatter the sliced berries over the top.
- Strawberry Jelly: I was pleasantly surprised by how well an inexpensive strawberry spread from Lidl performed as a topping. The key is to use a high-quality preserve, jam, or jelly that you enjoy the taste of. When melted and drizzled, it not only adds a beautiful sheen but also melds with the natural juices released by the fresh strawberries, intensifying the berry flavor. You can adjust the amount used based on the sweetness of your strawberries and your personal preference for sweetness.
- Chocolate Chip Biscuits
- Glazed Strawberry Pie with Cream Cheese
- Layered Strawberry Dessert
- Strawberries & Cream Cake
- Chocolate Covered Strawberry Bars
Recipe
Strawberry Yogurt Pie
Pin Recipe
Ingredients
- 1 envelope unflavored gelatin (about 2 ½ teaspoons)
- ¼ cup cold water
- 3 oz cream cheese, softened to room temperature
- ¼ to ⅓ cup powdered sugar
- 1 teaspoon pure vanilla extract
- 1 cup heavy whipping cream
- 1 carton plain, vanilla or strawberry flavored yogurt (6 oz), preferably plain for best flavor balance
- 1 8 or 9-inch store-bought or homemade graham cracker crust
- Approximately 1 pound (2 cups when halved) fresh strawberries, hulled and halved or sliced
- 2-3 tablespoons strawberry jelly melted, good quality recommended
Instructions
-
Put the ¼ cup cold water in a small microwave-safe bowl or custard cup. Sprinkle the unflavored gelatin evenly over the water and let it stand for 1-2 minutes to soften and bloom. This prevents clumping. Microwave the gelatin mixture for about 5-10 seconds, or until it’s just barely warm enough to dissolve the gelatin completely when stirred. Stir thoroughly to dissolve all granules, then set aside to cool to lukewarm while you prepare the cream cheese mixture. Ensure it is not hot when added to the main mixture.
-
In a large mixing bowl, beat together the softened cream cheese, powdered sugar (start with ¼ cup and add more if desired), and vanilla extract with an electric mixer until the mixture is completely smooth, creamy, and free of lumps.
-
Add the heavy whipping cream to the cream cheese mixture. Continue beating with the electric mixer on medium-high speed until the mixture becomes light, fluffy, and forms soft peaks. Then, gently stir in your chosen yogurt and the cooled (but not solidified) dissolved gelatin mixture until just blended.
-
Spoon the creamy filling into your prepared graham cracker crust, spreading it evenly. Cover the pie loosely with a piece of plastic wrap or wax paper (avoid touching the surface of the filling) and chill in the refrigerator for at least 4 hours, or until thoroughly set.
-
Once the pie is set, prepare the fresh strawberries. Hull about a pound of strawberries (approximately 2 cups once prepared) and halve them. If any strawberries are particularly large, you may halve them and then slice them into thirds for better presentation and easier eating. Arrange the prepared strawberries decoratively over the chilled pie filling.
-
To make the glossy topping, place 2-3 tablespoons of strawberry jelly in a small microwave-safe bowl. Heat in the microwave for approximately 5-10 seconds, or until it becomes fluid and easy to stir. If needed, thin with a tiny amount of water or lemon juice. Drizzle the melted jelly evenly over the arranged strawberries, or for a more controlled application, use a pastry brush to gently paint it over the berries. You can use the full ⅓ cup or less depending on your preference for sweetness and the sweetness of your jelly. Return the pie to the refrigerator for at least another hour to allow the jelly to set slightly before serving.
Notes
