The Ultimate Guide to Making Perfectly Chunky Homemade Granola
There’s nothing quite like the aroma and flavor of freshly baked homemade granola, and when it comes to a truly satisfying breakfast or snack, extra chunky granola reigns supreme. Over the years, I’ve explored countless granola recipes, yet I consistently return to this particular method. It’s not just about the delicious taste; it’s about achieving those coveted, substantial clusters that make every spoonful a delight. This recipe has become a true family favorite, delivering a hearty, satisfying crunch every single time.
The Secret to Chunky Granola: Binders and Baking Technique
Achieving truly chunky granola is an art, and it hinges on two main factors: the right binding agent and a specific baking technique. Many assume that the binder is the sole hero, but the way you bake is equally, if not more, crucial. For years, I experimented with various methods to ensure my granola held together in delightful clusters, rather than crumbling into loose oats. I tried different ratios of oils and sweeteners, but nothing quite compared to incorporating a dedicated binder.
Choosing Your Binder: Egg White or Flaxseed & Water
In my early granola-making days, I found great success using egg white as a binder. A single tablespoon of egg white, lightly whisked, coats the oats and helps them stick together as they bake, creating those wonderful, crisp clusters. While egg white remains a reliable choice, I’ve since discovered that a mixture of ground flaxseed meal and water is just as effective, if not more so, for promoting chunkiness. This plant-based alternative is perfect for those seeking a vegan option or simply looking to add a nutritional boost, as flaxseed is rich in omega-3 fatty acids and fiber. The mucilage in ground flaxseed becomes gelatinous when mixed with water, forming a powerful, natural adhesive that binds the granola ingredients seamlessly.
The “No-Stir” Baking Method for Perfect Granola Clusters
Beyond the binder, the most critical element in creating extra chunky granola is a hands-off baking approach. Unlike many granola recipes that instruct you to stir frequently, the secret here is to resist the urge to agitate the granola during baking. Constant stirring breaks apart the developing clusters, resulting in a looser, more crumbly granola. To avoid this, you need to bake the granola at a really low temperature for an extended period. This slow baking allows the sugars to caramelize and the binder to set without burning the edges.
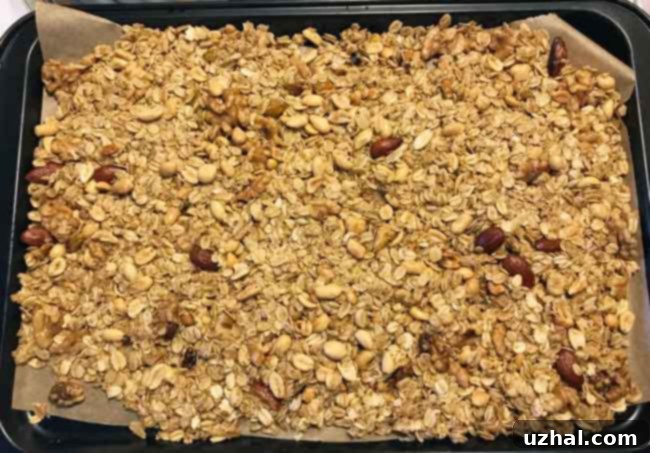
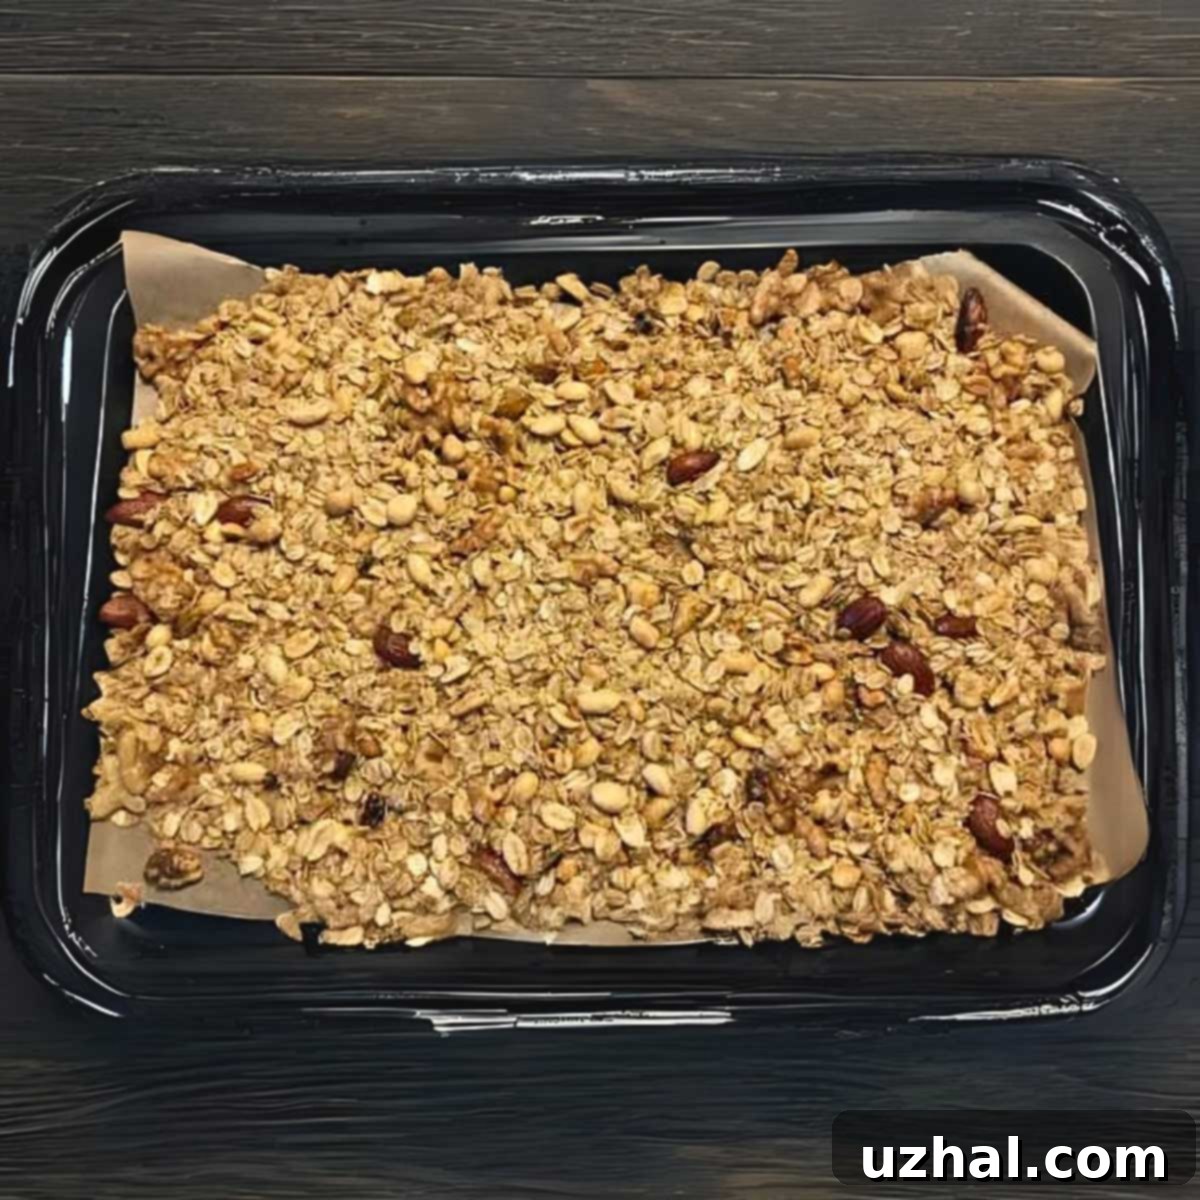
To further prevent burning and ensure even baking without stirring, I highly recommend shielding your granola with foil or parchment paper. You can cover the granola for the entire bake time, or just for a portion of it, especially if you notice the edges browning too quickly. This creates a gentle, moist heat environment initially, allowing the granola to firm up before crisping. This method ensures that the granola cooks through, develops a beautiful golden hue, and forms robust, satisfying chunks that stay together even after cooling. Here’s what a batch looks like before it enters the oven, ready to transform into glorious clusters.

This recipe is designed to yield a perfectly sized batch – not too small that it disappears instantly, and not excessively large that it becomes overwhelming to store. It strikes a balance that works wonderfully for most households. Once you experience the delightful results of this method, you’ll likely want to personalize it further. The beauty of homemade granola lies in its adaptability, and you can easily experiment with different varieties of nuts and seeds to create your own signature blend. This flexibility makes it a versatile staple in any kitchen.

Granola Add-Ins: Nuts, Seeds, and Dried Fruits
One of the most exciting aspects of making your own granola is the endless possibility of customization. While oats form the base, the add-ins are where you can truly let your culinary creativity shine. These extra ingredients not only enhance the flavor and texture but also boost the nutritional value of your homemade chunky granola.
Nuts and Seeds: A Symphony of Crunch and Nutrition
Nuts and seeds are fundamental to a great granola, providing essential fats, protein, and a satisfying crunch. While many traditional granola recipes often recommend raw nuts, I’ve found that almost any variety works wonderfully. Feel free to use what you have on hand – whether it’s raw, roasted, or even lightly salted nuts. The salt can actually enhance the overall flavor profile, creating a delightful sweet and savory contrast. Some excellent choices include:
- **Almonds:** Offer a firm crunch and a delicate, buttery flavor.
- **Walnuts:** Provide a slightly bitter, earthy note and a softer texture.
- **Pecans:** Sweet and buttery, they become incredibly fragrant when baked.
- **Cashews:** Creamy and mild, adding a different dimension to the texture.
- **Pepitas (Pumpkin Seeds):** A vibrant green seed with a distinct nutty flavor and good source of zinc.
- **Sunflower Seeds:** Earthy and nutritious, perfect for adding a subtle crunch.
- **Shredded Coconut (Flakes):** Toasted coconut adds a wonderful tropical aroma and extra texture.
Don’t be afraid to mix and match! A combination of different nuts and seeds can create a more complex and enjoyable granola experience.
Dried Fruit: The Sweet and Chewy Finish
Dried fruit is entirely optional, but it adds a lovely touch of sweetness and chewiness that complements the crunchy granola perfectly. I often leave it out, especially if I’m planning to serve the granola with fresh fruit or yogurt. However, if I come across an interesting mix in the bulk bin or have some dried cranberries on hand, I’ll definitely include them. The key is to add dried fruit *after* the granola has baked and cooled. Adding it before baking can cause the fruit to become hard, burnt, or overly chewy. Popular choices include:
- **Dried Cranberries:** Tart and sweet, they offer a burst of flavor.
- **Raisins:** A classic choice, providing a mellow sweetness.
- **Chopped Apricots:** Tangy and soft, they add a beautiful color.
- **Dried Cherries:** A richer, deeper sweetness and a luxurious feel.
- **Chopped Dates:** Naturally sweet and caramel-like, perfect for a chewy texture.
Other Flavor Enhancements
Consider adding spices like ground cinnamon, nutmeg, or a hint of cardamom for warmth. A pinch of ginger can also add a delightful kick. For those with a sweet tooth, chocolate chips or chunks can be stirred in after the granola has completely cooled, creating a decadent treat.
Storage and Gifting Homemade Granola
Once your perfectly chunky granola has cooled completely, proper storage is key to maintaining its crispness and flavor. Store it in an airtight container at room temperature for up to two weeks. A large glass jar with a tight-fitting lid or a resealable bag works wonderfully. Avoid storing it in the refrigerator, as the moisture can make it lose its crunch.
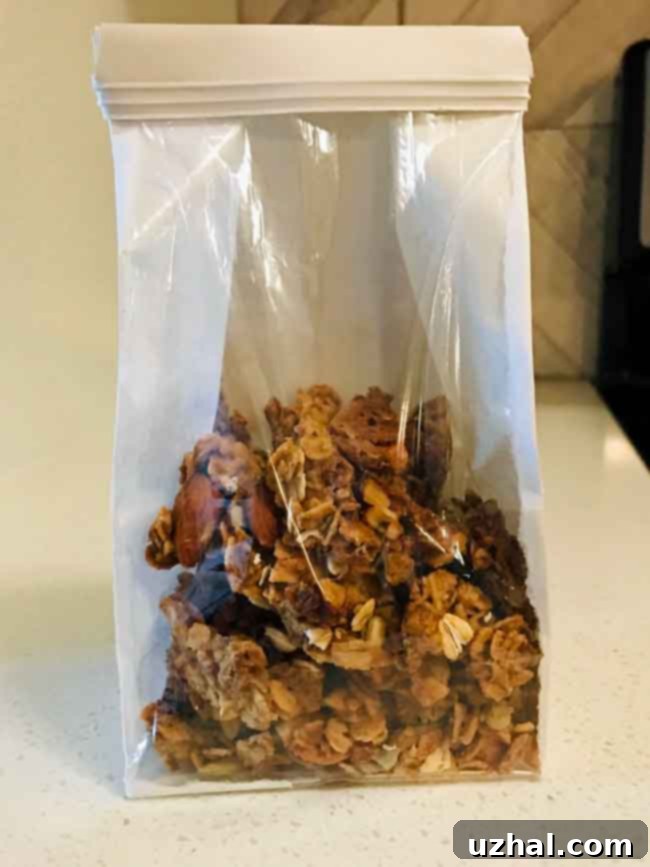
Homemade chunky granola also makes for a thoughtful and much-appreciated gift. It’s personal, delicious, and a healthier alternative to many store-bought options. If you’re looking for presentation ideas, those charming little white tin tie bags, like the one pictured, are perfect. They give a rustic, artisanal touch that enhances the homemade appeal. The bag in the photo is actually a window bag, though I once peeled the white covering off to expose the entire clear bag – not sure why I did that at the time, but the clear window is perfect for showcasing your beautiful granola! Fill them up, tie them with a pretty ribbon, and you have a delightful present for friends, family, or neighbors. It’s a wonderful way to share the joy of your baking.
- Fisher Nuts Giveaway and Chunky Nut Granola
- Chunky Peanut Butter Cookies With Wheat Germ
- Granola Chocolate Chip Cookies
- Peanut Butter Cookie Granola
- Chewy Coconut Chocolate Chip Granola Bars
Recipe

Extra Chunky Granola
Anna
Pin Recipe
Ingredients
- 1 ½ tablespoons unsalted butter (21 grams)
- 1 tablespoon vegetable oil or coconut oil (13 grams)
- ¼ cup brown sugar (50 grams)
- 1 tablespoon maple syrup (20 grams)
- 1 tablespoon honey (20 grams)
- ⅛ teaspoon salt (plus a little more for sprinkling on top)
- ½ teaspoon vanilla extract
- 1 tablespoon egg white approximately (15 grams) OR use 1 T. water and 1 T. ground flax
- 2 cups oats, old fashioned type (160 grams)
- ¼ cup pepitas or sunflower seeds optional
- ¼ cup coconut flakes optional
- ¾ cup mixed nuts**
- ½ cup dried fruit of your choice
Instructions
-
To begin, preheat your oven to a low 275°F (135°C), which is crucial for achieving that slow, even bake needed for chunky granola. Prepare a rimmed baking sheet by lining it with nonstick foil or parchment paper, ensuring easy removal and cleanup.
-
In a small saucepan, gently melt the unsalted butter over medium heat. Once melted, reduce the heat to low. Stir in the vegetable or coconut oil, brown sugar, maple syrup, honey, and salt. Continue to cook for approximately one minute, stirring continuously to help the brown sugar fully dissolve into the liquid mixture. Remove the saucepan from the heat, then stir in the vanilla extract. Set this mixture aside to cool slightly.
-
In a large mixing bowl, add your chosen binding agent. If using egg white, simply pour it in. If opting for the flaxseed and water alternative, combine 1 tablespoon of ground flaxseed with 1 tablespoon of water and let it sit for a minute to thicken slightly before adding to the bowl.
-
Add the old-fashioned oats to the bowl with the binder. Using a sturdy mixing spoon, stir thoroughly to ensure the oats are as evenly coated as possible. At this stage, the mixture will still appear quite dry, which is perfectly normal.
-
Next, incorporate the pepitas or sunflower seeds (if using), coconut flakes (if using), and mixed nuts into the oat mixture. Pour the reserved liquid mixture (butter, oil, sugars, vanilla) into the bowl. Stir everything together until all ingredients are well blended and coated with the sticky liquid.
-
Transfer the granola mixture onto the prepared baking sheet. Spread it out evenly over the bottom of the lined sheet to form a thin, cohesive slab. It’s important to press it down firmly, as if you were preparing granola bars, ensuring all the ingredients are squished together. This step is key for large chunks.
-
Bake the granola in the preheated 275°F oven for 40 minutes. For even baking and maximum chunkiness, here are two options: After about 20 minutes into the bake time, you can carefully scrape up the edges with a spatula and gently flip the entire slab, pushing the edges towards the center. Then, with the back of the spatula, gently mash it back into a cohesive slab and continue cooking. Alternatively, for even larger and more intact chunks, you can simply check the granola at the 20-minute mark and cover the entire slab loosely with foil without disturbing it. This will prevent over-browning while allowing it to continue baking. Not flipping the granola will undeniably result in bigger, more satisfying clusters in the final product.
-
Once the full 40 minutes of baking are complete, remove the baking sheet from the oven. The granola should appear warm, slightly browned, and may still feel a bit soft or chewy. Don’t worry, it will crisp up beautifully as it cools. Allow the granola to cool completely on the baking sheet without disturbing it. This cooling process is crucial for the clusters to firm up. Once fully cooled, break it into your desired chunks and then stir in the dried fruit of your choice. Enjoy your perfectly chunky homemade granola!
Notes
I previously used to bake this granola at 300°F (150°C), but through experimentation, I’ve found that a slightly lower temperature of 275°F (135°C) for a slightly longer duration yields superior results. Baking at a lower temperature ensures the granola browns more slowly and evenly, significantly reducing the need for constant stirring. The less you disturb the granola during baking, the more opportunity the ingredients have to bind together and form those desirable large, satisfying clusters. This patience is rewarded with truly chunky granola.
To facilitate the pressing of the granola mixture into a cohesive slab on the baking sheet, a helpful tip is to lightly dampen your hands with a little water. This technique prevents the sticky granola mixture from adhering to your hands, making the process much smoother. Additionally, this small amount of added moisture contributes to the binding process, helping the granola maintain its shape and encouraging the formation of larger chunks as it bakes. Just be careful not to add too much water, as this could lead to a less crisp final product.
