The Ultimate Guide to Classic Orange Chiffon Cake: History, Tips, and Recipe for a Light & Fluffy Dessert
The world of baking is filled with delightful creations, but few possess the intriguing history and uniquely ethereal texture of the Chiffon Cake. Born in the vibrant culinary landscape of 1927 Los Angeles, this remarkable dessert was the brainchild of Harry Baker, an enterprising insurance salesman who harbored a secret passion and profound talent for baking. Mr. Baker developed a cake so extraordinarily light, moist, and tender that it quickly became the talk of Old Hollywood. Celebrities and socialites clamored for the recipe, but Baker, astute and protective of his creation, kept its formula a closely guarded secret for two decades.
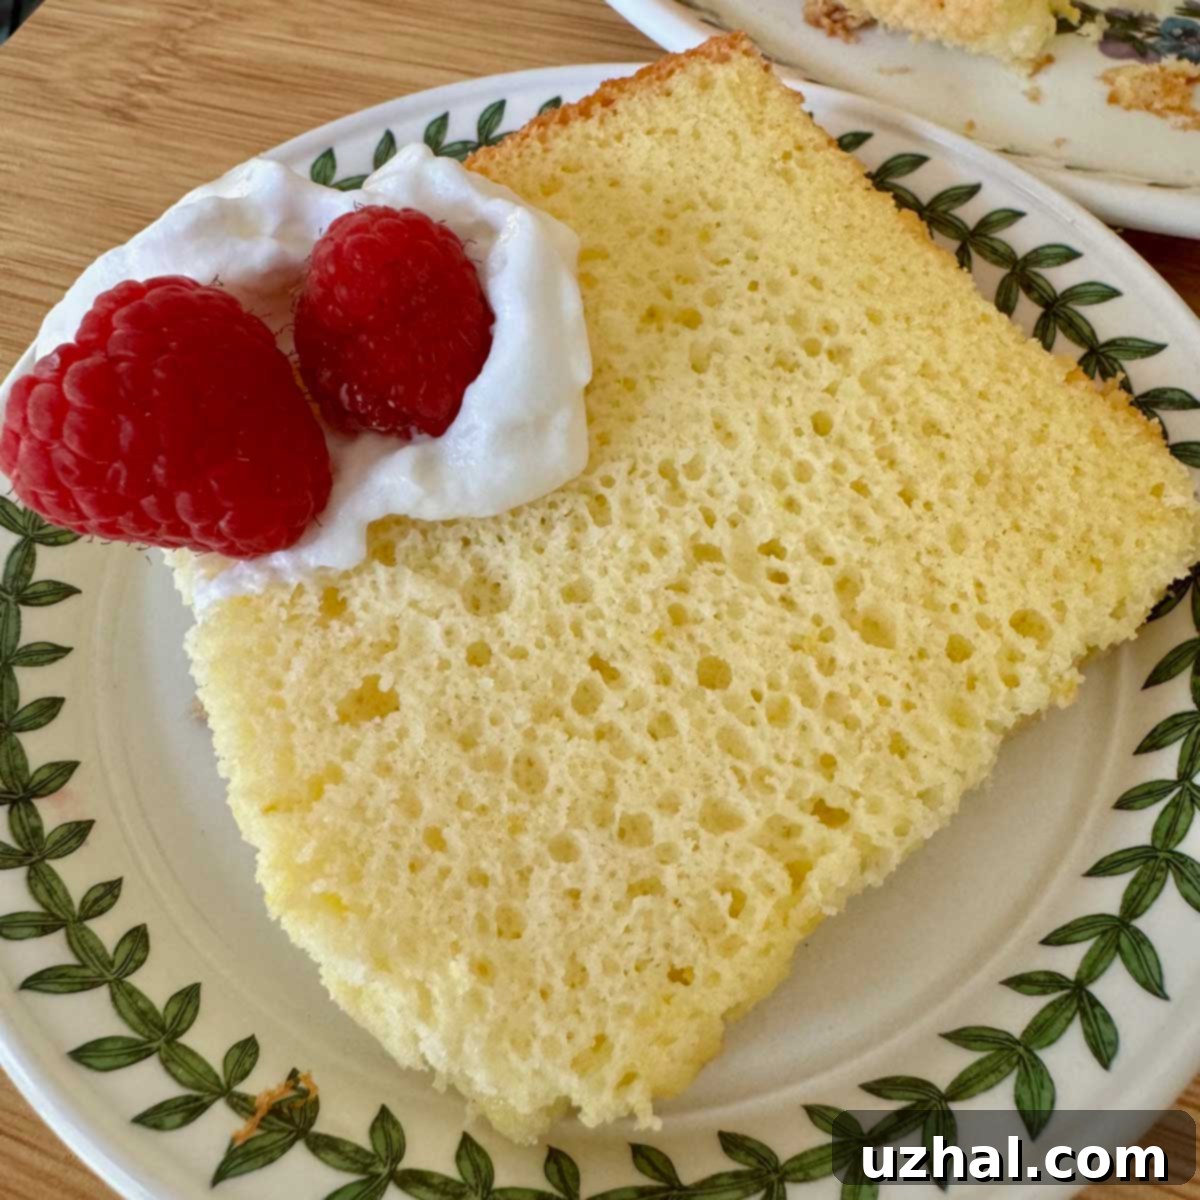
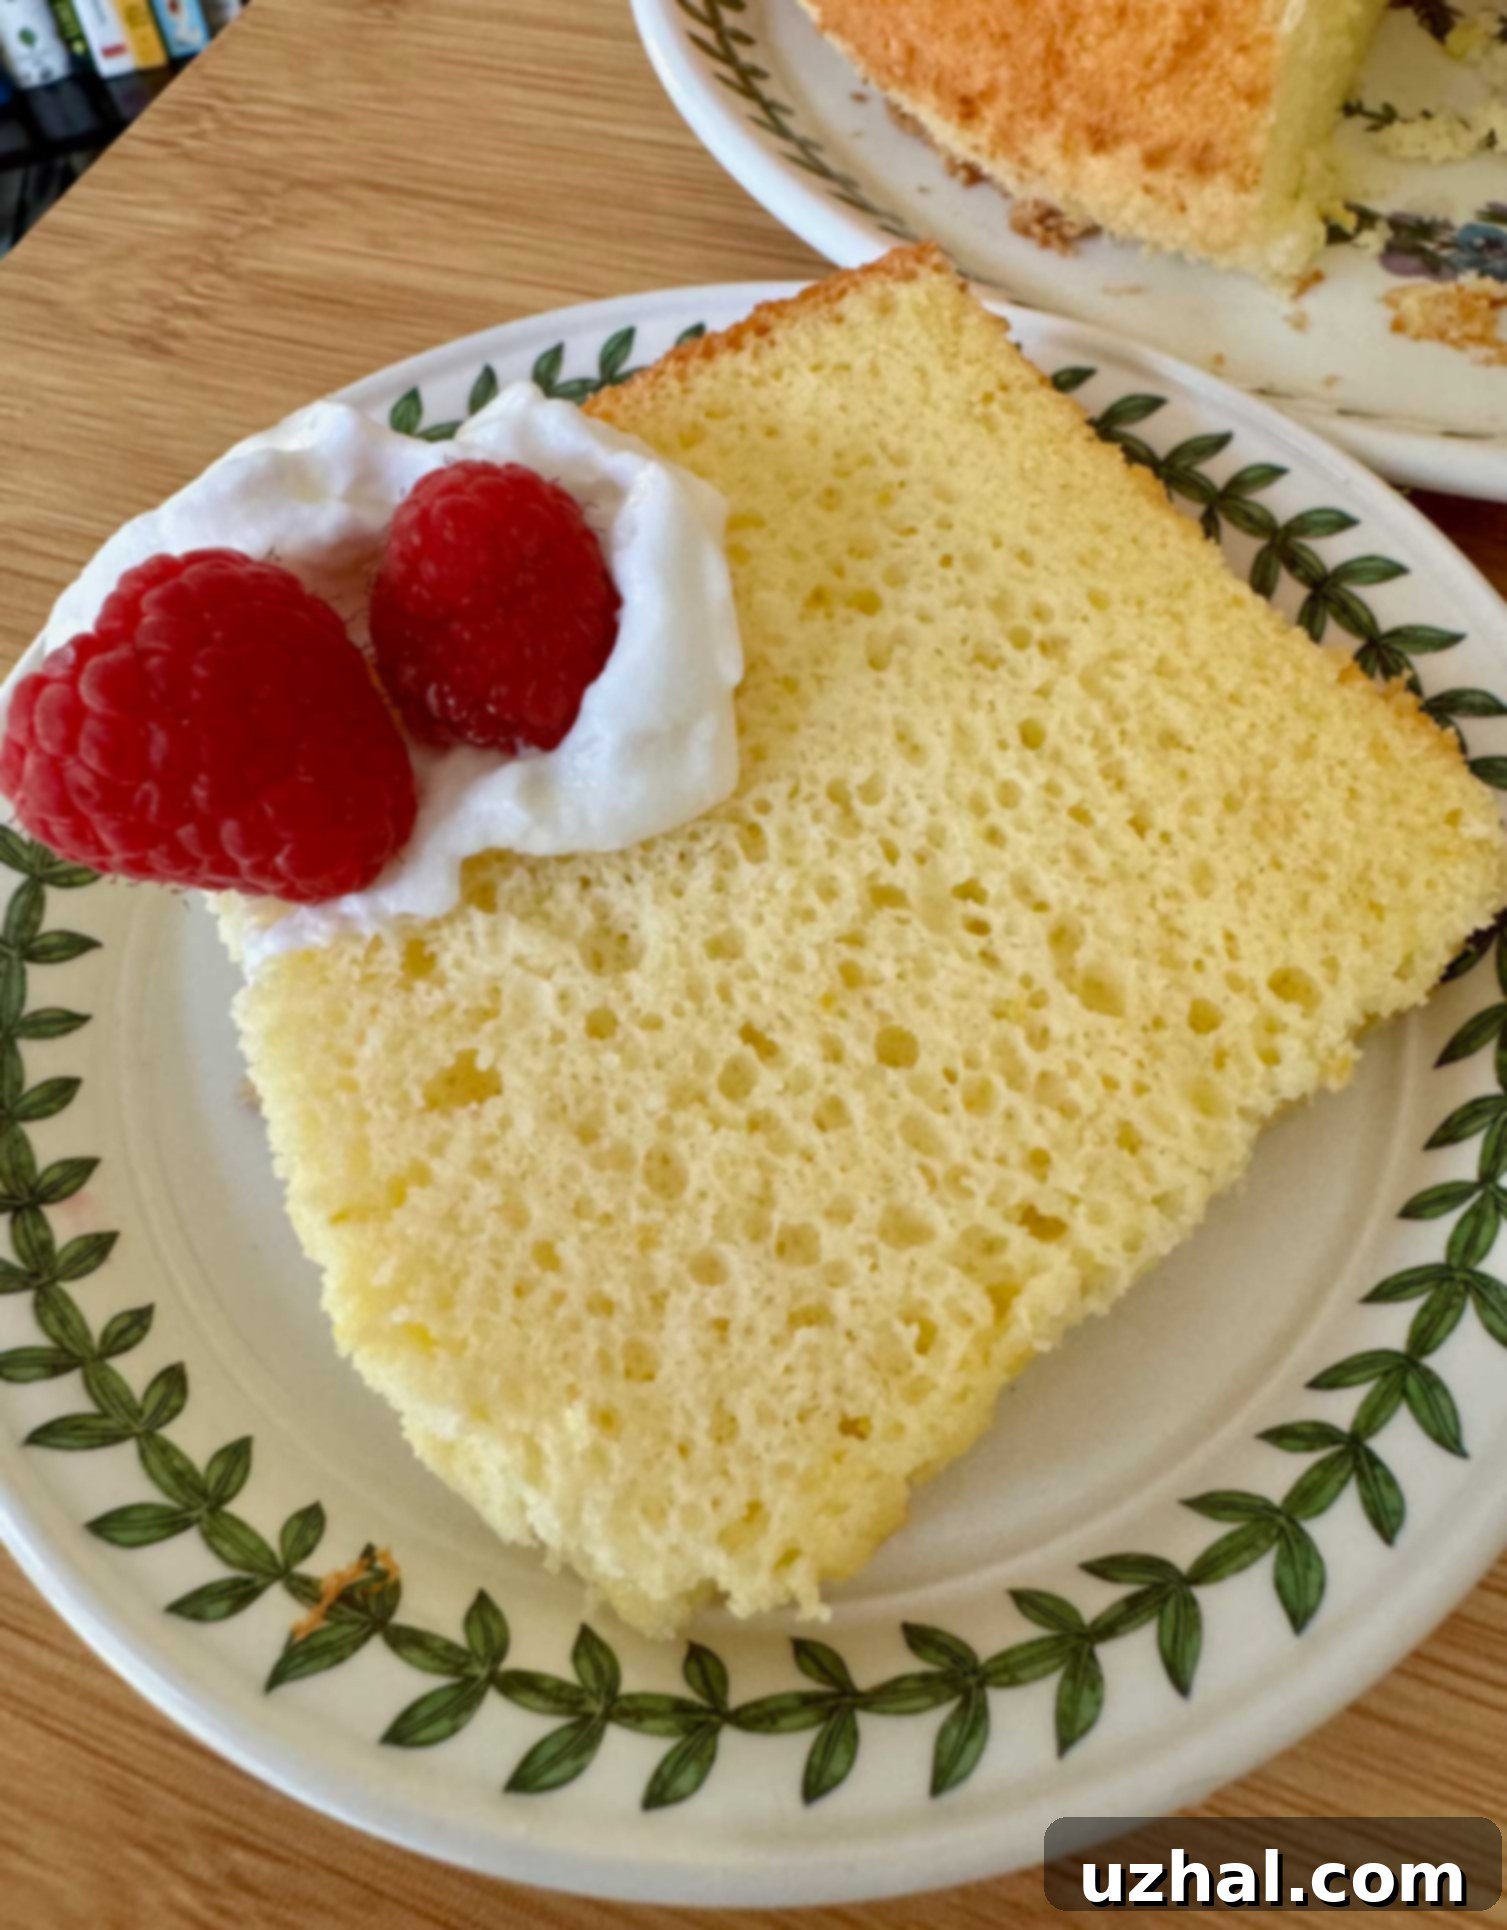
It wasn’t until 1947 that Mr. Baker finally sold his prized recipe to General Mills. The following year, the legendary Betty Crocker brand published it, officially christening it the “Chiffon Cake.” Betty Crocker marketed it as a glamorous and effortlessly elegant alternative to the traditional Angel Food Cake, promising a rich flavor alongside its signature lightness. And indeed, Chiffon Cake lives up to its glamorous billing. Its delicate crumb and moist texture make every slice a luxurious experience. The one I recently baked, infused with bright orange and a hint of vanilla, evokes a nostalgic Dreamsicle or Creamsicle flavor – an absolute delight.
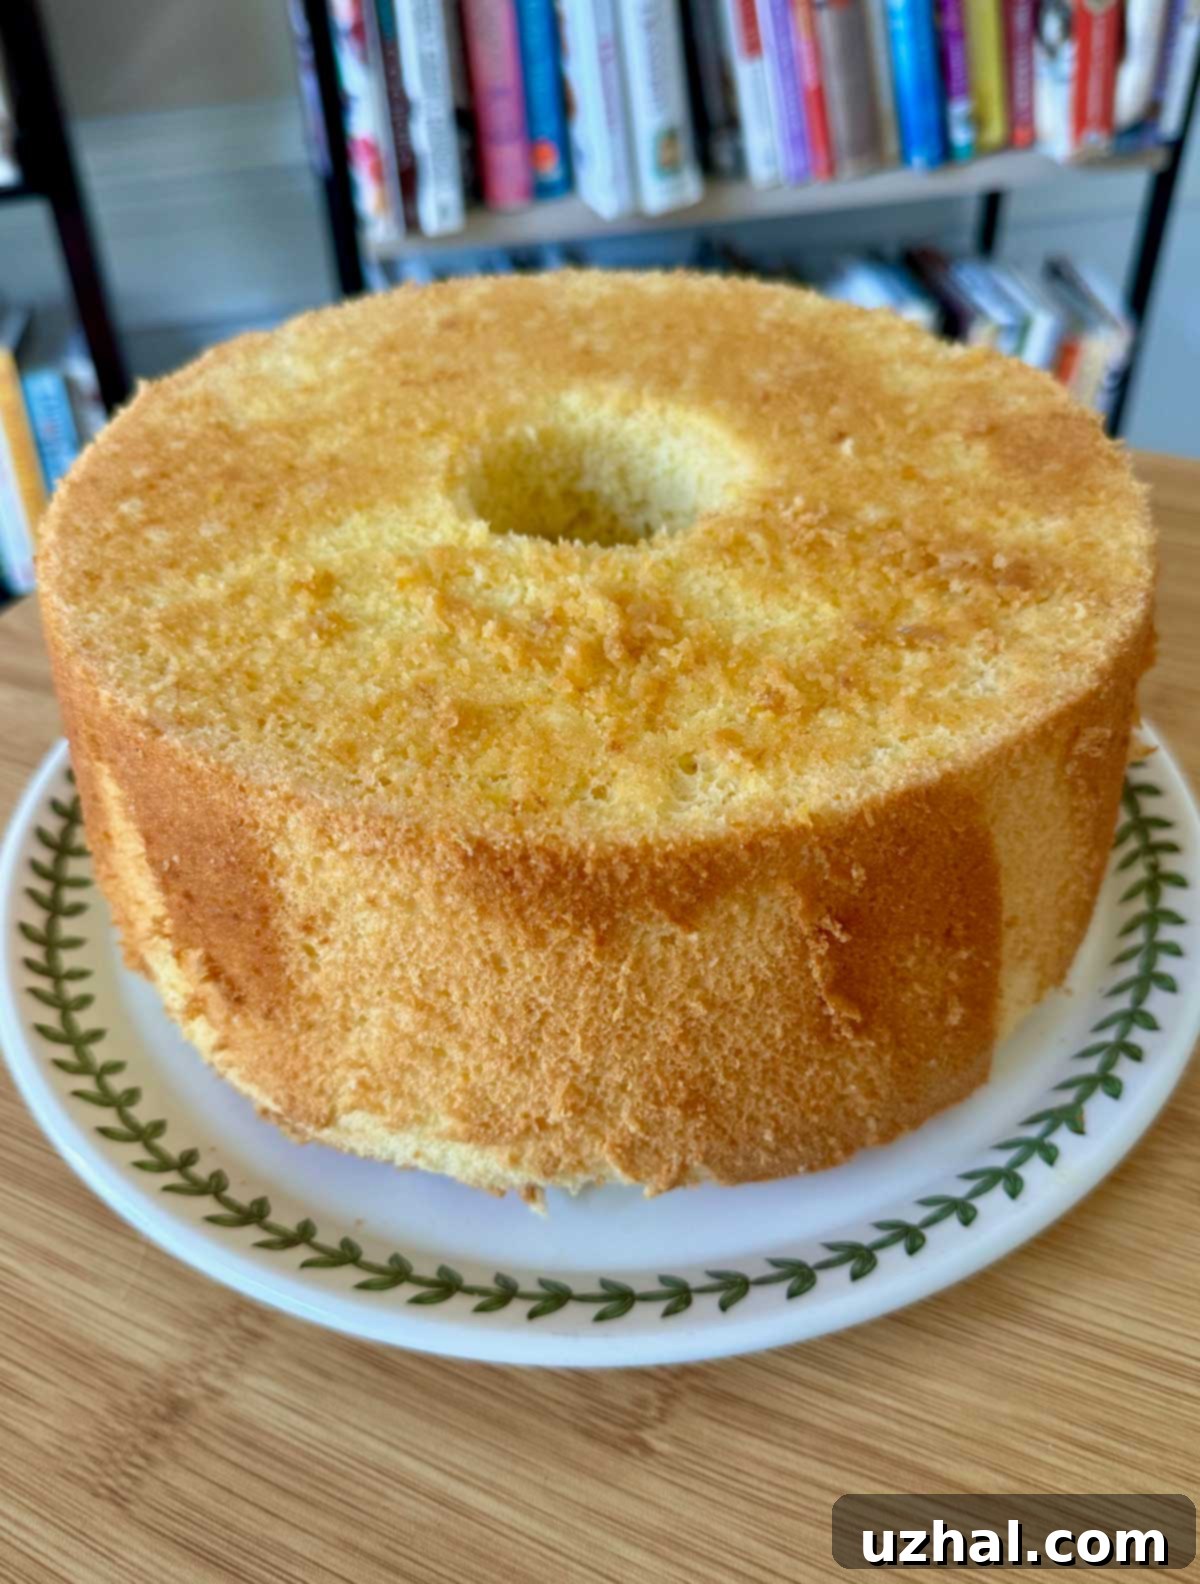
Behold the grandeur of the entire cake! Its golden-orange hue, perfectly risen form, and smooth top are a testament to the Chiffon Cake’s inherent beauty. This particular one enjoyed the benefit of some lovely natural light in my office, making for a truly appetizing presentation right there on my desk.
This image truly captures the cake’s effortless elegance, doesn’t it? And just look at that pristine tube pan after the cake has been inverted and cooled. While the resulting cake is always worth the effort, releasing it from the pan can sometimes present a challenge. I confess, this beautiful pan often requires a dedicated soak in hot water, followed by rigorous scrubbing – sometimes even with steel wool – to remove every stubborn crumb. This is, undeniably, the less glamorous side of Chiffon Cake baking, a minor hurdle in the pursuit of perfection.
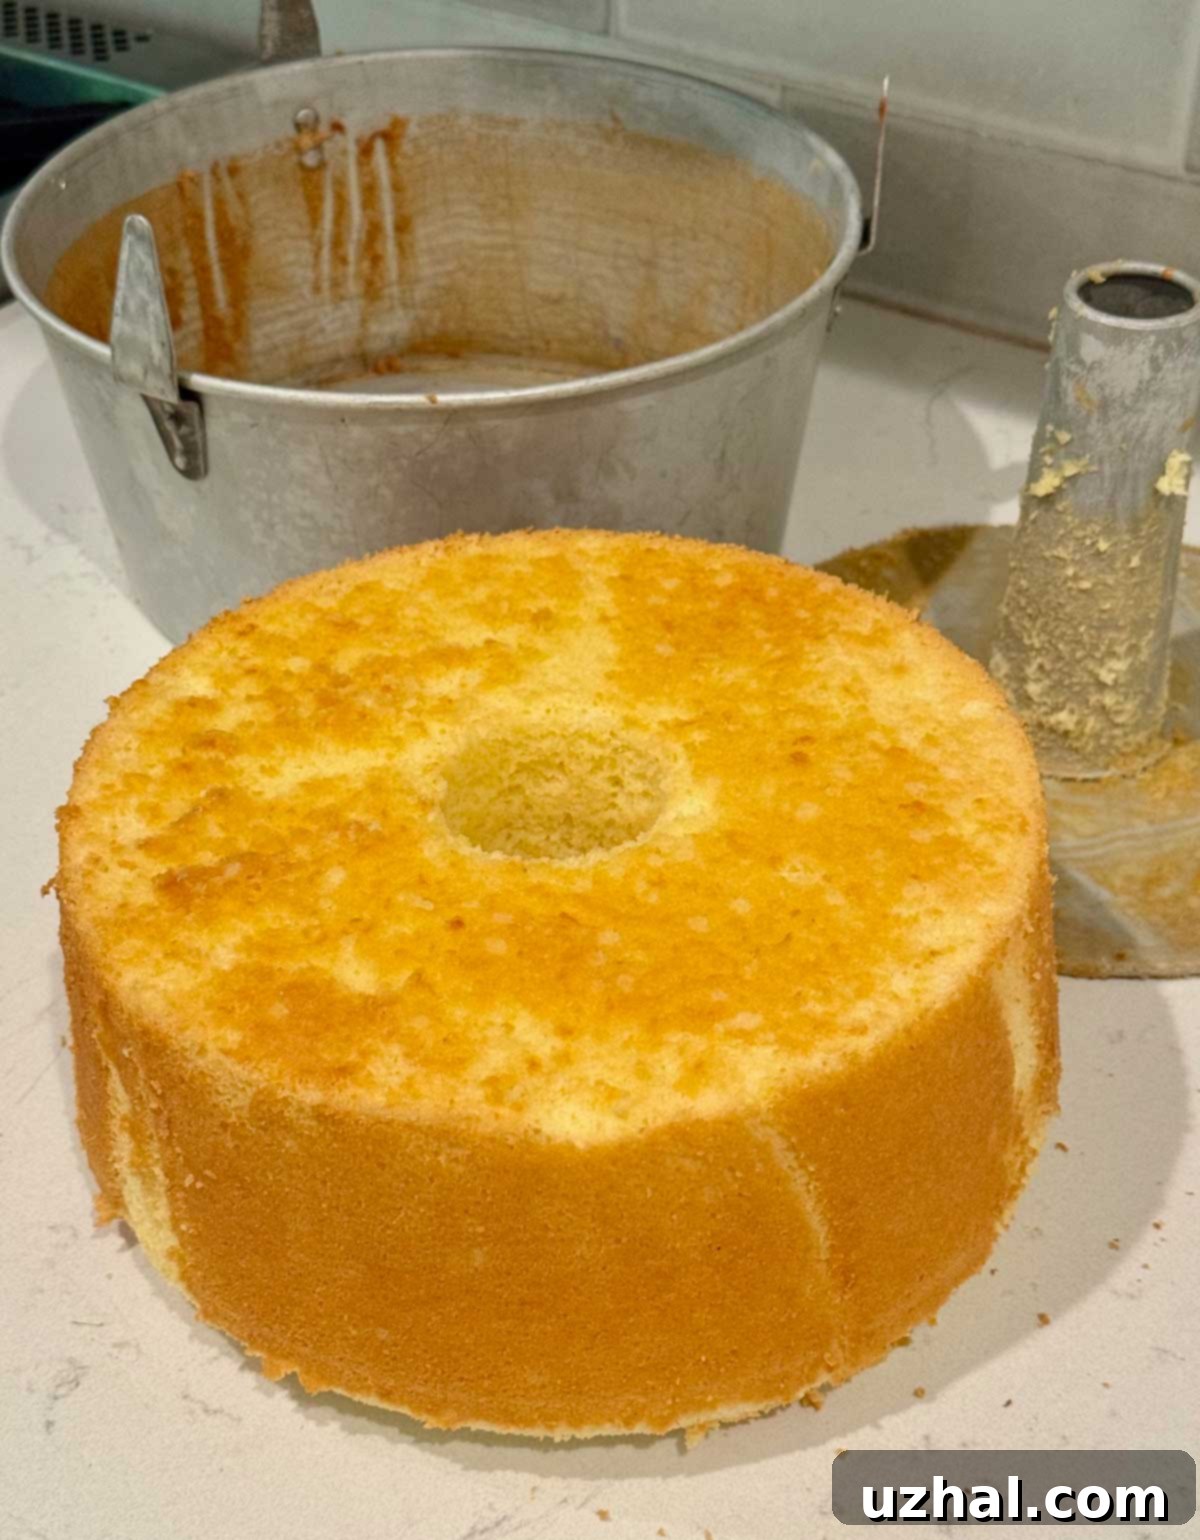
Indeed, the occasional struggle with pan cleaning is probably the primary reason I don’t indulge in making Chiffon Cake more frequently. However, every time I taste a slice of this magnificent dessert, I am reminded that the effort is always, unequivocally, worth it. The delicate texture and vibrant flavor make the scrubbing a distant memory.
But Wait: What Exactly is Chiffon Cake? Unveiling Its Unique Characteristics
Chiffon Cake stands in a category all its own, though it shares characteristics with both sponge cakes and butter cakes. At its heart, it is a soft, incredibly light-textured cake, reminiscent of a sponge cake due to its airy structure, but with a crucial distinction: it’s made with vegetable oil instead of butter. This oil substitution is key to its signature moistness and tender crumb, as oil remains liquid at room temperature, contributing to a consistently softer cake that resists drying out.
Similar to an Angel Food Cake, Chiffon Cake is traditionally baked in an ungreased tube pan, allowing the batter to climb the sides and achieve maximum volume and height. However, unlike Angel Food Cake, which uses only egg whites, Chiffon Cake incorporates egg yolks, lending it the richness and golden hue often associated with a classic yellow cake. This combination of oil for moisture and tenderness, egg yolks for richness, and whipped egg whites for incredible lift and aeration creates a cake that is simultaneously delicate, moist, flavorful, and incredibly satisfying. It’s also famously versatile, often flavored with bright citrus zests, which perfectly complement its light texture. The recipe shared here, for instance, celebrates the zest and juice of fresh oranges, along with a touch of vanilla, for a truly exquisite taste. This particular version is an adaptation I developed, drawing inspiration from the foundational techniques and principles learned from The Cake Bible, but with my own creative adjustments to enhance the orange flavor profile.
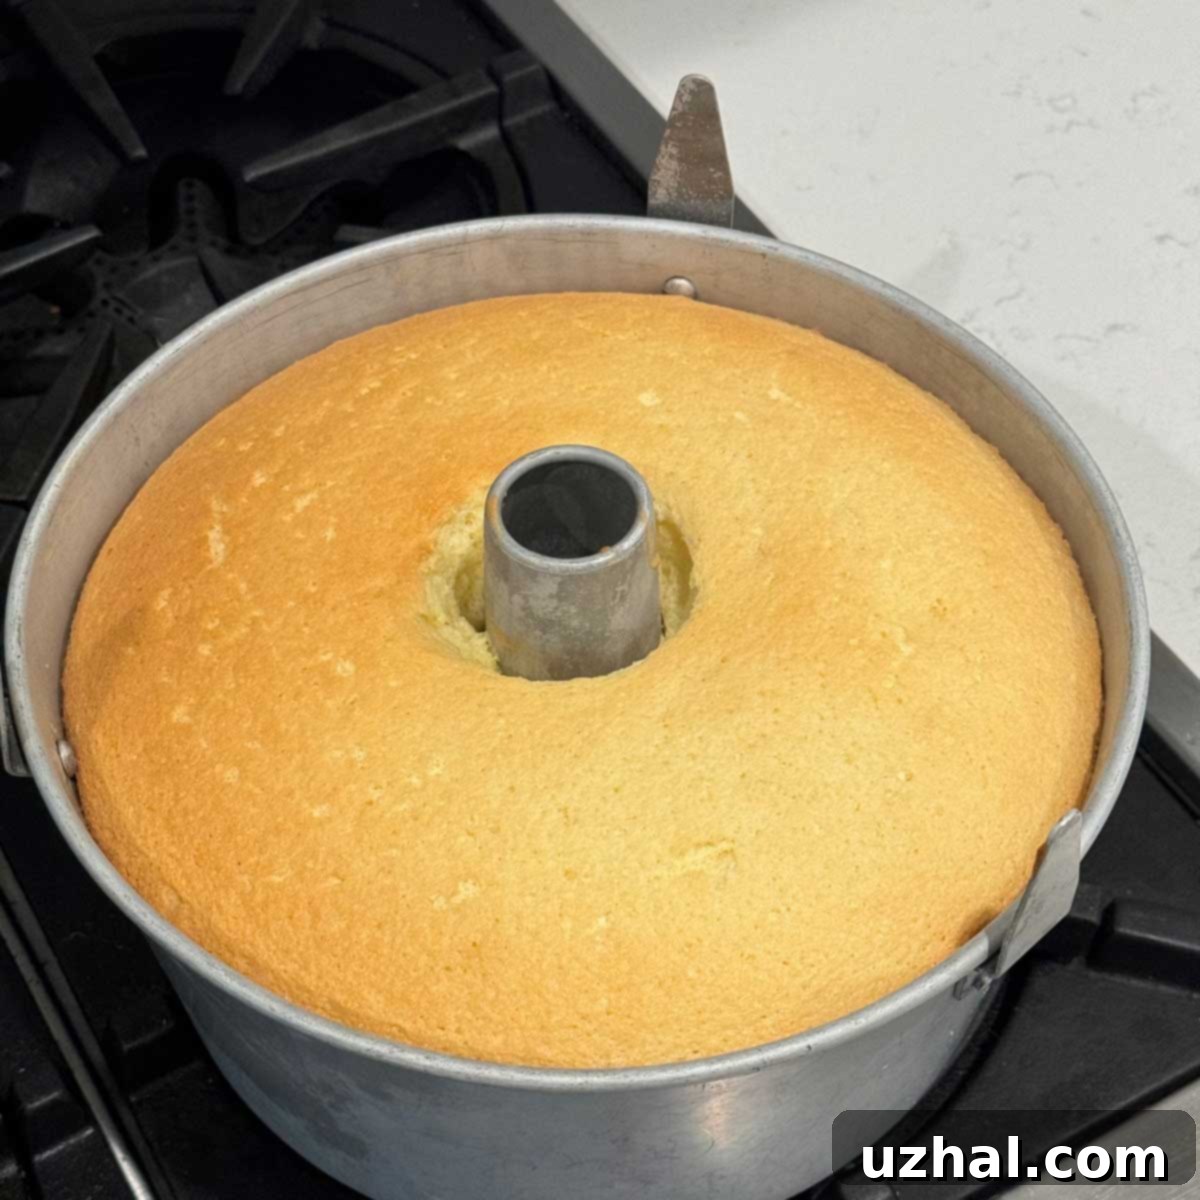
The Essential Tool: Your Tube Pan – With or Without Legs
A crucial piece of equipment for mastering Chiffon Cake is a removable bottom tube pan. This specialized pan is not just a suggestion; it’s essential for achieving the iconic height and delicate texture of Chiffon and Angel Food cakes. The central tube allows for more even heat distribution, ensuring the cake bakes thoroughly and rises beautifully. Furthermore, the ungreased sides provide the necessary grip for the delicate batter to climb as it bakes, resulting in a tall, airy structure that wouldn’t be possible in a standard greased cake pan.
Tube pans come in various designs, most notably with or without small “legs” or feet. While either will work, I highly recommend investing in one with legs. These handy extensions allow you to invert the hot cake immediately after baking, suspending it above the counter to cool completely without collapsing. This inverted cooling process is vital as it prevents the fragile, freshly baked cake from sinking under its own weight before its structure sets. If your pan lacks legs, you’ll need to improvise by suspending it over an inverted bottle or funnel – a common workaround, but sometimes less stable. The tube pan featured in many of the photos here is a standard full-size model, ideal for a generous cake that serves a crowd and truly highlights the Chiffon Cake’s impressive stature. However, for those who prefer smaller portions, or wish to experiment without committing to a large cake, a half-size tube pan (like the one I found at Michael’s) is a fantastic option. Simply halve the recipe ingredients, and you’ll have a delightful smaller cake. While a full-size Chiffon Cake undeniably presents with more fluffiness and a stately appearance, a smaller version is still wonderful, especially when paired with fresh berries and a dollop of whipped cream for a more intimate dessert.
Mastering the Art of Chiffon Cake: Essential Baking Tips
Baking a perfect Chiffon Cake is a rewarding experience, and a few key techniques can elevate your results from good to absolutely spectacular. Pay close attention to these tips for a truly ethereal crumb:
- Embrace Cake Flour: This is non-negotiable. Unlike all-purpose or self-rising flour, cake flour has a lower protein content and a finer grind. This results in a more tender, delicate crumb that is characteristic of Chiffon Cake. Using other flours will yield a tougher, denser cake, so don’t skip this essential ingredient.
- Accuracy Through Weighing: Precision is paramount in baking, especially for a delicate cake like this. Weighing your ingredients, particularly the flour and eggs, ensures consistent and accurate results. Egg sizes vary, so relying on weight (e.g., 120 grams of yolks from approximately 7 eggs, 300 grams of whites from around 10 eggs) rather than count guarantees the correct balance for the recipe’s structure.
- The Art of Whipped Egg Whites: Beat your egg whites and cream of tartar until they form stiff peaks – but know when to stop. Overbeating can lead to dry, brittle meringue that is difficult to fold and will result in a dry, crumbly cake. The peaks should hold their shape firmly but still have a slight sheen and some flexibility. The cream of tartar helps stabilize the egg whites, giving them better volume and a more consistent texture.
- Bake Immediately: Once your batter is mixed and the egg whites are folded in, don’t delay! Transfer the batter to your tube pan and get it into the preheated oven as quickly as possible. The air incorporated into the egg whites is what gives the cake its lift, and waiting too long can cause this air to dissipate, leading to a denser cake.
- Gentle Folding Technique: When combining the whipped egg whites with the yolk mixture, use a heavy-duty rubber scraper or spatula and employ a gentle folding motion. This involves cutting down through the center of the batter, scraping along the bottom of the bowl, and folding it over the top. Rotate the bowl and repeat. The goal is to incorporate the whites without deflating the precious air you’ve built into them, which is crucial for the cake’s light texture.
- Proper Cooling is Key: Once baked, immediately invert your tube pan. As mentioned, if it has legs, it will stand on its own. If not, suspend it over a sturdy bottle. This prevents the delicate, hot cake from collapsing on itself as it cools and its structure sets. Allow it to cool completely, usually for at least 1.5 hours, before attempting to release it from the pan.
- Don’t Grease the Pan: This is a critical point often overlooked by novice bakers. The Chiffon Cake batter needs to cling to the sides of the pan to climb and achieve its impressive height. Greasing the pan will prevent this, resulting in a shorter, denser cake.
Adhering to these principles will ensure your Chiffon Cake is nothing short of perfection – beautifully risen, incredibly tender, and bursting with flavor. While the clean-up might still require some elbow grease, the reward of a flawless Chiffon Cake is truly incomparable.
- Chocolate Angel Food Cake
- Unsweetened Chocolate Chiffon Pie
- Lemon Chiffon Cake
- Raspberry Chiffon Pie
- Chiffon Gingerbread
Recipe: Classic Orange Chiffon Cake
Classic Chiffon Cake
Anna
Pin Recipe
Equipment
-
Tube Pan
-
Stand Mixer Preferably one with two bowls for efficiency
Ingredients
- 2 cups cake flour (225 grams, sifted)
- 1 ½ cups granulated sugar, divided (300 grams total)
- 2 teaspoons baking powder
- ½ teaspoon fine sea salt
- ½ cup neutral vegetable oil (e.g., canola, grapeseed)
- ½ cup egg yolks (120 grams yolks, from approximately 7 large eggs)
- ¾ cup fresh orange juice (or half orange juice, half water for a milder flavor)**
- 1 tablespoon orange zest (from about 1-2 large oranges)
- 1 teaspoon pure vanilla extract
- 1 ¼ cups egg whites (300 grams whites, from approximately 10 large eggs, at room temperature)
- 1 ⅛ teaspoon cream of tartar
Instructions
-
Prepare Oven & Pan: Preheat your oven to 325°F (165°C). Ensure you have ready an ungreased 10-inch removable bottom tube pan. Do not grease the pan, as the cake needs to cling to the sides to rise properly.
-
Combine Dry Ingredients: In a large mixing bowl, preferably the bowl of a stand mixer, sift together the cake flour, all but 2 tablespoons (24 grams) of the granulated sugar, and the baking powder. Add the salt and whisk thoroughly until all dry ingredients are evenly blended.
-
Mix Wet Ingredients: Create a well in the center of the dry flour mixture. Pour in the neutral vegetable oil, egg yolks, orange juice, orange zest, and vanilla extract. Attach the paddle attachment to your stand mixer and beat on medium speed for one minute, or until all ingredients are just blended and the batter is smooth. Scrape down the sides of the bowl as needed.
-
Whip Egg Whites: In a separate, very clean stand mixer bowl (or a large bowl with a hand mixer) fitted with the whisk attachment, beat the room temperature egg whites and cream of tartar on medium-high speed until soft peaks begin to form. Gradually add the reserved 2 tablespoons of sugar, continuing to beat until the egg whites are just starting to form stiff, glossy peaks. Be careful not to overbeat the egg whites; they should not look dry or crumbly.
-
Gently Fold: With a heavy-duty rubber scraper or spatula, gently fold the whipped egg whites into the egg yolk mixture. Use a cutting and folding motion, turning the bowl as you go, until everything is evenly blended and no streaks of egg white remain. Work quickly but gently to retain as much air as possible in the batter.
-
Pour and Bake: Immediately pour the prepared batter into your ungreased tube pan. Gently run a knife or thin scraper through the batter in a circular motion to release any large air pockets and prevent large air holes in the finished cake. Bake for 55 minutes, or until a wooden skewer inserted into the center comes out clean.
-
Cool Completely: As soon as the cake comes out of the oven, invert the tube pan. If your pan has legs, it will stand on them. If not, carefully suspend the pan over the neck of a sturdy bottle (like a wine bottle) or a funnel. Allow the cake to cool completely in this inverted position for at least 1 ½ hours. This crucial step prevents the delicate cake from collapsing.
-
Release the Cake: Once fully cooled, run a thin, sharp knife around the outer edge of the cake and around the center tube to loosen it from the pan. Gently push up the removable bottom to release the cake. Then, carefully run the knife between the cake and the bottom of the pan to fully detach it. Loosen the core piece (the center tube) and remove it.
-
Serve: Your beautiful Classic Orange Chiffon Cake is now ready to be enjoyed! Serve it plain to appreciate its pure flavor and texture, dusted lightly with powdered sugar, or topped with a simple glaze, your favorite frosting, or fresh seasonal fruit and a dollop of freshly whipped cream for an elegant presentation.
Notes
In conclusion, the Chiffon Cake is more than just a dessert; it’s a piece of baking history, a testament to innovation, and a delight for the senses. Its unique combination of lightness and richness, coupled with its charming origin story, makes it a truly special treat. Whether you’re a seasoned baker or new to the world of cakes, tackling a Chiffon Cake is a rewarding journey. While the tube pan might demand a little extra attention post-bake, the exquisite texture and vibrant flavor of this Orange Chiffon Cake make every moment in the kitchen worthwhile. So, roll up your sleeves, gather your ingredients, and prepare to create a truly glamorous and unforgettable dessert. Your taste buds, and your guests, will thank you!
