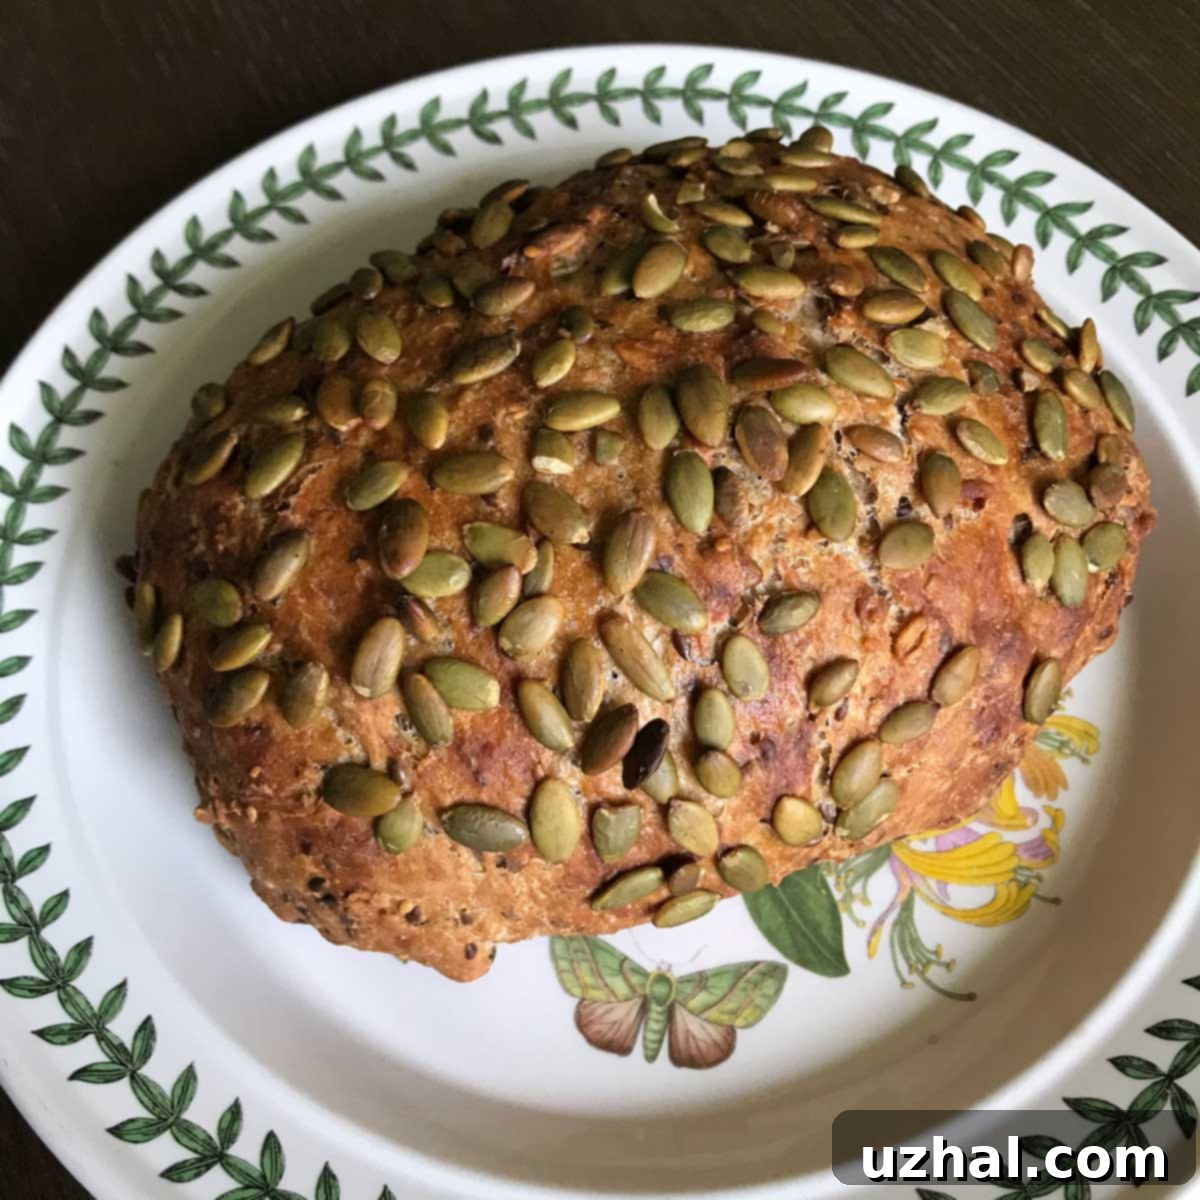
Mastering Martha Stewart’s Overnight No-Knead Seed Bread: Your Ultimate Guide to a Crusty, Chewy Loaf
For a long time, I’ve been on a culinary quest, specifically on a mission to replicate the distinctive texture and flavor of Wegmans Marathon Bread. It’s a truly unique loaf, known for its light yet substantial chewiness. However, the recipe I’m thrilled to share with you today, Martha Stewart’s Overnight No-Knead Seed Bread, isn’t that elusive copycat. Instead, it offers a completely different, equally delightful experience. This remarkable artisan bread boasts a delightfully chewy interior and an incredibly crusty exterior, baked beautifully as a rustic round. What it *does* share with the legendary Marathon Bread, and what makes it truly special, is an abundance of wholesome seeds—specifically, nutrient-rich pumpkin, nutty sesame, and heart-healthy flax seeds, providing a fantastic texture and depth of flavor in every bite.
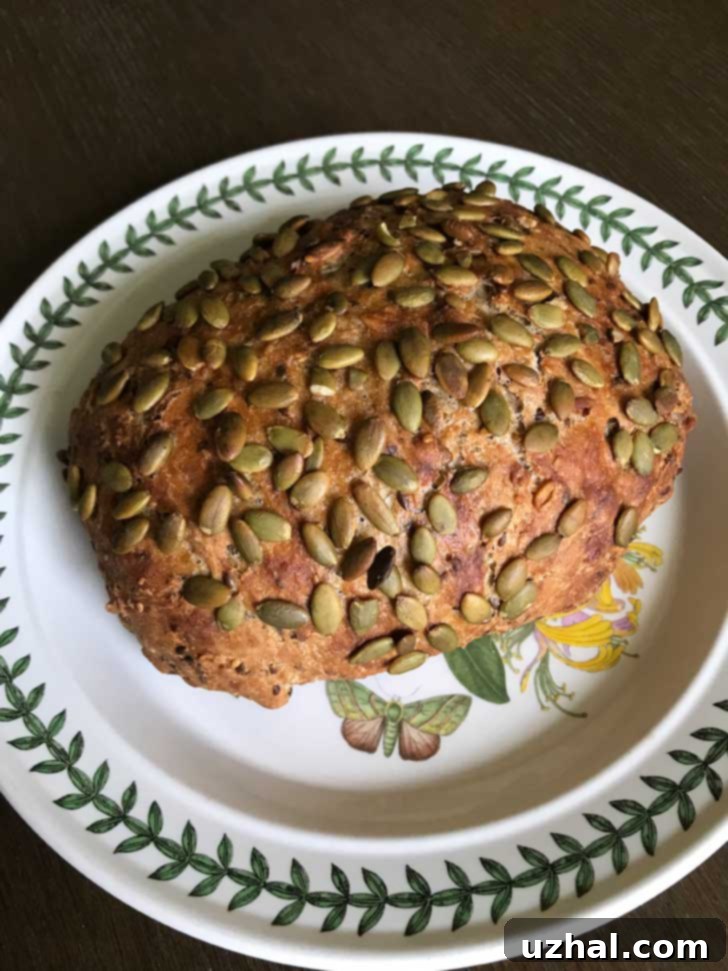
Discovering Martha Stewart’s Seed Bread: The Magic of No-Knead Baking
This recipe from Martha Stewart truly embodies the simplicity and rewarding nature of no-knead bread. If you’re looking for a very large, impressive loaf, you can find Martha’s original recipe here. The beauty of this method lies in its minimal effort: no vigorous kneading required, allowing time and natural fermentation to do all the heavy lifting. However, to achieve that signature crust and perfect rise, you will need a reliable, lidded Dutch oven, such as a premium Le Creuset. Beyond that, a well-stocked pantry with a variety of seeds and quality flours is essential. And perhaps most importantly, you’ll need patience. This isn’t a quick bake; it’s an eighteen-hour journey from mixing the ingredients to pulling a warm, aromatic loaf from the oven, but every moment is worth the wait for this incredible homemade artisan bread.
The no-knead technique, popularized by Jim Lahey, relies on a long, slow fermentation process, typically overnight or even longer, at room temperature after an initial chill. This extended resting period allows the gluten strands to develop naturally without the physical manipulation of kneading. The yeast slowly works its magic, producing complex flavors and creating air pockets that contribute to the bread’s open, airy crumb. It’s a game-changer for home bakers, transforming what might seem like a daunting task into an accessible and enjoyable culinary adventure. The resulting bread isn’t just easy; it’s often superior in flavor and texture to many traditionally kneaded loaves.
Adapting the Recipe for Smaller Servings
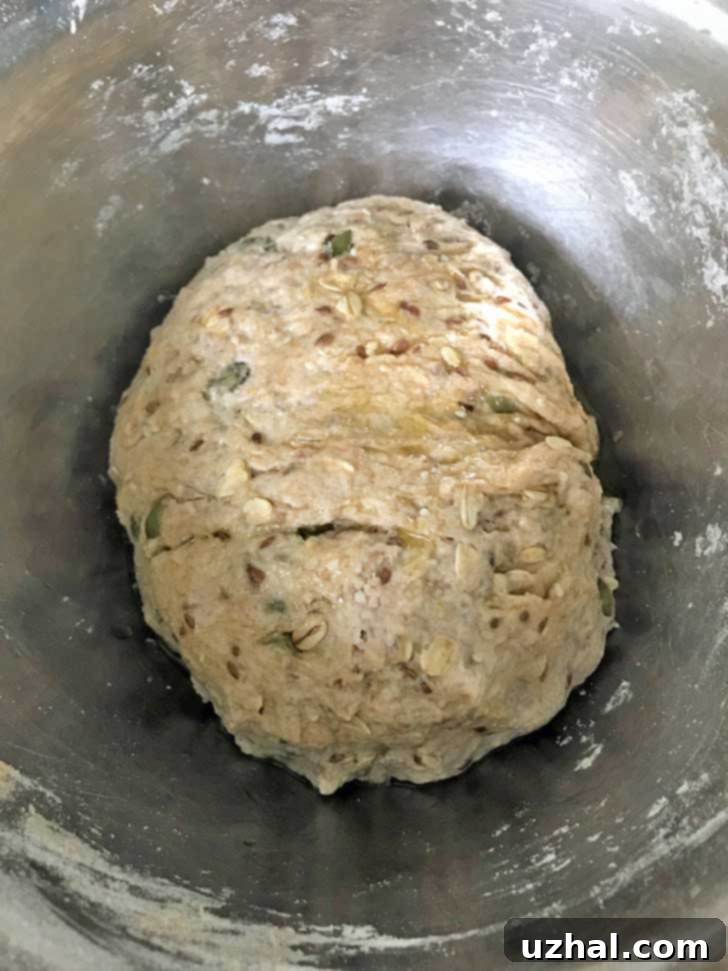
While Martha’s original recipe yields a generously sized loaf, I found it beneficial to halve the recipe (and slightly adjust the seed ratios to my preference) for our household. Even with this reduction, it still produces a substantial amount of delicious, healthy bread, perfect for a few days of enjoyment. The dough, after being gently drizzled with olive oil and left to rise, develops a beautiful, bubbly texture, a testament to the yeast’s activity and the long fermentation process. This initial stage of observing the dough transform is part of the charm of no-knead baking. The olive oil not only prevents a skin from forming but also adds a subtle richness to the final bread.
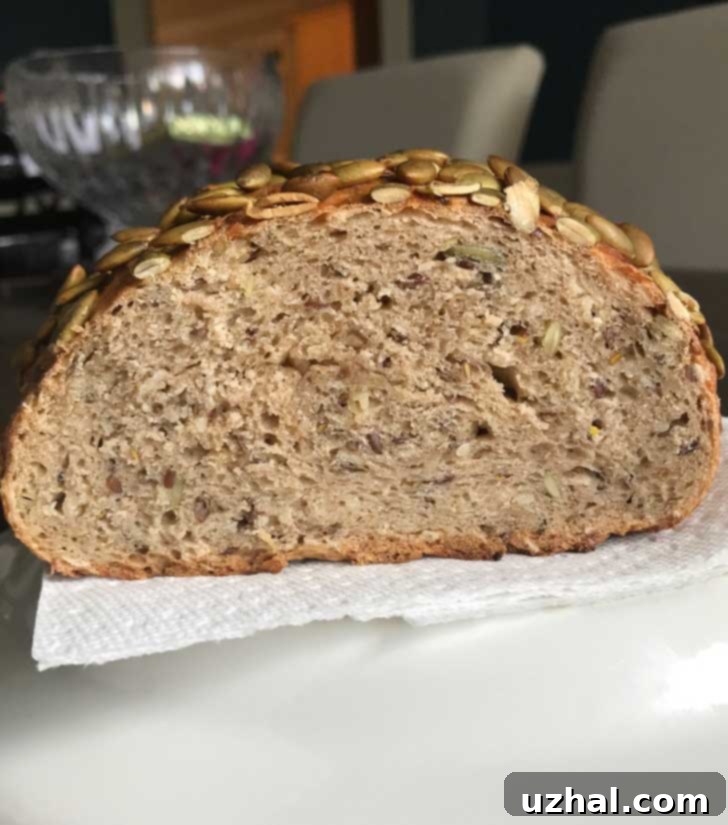
When halving the amount of dough, it’s crucial to adjust the baking time and temperature accordingly. My experience confirms that the lidded Dutch oven method is truly superior for achieving that coveted crust and moist interior. For my smaller loaf, I found it incredibly convenient to simply plop the risen dough onto a sheet of parchment paper and then carefully lower it into the preheated Dutch oven, still covered with the parchment. Martha Stewart’s original method suggests greasing and flouring the Dutch oven directly, which also works wonderfully. The parchment paper simply makes for easier transfer and cleanup, especially for those new to baking in a Dutch oven.
Optimal Bake Time and Temperature for a Perfect Crust
Achieving the perfect bake is key to the success of this seed bread. In my oven, the total bake time was 35 minutes at 450 degrees Fahrenheit. The process begins with preheating your oven, with the Dutch oven inside, to a blistering 475 degrees Fahrenheit. This intense initial heat is critical. It ensures that when you open the oven door to place the dough, the Dutch oven remains incredibly hot, minimizing heat loss and providing an immediate, powerful burst of heat to the dough. This thermal shock is what helps create a magnificent, crispy crust and promotes an excellent oven spring, leading to a well-risen loaf.
The baking process is divided into two crucial stages. First, I baked the bread covered for 30 minutes. Baking with the lid on traps steam released by the dough, creating a humid environment similar to a professional steam oven. This steam keeps the crust soft initially, allowing the loaf to expand fully without tearing, and contributes to its chewy texture. After 30 minutes, the bread should have developed a good brown color and look nearly done. At this point, carefully remove the lid and continue baking for another 5 minutes uncovered. This final uncovered stage allows the steam to escape, crisping up the crust to golden perfection and ensuring a truly satisfying crunch. Every oven is unique, so it’s essential to know its quirks. If your oven tends to run hot, I recommend checking the bread around the 25-minute mark. Conversely, if your oven bakes a little slower, you might need to extend the uncovered baking time by a few minutes until the crust is deeply golden brown and sounds hollow when tapped. Martha’s original, larger loaf typically requires 45 minutes covered and an additional 15 minutes uncovered; I suspect even if I made the larger version, my oven would finish it sooner.
The Benefits of Homemade No-Knead Seed Bread
Beyond the sheer satisfaction of baking your own bread, this Martha Stewart No-Knead Seed Bread offers numerous advantages. The no-knead method drastically simplifies the process, making artisan-quality bread accessible to even novice bakers. The long fermentation not only develops incredibly complex flavors but also predigests some of the starches, potentially making the bread easier to digest for some individuals. The inclusion of a generous amount of seeds—pumpkin, sesame, and flax—transforms this bread into a nutritional powerhouse. These seeds contribute healthy fats, fiber, protein, and essential micronutrients, making it a more wholesome choice than many store-bought alternatives. Plus, the aroma of freshly baked bread filling your home is an unparalleled pleasure.
Choosing Your Ingredients for the Best Results
The quality of your ingredients directly impacts the final loaf. For this recipe, a combination of whole wheat flour and bread flour provides a perfect balance of rustic texture and good gluten development. Whole wheat flour brings a hearty flavor and additional nutrients, while bread flour, with its higher protein content, ensures a strong structure and chewy crumb. Don’t skimp on good quality salt; it’s crucial for flavor and controlling yeast activity. Instant yeast is preferred for its convenience and reliability in no-knead recipes. As for the seeds, experiment with your favorites! Sunflower seeds, chia seeds, or even a sprinkle of oat bran could be excellent additions, enhancing both the nutritional profile and the textural complexity of your homemade seed bread.
Tips for Success and Troubleshooting
While this recipe is incredibly forgiving, a few tips can ensure consistent success. Pay attention to the dough’s hydration. The initial dough should be shaggy but not overly sticky or dry; adjust with small amounts of flour or water as needed. Ensure your kitchen isn’t too cold during the room temperature rise, as this can significantly extend the fermentation time. If your loaf turns out dense, it might be under-proofed or over-proofed, or your yeast might not have been active. A very hot Dutch oven is non-negotiable for a crisp crust; if your crust is soft, ensure your oven and pot were fully preheated. For best flavor, allow the bread to cool completely before slicing – this allows the internal moisture to redistribute and sets the crumb.
Serving Suggestions and Variations
This versatile seed bread is fantastic on its own, perhaps with just a pat of good butter. It makes an incredible base for hearty sandwiches, especially with savory fillings like roasted vegetables, cheese, or deli meats. Toasting slices brings out even more of the seeds’ nutty flavors, perfect for avocado toast or alongside a runny egg. It also pairs wonderfully with soups, stews, or even a simple cheese board. For variations, consider adding dried fruits like cranberries or raisins for a touch of sweetness, or a blend of dried herbs like rosemary or thyme for a more savory profile. A sprinkle of coarse sea salt on top before baking can also enhance the crust’s texture and flavor.
The family absolutely adores this bread, and it has quickly become a regular in our baking rotation. I am already looking forward to making it again, experimenting with different seed combinations to see what new delightful flavors we can discover. It’s a truly satisfying and delicious baking project that yields impressive results with minimal hands-on time.
- Chocolate Ginger Cookies From The Four Seasons
- Martha Stewart Chocolate Malt Sandwich Cookies
- Chocolate Espresso Cookies From Martha Stewart
- Martha Stewart Dark Chocolate Frosting
- Martha White Muffin Mix Biscotti
Recipe
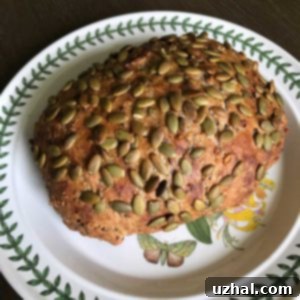
Martha Stewart’s Seed Bread
Anna
Pin Recipe
Ingredients
- 1 ½ cups whole wheat flour (plus another T if needed) (210 grams)
- 1 cup bread flour (140 grams)
- 1 ½ teaspoons Morton kosher salt (or use 2 ½ teaspoons Diamond)
- 2 tablespoons sugar (or honey) (25 grams)
- ⅝ teaspoons instant yeast
- ⅓ cup old fashioned oats
- 2 tablespoons whole flax seeds
- 2 teaspoons sesame seeds
- ¼ cup pumpkin seeds plus more for the outside of the loaf
- 1 cup cold water plus about 2-3 T more or as needed
- 1 large egg white, for brushing over the loaf (optional, for extra shine and seed adherence)
Instructions
-
In a very large bowl, combine all of the dry ingredients: whole wheat flour, bread flour, salt, sugar (or honey), instant yeast, oats, flax seeds, sesame seeds, and ¼ cup pumpkin seeds. Mix thoroughly to ensure everything is evenly blended.
-
Pour in 1 cup of cold water and stir vigorously with a sturdy spoon or your hands until a shaggy dough forms. The dough should not be overly sticky, but it shouldn’t be dry either. If it’s too wet and sticky, add a tablespoon of bread flour at a time until the right consistency is reached. If it’s too dry, add water in ½ teaspoon increments.
-
Drizzle a thin, slick coat of olive oil over the dough. Cover the bowl tightly with plastic wrap or a lid and refrigerate for 2 hours. This initial cold fermentation helps develop flavor.
-
After 2 hours, remove the dough from the refrigerator. Keep it covered and let it sit at room temperature for an additional 12 to 18 hours. This long, slow rise is essential for flavor and texture development.
-
Approximately 40 minutes before you plan to bake, place your large lidded Dutch oven (like a Le Creuset) into the oven and preheat to 475 degrees F (245°C). Allow it to get very hot. You will drop the baking temperature to 450°F, but the initial high heat is crucial for the pot.
-
While the oven and pot preheat, gently scrape your risen dough onto a piece of parchment paper. The parchment should be just large enough to line the bottom and sides of your Dutch oven. If desired, brush the top of the dough with egg white and sprinkle with additional pumpkin seeds for a beautiful finish.
-
Once the oven and Dutch oven are scorching hot, carefully remove the pot from the oven. Using the parchment paper, gently lift and plop the dough into the hot pot. Quickly cover with the lid and return it to the oven.
-
Immediately lower the oven temperature to 450 degrees F (230°C) and bake covered for about 30 minutes. After this time, remove the lid (the bread should be well-risen and golden brown at this point, looking almost done) and continue to bake for another 5 minutes uncovered to develop a truly crisp crust.
-
Carefully remove the bread from the Dutch oven and transfer it to a wire rack to cool completely before slicing and serving. Enjoy your delicious homemade Martha Stewart’s Seed Bread!
