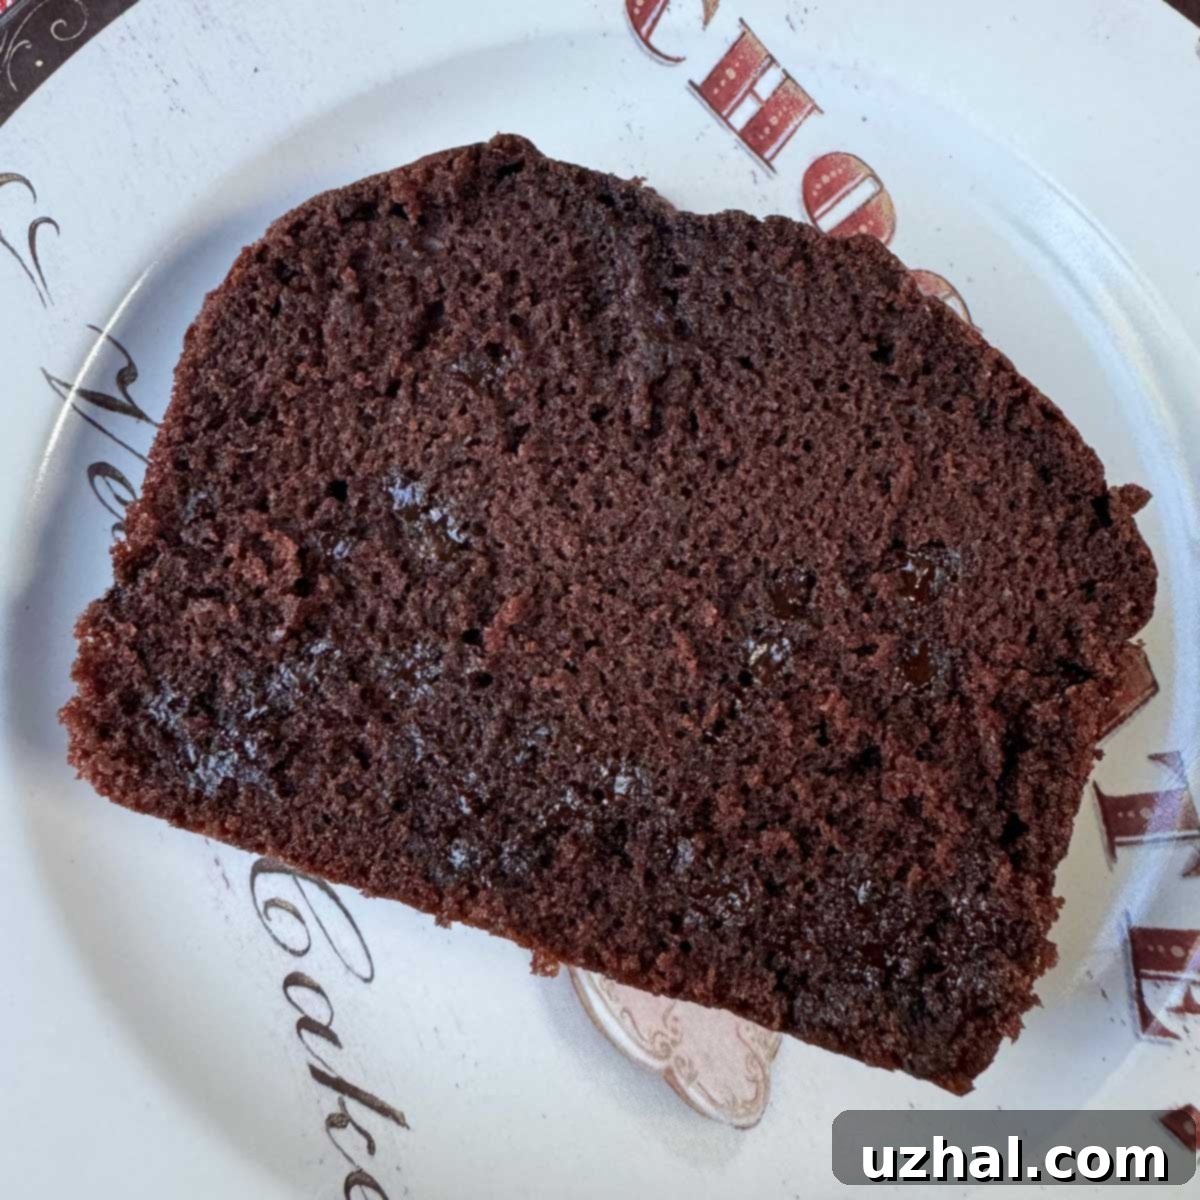
Indulge in the Ultimate Buttermilk Chocolate Bread: A Moist & Flavorful Quick Loaf Recipe
Welcome to a delightful journey back in time with a cherished recipe for Buttermilk Chocolate Bread. While its origins trace back to the classic kitchens of Clabber Girl, this particular version has been thoughtfully updated and refined to suit modern palates and baking practices. The original might be decades old, but its essence – a rich, comforting, and incredibly moist chocolate quick bread – remains truly timeless. Whether you’re a seasoned baker or just starting, this recipe promises a rewarding experience, delivering a chocolatey loaf that’s perfect for any occasion. We’ve enhanced the texture, balanced the sweetness, and clarified the instructions to ensure your success in creating this irresistibly tender chocolate bread.
Jump to Recipe
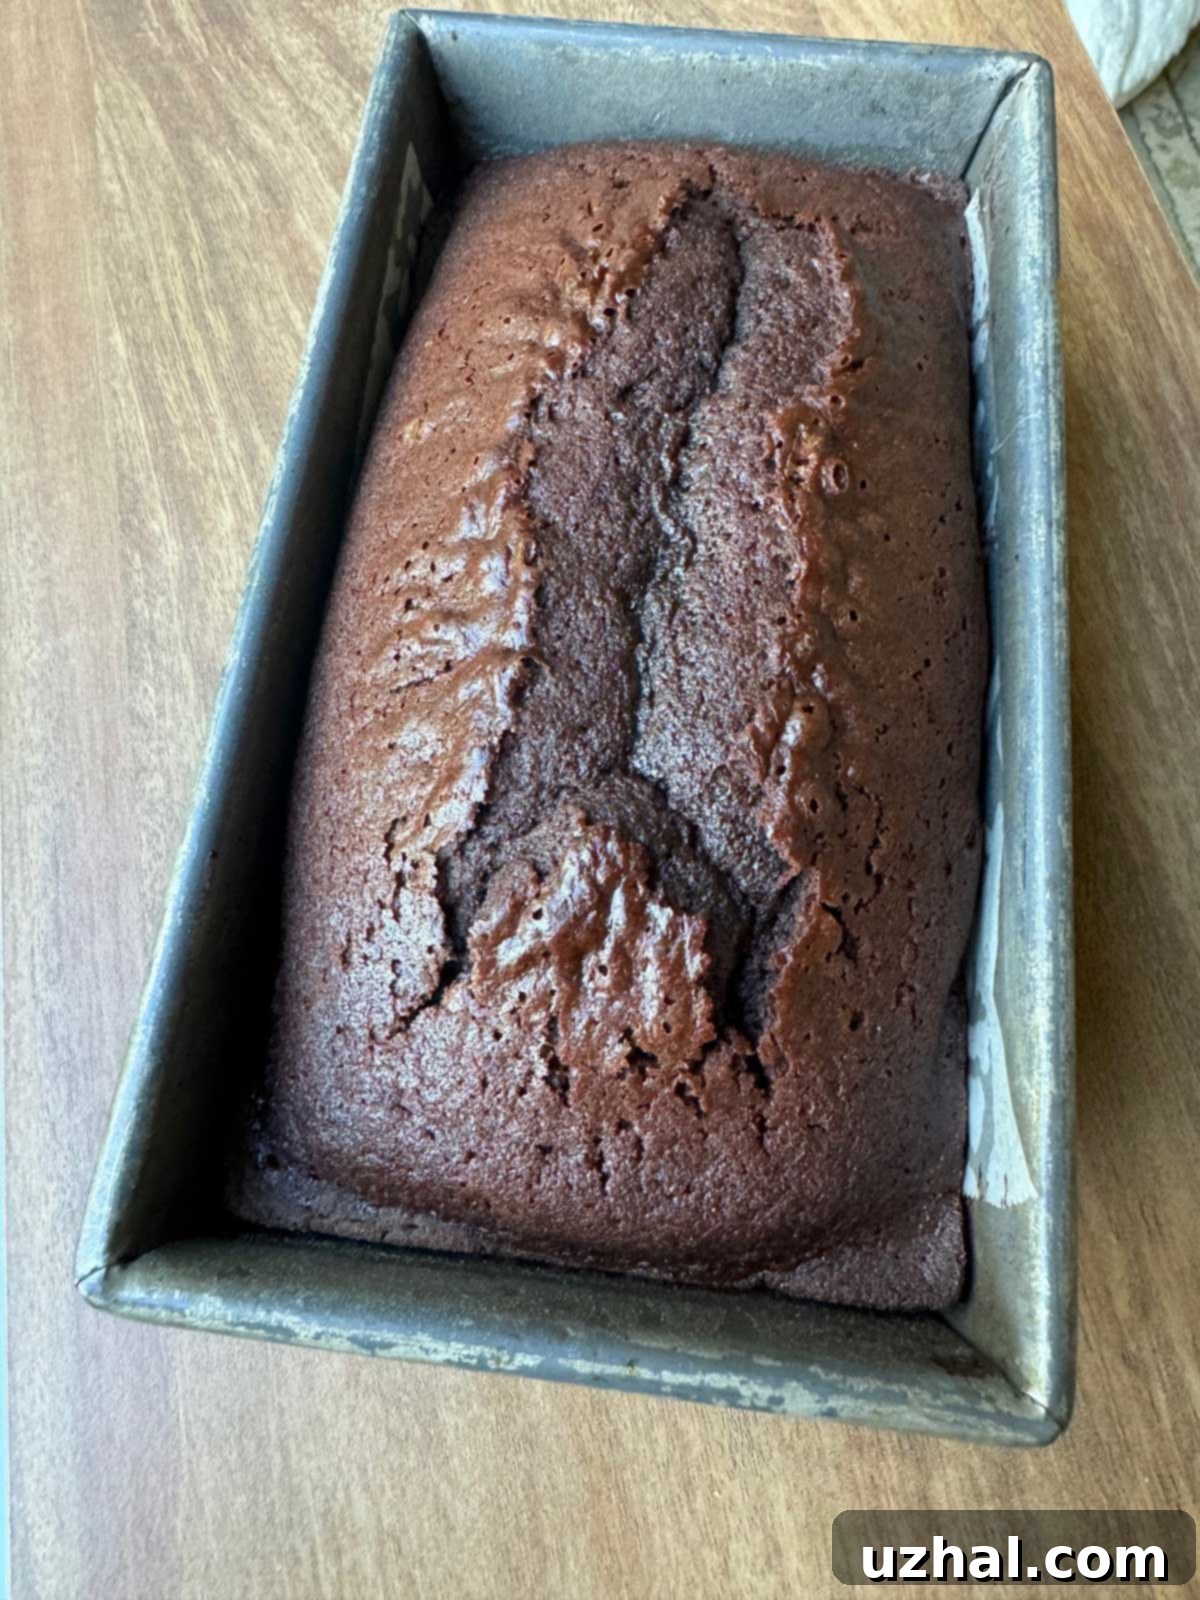
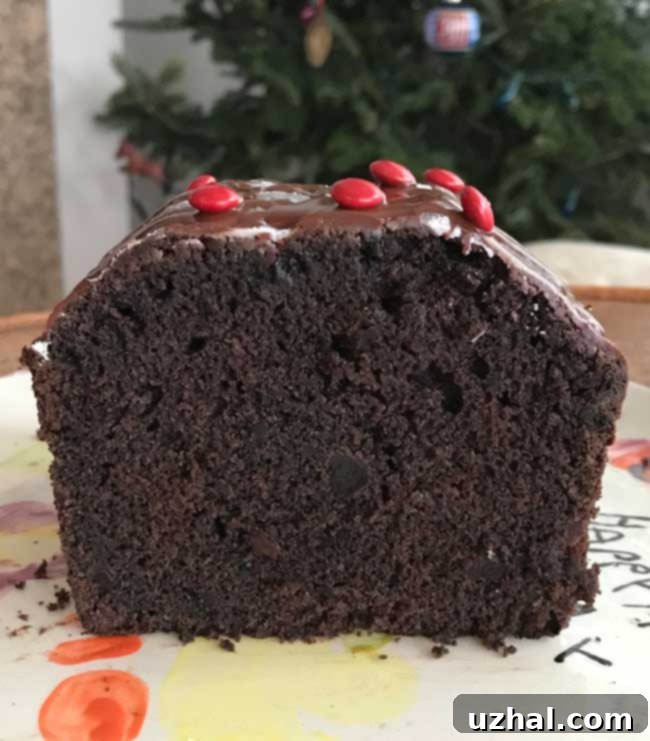
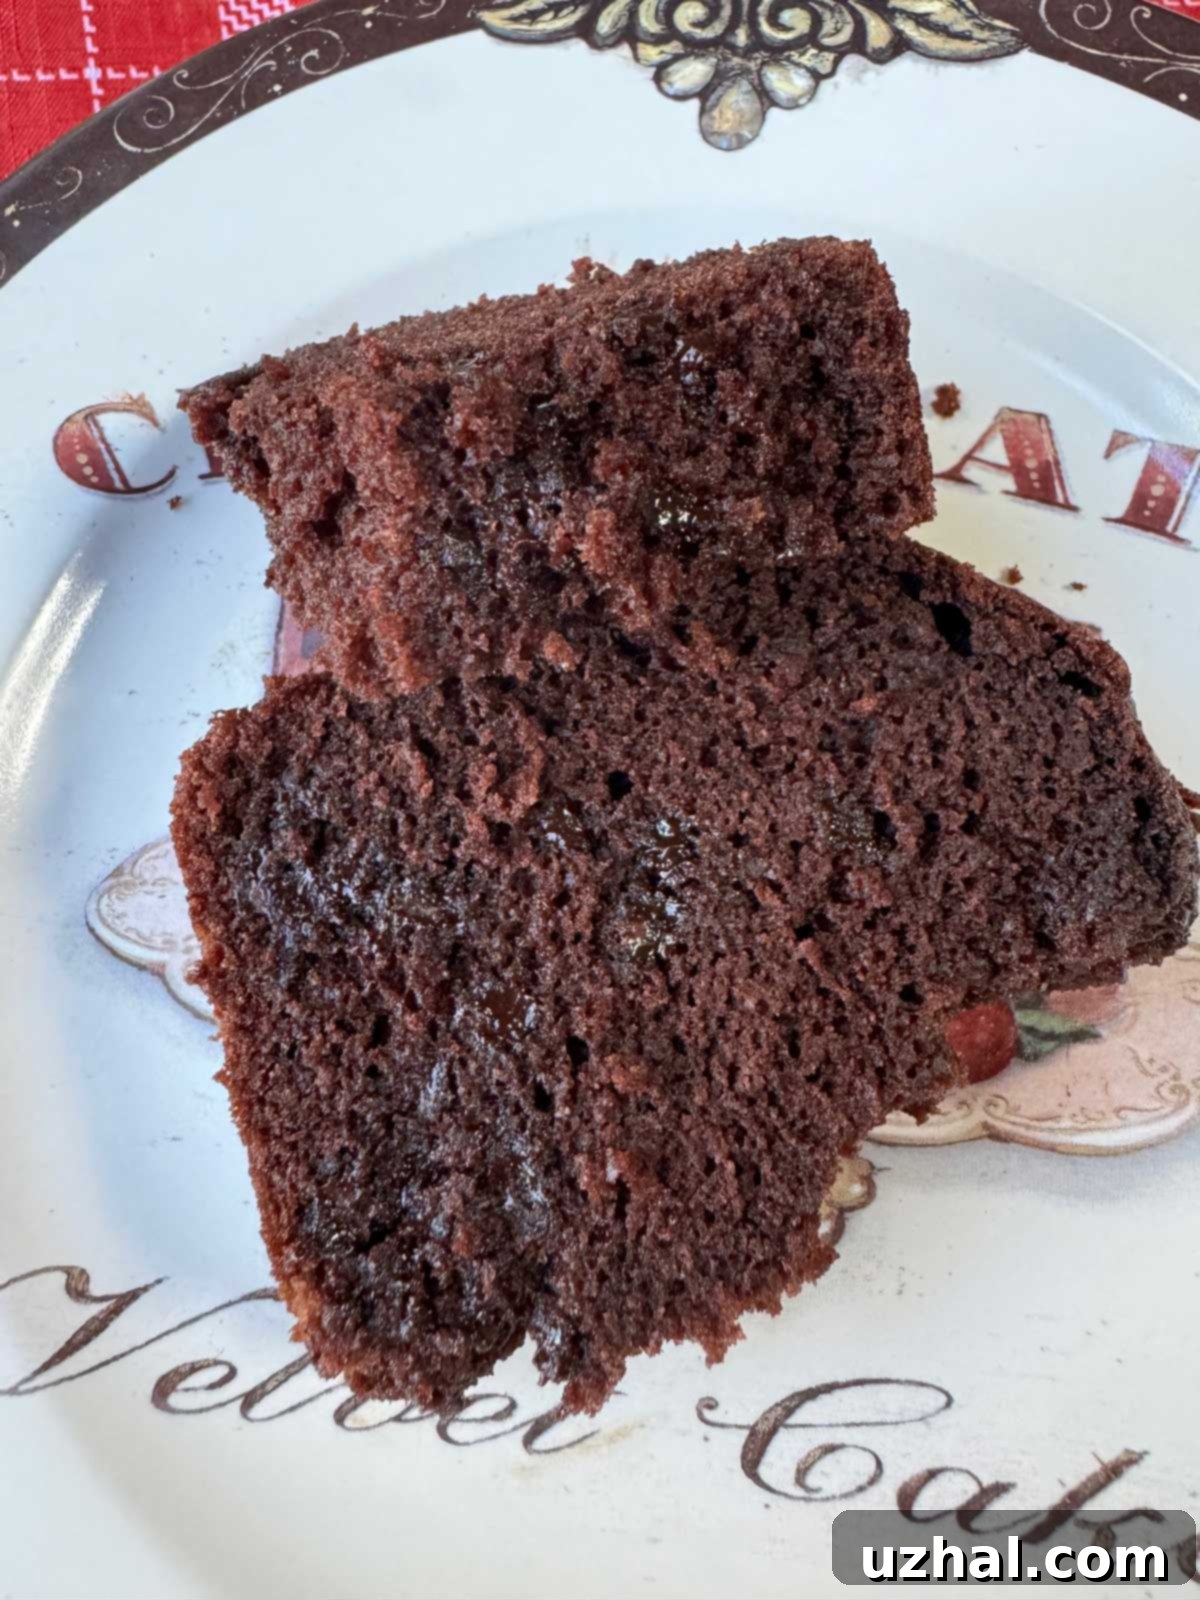
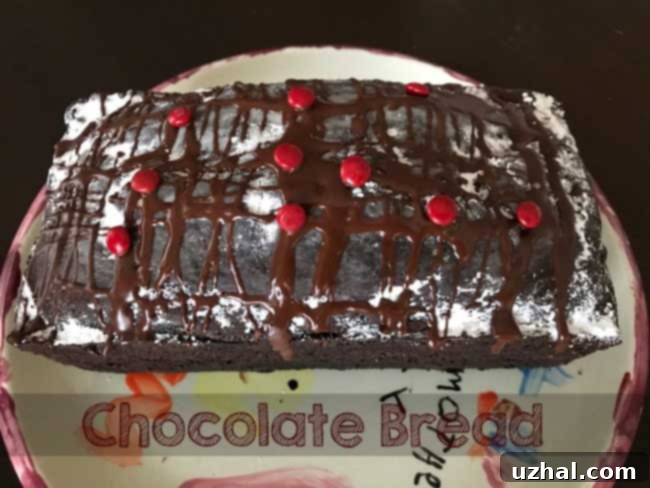
Often referred to as a “bread,” this Buttermilk Chocolate Loaf straddles the line between a traditional quick bread and a decadent chocolate cake. It shares the loaf-baked structure and slightly firmer crumb of quick breads, making it wonderfully sliceable. Yet, with its generous amount of cocoa and just the right touch of sweetness, it could easily pass for a sophisticated chocolate cake. This versatility is one of its greatest charms. Imagine serving a warm slice with a dollop of freshly whipped cream and a scattering of fresh berries – it transforms into an incredibly satisfying dessert, lighter than a dense pound cake but less sweet and overwhelming than a typical frosted layer cake. While older photos might show a glaze, we’ve found that the addition of mini chocolate chips directly into the batter often provides ample chocolatey goodness, making an extra glaze optional. Simple accompaniments like whipped cream and fresh fruit truly allow the rich chocolate and moist texture to shine.
Choosing Your Fat: Butter or Margarine in Quick Breads
Many classic recipes, including the original inspiration for this Buttermilk Chocolate Bread, frequently offered butter and margarine as interchangeable options. Decades ago, margarine, particularly those rich in trans-fats, was often favored for baking due to its consistent texture and ability to create flaky pastries or soft breads. However, the health implications of trans-fats led to significant changes in margarine formulations. Today, while most margarines are free of trans-fats, their composition can vary widely, especially concerning water content.
When baking quick breads, the fat content is crucial. Margarine blends that contain a high percentage of water (often found in softer, tub-style spreads) can negatively impact the final texture of your bread, making it dense or crumbly. For best results, if opting for margarine, look for brands like Smart Balance, Earth Balance, or “I Can’t Believe It’s Not Butter” that explicitly state at least 90 grams of fat per tablespoon. These higher-fat margarines perform much closer to butter in baking, often contributing to an exceptionally soft and tender crumb, sometimes even surpassing butter in this regard due to their specific oil blends. When using tub-style margarine, weighing it provides the most accurate measurement. If you prefer stick margarine, simply use one stick as you would butter.
Alternatively, butter remains a superb choice for this chocolate quick bread. Both salted and unsalted butter work well. If you choose unsalted butter, remember to slightly increase the salt in the recipe to about a rounded ½ teaspoon, or add an extra pinch, to ensure the flavors are perfectly balanced. The choice between butter and appropriate margarine often comes down to personal preference for flavor and dietary needs, but understanding their differing compositions is key to achieving a successful bake.
Buttermilk: Essential for Moisture & How to Substitute
Buttermilk is a star ingredient in this chocolate quick bread, contributing significantly to its signature moist texture and tender crumb. Its acidity reacts with the baking soda in the recipe, creating carbon dioxide bubbles that help the bread rise beautifully and evenly. This reaction also activates the cocoa’s flavor, resulting in a deeper, richer chocolate taste. If you don’t have fresh buttermilk on hand, there are excellent substitutes that work just as effectively.
One popular method for a quick homemade buttermilk substitute involves using regular milk that’s nearing its expiration date. Simply mix 1 tablespoon of white vinegar or lemon juice into 1 cup of whole milk (or any milk, though whole milk yields the richest result). Let it sit for 5-10 minutes until it visibly curdles. This creates an acidic liquid that mimics buttermilk’s properties. However, for sheer convenience and a perpetually stocked pantry, powdered buttermilk is an indispensable ingredient. To use powdered buttermilk, follow the package directions – typically, you’ll mix a certain number of tablespoons with your dry ingredients, then add 1 cup of water or even hot coffee in place of the liquid buttermilk. The coffee option is particularly brilliant for this chocolate bread, as the subtle coffee flavor enhances the richness of the chocolate without making the bread taste distinctly like coffee.
Having buttermilk, whether fresh, homemade, or powdered, is crucial for the optimal texture and flavor of this Buttermilk Chocolate Bread. Don’t skip this ingredient or its substitute, as it’s truly the secret to its success.
Understanding Loaf Pan Sizes: 9×5 Inch vs. 8 ½ by 4 ½
The humble loaf pan is central to many quick bread recipes, yet their “standard” sizes have subtly shifted over the years. For a long time, many American recipes simply called for a “standard” 9×5 inch (23×13 cm) loaf pan. Other older recipes might have specified two smaller 8×4 inch (20×10 cm) pans. However, in recent years, the most commonly available and often preferred “standard” size for single loaves seems to be the 8 ½ by 4 ½ inch (21.5×11.5 cm) pan. This slightly smaller dimension is ideal for our Buttermilk Chocolate Bread recipe.
Using an 8 ½ by 4 ½ inch loaf pan for this recipe yields a taller, more stately loaf with a beautiful dome, giving it a professional bakery-quality appearance. The slightly reduced volume compared to a 9×5 inch pan means the batter has more height to climb, resulting in that desirable rise. While a 9×5 inch pan can certainly be used, your loaf might appear a bit flatter, and the baking time might need a slight adjustment (potentially a few minutes less). If you only have an 8×4 inch pan, you might consider dividing the batter between two pans or filling it less and baking the rest in muffins, as overfilling can lead to overflow and an uneven bake. Always grease and flour your chosen pan thoroughly to ensure easy release of your delicious Buttermilk Chocolate Bread.
- Molasses Cookies With Baked On Frosting
- Margarine Box Chocolate Chip Cookies
- Margarine Snickerdoodles
- Chocolate Chip Cherry Bread
- Blueberry Sour Cream Loaf Cake
Recipe
Buttermilk Chocolate Bread
Anna
Pin Recipe
Ingredients
- 1 stick unsalted butter or high-fat margarine, softened** (114 grams)
- 1 cup granulated sugar (200 grams; for a deeper flavor, use a mix of white and light brown sugar)
- 2 large eggs (at room temperature)
- ½ teaspoon pure vanilla extract
- 1 ½ cups all-purpose flour (205 grams; for a softer crumb, use pastry flour)
- ½ cup unsweetened cocoa powder (Dutch-processed recommended for darker color and milder flavor)
- ½ tsp. fine sea salt (use a slightly rounded ½ tsp if using unsalted butter)
- ½ tsp. baking powder
- ½ tsp. baking soda
- ½ cup mini chocolate chips (optional, but highly recommended for bursts of chocolate flavor; chopped nuts can also be added)
- 1 cup buttermilk (at room temperature for best emulsification, or use a homemade substitute)
Optional Chocolate Honey Butter
- 1 stick salted butter, softened (114 grams)
- 2 tablespoons honey
- 2 Tbsp. chocolate syrup
Instructions
-
Preheat your oven to 350° F (175° C). Prepare an 8 ½ by 4 ½ inch (or 9×5 inch) loaf pan by thoroughly greasing it with butter or baking spray, then lightly flouring it. Tap out any excess flour. This step prevents sticking and helps achieve a beautiful crust.
-
In a large mixing bowl, using an electric mixer, cream together the softened butter (or margarine) and granulated sugar. Beat on medium-high speed until the mixture is light, fluffy, and pale in color, typically 2-3 minutes. This aeration is crucial for the bread’s texture.
-
Add the large eggs, one at a time, ensuring each egg is fully incorporated into the butter-sugar mixture before adding the next. Scrape down the sides of the bowl as needed. Once the eggs are fully mixed in, stir in the vanilla extract.
-
In a separate medium bowl, whisk together the all-purpose flour, cocoa powder, salt, baking powder, and baking soda. Whisk thoroughly for about 30 seconds to ensure all leavening agents and flavorings are evenly distributed. Then, gently fold in the mini chocolate chips (and/or chopped nuts) to coat them lightly with flour; this prevents them from sinking to the bottom of the loaf during baking.
-
With the mixer on low speed, gradually add the dry ingredients to the creamed mixture alternately with the room-temperature buttermilk, beginning and ending with the dry ingredients (e.g., dry, wet, dry, wet, dry). Mix until just blended and no streaks of flour remain. Be careful not to overmix, as this can lead to a tough bread.
-
Pour the batter evenly into the prepared loaf pan. Bake at 350° F (175° C) for 55-60 minutes. The loaf is done when a wooden toothpick or skewer inserted into the center comes out clean or with only a few moist crumbs attached. Avoid overbaking. Let the bread cool in the pan on a wire rack for 10 minutes before carefully inverting it onto the rack to cool completely.
Chocolate Honey Butter (Optional)
-
In a small mixing bowl, beat the softened salted butter until it’s light and fluffy. Add the honey and chocolate syrup, then continue mixing until all ingredients are well combined and smooth. Serve this delightful chocolate honey butter alongside slices of your warm Buttermilk Chocolate Bread for an extra layer of flavor. This recipe makes 1 loaf.
Notes
**Storage & Freezing**: Store any leftover Buttermilk Chocolate Bread in an airtight container at room temperature for up to 3-4 days to maintain its moisture. For longer storage, this bread freezes beautifully. Wrap the cooled loaf tightly in plastic wrap, then in aluminum foil, and freeze for up to 3 months. Thaw at room temperature before serving.
