Delicious & Healthy Homemade Energy Bars: An Adaptation of Flour Bakery’s Power Bars
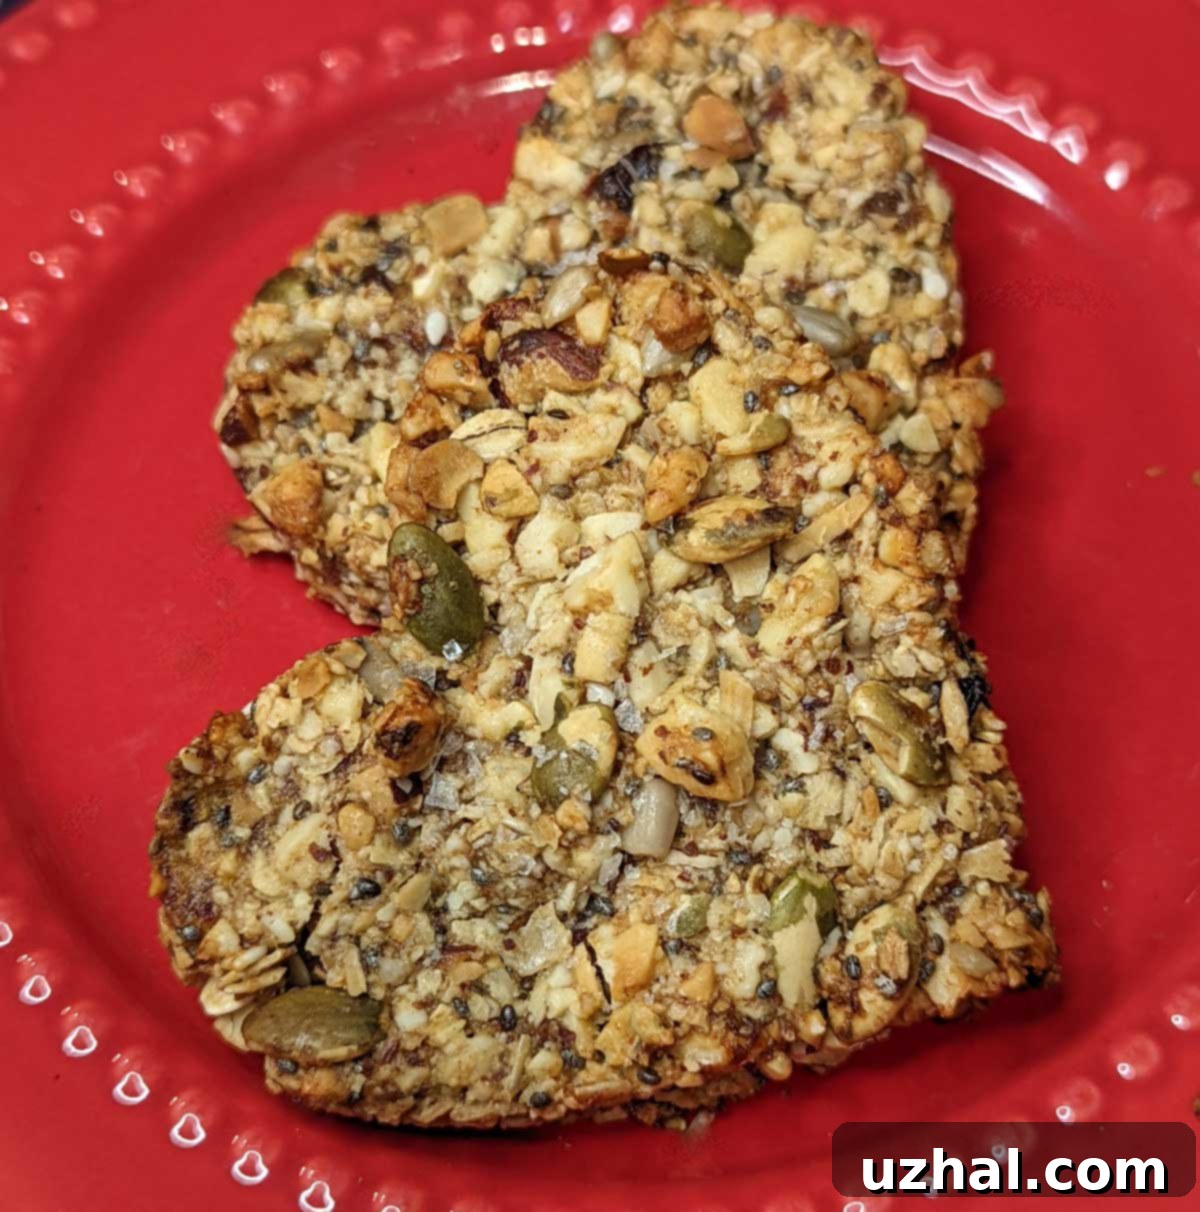
There’s a certain magic to a beloved bakery that transcends just delicious food – it’s an experience, a ritual. For my daughter, who resides near Boston, Flour Bakery holds that special place. While she’s certainly indulged in their exquisite croissants, her true culinary affection lies with their sandwiches. I recall her talking for days about a particular roasted broccoli sandwich, which is quite remarkable given her previous indifference towards sandwiches in general. This fascination with Flour Bakery, affectionately dubbed “Fuzz’s Flour fixation,” eventually led me down a delightful path: exploring Joanne Chang’s renowned cookbook, Pastry Love. Within its pages, I discovered the recipe for “Flour Power Bars,” which immediately inspired these homemade energy bars – a chewy, wholesome snack packed with goodness. This adaptation aims to capture the essence of those bakery-quality bars, made right in your kitchen.
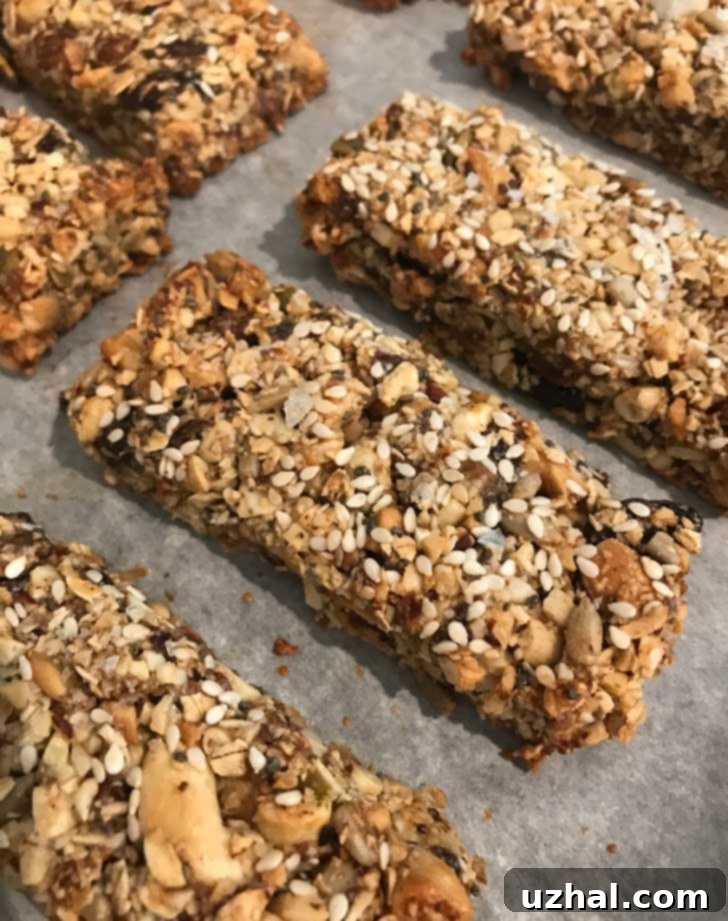
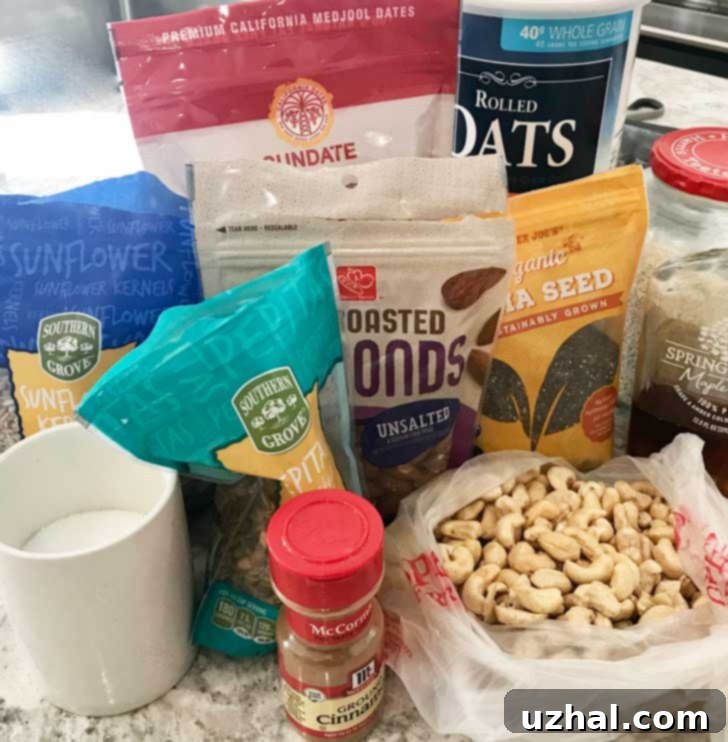
While I adore the original name, “Flour Power Bars,” I decided to give my version a new moniker: “Energy Bars.” This change felt appropriate not only because these bars are gluten-free but also because the name truly reflects their composition. They are bursting with an invigorating blend of nuts, wholesome dates, various seeds, and naturally sweetened with pure maple syrup. The convenience of finding most ingredients at my local Aldi was a pleasant surprise, making these healthy snacks accessible and budget-friendly. A quick trip to Sprouts was only necessary for the raw cashews, but many other staples were already waiting in my pantry, ready to be transformed into these delightful, nourishing treats. Crafting your own energy bars at home offers numerous benefits beyond cost savings. You gain complete control over the ingredients, allowing you to avoid artificial additives, excessive sugars, and unhealthy fats often found in store-bought alternatives. Moreover, the freshness and customization options make homemade energy bars an undeniable winner for any health-conscious individual or busy family.
The Art of Shaping: Loaf Pan vs. Square Pan for Perfect Energy Bars
One distinctive aspect of making these homemade energy bars, inspired by the Flour Power Bars recipe, lies in the shaping and preparation method. Unlike many baked goods that are cut after baking, these bars are typically molded into shape, sliced, and *then* baked. Or, as the original recipe allows, they can be enjoyed unbaked, offering a wonderfully chewy, no-bake snack option. My initial batch was prepared using the traditional loaf pan method, carefully pressing the mixture into an 8×4 inch loaf pan. This technique is excellent for creating uniform, thick rectangular bars that are easy to grab and go.
For my second attempt, I opted for an 8-inch square pan, which surprisingly yielded bars that seemed to hold together a bit more cohesively. This might be attributed to the slightly thinner profile when spread across a wider area, allowing for a more even compaction. It’s also worth noting that the type of dates used played a significant role in the bars’ structural integrity, a detail I observed when comparing the first batch made with pre-chopped baking dates to the second batch featuring richer, stickier Medjool dates. The Medjool dates provided superior binding, making the bars less crumbly regardless of the pan shape.
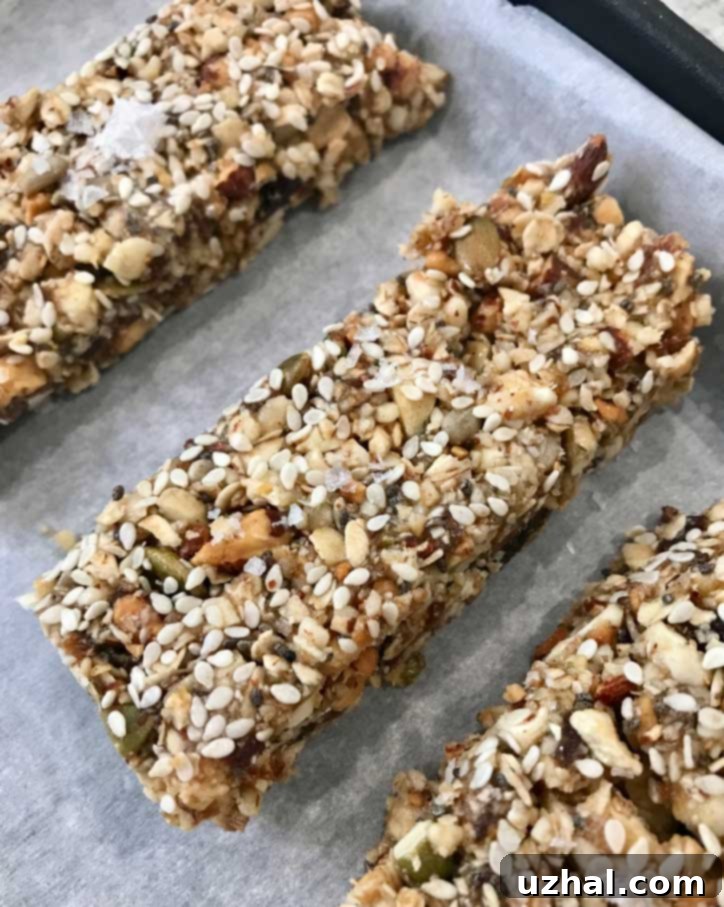
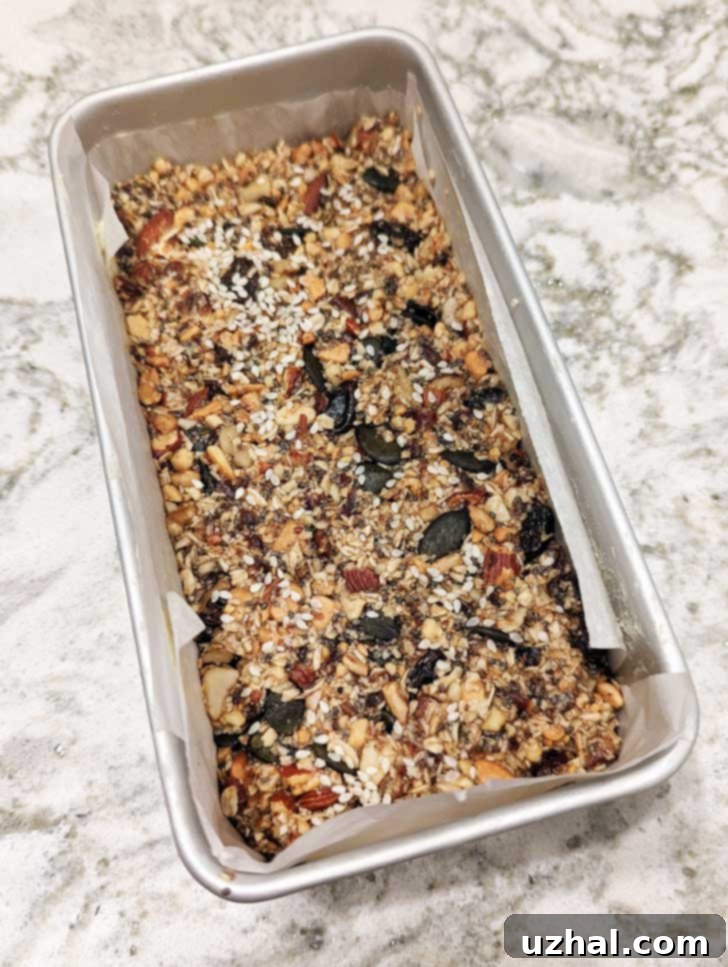
Regardless of the pan you choose, the key is to firmly press the mixture down to ensure a dense, uniform texture. This compaction helps the ingredients bind together effectively, especially during the crucial chilling phase. After chilling, the mixture becomes much easier to handle and slice cleanly without falling apart. The loaf pan method tends to yield rectangular bars, while the square pan offers more flexibility for cutting into squares, or even using fun cookie cutters for special occasions. Below, you can see a picture of these wholesome energy bars just before they enter the oven, showcasing their readiness for baking and their inviting texture.
Ingredient Deep Dive: Raw vs. Roasted Cashews in Energy Bars
The original “Pastry Love” recipe specifically calls for raw cashews, and for my second batch of energy bars, I made a point of acquiring them from Sprouts to follow the instructions precisely. However, my first batch, made with readily available lightly salted roasted cashews, worked remarkably well, leading me to question the absolute necessity of raw cashews for this particular recipe. It’s an interesting point of discussion, especially considering the common misunderstanding around “raw” cashews.
True raw cashews, straight from the cashew apple, contain a natural irritant called urushiol, the same toxin found in poison ivy. For safety, cashews labeled “raw” in stores have actually been steamed to remove this toxin, making them safe for consumption. Despite this processing, they retain a more neutral flavor compared to their roasted counterparts. While raw cashews are excellent for creamy applications like cashew milk or cashew cream due to their mild taste and softer texture when soaked, I found that their contribution to the flavor profile of these energy bars was negligible. The robust flavors of the dates, maple syrup, and other nuts tend to dominate. If anything, the roasted cashews, particularly lightly salted ones, offered a subtle depth and nutty aroma that enhanced the bars. When I next prepare these healthy power bars, I’ll likely opt for roasted, lightly salted cashews and simply adjust the added kosher salt to maintain a balanced flavor. This small substitution not only simplifies ingredient sourcing but also potentially elevates the taste without compromising the structural integrity or nutritional value of the bars. The slight crunch and enhanced nuttiness of roasted cashews can truly make a difference in the sensory experience of each bite.
The Sweet Dilemma: Chopped Baking Aisle Dates vs. Medjool Dates
When it comes to crafting the perfect chewy energy bar, the type of dates you choose can make a noticeable difference in both texture and overall binding. My initial foray into making these Flour Power Bars involved using pre-chopped dates, the kind commonly found in the baking or dried fruit aisle of most supermarkets. These are typically less expensive and readily available, often being a variety like Deglet Noor dates that have been processed and chopped. While they certainly worked, and the resulting bars were delicious, they tended to be a bit crumblier. They still held together enough to be eaten, but lacked that ideal stickiness for a truly cohesive bar, often requiring a bit more maple syrup to achieve adequate binding.
For my subsequent batch, I managed to find some reasonably priced Medjool dates, often referred to as the “king of dates” due to their large size, soft, fleshy texture, and rich, caramel-like sweetness. Using Medjool dates was a game-changer. Their natural moisture and inherent stickiness significantly improved the binding properties of the mixture, leading to bars that were much more cohesive and less prone to crumbling. This improved stickiness is due to their higher moisture content and softer fiber structure compared to drier, chopped dates. The natural sugars in Medjool dates also contribute a deeper, more complex sweetness. While the baking aisle dates are a perfectly acceptable, budget-friendly option, especially if you plan to bake the bars until well done, Medjool dates undeniably elevate the texture, providing that satisfying chewiness characteristic of premium energy bars. If you can find them within your budget, Medjool dates are highly recommended for optimal results in these homemade healthy snacks, ensuring a wonderfully satisfying and easy-to-handle bar.
Customizing Your Energy Bars: Tips for Flavor and Texture
These homemade energy bars are incredibly versatile, offering ample room for customization to suit your taste and dietary needs. The base recipe, as I’ve prepared it, is a fantastic starting point, but don’t hesitate to experiment! I personally love to throw in some pepitas (green pumpkin seeds) not only for their nutritional benefits but also for a vibrant pop of color and a subtle nutty crunch. Another delightful addition I discovered, not found in the original Flour Bakery recipe, is a sprinkle of sesame seeds on top before baking. They add a wonderful toasted flavor and an extra layer of texture that I highly recommend. It’s possible the bakery omits them due to common sesame allergies, but for those without, it’s a stellar enhancement that elevates the overall experience of these healthy power bars.
A key feature of this recipe is its vegan-friendly nature, relying solely on plant-based ingredients and maple syrup for sweetness and binding. This makes them suitable for a wide range of dietary preferences. If you don’t require the bars to be vegan, you have a few more options. A touch of honey, for instance, can be used instead of some maple syrup, introducing a different nuance of sweetness and stickiness. Honey is also an excellent natural binder. For those who are not avoiding eggs, a light brush of egg white over the unbaked bars can significantly enhance their “hold” and help them stay together more firmly, particularly if you’re planning to cut them into intricate shapes. Imagine serving these delicious, heart-shaped energy bars for Valentine’s Day – a missed opportunity for me this year, but definitely on the list for next, or any special occasion where a touch of charm is appreciated!
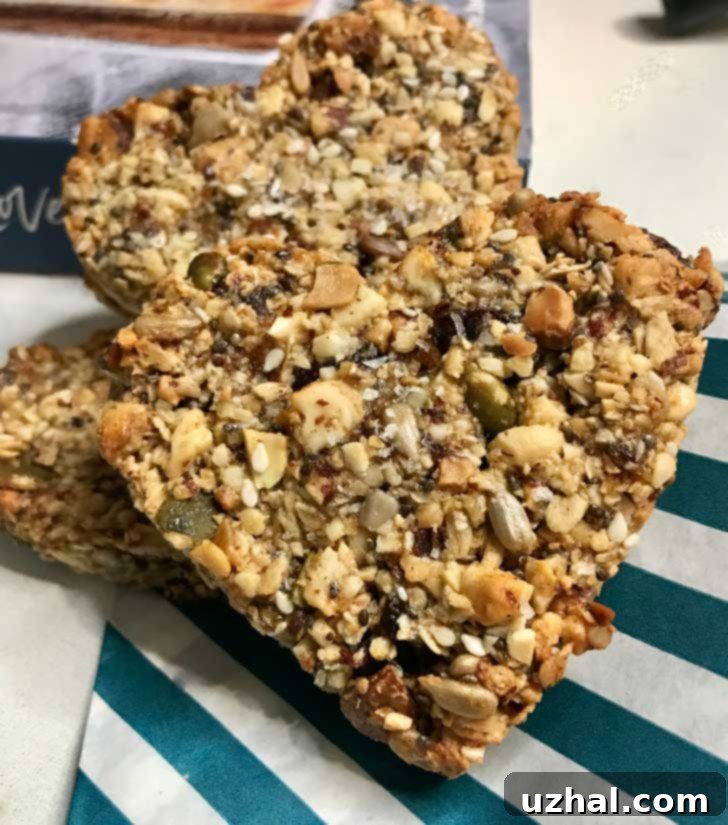
Beyond these suggestions, consider incorporating mini chocolate chips for a delightful treat, dried cranberries or blueberries for a tangy twist, or even a dash of ginger, cardamom, or nutmeg for an aromatic kick. Shredded coconut can add another layer of flavor and texture. The possibilities are endless, allowing you to truly make these healthy power bars your own, tailoring them to your family’s preferences or seasonal ingredients. It’s worth noting, however, that while these bars are incredibly delicious and nutritious, they are naturally high in FODMAPs due to the generous quantities of cashews and dates. This is an important consideration for individuals following a low-FODMAP diet, who might need to adjust ingredients or portion sizes. For most, though, these chewy energy bars are a wonderfully satisfying and energizing snack, perfect for breakfast on the go, a post-workout boost, or a wholesome treat any time of day. Enjoy the process of creating these delightful, customizable bars!
- Good Energy Maple Cookies
- Cookie Dough Truffles
- Raw Hemp Chocolate Chunk Blondies
- Joanne Chang’s Chocolate Chip Cookies
Recipe: Small Batch Gluten-Free Energy Bars
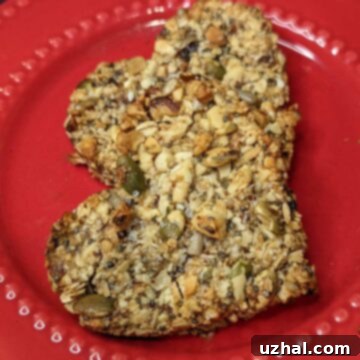
Small Batch Flour Power Bars (Gluten-Free Energy Bars)
Anna
Pin Recipe
Equipment
-
1 Food Processor
-
8×4 inch loaf pan or 8-inch square pan
Ingredients
For the Base Mixture:
- ⅔ cup roasted unsalted almonds, coarsely chopped (approx. 85 grams)
- ¼ cup roasted unsalted sunflower seeds & pepitas (pumpkin seeds) (approx. 40 grams total)
- 1 ¼ cups raw whole cashews (or lightly salted roasted cashews for a bolder flavor) (approx. 175 grams)
- ¾ cup old-fashioned rolled oats (gluten-free if needed) (approx. 75 grams)
- ½ cup pitted dates, preferably soft Medjool dates (approx. 6 large) (approx. 90 grams)
- ½ teaspoon kosher salt
- ⅛ teaspoon ground cinnamon
- 1 tablespoon chia seeds
- ⅓ cup raisins
For Binding & Optional Topping:
- 4-5 tablespoons pure maple syrup (approx. 80 to 100 grams, adjust for desired stickiness)
- 2 teaspoons sesame seeds (optional, for extra crunch and flavor)
Instructions
-
Prepare your pan: Line an 8×4 inch loaf pan with parchment or wax paper, ensuring there’s an overhang on the sides for easy removal. If you prefer wider, thinner bars, an 8-inch square pan can also be used.
-
Combine dry ingredients: In a large mixing bowl, combine the coarsely chopped almonds, sunflower seeds, and pepitas (if using).
-
Process main ingredients: In a food processor, combine the cashews, rolled oats, pitted dates, kosher salt, cinnamon, and chia seeds. Process until the mixture resembles a coarse meal and begins to clump together. Transfer this mixture to the large mixing bowl with the almonds and seeds, then add the raisins.
-
Add liquid sweetener: Pour in the initial ¼ cup (4 tablespoons) of maple syrup. Mix thoroughly, first with a spoon and then with your hands, to ensure all ingredients are well combined and the mixture is sticky enough to hold together when pressed. If it feels too dry or crumbly, add the additional tablespoon of maple syrup, one teaspoon at a time, until the desired consistency is achieved.
-
Press and chill: Transfer the entire mixture into the prepared loaf pan (or square pan). Using a spatula or your hands, press down very firmly and evenly to compact the mixture as much as possible. This step is crucial for cohesive bars. Cover the pan and chill in the refrigerator for at least 6 hours, or ideally overnight. Adequate chilling is essential for the bars to set properly and slice cleanly.
-
Preheat and prep for baking (optional): If you choose to bake your bars, preheat your oven to 350 degrees F (175 degrees C) and line a large baking sheet with parchment paper.
-
Slice the bars: Once chilled, remove the pan from the refrigerator. Use the parchment overhang to carefully lift the block of energy bar mixture out of the pan. Place it on a cutting board. Using a sharp knife, slice the mixture into bars, approximately half an inch to three-quarters of an inch thick. If using an 8-inch square pan, you can cut them into squares or rectangles as preferred. If desired, sprinkle the tops with sesame seeds now.
-
Bake (optional): Arrange the sliced bars on the prepared baking tray, leaving a little space between them. Bake for about 13-15 minutes, or until the edges are lightly golden brown and the bars feel slightly firm. Baking enhances their flavor and provides a satisfyingly chewy texture.
-
Enjoy: Let the bars cool completely on the baking sheet (if baked) or simply serve directly if you prefer them raw. These delicious homemade energy bars can be stored in an airtight container at room temperature for a few days or in the refrigerator for up to two weeks.
Notes
