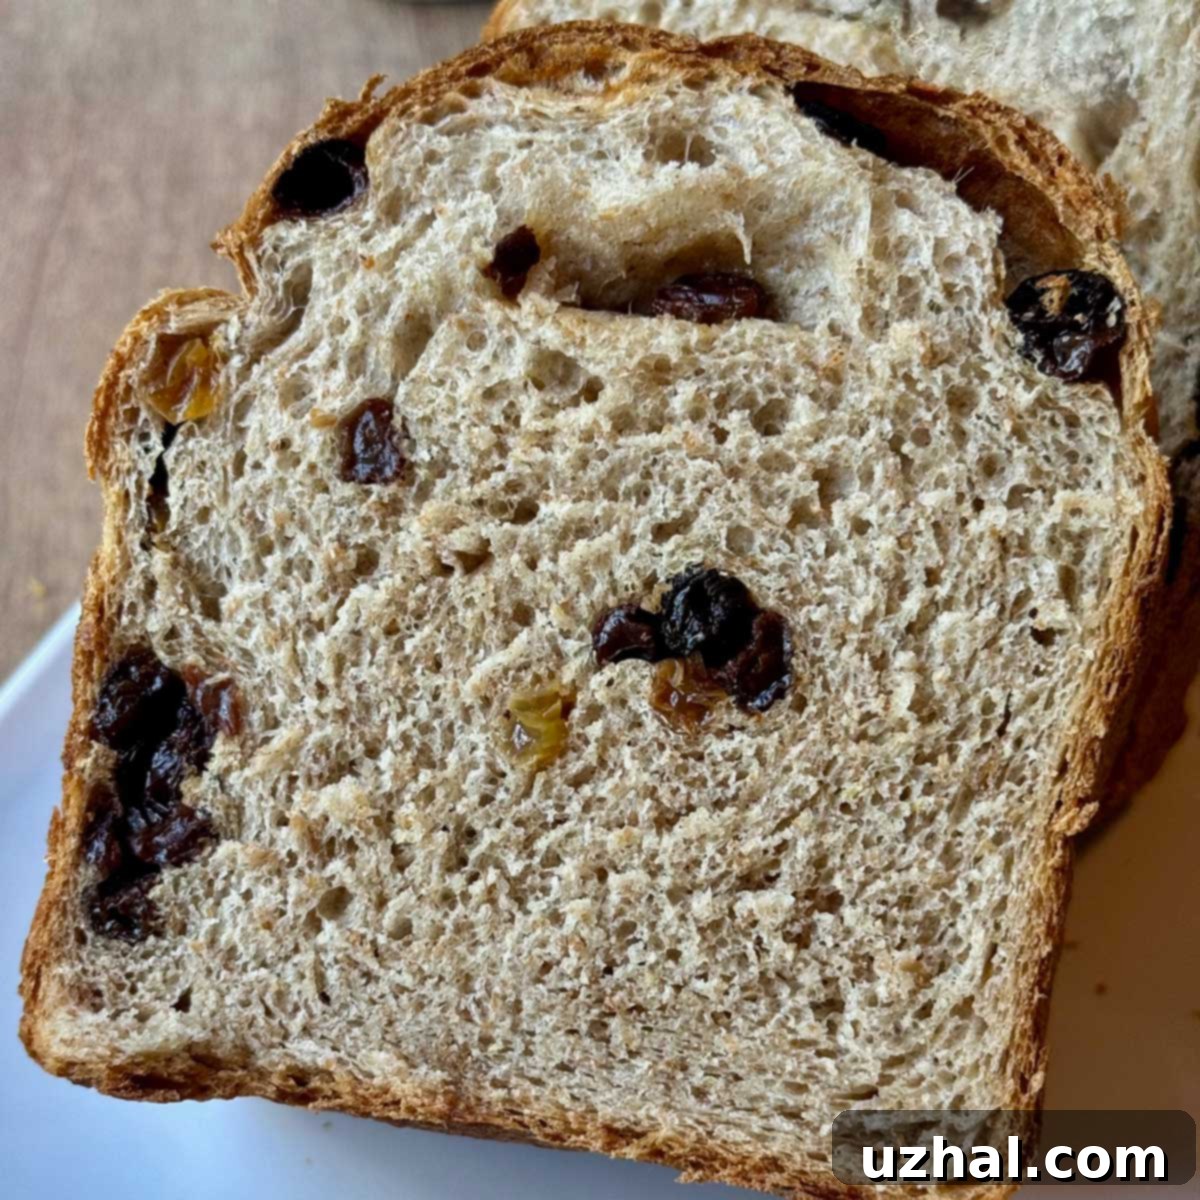
The Ultimate Homemade Raisin Bread: Soft, Wholesome & Perfect for Toasting
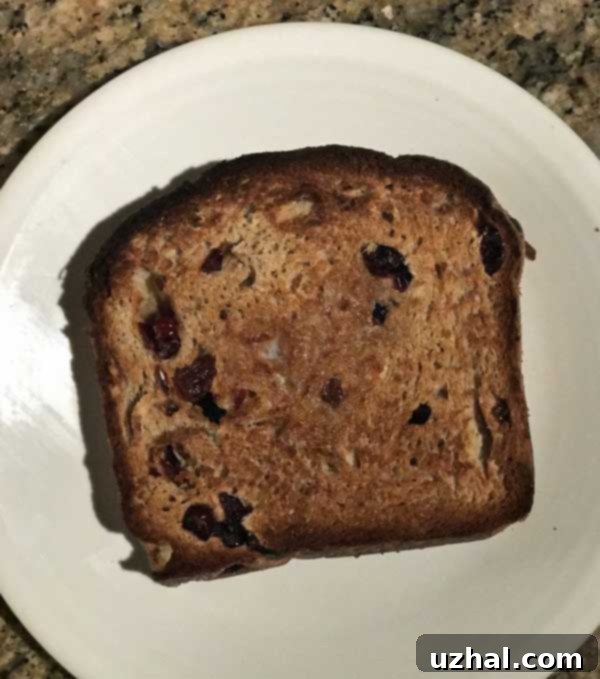
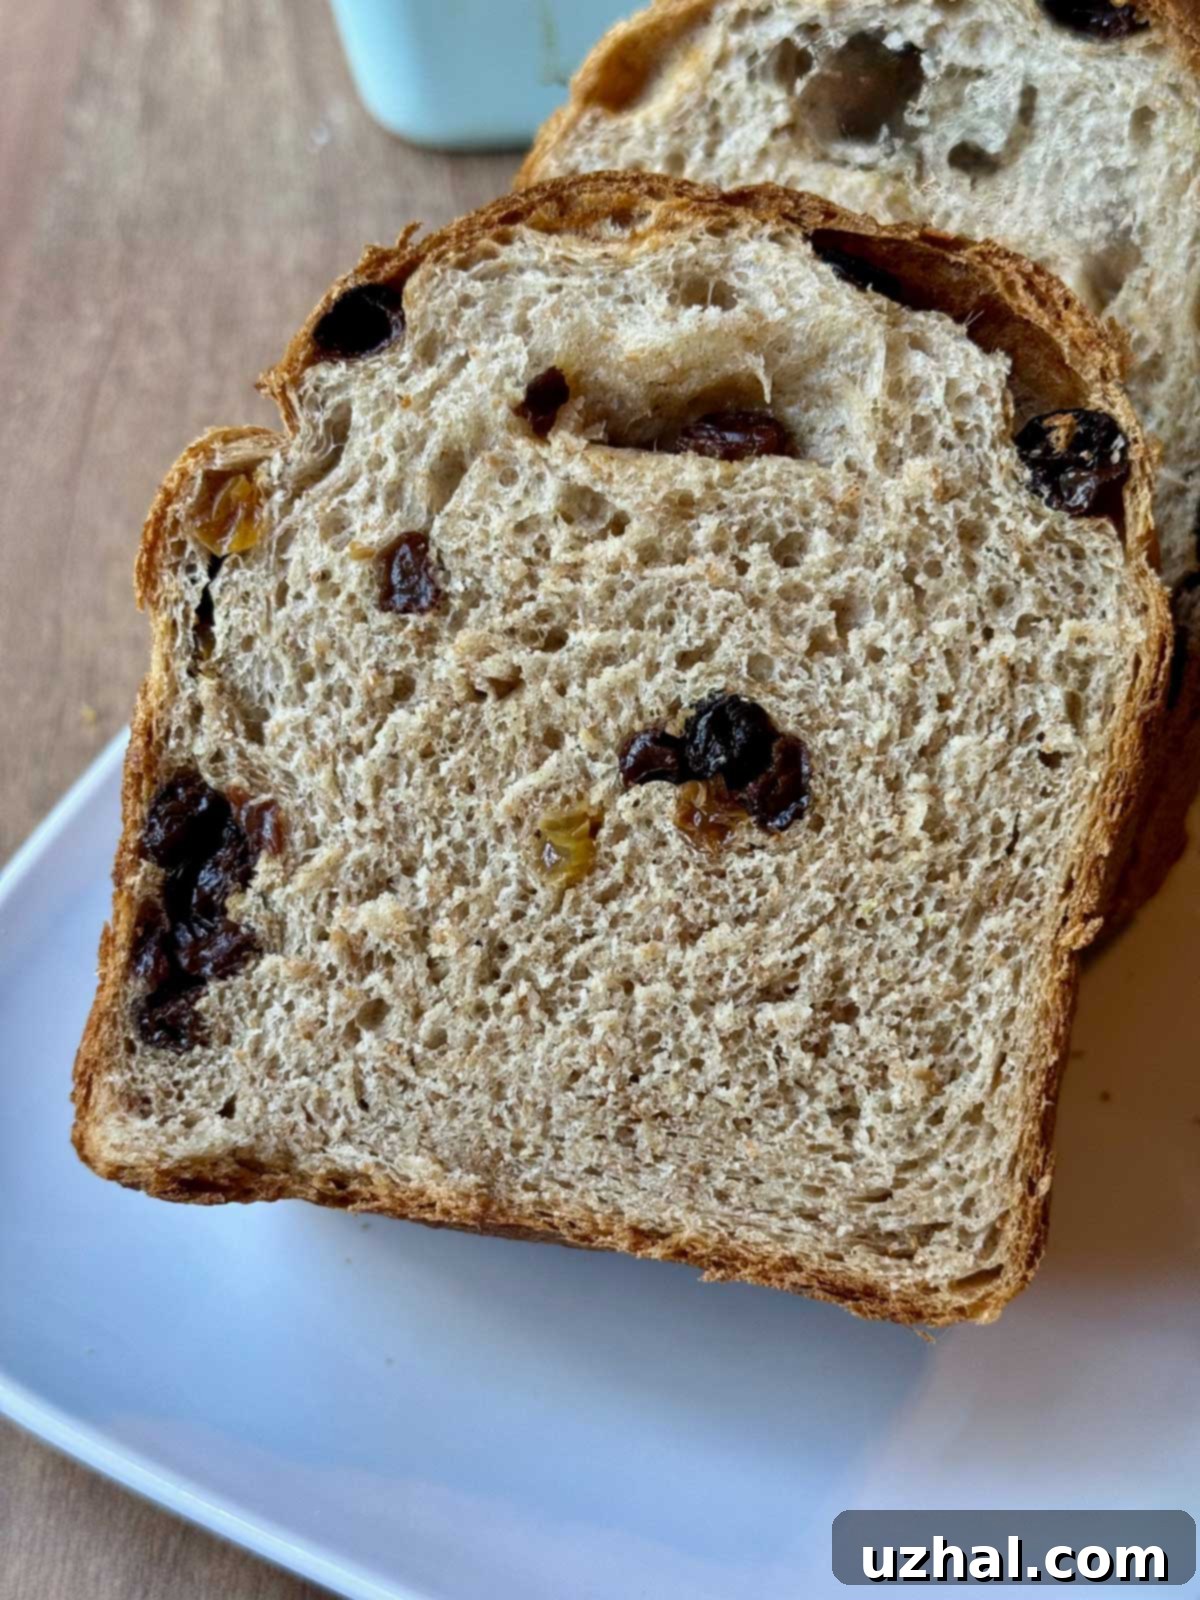
There’s a special joy in baking homemade bread, and this delightful raisin bread recipe captures that feeling perfectly. While I often find myself craving richly spiced, buttery cinnamon swirl loaves, sometimes the simple elegance of a cinnamon swirl bread is just too much for a daily staple. That’s when this basic raisin bread steps in. It’s crafted to be just sweet enough to enjoy on its own, yet robust and versatile enough to pair wonderfully with your favorite spreads like peanut butter or almond butter. Imagine a slice of this wholesome loaf, lightly toasted, the raisins plump and juicy, offering a subtle sweetness that never overwhelms. And for those who adore cinnamon toast, this recipe gives you a delightful double dose, as cinnamon is incorporated directly into the dough for an extra layer of flavor. It’s truly a comforting classic, designed for everyday enjoyment and the purest breakfast bliss.
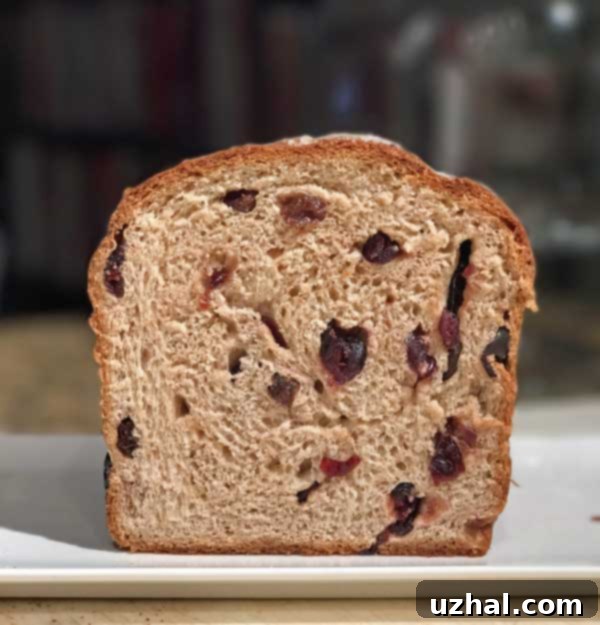
Effortless Baking with Instant Yeast: Your Go-To Raisin Bread
This easy raisin bread recipe is specifically designed for convenience, utilizing quick-rise (instant) yeast. For many home bakers, instant yeast is a game-changer, eliminating the need for separate proofing. You can simply combine the yeast directly with your dry ingredients, streamlining the bread-making process and making it perfect for those busy mornings or when you’re looking for a satisfying bake without the extra steps. This approach saves valuable time without compromising on the quality or flavor of the final loaf.
Beyond its simple preparation, this homemade raisin bread boasts a lean and sturdy texture. We use a relatively small amount of butter, which contributes to its wholesome crumb, making it less rich than highly enriched brioche-style breads. This lean quality means the bread holds up beautifully to toasting and various toppings, offering a satisfying chewiness that’s distinct from lighter, softer loaves. While we also adore a more decadent cinnamon swirl bread, the goal here is a reliable, hearty bread that provides sustained satisfaction. It’s the kind of bread that feels genuinely nourishing, with a comforting density that makes each slice substantial and delicious.
Choosing Your Flour: Bread Flour, Whole Wheat, and Custom Blends
The choice of flour is fundamental to the texture and flavor of your homemade raisin bread. My preferred method for this recipe involves a blend of whole wheat flour and bread flour. Bread flour, with its higher protein content, is excellent for developing strong gluten, which gives the bread its characteristic chewiness and structure. When combined with whole wheat flour, it balances the wholesome, earthy flavor and added nutritional benefits of whole grains with the desirable texture of a classic loaf. Whole wheat flour contributes fiber, vitamins, and a more complex taste profile, making the bread heartier and more satisfying.
However, the beauty of this recipe lies in its adaptability. You don’t have to stick to a precise blend. Feel free to use whatever flour you have on hand, as long as the total weight is approximately 11.5 oz (325 grams). This flexibility means you can experiment with different ratios or even use 100% all-purpose flour for a softer crumb, or a higher percentage of whole wheat for a denser, more rustic loaf. If you opt for all-purpose flour, your bread will likely be a bit lighter and softer. For a truly robust flavor and added nutrition, you might lean towards more whole wheat. The key is to maintain the correct overall flour weight for the best results, allowing you to tailor the bread to your personal preference and pantry availability. This adaptability ensures that everyone can enjoy this delicious versatile raisin loaf.
Addressing a Common Baking Myth: Does Cinnamon Really Inhibit Yeast?
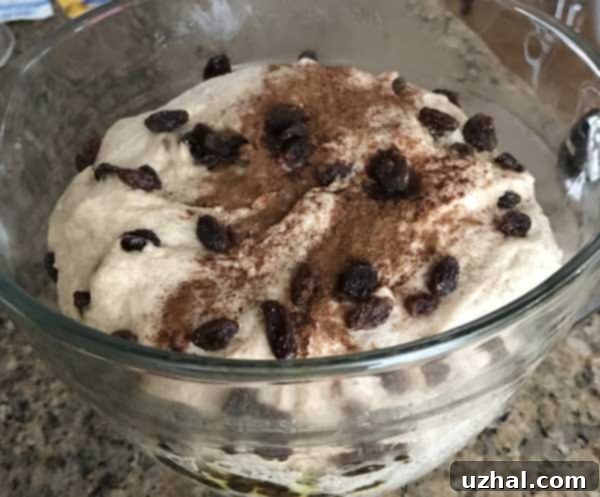
For a long time, there was a widespread belief among home bakers that cinnamon could inhibit yeast activity, potentially leading to a poor rise in bread. I, too, was initially cautious and used to add cinnamon after the first rise to “play it safe.” However, a little research reveals that this common baking myth isn’t entirely accurate when it comes to typical home baking quantities. In fact, the science suggests quite the opposite for small amounts of cinnamon!
Shirley Corriher, in her acclaimed book “Cookwise,” delves into this topic. She consulted Elmer Cooper, a chemist at Red Star Yeast at the time, about how various herbs and spices affect yeast. Cooper referred her to an article in “Cereal Chemistry” titled “The Effect of Spices on Yeast Fermentation.” The findings are fascinating: small amounts of certain spices, including ginger, cardamom, mace, nutmeg, thyme, and yes, cinnamon, can actually *increase* yeast activity. The crucial phrase here is “small amounts.” When used in larger quantities, the effect can vary, with some spices continuing to enhance activity while others may indeed start to inhibit yeast.
Let’s focus specifically on cinnamon, as it’s a star ingredient in our cinnamon raisin bread. Research indicates that cinnamon improves yeast activity when its weight is between 5% and 10% of the yeast’s weight. Even slightly above this range, you can still see some enhancement. Inhibition typically begins when the cinnamon’s weight is approximately 100% (equal to) the yeast’s weight. To put this into practical terms for our recipe: a standard packet of quick-rise yeast weighs around 7 grams. Half a teaspoon of ground cinnamon weighs approximately 1.4 grams, which is only about 17% of the yeast’s weight. This amount is well within the range that is perfectly fine and may even give your bread a little boost in its rise!
For context, yeast inhibition would only become a concern if you were adding around 1 tablespoon of cinnamon or more to a single loaf. Realistically, that much cinnamon would overpower the flavor of the bread anyway, making it unpalatable. Therefore, you can confidently stir the ½ teaspoon of cinnamon directly into your dry ingredients along with the yeast without any worry. I’ve personally stopped adding cinnamon on the second rise and haven’t noticed any negative impact on the dough’s proofing or the final loaf’s texture. So, go ahead and enjoy that warm, inviting cinnamon flavor from the start!
Preparing and Incorporating Raisins for the Perfect Loaf
For the juiciest, most tender raisins in your bread, a simple step called “plumping” can make all the difference. While optional, I highly recommend it, especially if your raisins seem particularly dry. To plump them, simply place your raisins (or dried cranberries, if you’re using those instead) in a heatproof bowl and pour boiling water over them. Let them sit and rehydrate while you prepare your dough. This process softens the fruit, preventing it from drawing moisture out of your bread dough during baking, which can sometimes lead to a drier crumb around the raisins. Once plumped, be sure to drain them thoroughly and pat them very dry with a clean kitchen towel or paper towels before adding them to the dough. Excess moisture could affect the dough’s consistency.
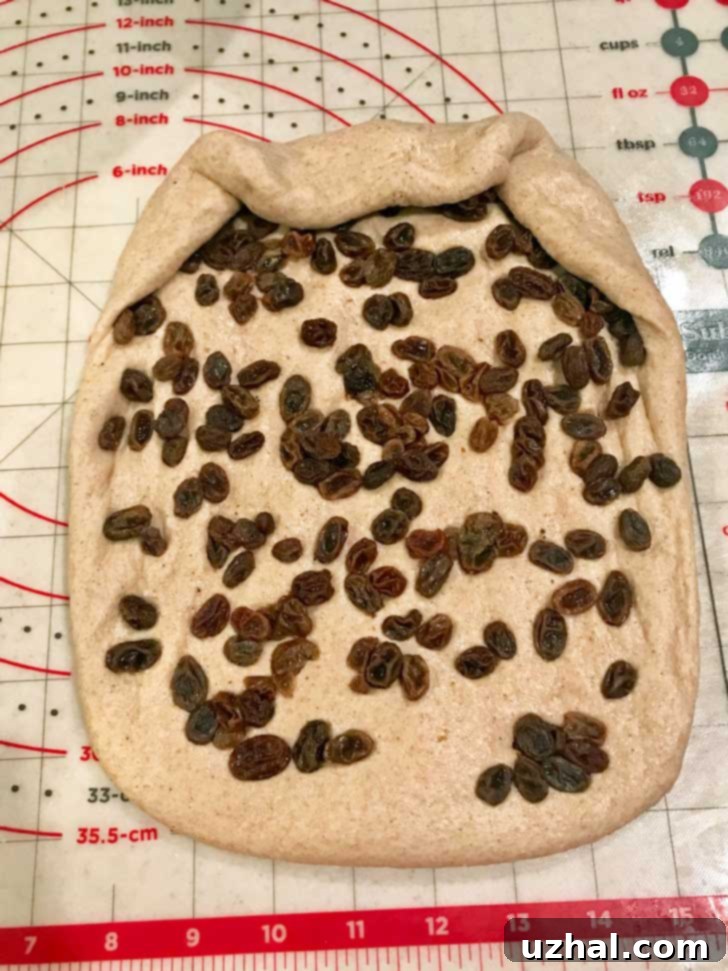
Incorporating the raisins correctly is key to ensuring they are evenly distributed throughout your loaf, rather than clumping together in one section. My method for this is to add them after the first rise, when the dough is relaxed and easy to handle. Instead of just stirring them in, which can be less effective, I gently press the dough into a rectangular shape on a lightly floured surface. Then, I scatter the plumped and dried raisins evenly over the entire surface of the rectangle. To secure them, I press them down lightly into the dough.
Once the raisins are distributed, it’s time to shape the loaf. Start by folding the top corners of the rectangle down just slightly, then begin rolling the dough downward from the top edge, forming a cylinder. As you roll, gently press out any air pockets along the way. This rolling technique helps to coil the raisins throughout the dough, ensuring every slice gets a good distribution. After you have a cylinder, give it a gentle bounce and lightly knead or “squish” it a few times to further remove air bubbles and refine its shape. Work it just enough so that it forms a smooth, even loaf that will fit snugly into your prepared loaf pan. This careful technique results in a beautifully uniform perfect raisin bread loaf.
Choosing the Right Loaf Pan for Your Raisin Bread
The type of loaf pan you use can subtly influence the shape and crust of your homemade raisin bread. Over the years, I’ve baked this recipe in various pans, each yielding excellent results. The most common sizes are 8.5 x 4.5 inches or 9 x 5 inches. A standard 9×5 inch loaf pan will give you a slightly wider and potentially shorter loaf compared to an 8.5×4.5 inch pan, which often results in a taller, more traditional-looking slice. Both work beautifully, so use whichever standard pan you have readily available.
For my latest batch, I experimented with a Pullman loaf pan. While Pullman pans are traditionally used with a lid to create perfectly square slices for sandwiches, I used it without the lid, specifically appreciating its high, straight sides. These straight sides encourage the dough to rise vertically, resulting in a loaf with a very uniform shape and beautifully straight slices, which can be particularly appealing for presentation or for making consistent toast. The Pullman pan worked very nicely, producing a tall and elegant loaf. However, it’s important to note that the final result wasn’t necessarily “better” than what I achieve with a good quality standard loaf pan; it was just a different aesthetic. Ultimately, the most important thing is to use a pan that is thoroughly greased to prevent sticking, ensuring your delicious homemade raisin bread slides out easily after cooling.
- Small Batch Vegan Molasses Cookies
- Chocolate Yeast Bread
- Luby’s Cloverleaf Rolls
- Quick Soft Breadsticks
- Weight Issues: Why Get a Kitchen Scale
Recipe
Basic Raisin Bread or Cranberry Bread
Anna
Pin Recipe
Ingredients
- ½ cup warm water
- ½ cup warm milk
- 2 ½ cups all-purpose or bread flour (or 325 grams of a mixture of whole wheat and white flour)** (approx. 325 grams total)
- 1 packet quick rising yeast (about 7 grams)
- 1 ½ to 2 tablespoons sugar (I typically use 2 tablespoons for a slightly sweeter loaf)
- ¾ teaspoon salt (Morton brand) (If using Diamond Crystal Kosher Salt, use a slightly heaped teaspoon)
- ½ teaspoon ground cinnamon
- 1 ½ tablespoons melted unsalted butter
- ½ teaspoon vanilla extract (optional, but adds a lovely aroma)
- ¼ teaspoon orange zest (another optional ingredient for a brighter flavor)
- ½ cup raisins or dried cranberries (feel free to increase to ¾ or 1 cup for more fruit!)
Instructions
-
In a small saucepan, combine the milk and water. Heat gently until the mixture begins to simmer, then immediately remove from heat. Insert a thermometer and allow the liquid to cool to a temperature between 120°F and 130°F (49°C-54°C). This temperature is crucial for activating the yeast without killing it.
-
In the bowl of a stand mixer, combine the flours (your chosen blend), instant yeast, sugar, salt, and cinnamon. Whisk these dry ingredients together thoroughly to ensure even distribution.
-
Add the warm milk/water mixture, melted butter, and optional vanilla extract and/or orange zest to the dry ingredients. Mix with a spoon or spatula until a shaggy dough forms. Attach the dough hook and knead on medium-low speed for 5-7 minutes, or until the dough is smooth, elastic, and pulls away cleanly from the sides of the bowl.
-
Lightly grease a large bowl with a little oil. Transfer the dough to the greased bowl, turning once to coat. Cover the bowl tightly with plastic wrap or a clean kitchen towel and allow the dough to rise in a warm place for about 1 to 1.5 hours, or until it has doubled in size.
-
Once risen, gently punch the dough down to release the air. Transfer the dough to a lightly floured surface and shape it into a neat rectangle. If you plumped your raisins, drain them well and pat them completely dry. Scatter the raisins evenly over the surface of the dough rectangle, pressing them down gently. Fold the top corners of the rectangle slightly inward, then begin rolling the dough tightly from the top downward into a cylinder. As you roll, press out any air bubbles. Gently squish and knead the cylinder a few times, shaping it carefully so it forms an even loaf that fits your chosen pan.
-
Lightly grease your loaf pan (an 8 ½ x 4 ½ inch, 9 x 5 inch, or Pullman pan works well). Place the shaped loaf seam-side down into the prepared pan. Cover the pan loosely with greased plastic wrap or a clean kitchen towel and let the dough rise again in a warm place for about 45-60 minutes, or until it has nearly doubled in size and looks puffy.
-
Preheat your oven to 375°F (190°C) about 15-20 minutes before the second rise is complete. Bake the bread in the preheated oven for approximately 45 minutes, or until the crust is golden brown and the internal temperature reaches 200-210°F (93-99°C). If the top browns too quickly, you can loosely tent it with foil. Let the loaf cool in the pan for about 10 to 15 minutes before carefully removing it and transferring it to a wire rack to cool completely. Slicing too early can result in a gummy texture.
Notes
