Easy Homemade Peanut Butter Cups: Your Guide to Perfect Chocolatey Treats
There’s an undeniable magic in the classic combination of chocolate and peanut butter. For years, my heart belonged to Chocolate Peanut Butter Buckeyes – those delightful, melt-in-your-mouth confections. However, my Buckeye-making journey was often fraught with challenges. My preferred filling, which strikes the perfect balance of sweetness without being cloying, tends to be quite soft. Couple that with my general impatience when it comes to dipping delicate things in melted chocolate, and the result was often a batch of delicious but undeniably misshapen treats.
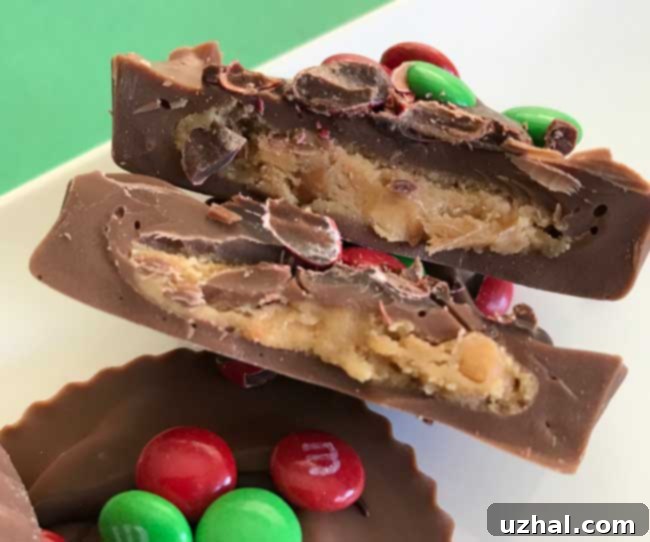
One day, after a particularly frustrating attempt where my Buckeyes resembled abstract art more than perfectly formed spheres, I had an idea. What if I adapted the beloved Buckeye recipe into a homemade peanut butter cup? It was an experiment born out of necessity, a quest for a neater, perhaps even more satisfying, outcome. The verdict? A resounding success! Transforming the recipe into easy homemade peanut butter cups proved to be a game-changer. Not only did they look more appealing, but they also delivered a higher, more satisfying ratio of chocolate to peanut butter, which, I discovered, I actually preferred. While my affection for traditional Buckeyes remains, there’s certainly room in my dessert repertoire for both these delectable creations. This guide will walk you through crafting your own perfect chocolate peanut butter cups, ensuring a smooth, delightful experience from start to finish.
Why Homemade Peanut Butter Cups Are a Must-Try
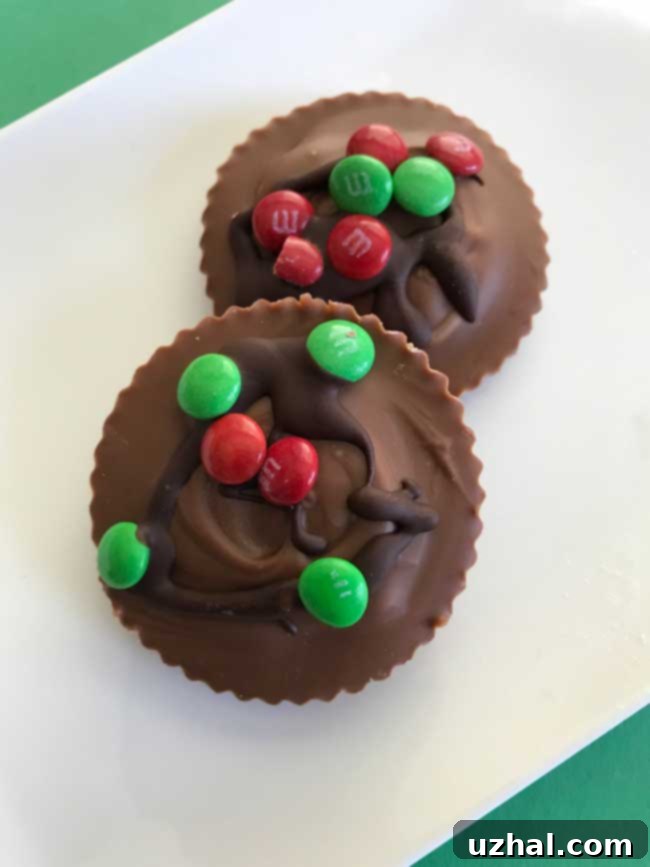
Beyond the simple joy of baking, there are several compelling reasons to embrace the world of DIY peanut butter cups. Firstly, control over ingredients is paramount. You choose the quality of your chocolate, the type of peanut butter, and can adjust the sweetness to your exact preference. No artificial flavors or preservatives here – just pure, unadulterated deliciousness. Secondly, the aesthetic appeal of homemade peanut butter cups is a huge draw. Unlike Buckeyes, which require a certain level of finesse in dipping, cups are inherently tidier. The layered structure ensures a clean, uniform look every time, making them perfect for gifting or serving at gatherings.
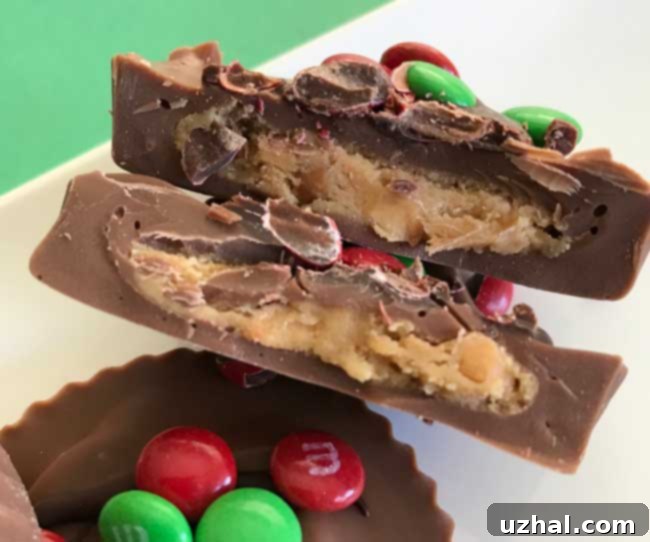
Another significant advantage is the customizable chocolate-to-peanut-butter ratio. If you’re like me and love a generous layer of rich chocolate encasing a luscious peanut butter center, these homemade treats allow you to achieve just that. You can make the peanut butter filling rounds as thick or as thin as you desire, influencing the final balance of flavors. A thicker filling will yield fewer cups, but each will be a substantial, peanut butter-forward delight. The flexibility of this recipe truly sets it apart, allowing you to tailor each batch to your specific cravings or dietary considerations.
Crafting the Perfect Peanut Butter Filling: Tips and Tricks
The heart of any great peanut butter cup lies in its filling, and getting the consistency right is crucial for a successful outcome. My experience has taught me a valuable lesson about peanut butter types. I often use “natural” varieties like Natural Jif or Natural Skippy, which are sweetened but have the characteristic oil separation and don’t require pre-stirring. While convenient, these tend to produce a slightly softer peanut butter mixture for the filling. If you opt for “regular” peanut butter – think classic Jif, Skippy, or your favorite store brand, which are typically hydrogenated and thicker – you might find the mixture firmer and require less powdered sugar.
To account for these variations and ensure your peanut butter filling is always perfect, I’ve adjusted the method for adding powdered sugar. Instead of incorporating it all at once, start with about half a cup and gradually add more as needed. The goal is a dough that’s soft and pliable, easy to scoop, but firm enough to hold its shape once chilled. It shouldn’t be overly sticky or crumbly. This gradual addition technique allows you to achieve the ideal texture, regardless of the peanut butter you use. Remember, a perfectly balanced and textured filling is the secret to these delicious homemade chocolate treats.
Essential Ingredients and Preparation
Before diving into the recipe, let’s talk about the key components that elevate these homemade peanut butter cups from good to extraordinary. Beyond the peanut butter, your choice of chocolate is paramount. High-quality chocolate makes a noticeable difference in flavor and texture. Brands like Cadbury Dairy Milk for a creamy milk chocolate, Lindt for a smooth indulgence, or Ghirardelli bittersweet chips for a more intense cocoa experience are excellent choices. Combining different types, such as milk and semisweet, can create a beautifully nuanced flavor profile. Avoid using standard chocolate chips for the coating if possible, as they contain stabilizers that prevent them from melting as smoothly as chopped bar chocolate. If you must use chips, a small amount of coconut oil or shortening can help achieve a silkier consistency, as noted in the recipe.
The white chips and butter in the peanut butter filling contribute to its luxurious texture and flavor. The white chips melt into the peanut butter, adding a subtle creaminess and sweetness that perfectly complements the nutty flavor. Vanilla extract is not to be overlooked; it enhances the overall aroma and taste, adding a hint of warmth. Lastly, powdered sugar not only sweetens the filling but also helps bind it together, giving it that classic, melt-in-your-mouth texture. Ensuring you have these ingredients on hand, along with a microwave-safe bowl, muffin tins, and paper liners, will set you up for success in creating the best homemade chocolate peanut butter cups.
Beyond the Recipe: Customization and Storage
One of the joys of making your own peanut butter cups is the endless possibility for customization. Don’t limit yourself to just one type of chocolate! Experiment with all milk chocolate for a sweeter, creamier treat, or go entirely dark for a richer, more sophisticated flavor. A combination of milk and dark chocolate offers the best of both worlds. For an extra touch of decadence, consider using a high-quality white chocolate drizzle over the finished cups, perhaps with a sprinkle of sea salt to enhance the flavors. Sprinkles, mini M&Ms, or even a dusting of cocoa powder can add visual appeal and a fun texture. Think about adding a pinch of chili powder for a spicy kick, or finely chopped pretzels for a salty crunch – the possibilities are truly endless for these DIY peanut butter cups.
For convenience, you can prepare the peanut butter filling rounds in advance. I often make a large batch, shape them into rounds, and then store them in a zipper bag in the refrigerator. This way, when a craving strikes, I can assemble a few fresh peanut butter cups at a time without having to go through the entire process. This method ensures you always have a delightful homemade treat ready. Once assembled, store your peanut butter cups in an airtight container in the refrigerator for up to two weeks, or in the freezer for even longer. They taste best when allowed to come to room temperature for a few minutes before serving, allowing the chocolate to soften slightly and the peanut butter filling to become wonderfully creamy. This makes them a perfect make-ahead dessert for any occasion.
Ready to embark on your homemade peanut butter cup adventure? Let’s get to the detailed recipe!
- Peanut Butter Buckeyes
- Chocolate Buckeye Cookies
- Hungry Jack Potato Flake Buckeyes
- Extreme Fudgy Peanut Butter Brownies
- Peanut Butter Pretzel Buckeyes
Recipe
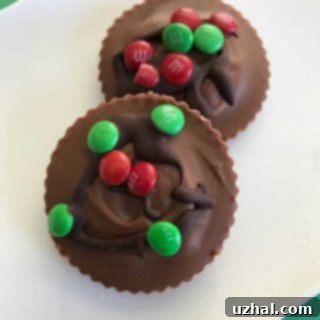
Homemade Peanut Butter Cups
Cookie Madness
Pin Recipe
Ingredients
- 1 ½ tablespoons white chips 15 grams
- 1 tablespoon unsalted butter 14 grams, softened
- ⅔ cups peanut butter 170 grams** (use regular, not unsweetened, or natural sweetened varieties. See notes for differences.)
- ⅛ teaspoon vanilla extract
- ¾ cup powdered sugar 90 grams, adjust as needed
- 9 oz good quality milk chocolate chopped, e.g., Cadbury, Lindt
- 9 oz good quality semisweet or dark chocolate chopped, e.g., Ghirardelli bittersweet chips
- Optional: 1 tablespoon of coconut oil or shortening only if using chocolate chips instead of good quality chopped chocolate (see note)
- Extra chocolate or white chocolate for melting and garnishing plus sprinkles, Mini M&Ms, or other preferred toppings for decoration.
Instructions
-
In a microwave-safe bowl (a large batter bowl works great), gently mash the white chips and butter together until the chips are well coated with the butter. This helps them melt more evenly. Melt this mixture in the microwave using 50% power, stirring diligently every 30 seconds, until smooth. Set aside to cool slightly.
-
To the melted white chip and butter mixture, add the peanut butter and stir until thoroughly combined and smooth. Next, incorporate the vanilla extract. Begin adding the powdered sugar, starting with ½ cup, and mix well. The dough should be soft but pliable at this stage. Depending on your peanut butter type, you may need to add more powdered sugar, a tablespoon at a time, until the mixture is soft enough to scoop easily but not overly sticky or runny. It should be able to hold its shape.
-
Using a heaping teaspoon (or a small cookie scoop for consistency), portion out small mounds of the peanut butter mixture. Arrange these mounds onto a plate lined with plastic wrap. You should yield approximately 30-32 mounds, though the exact number can vary based on your scooping size. Chill these scooped mounds in the refrigerator until they are firm and no longer sticky to the touch. Once chilled, gently roll and press each mound into a uniform round shape, about 1-inch in diameter and ½-inch thick.
-
Place all your perfectly shaped peanut butter rounds into a zipper-lock bag or an airtight container. Keep them refrigerated until you are ready to assemble your homemade peanut butter cups. This allows for convenient, on-demand assembly.
-
To begin assembling, line 12 standard muffin cups with paper liners. This recipe makes approximately 30 cups, so you may need to repeat steps with multiple batches or muffin tins.
-
Put 8 oz of your chosen chopped chocolate (either milk, semisweet, or dark) into a microwave-safe bowl. If you are using semisweet or dark chocolate, you can melt it at high power, stirring every 30 seconds until smooth. For milk chocolate, use 50% power and stir every 30 seconds to prevent scorching. If using chocolate chips instead of chopped bar chocolate, you may opt to add about ½ teaspoon of coconut oil or shortening per 3 oz of chips. This helps create a smoother, more fluid chocolate for coating, but it is entirely optional if you are using good quality chopped chocolate.
-
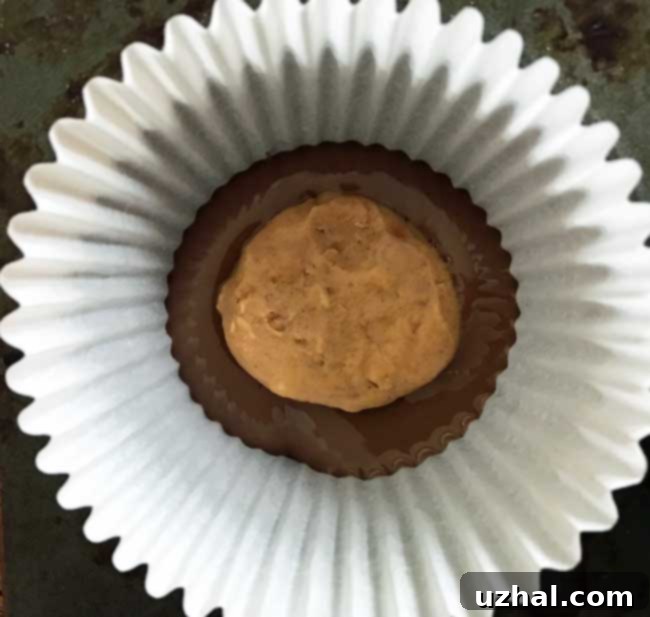
Once your chocolate is completely melted and smooth, spoon a small amount of chocolate into the bottom of each paper liner, just enough to cover the base. Resist the urge to try and “paint” the chocolate up the sides of the liner or create a perfectly formed nest. I’ve tried this, and it often leads to messy results and uneven cups. Simply smooth the chocolate flat at the bottom with the back of your spoon.
-
Take 12 of your chilled peanut butter rounds and gently place one in the center of the chocolate base in each paper liner. Then, spoon the remaining melted chocolate over the peanut butter rounds, ensuring they are fully covered. You can gently tap the muffin tin on the counter a few times to help the chocolate settle evenly and release any air bubbles. Place the muffin tin into the refrigerator to allow the chocolate to set firmly. If you are in a hurry, the freezer can speed up this process. Once firm, carefully peel away the paper liners to reveal your beautiful homemade peanut butter cups.
-
Repeat the entire chocolate melting and assembly procedure with the remaining peanut butter rounds and chocolate. Remember, you’ll need at least 3 oz of melted chocolate for every 5 peanut butter cups you plan to make. Adjust quantities as needed based on how many cups you want to assemble at a time.
-
Store your assembled homemade peanut butter cups in an airtight container in the refrigerator or freezer. For the best flavor and texture, allow them to come to room temperature for about 10-15 minutes before serving, which allows the chocolate to soften slightly and the peanut butter filling to become wonderfully creamy.
Notes
Regarding the peanut butter, my preference typically leans towards Natural Skippy or Natural Jif. These brands offer a sweetened flavor but are non-hydrogenated and possess a smoother consistency due to their natural oil separation, even if they don’t require stirring. However, if you opt for a “regular” peanut butter like classic Jif, Skippy, or a generic store brand, you’ll likely find that the dough for the filling is naturally a bit stiffer. In such cases, you may be able to use slightly less powdered sugar to achieve the desired pliable yet firm consistency. Always remember to add powdered sugar gradually, adjusting to your specific peanut butter.
