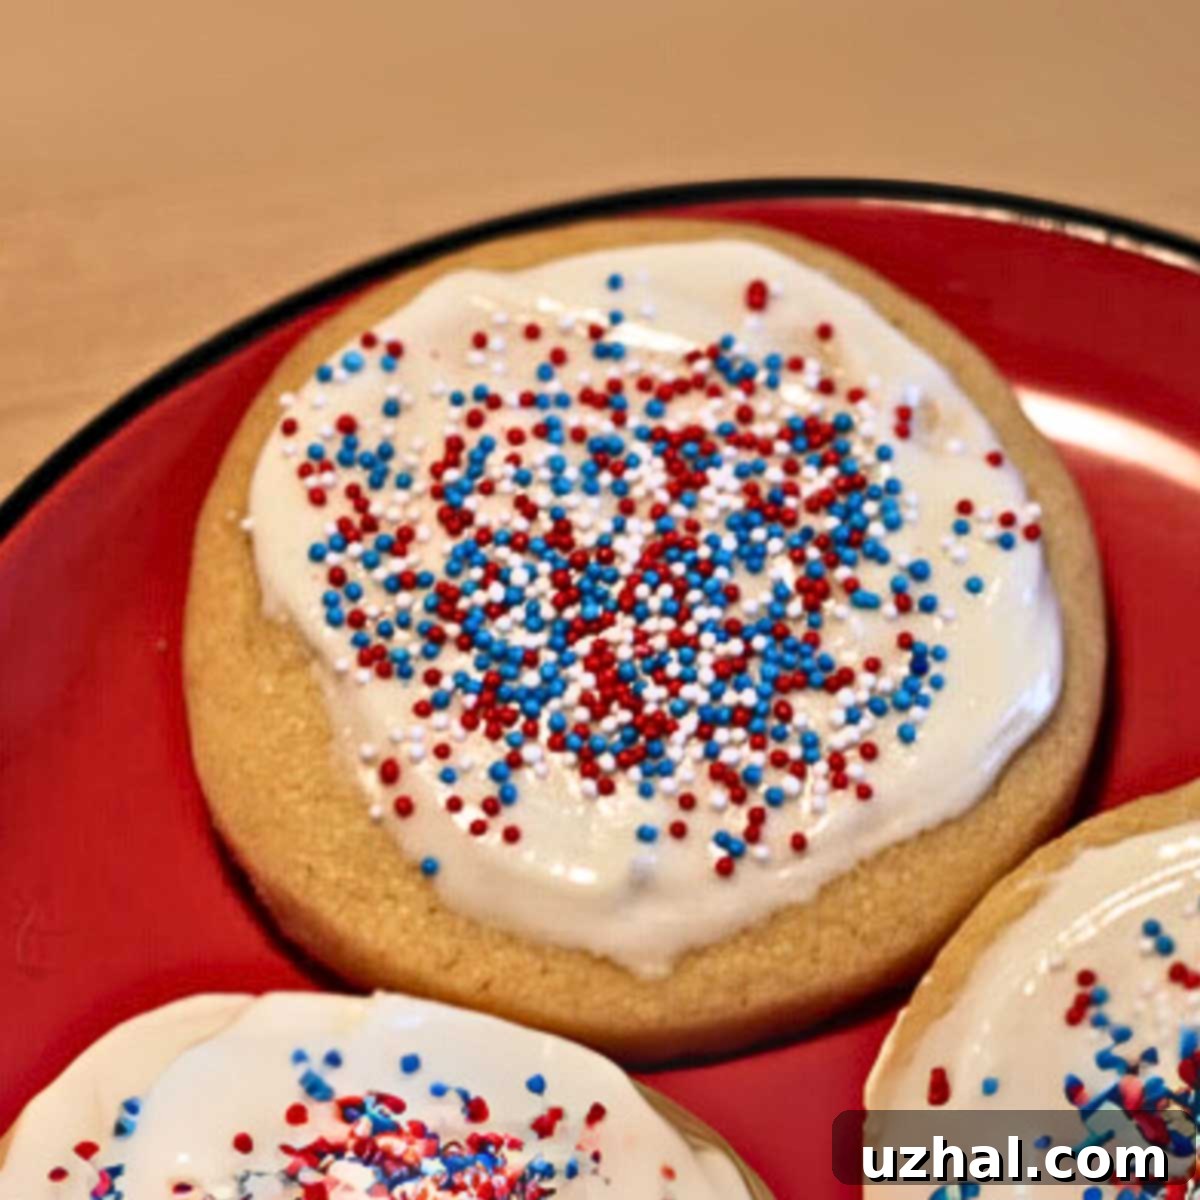
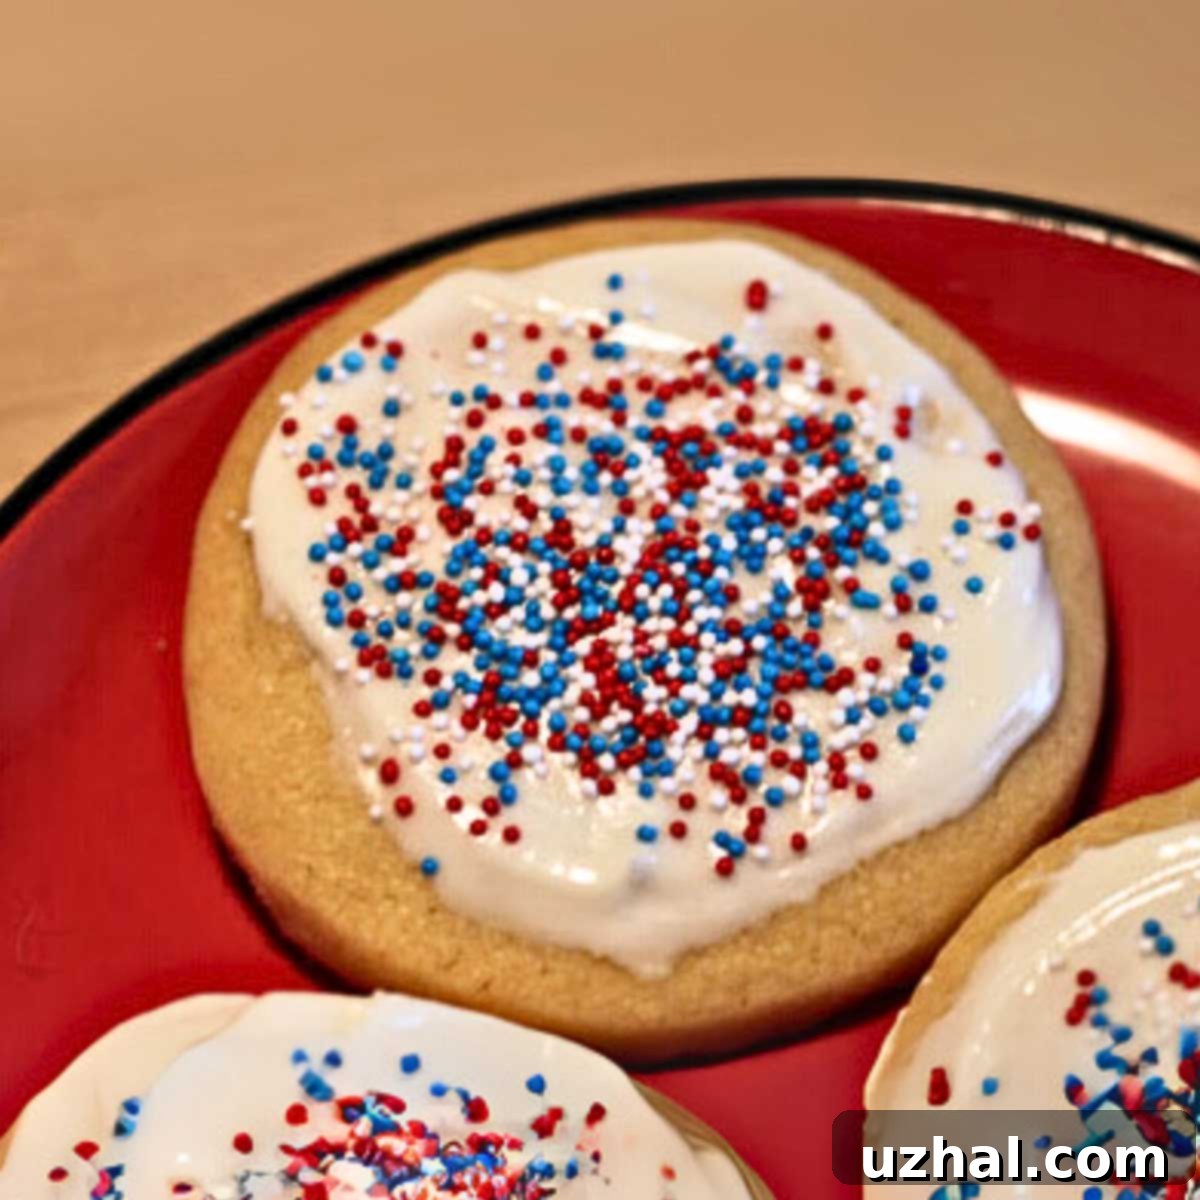
The Ultimate Guide to Classic Betty Crocker Cut-Out Sugar Cookies: Mary’s Beloved Recipe & Perfect Frosting
There’s something truly magical about a classic sugar cookie, especially one that carries generations of memories. This particular cut-out sugar cookie recipe, lovingly known as “Mary’s Sugar Cookies,” has been a cherished family favorite since the 1970s. I first shared this recipe back in 2010, accompanying a heartwarming tale of my daughter, Fuzz, returning home from Girl Scout camp after a minor mishap with a horse. These cookies were my way of celebrating her safe return, a sweet gesture of comfort and joy. The original recipe hails from the venerable Betty Crocker’s Cooky Book, a baking bible for many, and it stands the test of time, bringing smiles to faces then and now.

What makes Mary’s Sugar Cookies instantly recognizable and undeniably special is its unique combination of both confectioners’ sugar and cream of tartar in the dough. This isn’t your typical granulated sugar recipe, and that’s where its charm begins. The confectioners’ sugar contributes to a wonderfully tender crumb, while the cream of tartar works its magic to keep the cookies soft and prevent excessive browning. Over the years, I’ve added a few personal notes and included a recipe for an “Easy Creamy Frosting” – a simple concoction of confectioners’ sugar, liquid, and vanilla – perfect for those times when you need a quick and delightful topping.
Unveiling the Unique Flavor and Texture of Mary’s Sugar Cookies
For a while, I confess I strayed from this beloved recipe, lured by the promise of other cut-out cookie recipes that boasted perfect shape retention. While this recipe’s cookies do tend to puff up a little more than some, creating slightly rounded edges on intricate shapes like Christmas trees, their exceptional flavor and unique texture always draw me back. It’s a truly delicious cookie, consistently prompting requests for the recipe from anyone who tries them. The judicious use of extracts, especially vanilla and almond, imparts a delicate, nuanced flavor that elevates them beyond a simple sweet treat.
These cookies strike a delightful balance, being neither overly sweet nor bland. Their texture is a highlight: light, tender, and somewhat sandy, a direct result of the confectioners’ sugar in the dough. This creates a satisfying melt-in-your-mouth experience that is distinct from crispier or cake-like sugar cookies. While the slight puffing means your intricate designs might not be razor-sharp, the trade-off in superior taste and a truly tender bite is, for many, entirely worth it. If your primary goal is delicious, charmingly irregular, frosted, and sprinkled circular cookies, this recipe is an absolute winner. For those seeking perfectly sharp edges, rolling the dough slightly thicker and ensuring it’s thoroughly chilled can help mitigate the puff, as can dusting your work surface with extra flour, which the dough will absorb, adding a bit more structure.
Crafting the Perfect Sugar Cookie Frosting: An American Buttercream Style
No sugar cookie is truly complete without a generous slathering of frosting, and Mary’s Sugar Cookies are no exception. While you can certainly get creative with any frosting you desire, I’ve included my go-to basic cookie frosting recipe in the recipe card below. My preferred frosting is more akin to a sweet American buttercream than a traditional royal icing. It’s designed for taste, texture, and durability, offering the best of all worlds.
This frosting calls for a rich ratio of 9 tablespoons of butter to a full pound (approximately 3 ¾ cups) of confectioners’ sugar. This makes it a touch sweeter than a standard American buttercream, but that sweetness is balanced by the butter and vanilla, resulting in a luscious, creamy topping that complements the cookie beautifully. A significant advantage of this frosting is its ability to crust over slightly as it sets, allowing you to carefully stack the frosted cookies without fear of smudging your beautiful decorations. This makes it ideal for gifting, transporting, or simply organizing your cookie stash. It strikes a harmonious balance between being easy to spread, delicious to eat, and sturdy enough for practical purposes.
Introducing the Simple & Fun Easy Creamy Frosting: Perfect for Little Bakers
Beyond my go-to buttercream-style frosting, I’m also sharing another fantastic option: the “Easy Creamy Frosting.” While I don’t use this one as frequently for cookies myself, it’s an absolute lifesaver, especially if you have small children eager to help with the decorating. This frosting is incredibly simple to prepare and offers a wonderful, spreadable consistency that’s perfect for little hands to manage. It’s also an original from the classic Betty Crocker repertoire, proving once again that simple can be spectacularly good.
Easy Creamy Frosting: To make this effortlessly, you’ll need just 2 cups of powdered sugar, 2-4 tablespoons of half & half, cream, or whole milk, and ¼ teaspoon of vanilla extract. Begin by sifting the powdered sugar to remove any lumps, ensuring a smooth finish. The process is remarkably straightforward: simply stir the liquid into the sifted sugar mixture gradually, adding the vanilla as you go, until you achieve your desired consistency. For the richest flavor and creamiest texture, half & half or cream are excellent choices. Whole milk also works perfectly well, though the resulting icing will be slightly less rich. This frosting is ideal for holding sprinkles, edible glitter, or other simple decorations, making the cookie decorating process a fun and accessible activity for everyone.
Expert Tips for Perfectly Shaped Cut-Out Sugar Cookies
While Mary’s Sugar Cookies are celebrated for their taste and tenderness, achieving those Instagram-worthy sharp edges with any cut-out cookie recipe requires a few insider tricks. Here’s how you can maximize your chances for perfectly formed shapes:
- Chill Your Dough Thoroughly: This is perhaps the most crucial step. After mixing, divide your dough and roll it out between two sheets of parchment paper or non-stick foil to your desired thickness (around ¼ inch is good). Then, chill these flattened sheets of dough in the refrigerator for at least 30 minutes, or even an hour. Cold dough is much easier to work with, less sticky, and holds its shape better when cut and transferred.
- Flour Your Surface (Judiciously): If you prefer rolling your dough on a floured surface, use just enough flour to prevent sticking. Too much flour can make your cookies dry and tough, but a light dusting can provide the necessary non-stick surface and help the dough maintain its structure during baking.
- Work Quickly: Once the dough is chilled, work efficiently. The warmer the dough gets, the stickier and more pliable it becomes, making it harder to cut clean shapes.
- Use Cold Cutters: For best results, dip your cookie cutters in a little flour or even chill them briefly before use. This helps prevent sticking and ensures clean cuts.
- Minimal Reworking: Try to cut as many shapes as possible from the first roll of dough. Gather scraps gently, lightly press them together, re-roll, and re-chill before cutting again. Overworking the dough can develop too much gluten, leading to tougher cookies.
- Don’t Overbake: Sugar cookies are best when just set. Overbaking can lead to dry, hard cookies and excessive browning around the edges, which can affect the appearance of lighter-colored frostings.
Creative Decorating Ideas for Your Betty Crocker Sugar Cookies
These classic cut-out sugar cookies are a blank canvas for your creative decorating endeavors. Whether you’re aiming for elaborate designs or simple elegance, here are some ideas to get you started:
- Simple & Sweet: The easiest way to decorate is to spread a layer of either the Classic American Buttercream or the Easy Creamy Frosting. While the frosting is still wet, liberally apply sprinkles, edible glitter, or colored sanding sugar. This is especially fun for kids!
- Color Your Frosting: Divide your prepared frosting into several smaller bowls and use gel food coloring to create a vibrant palette. This allows for multi-colored designs and adds visual appeal.
- Piping with Buttercream: For more detailed designs, load your buttercream into a piping bag fitted with your favorite tip. You can pipe outlines, create intricate patterns, or even write messages. The slight crusting of the buttercream makes it forgiving for beginners.
- Layered Effects: Apply a base layer of frosting, let it set slightly (if using the buttercream), then pipe on contrasting colors or patterns. You can also use a small offset spatula to create swirls or textured effects.
- Edible Decorations: Beyond sprinkles, consider edible pearls, candy eyes, mini chocolate chips, or even small pieces of dried fruit to add flair to your cookies.
- Holiday Themes: For holidays, choose themed cookie cutters and corresponding colors. Red and green for Christmas, pastels for Easter, orange and black for Halloween – the possibilities are endless.
Storing Your Sugar Cookies and Making Ahead
To enjoy your delicious sugar cookies for longer, proper storage is key. Here are some tips:
- Unfrosted Cookies: Store unfrosted sugar cookies in an airtight container at room temperature for up to 5-7 days. To maintain their tenderness, you can even place a slice of bread in the container; the cookies will absorb moisture from the bread.
- Frosted Cookies: Once frosted, if using the American buttercream, allow the frosting to set completely (this can take a few hours) before gently layering them with parchment paper in an airtight container. Store at room temperature for up to 3-4 days.
- Freezing Dough: You can prepare the cookie dough ahead of time and freeze it. Roll the dough into a disk, wrap it tightly in plastic wrap, then again in aluminum foil. It can be frozen for up to 3 months. Thaw in the refrigerator overnight before rolling and baking.
- Freezing Baked Cookies: Unfrosted baked cookies can also be frozen. Once completely cooled, place them in a single layer on a baking sheet and freeze until firm. Then, transfer to an airtight freezer-safe bag or container. They will last for up to 3 months. Thaw at room temperature before frosting.
- Betty Crocker Chocolate Chip Cookies 1969
- Betty Crocker Cookbook Banana Bread 1972
- Original Fudge Brownies
- Quick Pecan Pie Chocolate Chip Cookies
- Betty Crocker Praline Bars
Recipe

Welcome Home Betty Crocker Sugar Cookies
Anna
Pin Recipe
Ingredients
- 2 sticks unsalted butter, at cool room temperature (228 grams, essential for tender cookies)
- ¼ teaspoon plus a pinch of salt (omit if using salted butter, salt enhances flavor)
- 1 ½ cups powdered sugar (175 grams, also known as confectioners’ sugar, key for tender texture)
- 1 large egg (ensure it’s at room temperature for better emulsion)
- 1 ½ teaspoons vanilla extract (pure vanilla for best flavor)
- ½ teaspoon almond extract (adds a delightful depth of flavor)
- 1 teaspoon baking soda (leavening agent)
- 1 teaspoon cream of tartar (reacts with baking soda for softness and chewiness)
- 2 ½ cups all purpose unbleached flour – fluff up very well, scoop, level or just weigh it (315 grams, measure accurately for best cookie consistency)
Cookie Frosting (American Buttercream Style)
- 9 tablespoons unsalted butter, softened (critical for creamy texture)
- 4 cups confectioners’ sugar (sifted for smoothness)
- 1 teaspoon vanilla extract (or other extract for varied flavor)
- 3-4 tablespoons whole milk, cream, or a mixture of the two plus more or less as needed (adjust to reach desired consistency)
- Salt to taste (start with ⅛ teaspoon) (balances the sweetness)
Easy Creamy Frosting (Option 2 – Great for Kids!)
- 2 cups confectioners’ sugar (sifted to prevent lumps)
- 2-4 tablespoons whole milk, half & half or cream (start with less and add more for desired thickness)
- ¼ teaspoon vanilla extract (adds essential flavor)
Instructions
-
In the bowl of a stand mixer fitted with a paddle attachment, beat the cool, unsalted butter until it is light and creamy. Next, add the salt (if you are using unsalted butter) and the powdered sugar, continuing to beat until the mixture is light and fluffy. Incorporate the vanilla and almond extracts, ensuring they are well combined. Scrape down the sides of the bowl to ensure everything is mixed evenly, then lower the mixer speed and beat in the large egg. Scrape the sides of the bowl once more. With the mixer on medium-low speed, add the baking soda and cream of tartar. Finally, by hand or using the lowest speed of the mixer, gradually add the all-purpose flour until just combined, being careful not to overmix.
-
Carefully remove the dough from the mixing bowl and divide it into two large, manageable balls. At this stage, a great tip for easy handling is to roll or press each ball out directly onto a sheet of non-stick foil or parchment paper. Aim for a uniform thickness of approximately ¼ inch. Lay the flattened dough sheets flat on a cookie sheet and chill them in the refrigerator until they are firm enough to be cut with ease. This chilling step is crucial for maintaining shape. You can use your favorite cookie cutters or simply a round glass for classic circular shapes.
-
Alternatively, if you prefer, you can roll the chilled dough out on a lightly floured board and proceed to cut with cutters. The additional flour the dough picks up from the board can slightly help the cookies hold their intricate shapes better during baking, especially if you’re aiming for very precise designs.
-
Preheat your oven to 375°F (190°C). Arrange the cut cookie shapes onto a cookie sheet that has been lined with foil or parchment paper. Bake for approximately 10 minutes, or until the edges of the cookies are beautifully browned and the centers are just set. Keep a close eye on them to prevent overbaking.
-
This recipe typically yields about 2 dozen cookies, though the exact quantity will vary depending on the size and shape of your cookie cutters. Allow them to cool completely on a wire rack before frosting and decorating.
Cookie Frosting (American Buttercream Style)
-
In the bowl of a stand mixer, beat the softened butter until it is wonderfully creamy and light. Gradually add about half of the confectioners’ sugar, beating well and scraping down the sides of the bowl frequently to ensure a smooth mixture. Next, add 2 tablespoons of the milk (or cream) and the vanilla extract, beating until fully incorporated. Continue adding the remaining confectioners’ sugar gradually, alternating with the rest of the milk, until you achieve a smooth, spreadable, and creamy consistency. Adjust the amount of milk as needed – a tablespoon at a time – to reach your preferred thickness. Finish by adding a few pinches of salt to taste; this helps to balance the sweetness of the frosting.
Easy Creamy Frosting (Option 2)
-
To prepare this quick and easy frosting, start by sifting the powdered sugar into a medium bowl to ensure there are no lumps. Gradually add the liquid (milk, half & half, or cream) to the sifted sugar, stirring continuously until the mixture is completely smooth and creamy, and has reached the desired consistency for spreading. Stir in the vanilla extract for flavor. For extra fun, you can easily divide this frosting into separate bowls and add different food colorings to create a vibrant array for decorating.
These Betty Crocker sugar cookies, originally known as Mary’s Sugar Cookies, are more than just a recipe; they are a timeless tradition, a comforting memory, and a testament to the simple joy of home baking. Their unique flavor and tender texture, achieved through the classic combination of confectioners’ sugar and cream of tartar, make them stand out from the crowd. Whether you’re baking them for a special occasion, a holiday celebration, or just a simple afternoon treat, this recipe promises delicious results and endless decorating fun. Embrace the slight puff, savor the delightful taste, and create new memories with these enduringly beloved cut-out sugar cookies.
