Easy & Fudgy Mini Loaf Pan Brownies: The Ultimate Small Batch Recipe with Self-Rising Flour
Craving a rich, chocolatey brownie but don’t want a huge batch? Look no further than these incredibly easy and fudgy mini loaf pan brownies! This recipe is perfect for those times you need a quick chocolate fix or want a delightful small-batch dessert. What makes these brownies exceptionally simple is the use of self-rising flour, which means you can mix everything in just one bowl, streamlining your baking process. They bake up beautifully in either a conventional oven or even a toaster oven, making them accessible to any home baker.
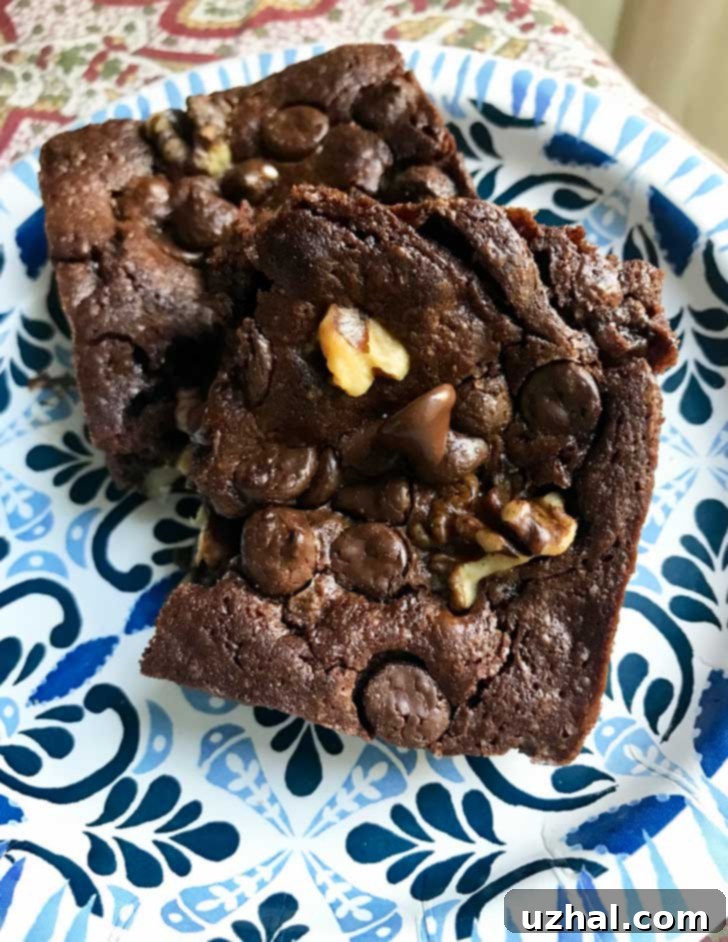
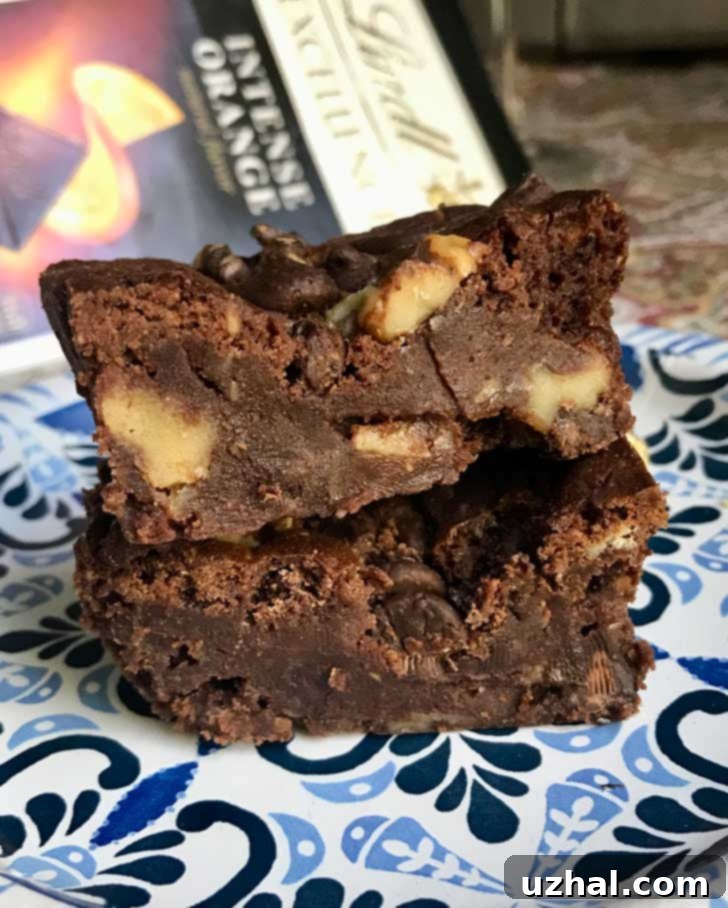
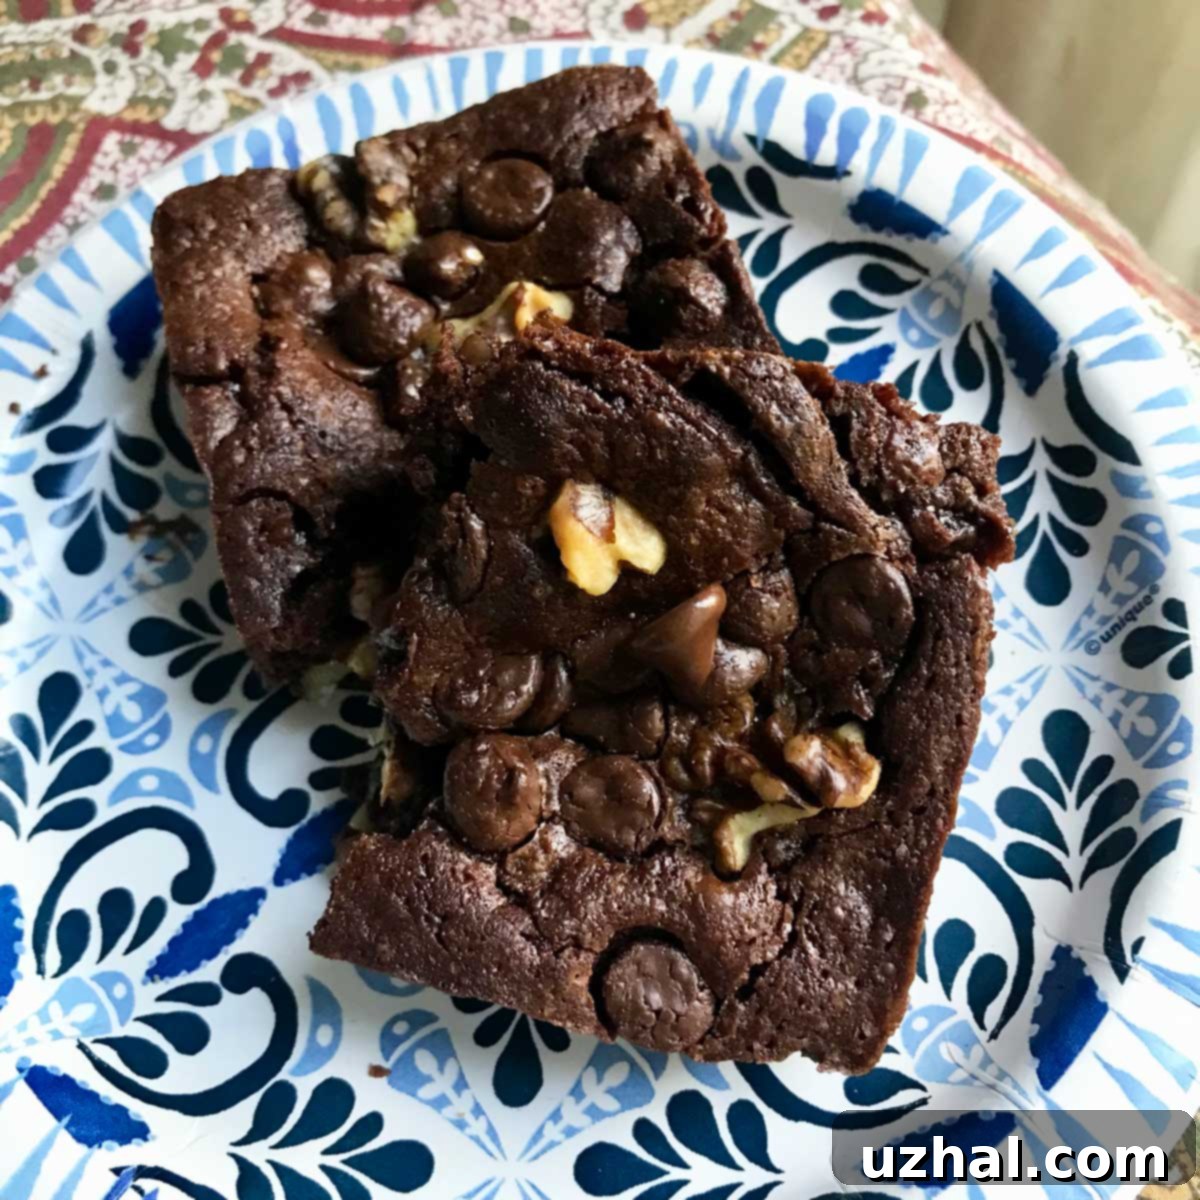
I recently whipped up a batch, and the results were phenomenal. I typically cut them into two generous portions, perfect for sharing with a friend or savoring over a couple of days. If you prefer a tiny, indulgent bite of chocolate throughout your day, this recipe could easily yield 8 smaller treats. Regardless of how you slice them, you’re guaranteed a wonderfully fudgy texture with just the right amount of chewiness.
Jump to Recipe

This updated mini loaf pan brownie recipe surpasses my previous versions, primarily due to its simplicity and consistent results. The inclusion of self-rising flour truly revolutionizes the process, making it far less fussy. I’ve thoroughly tested this recipe using both self-rising flour and a gluten-free blend (with a tiny pinch of baking powder added), and both yield fantastic results. The delightful brownies you see pictured above were made with self-rising flour, showcasing their irresistible texture and rich appearance.
The Convenience and Benefits of Self-Rising Flour
For those unfamiliar with it, self-rising flour is a pre-mixed convenience flour that already contains a leavening agent (baking powder) and often salt. This eliminates the need to measure these ingredients separately, simplifying recipes and reducing the chances of error. It’s a fantastic shortcut, especially for quick breads, biscuits, pancakes, and, as we’ve discovered, brownies!
It’s worth noting that self-rising flour varies slightly by region. In the UK, it’s commonly known as “self-raising flour” and typically includes only flour and baking powder. Here in the USA, however, self-rising flour usually contains both baking powder and salt. While all-purpose flour remains the most popular choice in American kitchens, many bakers appreciate the ease and unique textural qualities that self-rising flour imparts.
For instance, brands like White Lily are renowned for using a softer wheat, which results in remarkably tender biscuits, cakes, and quick breads. When I resided in Texas, finding White Lily often meant driving to specialty stores. Now, living in North Carolina, where biscuits are a beloved staple, White Lily is readily available in almost every grocery store. It’s a testament to its popularity for creating light and fluffy baked goods. (On a related note, some stores even dedicate an entire aisle to “Gravy” here, highlighting the regional culinary focus!)
If you don’t have self-rising flour on hand, you can easily make your own. For every cup of all-purpose flour, simply whisk in 1 ½ teaspoons of baking powder and ¼ teaspoon of fine salt. For this specific brownie recipe, where we only use a tablespoon of flour, a tiny pinch of baking powder and salt will suffice if you’re using all-purpose or a gluten-free blend.

Essential Ingredients for Your Mini Loaf Pan Brownies
The beauty of this recipe lies in its simplicity and minimal ingredient list. However, understanding each component and potential variations can elevate your brownies from good to absolutely outstanding.
- Butter: You can use either salted or unsalted butter. If you’re using self-rising flour (which already contains salt) and regular salted butter, you’ll likely have plenty of saltiness to balance the sweetness. If you opt for unsalted butter, a tiny pinch of additional salt (about 1/8 teaspoon) will enhance the flavor of your brownies. Melted butter also contributes to that desirable fudgy texture.
- Chocolate: The quality of your chocolate significantly impacts the final taste. I’ve had excellent results with affordable Aldi dark chocolate, but for a special twist, Lindt’s Intense Orange Dark Chocolate creates a truly unique and delicious brownie. If you appreciate a hint of orange with your chocolate, I highly recommend giving the orange-flavored Lindt a try. For precise measurement without a scale, 45 grams of a Lindt bar is approximately 4 ½ squares. Feel free to use your favorite dark or semi-sweet chocolate, ensuring it’s of good quality.
- Brown Sugar: This recipe calls for 100% light brown sugar. Brown sugar is key to achieving that wonderfully moist and fudgy texture, thanks to its molasses content. It also adds a deeper, more complex flavor compared to granulated sugar. If you don’t have brown sugar, you can substitute it with granulated sugar, but be aware that your brownies might be slightly less fudgy and have a crispier top.
- Eggs: This recipe only requires 2 tablespoons of egg, which is a convenient amount. Simply crack an egg into a small cup, whisk it lightly, and measure out about 25 grams (or 2 tablespoons). You’ll have about 2 tablespoons left over, which can be saved for another small batch recipe or used in scrambled eggs. Alternatively, for ultimate ease, you can use 2 tablespoons of a liquid egg substitute like Egg Beaters. The egg acts as a binder and contributes to the structure and richness of the brownies.
- Flour: Despite all our discussion about flour, this recipe uses a surprisingly small amount – just about a tablespoon (8 or 9 grams). This minimal amount of self-rising flour provides just enough structure to give the brownies a slight “fluff” without making them cakey. If you’re using all-purpose flour or a gluten-free blend, remember to add a tiny pinch (around 1/8 teaspoon) of baking powder to ensure the right lift.
- Vanilla Extract: A touch of vanilla extract is crucial for enhancing the chocolate flavor and adding aromatic depth to your brownies. Use a good quality pure vanilla extract for the best results.
- Chocolate Chips: These are optional but highly recommended for extra pockets of melted chocolate goodness. I used Kirkland brand, but any good quality chocolate chips (milk, semi-sweet, or dark) will work perfectly. Stir them in at the end to prevent them from melting completely into the batter.
- Nuts: Chopped pecans or walnuts are an optional addition that provides a delightful crunch and nutty flavor. If you choose to add them, consider toasting them lightly beforehand to bring out their full aroma.
Baking Your Mini Loaf Brownies: Oven & Temperature Insights
Achieving the perfect fudgy brownie is all about precise baking temperature and knowing when to pull them from the oven. My current kitchen remodel has led me to bake in a Cuisinart Toaster Oven Air Fryer, which has taught me a valuable lesson about oven calibration.
I’ve noticed that my Cuisinart Toaster Oven Air Fryer bakes approximately 100 degrees Fahrenheit hotter than its display indicates. This seems to be a common issue reported by other users of the Cuisinart Toaster Oven Air Fryer. Consequently, I’ve learned to adjust the temperature down by roughly 100 degrees when using the bake setting. So, while a standard oven would typically bake these brownies at 375°F, I set my Cuisinart to 275-280°F.
The most crucial takeaway here, regardless of your oven type, is to **use an instant-read thermometer**. This tool is your best friend for perfectly baked brownies. You can bake these mini brownies in any oven – conventional, toaster oven, or even an air fryer – as long as you remove them when their internal temperature reaches approximately 210-212°F. My last batch was pulled at precisely 212°F.
With such a minimal amount of flour in this recipe, the risk of overbaking and ending up with dry brownies is significantly reduced, but not eliminated. The instant-read thermometer ensures that you achieve that ideal fudgy center. It’s important to note that even at 210-212°F, the brownies might still appear slightly underdone in the center, but trust the thermometer! They will firm up beautifully as they cool, transforming into that desired dense, fudgy consistency.
Serving Suggestions and Storage Tips
Once your mini loaf brownies have cooled completely, they are ready to be enjoyed! These brownies are incredibly versatile:
- Classic Enjoyment: Simply slice and serve at room temperature.
- Warm & Indulgent: Gently warm them slightly in the microwave for a few seconds and serve with a scoop of vanilla bean ice cream or a drizzle of chocolate sauce.
- For the Coffee Lover: Pair them with a strong cup of coffee or a cold glass of milk.
- Dusting of Delight: A light dusting of cocoa powder or powdered sugar can add an elegant touch.
For storage, keep your mini loaf brownies in an airtight container at room temperature for up to 3-4 days to maintain their freshness and fudgy texture. If you want to extend their life, you can refrigerate them for up to a week. For longer storage, wrap individual brownies tightly in plastic wrap and then aluminum foil, and freeze for up to 2-3 months. Thaw them at room temperature or gently warm them before serving.
- Convection Oven Granola
- Peanut Butter Ice Cream
- Yeast Banana Bread
- Self-Rising Flour Chocolate Chip Cookies
- How to Make Self-Rising Flour and Cake Flour
Beyond Brownies: Discover the Blondies Version!
After the incredible success and sheer enjoyment of making these mini loaf pan brownies, I couldn’t resist experimenting further. The compact size of the mini loaf pan proved to be ideal for another beloved treat: blondies! I successfully adapted my favorite blondie recipe to fit these pans, and the results were equally delightful.
If you’re a fan of rich, buttery, and chewy blondies, I highly encourage you to explore the blondies version of this recipe. You can find the full details and instructions on the dedicated Katy’s Favorite Blondies page. It’s a wonderful way to diversify your small-batch baking repertoire using the same convenient mini loaf pans.
Recipe

Mini Loaf Pan Brownies
Anna
Pin Recipe
Ingredients
- 2 tablespoons salted or unsalted butter (28 grams)
- 45 grams dark chocolate or orange flavored dark chocolate (4 ½ Lindt squares)
- 2 tablespoons light brown sugar (25 grams)
- 2 tablespoons lightly beaten egg (25 grams)
- 1 tablespoon self-rising flour or gluten-free blend** (9 grams)
- ¼ teaspoon vanilla extract
- 2 tablespoons chocolate chips
- 1 tablespoon chopped pecans or walnuts, optional
Instructions
-
Preheat the oven to 375 degrees F (unless you are using a Cuisinart Toaster Oven & Air Fryer, in which case it’s 275F). Grease a 2 cup capacity loaf pan and line with parchment paper or foil. If using foil, spray bottom with cooking spray.
-
Put the butter in a 2 cup microwave safe measuring cup and heat for 30 seconds on high. Add chopped chocolate and stir until chocolate is melted. If chocolate doesn’t melt completely, microwave for another 10 seconds.
-
Add brown sugar to chocolate mixture and stir well, then stir in the 2 tablespoons of egg.
-
Add the vanilla and stir well, then stir in the flour. Make sure the batter is not warm, then stir in the chocolate chips. If using nuts, add them too.
-
Scrape mixture into the pan and bake for about 16 to 18 minutes or until the brownies appear set and the internal temperature 210-212 degrees F. This is important. Please measure the temperature with an instant read themometer so you’ll know when they are done. They’ll probably seem underdone even at 210-212, but they’ll become firm as they cool.
-
Let them cool completely in the loaf pan. then lift and cut into 2 or 3 brownies. You can also chill them if you wish. You’ll get neater slices if you chill and then cut.
Notes
