Perfect 6-Inch Red Velvet Cake Recipe with Classic Cream Cheese Frosting
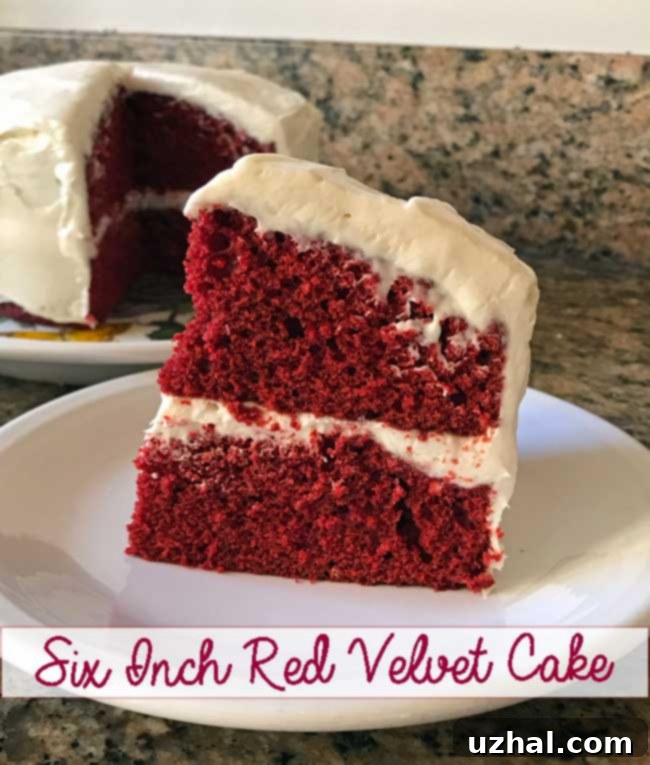
If you’ve recently acquired some six-inch round cake pans and are eager to put them to good use, look no further! This delightful recipe for a six-inch red velvet cake, crowned with a rich and tangy cream cheese icing, is the perfect project. It’s an effortlessly simple yet incredibly satisfying cake that’s ideal for smaller gatherings, intimate celebrations, or simply when you crave a decadent treat without the commitment of a large cake. This recipe stays true to the beloved traditional red velvet cake, featuring just the right balance of cocoa for its signature subtle chocolate flavor, paired with a harmonious blend of buttermilk, oil, and butter to ensure a moist, tender crumb that melts in your mouth.
Red velvet cake is more than just a dessert; it’s a culinary icon known for its striking red hue, delicate chocolate notes, and distinctive tang from buttermilk and vinegar, all beautifully complemented by a luscious cream cheese frosting. Originating in the Southern United States, this cake has charmed its way into hearts worldwide. Our scaled-down version brings all the magic of this classic to your kitchen in a manageable six-inch format, ensuring every slice is a taste of pure bliss. Whether you’re a seasoned baker or just starting, you’ll find this recipe straightforward and rewarding, delivering a stunning and delicious cake every time.
Jump to Recipe

Key Ingredients for a Perfect Six-Inch Red Velvet Cake
Crafting a truly exceptional red velvet cake begins with understanding the role each ingredient plays. Here’s a detailed look at the key components for our six-inch marvel:
- Flour: For this recipe, we recommend using 150 grams of all-purpose flour. While the volume measurement is approximately 1 ¼ cups, we strongly advocate for measuring by weight (grams) for the most accurate and consistent results. Weighing ensures precise proportions, which is critical in baking. All-purpose flour yields a cake with a tender but slightly firmer crumb, which works beautifully here. If you prefer a more delicate, airy texture, you could experiment with cake flour, though our tests have been primarily with all-purpose.
- Cocoa Powder: The subtle chocolate flavor that defines red velvet cake comes from unsweetened cocoa powder. We typically use natural cocoa powder, which is slightly acidic and contributes to the cake’s traditional taste. Dutch-processed cocoa powder, which is less acidic, would also work, but it may result in a slightly darker cake and a less pronounced interaction with the buttermilk and baking soda. Historically, cocoa was thought to react with acidic ingredients to enhance the red color; however, with modern food colorings, this effect is largely superseded. Don’t worry about pre-mixing it with the food coloring – we’ve found it doesn’t significantly impact the final result.
- Buttermilk: Buttermilk is a cornerstone ingredient in red velvet cake, providing both moisture and its characteristic tangy flavor. Its acidity reacts with the baking soda, helping the cake rise and contributing to its tender texture. You can use regular liquid buttermilk, or if it’s not readily available, buttermilk powder is an excellent alternative. For powder, simply add 2 tablespoons of powder with your dry ingredients and substitute ½ cup of water for the liquid buttermilk in the wet ingredients. If neither is on hand, you can make a quick substitute by adding 1 tablespoon of white vinegar or lemon juice to a measuring cup, then filling it to the ½ cup line with regular milk, letting it sit for 5-10 minutes until it slightly curdles.
- Vinegar: Apple cider vinegar or malt vinegar both work wonderfully in this red velvet cake. Similar to buttermilk, vinegar adds acidity, which is crucial for activating the baking soda and ensuring a proper rise. It also plays a subtle role in enhancing the cake’s overall flavor profile, contributing to that classic red velvet tang.
- Red Food Coloring: To achieve that iconic vibrant red hue, we rely on a high-quality red food coloring. Our go-to is a product called Super Red, which consistently delivers an intensely rich color. If Super Red isn’t available, other brands of red food coloring will work, but be prepared to adjust the quantity. You may need to use a bit more – sometimes up to 2 tablespoons – to achieve a truly vibrant shade, especially with standard liquid food colorings. Gel or paste food colorings are often more concentrated and yield better results with less quantity.
Espresso Powder: The Secret Flavor Enhancer?
While not strictly traditional, the addition of espresso powder has emerged as a fascinating “secret ingredient” in many similar red velvet recipes. Though I haven’t personally tested it in *this specific* six-inch red velvet cake recipe yet, the concept is incredibly appealing. Espresso powder doesn’t make your cake taste like coffee; instead, it subtly amplifies the natural chocolate notes in the cocoa powder, deepening the overall flavor without overwhelming it. Just a tiny amount can make a remarkable difference, adding an extra layer of complexity and richness. If you’re an adventurous baker looking to experiment, I suggest adding no more than ¼ teaspoon of finely ground espresso powder to your dry ingredients. If you decide to give it a try, please let me know your results – I’m always eager to hear about successful culinary experiments! I plan to test this myself and will update the recipe notes with my findings next time.
The Charm of Six-Inch Cake Pans
Baking with six-inch pans offers numerous advantages, making them a fantastic addition to any baker’s kitchen. Firstly, they yield smaller, more manageable cakes that are perfect for intimate gatherings, smaller households, or when you simply want to enjoy a cake without having too much leftover. This size often translates to less waste and an opportunity to bake more frequently. Beyond quantity, smaller cakes tend to bake more evenly and quickly, reducing overall baking time and minimizing the risk of dry edges or undercooked centers. They are also incredibly versatile for presentation, allowing for taller, elegant layered cakes that are easier to handle and frost than their larger counterparts. If you’re in the market for these convenient pans, here’s a direct link to some excellent six-inch cake pans available on Amazon.
Perfecting Your Cream Cheese Frosting
No red velvet cake is complete without a generous slathering of classic cream cheese frosting. The tangy, slightly salty sweetness of this frosting provides the perfect counterpoint to the subtle chocolate and tang of the cake. To achieve that smooth, luscious consistency, ensure both your butter and cream cheese are adequately softened to room temperature before you begin. This allows them to cream together beautifully without lumps, creating a uniform base. Sifting your powdered sugar is also a crucial step to prevent any granular texture in your frosting, ensuring it’s silky smooth. When mixing, start on low speed and gradually increase, being careful not to overbeat, which can incorporate too much air and make the frosting less stable. Taste as you go, adjusting the amount of powdered sugar to your preferred level of sweetness. This frosting not only enhances the flavor but also makes your six-inch red velvet cake visually stunning.
Baking Tips for Small Cakes and Assembly
Successfully baking a beautiful six-inch red velvet cake involves a few key techniques, from pan preparation to final assembly. Properly greasing and flouring your cake pans is essential to prevent sticking. After greasing, line the bottoms with parchment paper circles, then grease and flour again. This double-layer of protection ensures your delicate cake layers release cleanly. When preparing the batter, remember that the mixture will likely curdle slightly after adding the egg and milk. Don’t worry; this is normal and will smooth out once the dry ingredients are incorporated. Mix just until combined to avoid overworking the gluten, which can lead to a tough cake.
Once baked and cooled, leveling your cake layers is an important step for a professional-looking finish. Use a serrated knife or a cake leveler to carefully trim any domes off the top of your cake layers, creating flat surfaces that stack neatly. This ensures a stable and even cake structure. The recipe instruction mentions using cake crumbs for decoration, which can add a rustic, charming touch. To do this effectively, ensure the crumbs are fine and adhere them gently to the sides of a crumb-coated cake. A crumb coat, a thin layer of frosting applied before the final thick layer, helps to seal in any loose crumbs and provides a smooth canvas for your ultimate design. While red velvet cake is inherently moist, crumb decorations require a light touch and practice to achieve a polished look. Don’t be afraid to experiment with other decorations if the crumb look isn’t your preference!
Storage and Serving Suggestions
This six-inch red velvet cake is best enjoyed fresh, but it can be stored to maintain its deliciousness. Since it features cream cheese frosting, the cake should be stored in an airtight container in the refrigerator for up to 3-4 days. For optimal flavor and texture, allow the cake to come to room temperature for about 30 minutes before serving. This softens the frosting and enhances the cake’s moistness. Unfrosted cake layers can be wrapped tightly in plastic wrap and then foil, and frozen for up to 2-3 months. Thaw them in the refrigerator overnight before frosting. The cream cheese frosting can also be made a day or two in advance and stored in the refrigerator; just bring it to room temperature and re-whip briefly before using. Serve your beautiful red velvet cake with a cup of coffee, tea, or a glass of milk for the ultimate indulgence!
- Favorite Red Velvet Cake (Larger Version)
- Secret Ingredient Sugar Cookies
- Red Velvet Cheesecake Cups
- Another Secret Ingredient Sugar Cookie
- More Red Velvet Delights
Recipe

Six Inch Red Velvet Cake
Cookie Madness
Pin Recipe
Ingredients
- 1 ¼ cups all-purpose flour (150 grams for best accuracy)
- ¾ teaspoon baking soda
- ¼ teaspoon salt
- 1 tablespoon unsweetened cocoa powder
- ½ cup buttermilk (or homemade substitute: ½ cup milk + ½ tbsp vinegar/lemon juice)
- 1 large egg
- ¾ teaspoon vanilla extract
- ½ tablespoon apple cider vinegar (or malt vinegar)
- ½ tablespoon red food coloring (such as Super Red gel) (You may need up to 2 tablespoons if using a less concentrated liquid brand)
- 5 tablespoons unsalted butter, softened (70 grams)
- 1 tablespoon vegetable or canola oil
- ¾ cup granulated sugar (150 grams)
Cream Cheese Frosting
- 4 ounces unsalted or salted butter, softened (114 grams)
- 8 ounces cream cheese, softened (230 grams, full-fat is recommended)
- 1 pinch salt (if using unsalted butter)
- 1 teaspoon vanilla extract
- 2-3 cups powdered sugar (sifted for best results)
Instructions
-
Preheat your oven to 350°F (175°C). Prepare two 6-inch round cake pans by greasing them thoroughly. Line the bottoms of the pans with parchment paper circles, then grease the parchment paper and dust the entire interior of the pans with flour, tapping out any excess. This ensures easy release.
-
In a medium bowl, whisk together the measured flour, baking soda, salt, and unsweetened cocoa powder until well combined. Set this dry mixture aside.
-
In a large measuring cup or a separate bowl, whisk together the buttermilk, large egg, vanilla extract, and apple cider vinegar (or malt vinegar) until fully blended.
-
In a large mixing bowl, using an electric mixer, beat the softened unsalted butter, vegetable or canola oil, and granulated sugar together at medium-high speed. Continue beating, scraping down the sides of the bowl as needed, until the mixture is light, fluffy, and pale in color. Reduce the mixer speed to low and gradually add the buttermilk-egg mixture to the butter mixture. The mixture may appear to curdle at this stage, but don’t worry – it will smooth out once the flour is added. Carefully incorporate your red food coloring, adding enough to achieve a vibrant red hue that you desire.
-
Gradually add the reserved flour mixture to the wet ingredients. Start by scraping and stirring by hand to incorporate the first bit of flour, then mix on low speed with the electric mixer just until the batter becomes smooth and no dry streaks of flour remain. Be careful not to overmix. Divide the thick batter evenly between the two prepared 6-inch cake pans.
-
Spread the batter evenly in the pans and bake for approximately 23 minutes, or until a wooden toothpick inserted into the center of a cake layer comes out clean. Once baked, allow the cakes to cool in their pans on a wire rack for about 10 minutes. After 10 minutes, carefully invert the cakes onto the wire rack to cool completely before frosting.
-
While the cake layers cool, prepare the cream cheese frosting. In a large bowl, beat the softened butter with an electric mixer on medium speed until it is light and creamy. Add the softened cream cheese and 1 cup of the sifted powdered sugar, beating until just blended and smooth. Gradually add the remaining powdered sugar, one cup at a time, until the frosting reaches your desired consistency and sweetness. Taste test after 2 cups and add more if you prefer a sweeter or thicker frosting. Finally, beat in the vanilla extract until just combined.
-
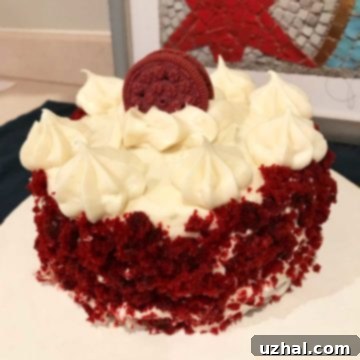
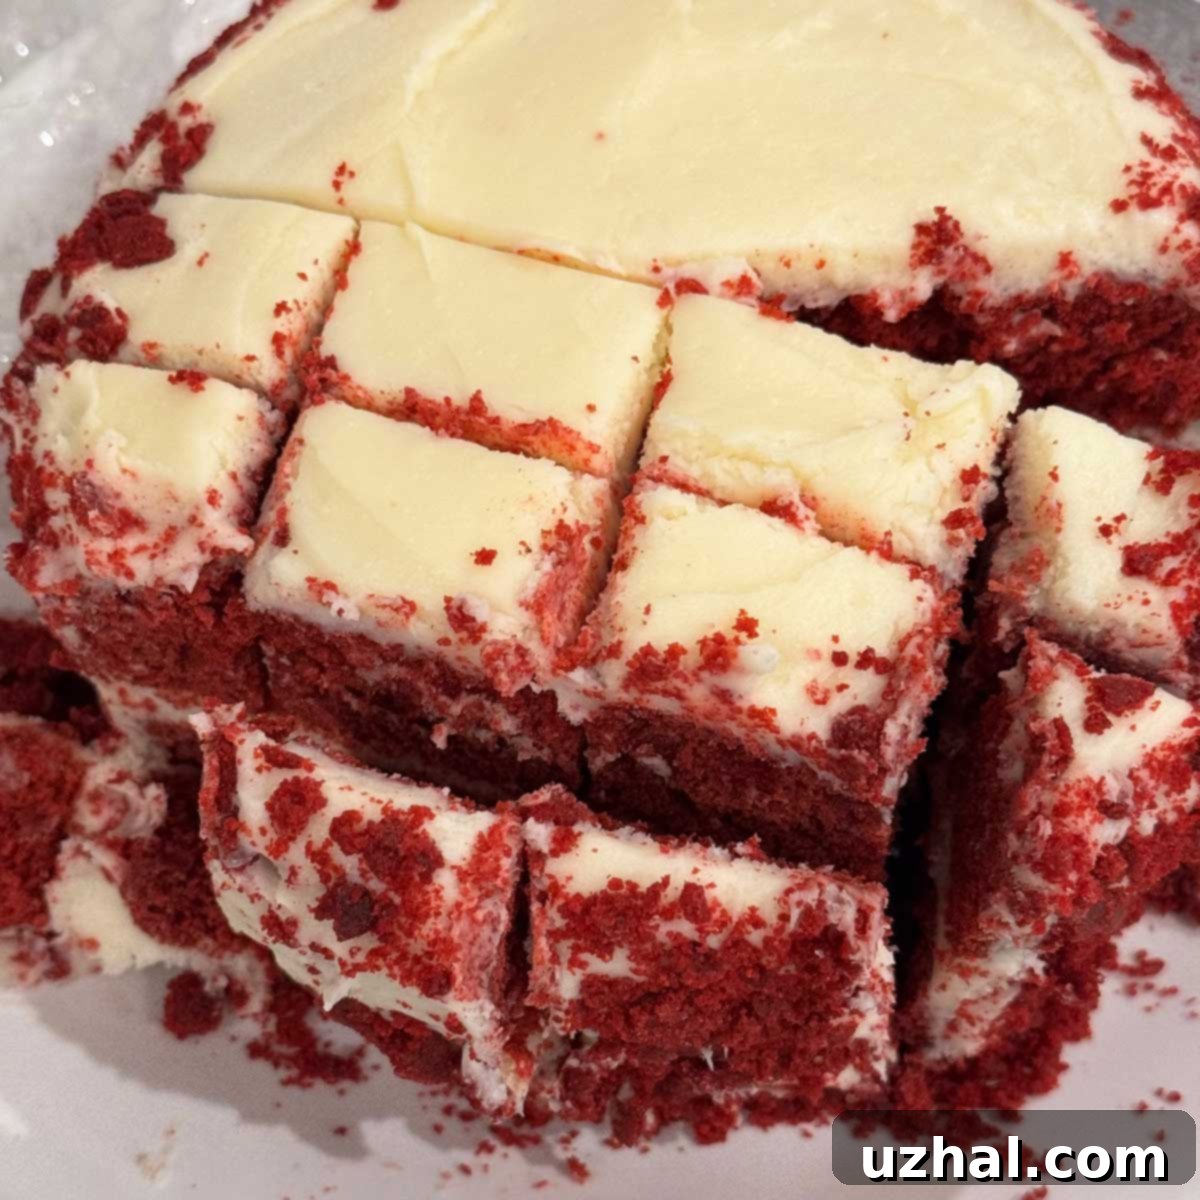
Once the cake layers are completely cool, frost and stack them. If you wish to achieve a decorative crumb effect on the sides of your cake, you can gently level off the bottom cake layer (trimming any domed top). Then, finely crumble the trimmed cake pieces and gently press them onto the sides of the frosted cake. Keep in mind this red velvet cake is quite moist, so these crumbs will also be moist. For a clean finish, apply a thin “crumb coat” of frosting first, chill briefly, then apply your final layer of frosting before adding crumbs. With a careful hand, this detail can be quite charming!
