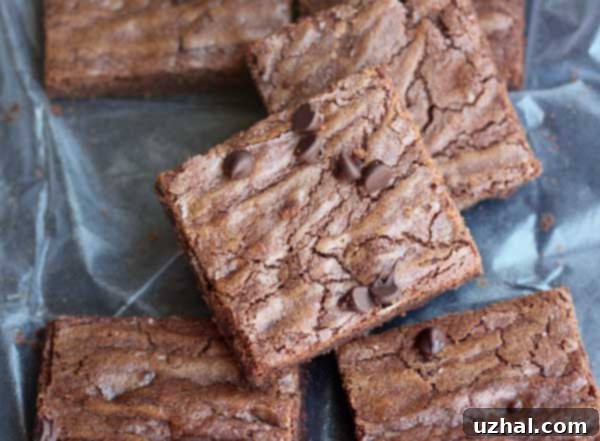
The Best Chewy KitchenAid Mixer Brownies: A Classic Recipe for Dense, Crispy-Edged Delights
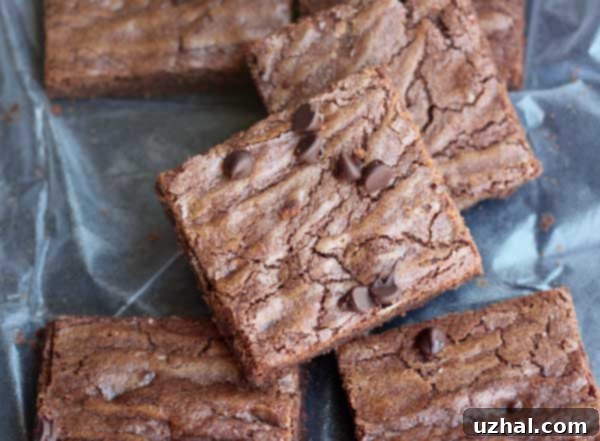
When it comes to homemade brownies, preferences vary widely. Some crave a rich, gooey fudge, while others lean towards a lighter, more cake-like texture. But for those who appreciate a truly satisfying bite, these KitchenAid Mixer Brownies offer something distinctly different and incredibly special. Unlike typical fudgy or cakey counterparts, this cherished recipe yields exceptionally dense and *unmistakably* chewy brownies with perfect crispy edges, making them a standout treat that’s both indulgent and robust.
Unearthing a Classic: The Original KitchenAid Mixer Manual Recipe
As the name suggests, the origin of these remarkable brownies traces back to an unexpected source: the humble KitchenAid stand mixer manual. Many brownie enthusiasts, myself included, might initially anticipate a recipe that involves whipping eggs to a “ribbon stage” and blending with melted chocolate, similar to the method used in classic treats like Julia Child’s famous brownies. Such techniques typically result in a light, airy, and incredibly rich-tasting brownie.
However, this KitchenAid recipe takes a delightful detour. It’s not about achieving lightness or extreme fudginess, but rather a celebration of chewiness and density. It cleverly showcases the robust power and precise speed control of the KitchenAid mixer, creating a unique texture that sets it apart. The high ratings on platforms like Food.com, with one reviewer even calling it her “secret recipe,” were enough to pique my interest. Despite not being my “usual style,” I couldn’t resist putting this stand mixer brownie recipe to the test.
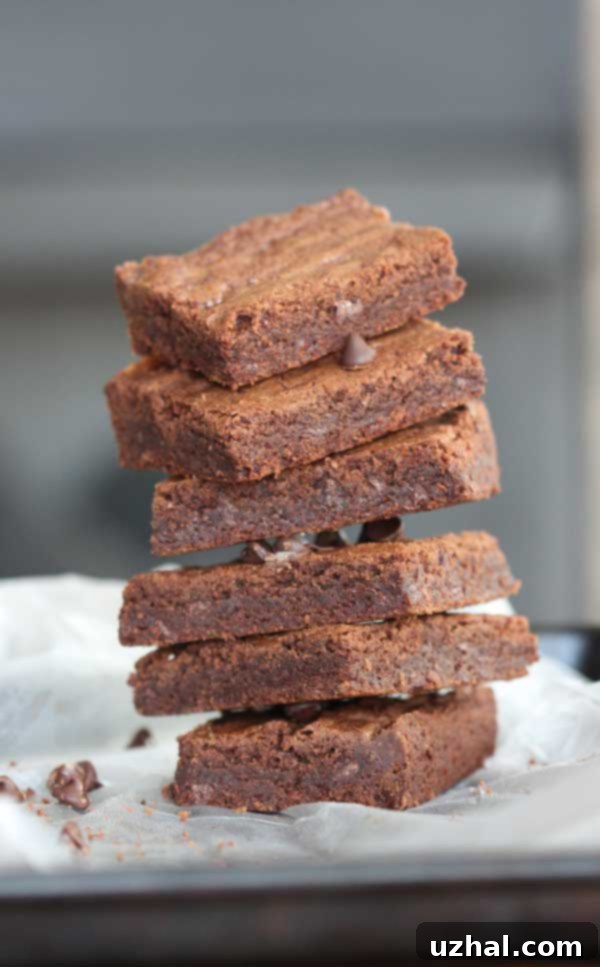
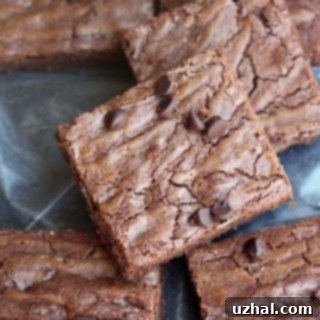
My culinary experiment proved to be a resounding success. Despite the departure from my expected brownie style, these brownies were undeniably delicious. They boasted the highly sought-after crispy edges that my family adores, a characteristic often hard to achieve consistently. Furthermore, their dense and sturdy nature made them incredibly stackable and easy to wrap, an invaluable trait for bake sale contributions or sharing with friends and family. The robust texture ensures they hold up well, making them ideal for transport and gifting. One crucial tip, however, is to keep a vigilant eye on the baking time. The original KitchenAid recipe suggests a 45-minute bake, but in my oven, they were perfectly done in just 30 minutes. Every oven varies, so always trust your instincts and test for doneness rather than relying solely on a timer.
Why Your KitchenAid Mixer is Perfect for These Brownies
The KitchenAid stand mixer isn’t just a convenient appliance; it’s an integral part of what makes these brownies so special. Unlike recipes that require gentle folding or minimal mixing, this recipe leverages the mixer’s power and variable speeds to create its signature dense and chewy texture. The ability to beat butter, sugar, and vanilla on higher speeds for an extended period ensures a thoroughly aerated base, which then, paradoxically, contributes to the chewiness rather than cakeiness when combined with the specific ratios of ingredients. The mixer’s consistent and powerful mixing action guarantees that all ingredients are perfectly incorporated, preventing pockets of unmixed flour or uneven distribution of chocolate. This consistency is key to the uniform density and delightful chewiness of every single brownie. Furthermore, the hands-free operation allows you to prep other ingredients or simply enjoy the process without constant manual effort, making baking these delicious treats even more enjoyable.
Scaling Down: A ⅛ Sheet Pan Size Batch and Adjustments
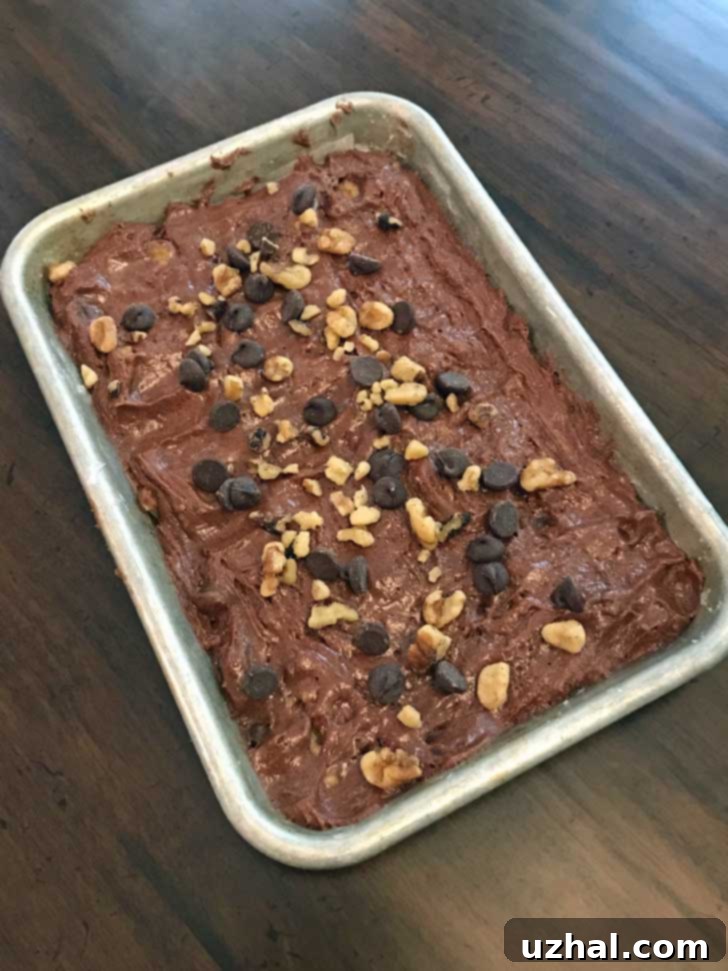
For smaller households or when you simply crave a modest batch of brownies, I’ve successfully adapted this recipe for a ⅛ sheet pan, which typically measures around 9.4 x 6.3 inches. Halving the original recipe yields thinner brownies, which, as expected, require a shorter baking time. My scaled-down batch was ready in approximately 23 minutes. These smaller brownies retained the desirable chewiness but leaned slightly more towards fudginess, likely because I pulled them from the oven a little earlier. The internal temperature of these thinner brownies topped out around 210 degrees F, a touch lower than the full batch. This slight difference in doneness accounts for the extra fudginess, offering a subtle variation in texture that’s equally delightful. The visual transformation of the batter in the pan is also quite interesting; it rises significantly during baking, often reaching the top edge of the pan, only to gracefully sink back down as the brownies cool, creating a pleasingly dense and settled crumb.
Tips for Baking Your Best KitchenAid Brownies
- Ingredient Quality: Use high-quality unsweetened chocolate. It makes a noticeable difference in flavor. For butter, using salted butter and then adjusting the added salt, as indicated in the recipe notes, helps balance the sweetness beautifully. Ensure your eggs and the second stick of butter are at room temperature for optimal creaming.
- Precise Mixing: The instructions call for specific mixer speeds and durations. Adhering to these is crucial. The initial beating of butter, sugar, and vanilla on speed 6 for 2-4 minutes is vital for creating the right base texture before adding eggs and chocolate. Avoid overmixing once the flour is added; mix just until combined to prevent tough brownies.
- Baking Pan and Lining: Lining your pan with nonstick foil or parchment paper is a game-changer. It ensures easy removal and clean cuts, especially for such dense brownies.
- Monitor Bake Time: As highlighted, the baking time can vary significantly from the original manual. Start checking at 25-30 minutes for a 9×13 inch pan. A toothpick inserted into the center should come out with moist crumbs, not wet batter. For precision, an internal temperature of around 210-212°F indicates perfect doneness for a chewy brownie.
- Cool Completely: Patience is key! Allow the brownies to cool completely in the pan before attempting to cut them. This allows them to set properly, enhancing their chewiness and preventing them from crumbling. For the neatest slices, you can even chill them briefly.
Creative Variations and Customizations
While this classic KitchenAid brownie recipe is perfect as is, it also serves as an excellent base for various customizations:
- Extra Chocolate: Fold in a cup of chocolate chips (milk, semi-sweet, or dark) along with the nuts for an added chocolate boost.
- Nutty Additions: Beyond walnuts or pecans, consider adding chopped hazelnuts or even macadamia nuts for a different flavor profile. Lightly toasting nuts before adding them can deepen their flavor.
- Flavor Enhancers: A pinch of espresso powder can intensify the chocolate flavor without adding a coffee taste. A dash of cinnamon or a hint of cayenne pepper can introduce a subtle warmth and complexity. Experiment with other extracts like almond, mint, or even a touch of orange zest.
- Swirls and Toppings: Swirl in a spoonful of peanut butter, Nutella, or softened cream cheese before baking for a marbled effect. Once cooled, these brownies are also a fantastic canvas for a simple chocolate ganache, a dusting of powdered sugar, or a light vanilla buttercream frosting.
Troubleshooting Common Brownie Issues
Even with a reliable recipe, baking can sometimes present challenges. Here are solutions to common brownie problems:
- Brownies are Too Cakey: This often happens due to overmixing the flour, which develops too much gluten, or using too much flour. Ensure you mix only until the flour is just incorporated. Also, check your flour measurements – weighing is always more accurate than using measuring cups.
- Brownies are Too Fudgy/Undercooked: If your brownies are overly gooey in the middle and don’t set, they are likely underbaked. Extend the baking time in 5-minute increments and check the internal temperature.
- Brownies are Dry or Crumbly: The most common cause for dry brownies is overbaking. Keep an eye on the oven and pull them out as soon as they reach the desired doneness. Too little fat or moisture in the recipe can also contribute, but this particular KitchenAid recipe is well-balanced to prevent this if baked correctly.
- Greasy Brownies: This can occur if too much butter or oil is used, or if the melted butter/chocolate mixture wasn’t cooled sufficiently before adding to the creamed mixture, causing it to separate slightly.
- Unevenly Baked: Hot spots in your oven can lead to uneven baking. Rotate your pan halfway through the baking time to ensure a consistent bake.
Storage and Shelf Life
These dense and chewy KitchenAid brownies store beautifully, making them excellent for meal prep or gifting. Once completely cooled, store them in an airtight container at room temperature for up to 3-4 days to maintain their ideal texture. For longer storage, you can freeze them for up to 2-3 months. Wrap individual brownies tightly in plastic wrap, then place them in a freezer-safe bag or container. Thaw at room temperature for a delicious treat anytime.
Have you tried these unique KitchenAid Mixer Brownies? Share your experience!
We’d love to hear your thoughts on this classic recipe. Did you love the crispy edges? Was the chewiness exactly what you were looking for? Your feedback helps us all discover new baking favorites!
- Chocolate Brownie Cookies
- Frosted Fudge Brownies
- One Bowl Peanut Butter Milk Chocolate Cookies
- Thick Cream Cheese Brownies
- Guittard Truffle Brownies
Recipe
KitchenAid Mixer Brownies
Anna
Pin Recipe
Equipment
-
KitchenAid Mixer
Ingredients
- 8 oz / 2 sticks salted butter, divided
- 4 oz / 114 grams unsweetened chocolate best quality, chopped
- 2 cups granulated sugar approximately 14 oz / 390 grams by weight
- 1 teaspoon vanilla extract
- 3 large eggs
- 1 cup all-purpose flour approximately 4.5 oz / 126 grams
- ½ teaspoon salt increase to 1 teaspoon if using unsalted butter
- 1 cup chopped walnuts or pecans
Instructions
-
Preheat your oven to 350 degrees F (175 degrees C). Line a 9×13 inch baking pan with nonstick foil, leaving an overhang on the sides to easily lift the brownies out later.
-
In a small saucepan over low heat or in the top of a double boiler, melt 1 stick (4 oz) of the salted butter and the chopped unsweetened chocolate. Stir until smooth and fully combined. Remove from heat and set aside to cool slightly while you prepare the other ingredients.
-
Place the remaining 4 oz stick of butter (at room temperature), granulated sugar, and vanilla extract into the bowl of your KitchenAid stand mixer.
-
Attach the flat beater to your mixer. Beat the mixture on speed 2 for about 30 seconds to begin combining. Scrape down the sides of the bowl thoroughly, then increase the speed to 6 and beat for 2 full minutes. If your butter was still quite cold, you might want to extend this beating time for another 2 minutes to ensure it’s light and fluffy.
-
Reduce the mixer speed to 4. Add the eggs one at a time, beating for 15 seconds after each addition. Be sure to scrape down the bowl frequently to ensure all ingredients are well incorporated.
-
Pour the cooled chocolate and butter mixture into the mixer bowl. Mix on Speed 2 for 30 seconds until just combined.
-
Stop the mixer and scrape down the sides and bottom of the bowl once more. Add the salt and all-purpose flour. Mix on a low speed, just until the flour is blended into the batter. Do not overmix. Finally, stir in the chopped walnuts or pecans by hand. Pour the batter evenly into your prepared 9×13 inch pan and spread it into an even layer. Bake for approximately 30 minutes (note: the original manual suggests 45 minutes, but 30 minutes is typically more accurate for a chewy texture).
-
Once baked, remove the pan from the oven and let the brownies cool completely on a wire rack. This is crucial for achieving the perfect chewy texture and for clean, neat cuts. Once fully cooled, lift the brownies out of the pan using the foil overhang, transfer to a cutting board, and slice into squares. Serve and enjoy!
Notes
