Mastering Homemade Ice Cream Sandwiches: Your Guide to a Classic Dessert
There’s something uniquely comforting and undeniably delicious about an ice cream sandwich. Perhaps it’s the nostalgia of childhood summers or the simple pleasure of a perfectly balanced treat. For years, I’ve refined my recipe for homemade ice cream sandwiches, a journey that started with humble beginnings and less-than-stellar photography. Today, I’m thrilled to share an updated version, complete with fresh visuals and detailed notes to ensure your success in crafting these delightful frozen desserts. This recipe forms a wonderful foundation, versatile enough to be paired with an array of ice cream flavors, from classic vanilla and rich chocolate to adventurous choices like chocolate mint, vibrant Neapolitan, or even a sophisticated bourbon pecan.
The Quest for the Perfect Ice Cream Sandwich Shape
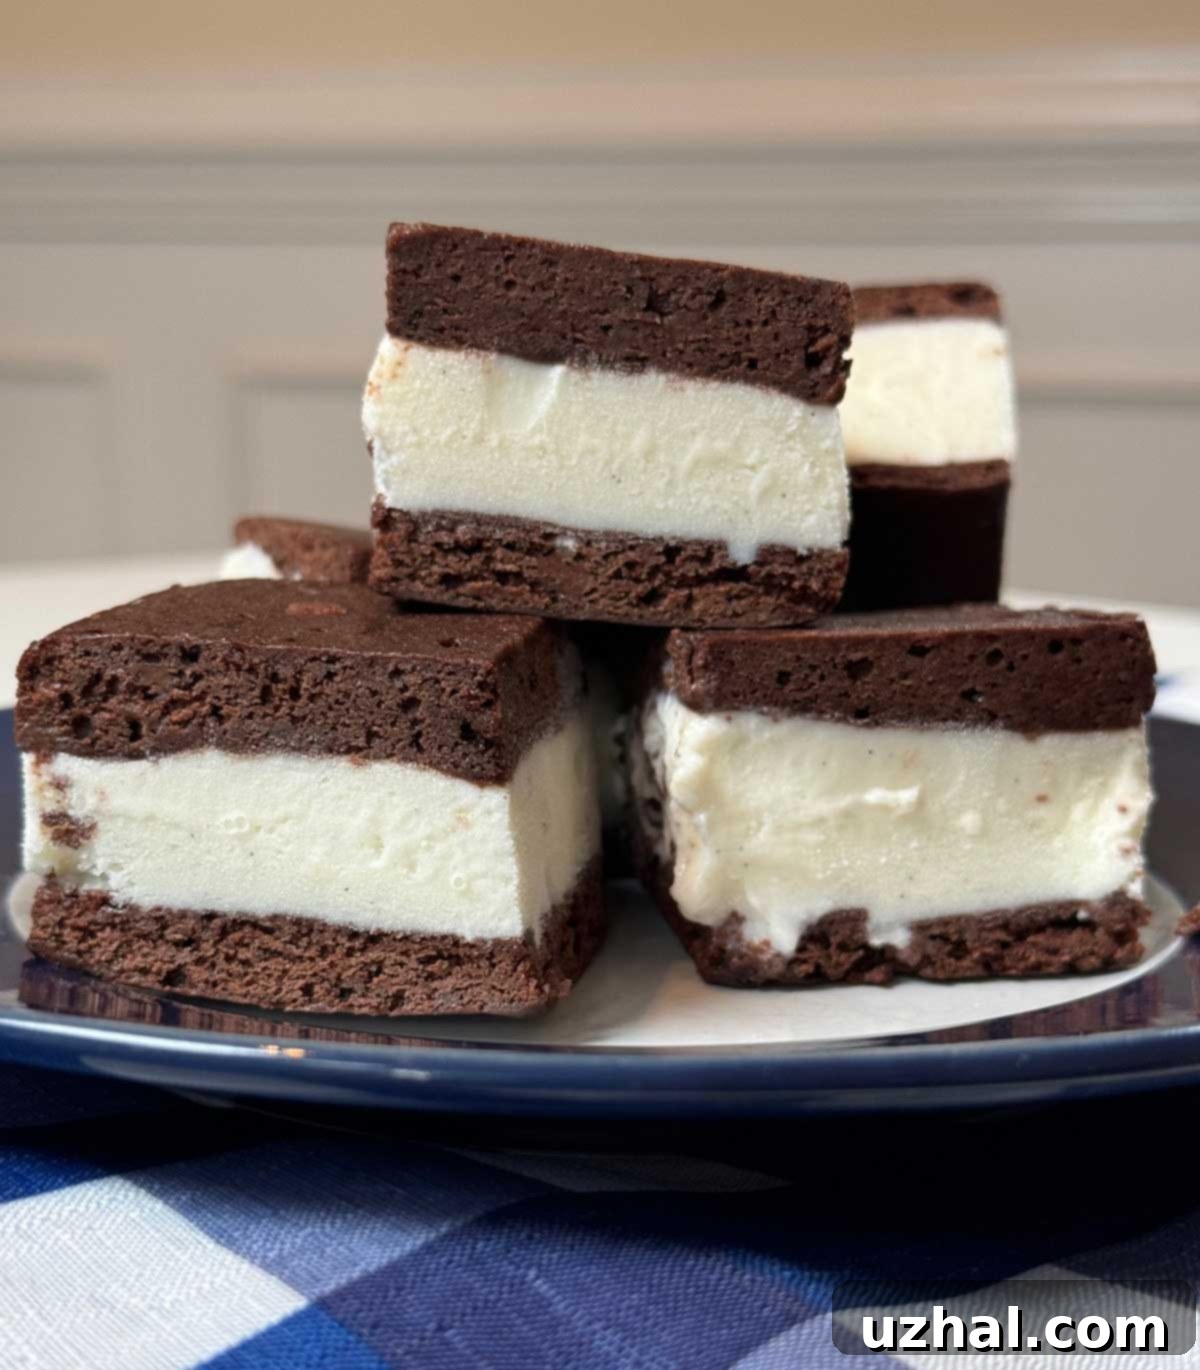
The journey to perfecting homemade ice cream sandwiches isn’t just about taste; it’s also about form. My initial inspiration for this recipe came from a 2002 Cook’s Illustrated article. Their innovative approach involved creating round sandwiches by slicing directly through pint-sized paper ice cream cartons, offering a clever shortcut for perfectly sized ice cream discs. While ingenious, I found myself drawn to a rectangular shape, perhaps seeking a more traditional aesthetic. However, my early attempts at rectangles often resulted in a somewhat messy, less refined look. Through experimentation, I’ve discovered that squares offer the best of all worlds: they are easy to cut, less prone to structural mishaps, and present beautifully. The uniform shape ensures a consistent cookie-to-ice-cream ratio in every bite, making for a truly satisfying experience.
Achieving a clean, uniform shape for your ice cream sandwiches is key to their visual appeal and ease of eating. While rounds have a certain charm, and rectangles can be classic, squares strike an excellent balance between tradition and practicality. They minimize waste, are straightforward to portion, and fit neatly in the freezer. When cutting your baked brownie base, aiming for even squares or slightly elongated rectangles will provide the ideal canvas for your frozen filling. Don’t worry if your first few cuts aren’t perfectly straight; a little trimming after freezing can always refine the edges.
Crafting the Ideal Chocolate Brownie Base
The heart of any exceptional ice cream sandwich lies in its base, and for this recipe, it’s a wonderfully soft, chewy brownie-like cookie. This specific brownie base is designed to be baked in a 17×11 inch pan, often referred to as a half-sheet pan or jelly-roll pan, which offers approximately 187 square inches of baking surface. This size is crucial for achieving the thin yet sturdy consistency needed for the sandwich cookies. If you don’t have this exact pan, there are workable alternatives. Many budget-friendly disposable pans from stores like Dollar Tree come close in size. Alternatively, you can combine a standard 9×13 inch pan (approximately 117 square inches) with an 8-inch square pan (64 square inches), giving you a combined surface area of 181 square inches, which is quite close to the original. For those looking to make a smaller batch, a 9-inch square pan (81 square inches) can accommodate a half batch of the batter, though the cookies will be slightly thicker than the full-batch version, which can also be delightful for a heartier sandwich.
The choice of pan affects not just the size but also the baking time and ultimately, the cookie’s texture. A thinner base bakes more quickly and tends to be more pliable when frozen, which is ideal for an ice cream sandwich that won’t crack or crumble as you bite into it. When adapting to different pan sizes, keep an eye on the oven, as baking times will vary. The goal is a firm yet still soft brownie, not a crisp cookie. Lining your pan with parchment paper is non-negotiable for easy removal, ensuring your perfectly baked base slides out without a hitch, ready for assembly.
Achieving the Perfect Taste and Texture Balance
So, what sets these homemade ice cream sandwiches apart? It’s a harmonious blend of flavor and, most importantly, an exceptional texture. The brownie base itself offers a solid, satisfying chocolate flavor, which will vary subtly depending on the quality and type of cocoa powder you choose. However, the true star of this show is undoubtedly the ice cream filling. The chocolate cookie serves as the perfect complement, enhancing the ice cream without overpowering it, allowing the chosen flavor of your frozen treat to shine through.
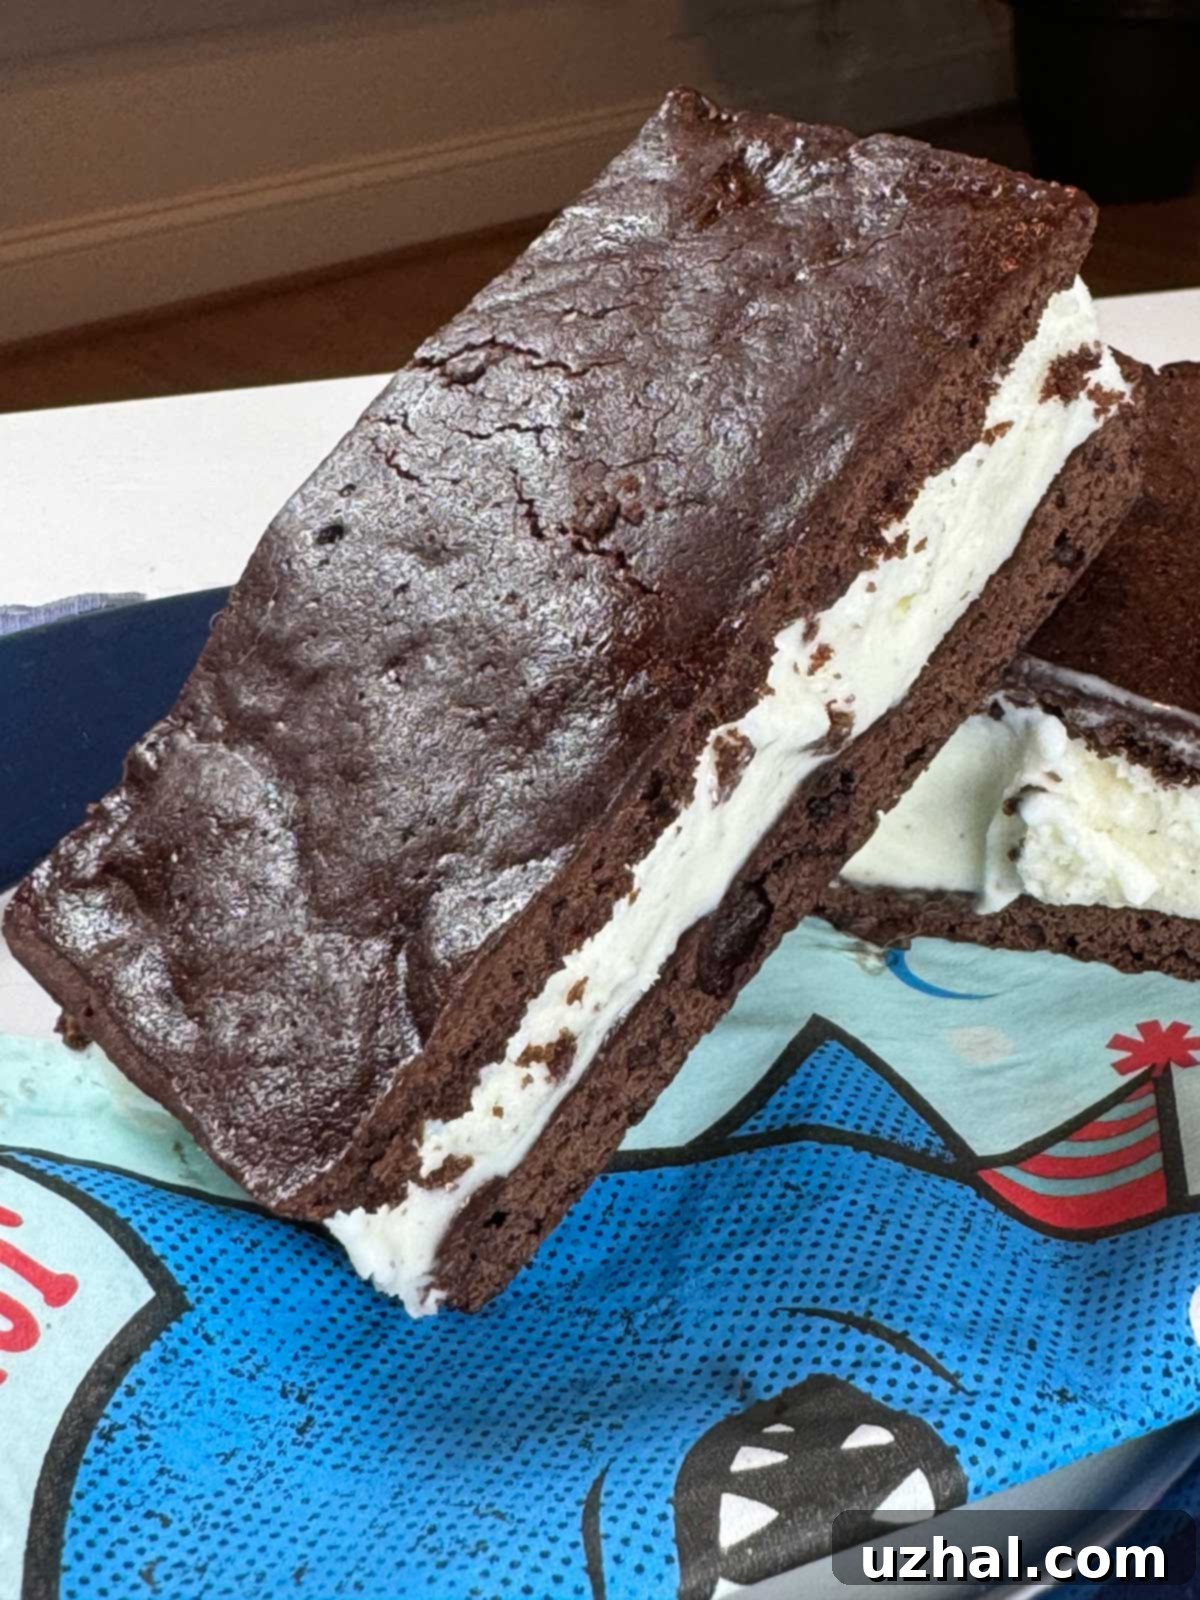
What I find truly remarkable about this particular chocolate ice cream sandwich base is its texture. It’s incredibly soft, with a delightful chewiness that closely mimics the beloved texture of store-bought ice cream sandwiches. This isn’t a hard, crumbly cookie that shatters upon first bite; instead, it yields gently, creating a seamless, enjoyable eating experience. This characteristic makes it ideal not just for individual sandwiches, but also for more elaborate desserts like an ice cream sandwich cake, where a pliable base is essential. I once compared this recipe to a well-known one from The New York Times Cooking (which I highly recommend subscribing to, it’s truly worth it). While their recipe was good, I noted it was slightly greasier and perhaps not as soft when frozen, highlighting the unique qualities of this recipe’s balanced fat and moisture content. The key to this soft, non-greasy outcome lies in the precise measurements of ingredients and the specific baking method, ensuring the cookies remain tender and easy to bite through even when frozen solid. Using melted butter, for instance, contributes to a denser, chewier cookie rather than a cakey one, which is exactly what we want here.
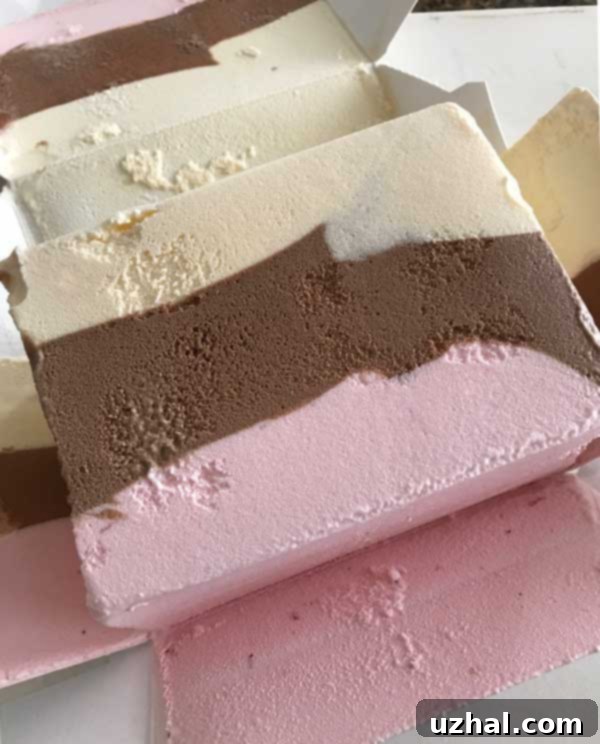
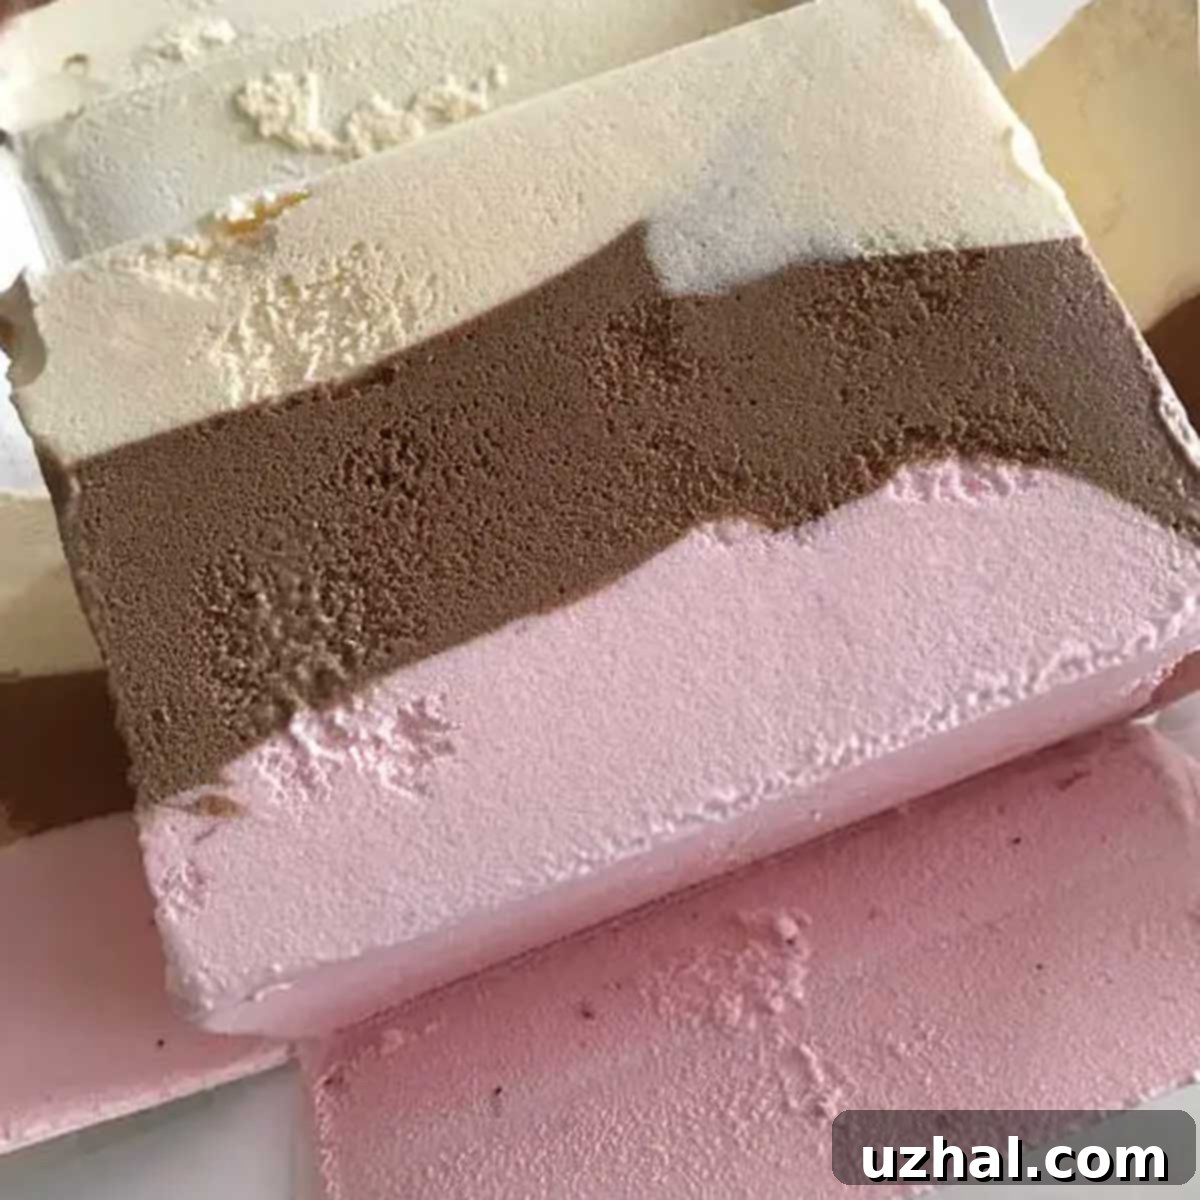
Speaking of delicious fillings, that image of Neapolitan ice cream always brings a smile to my face. While I may apologize for its persistent presence, it serves as a wonderful reminder of the endless possibilities for customization. It also motivates me to make these sandwiches again soon, specifically with Neapolitan, carefully positioning the squares so that each homemade ice cream sandwich boasts three distinct stripes of flavor. Imagine the joy of biting into vanilla, chocolate, and strawberry all at once! This recipe truly encourages creativity, allowing you to experiment with your favorite store-bought or homemade ice cream flavors to create a personalized dessert experience. Whether you prefer the classic combination of vanilla ice cream with chocolate cookies, or something more adventurous like pistachio or coffee ice cream, this base is perfectly adaptable.
Beyond flavor, the texture of the brownie base is paramount. It must be soft enough to provide a pleasant contrast to the frozen ice cream, yet firm enough to hold its shape. Our recipe achieves this delicate balance through careful measurement of flour and cocoa, ensuring the cookies are not overly dry or cakey. The addition of chocolate syrup also contributes to the moistness and deep chocolate flavor, preventing the cookies from becoming brittle in the freezer. This thoughtful formulation is what elevates these homemade treats above mere cookies with ice cream, transforming them into genuine ice cream sandwiches reminiscent of the finest store-bought varieties, but with the undeniable freshness and quality of a homemade creation.
Don’t be afraid to adjust the cocoa powder to your preference. A natural cocoa powder, like your standard Hershey’s or Ghirardelli, will yield a slightly lighter, fluffier cake. Dutch-process cocoa, on the other hand, provides a darker color and a milder, less acidic chocolate flavor. Both work beautifully in this recipe; the key is accurate measurement. Over-measuring cocoa can lead to a dry, crumbly cookie, which we want to avoid. For best results, I highly recommend weighing your ingredients, especially the flour and cocoa, to achieve the consistent texture that makes these sandwiches so special. This attention to detail ensures a base that remains soft and pliable, even when frozen, providing the perfect embrace for your chosen ice cream.
Making homemade ice cream sandwiches is also a fantastic activity to do with family or friends, especially during warmer months. The process is straightforward, and the result is a truly impressive dessert that tastes infinitely better than anything you can buy. They make wonderful treats for parties, barbecues, or simply as a special indulgence after a long day. Plus, having a stash of these in your freezer means you’re always just moments away from a delightful, cooling refreshment.
- Cake Mix Neapolitan Layer Cake
- Marbled Loaf Pan Neapolitan Cake
- Neapolitan Chocolate Chip Oreo Brownie Bars
- Scratch Neapolitan Layer Cake
- Chocolate Banana Ice Cream Sandwiches
Recipe
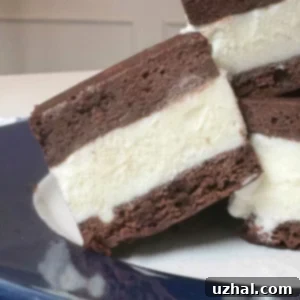
Homemade Ice Cream Sandwiches
Anna
Pin Recipe
Ingredients
- 1 cup unbleached all-purpose flour or weigh out exactly 5 oz/140 grams**
- ½ cup Dutch process cocoa powder (measure carefully) natural okay, too**
- ¼ teaspoon salt
- ⅛ teaspoon baking soda
- ⅓ cup mini chocolate chips (optional)
- 2 large eggs
- ⅔ cup granulated sugar (130 grams)
- ¼ cup chocolate syrup
- ½ teaspoon vanilla extract
- 8 tablespoons unsalted butter, melted and cooled (114 grams)
- 2 pints of your favorite ice cream.
Instructions
-
Preheat oven to 350 degrees F (175 C).
-
Line an 11×17 inch jelly-roll pan, or a pan of similar dimensions, with parchment paper. Ensure the parchment extends slightly over the edges for easy lifting. If you are making a half batch, a 9-inch square pan is a good alternative.
-
In a medium-sized bowl, meticulously combine the all-purpose flour, cocoa powder, salt, and baking soda. Whisk them together thoroughly to ensure no lumps remain. If desired, you can gently fold in the mini chocolate chips at this stage for an added textural element and burst of chocolate flavor.
-
In a separate, larger mixing bowl, use a handheld electric mixer to beat the eggs and granulated sugar for approximately one minute. Continue by beating in the chocolate syrup, vanilla extract, and the cooled melted butter until the mixture achieves a uniform, light brown color. This step incorporates air and helps create the signature texture. Finally, with a heavy-duty rubber scraper or a sturdy spoon, carefully fold in the dry flour mixture until it is just incorporated and no streaks of flour are visible. Avoid overmixing, which can lead to tough cookies.
-
Pour the thick batter into your prepared, parchment-lined pan. Due to its dense consistency, you will need to actively scrape the batter from the bowl and then spread it as evenly as possible across the entire surface of the pan. The resulting layer will be relatively thin, which is exactly what we want for ice cream sandwich cookies. To achieve an exceptionally smooth and even top surface, which is important as the brownie will not change shape significantly during baking, a helpful tip is to lightly dampen your fingertips with a little water and gently tap, tap, tap the surface. Be careful not to transfer too much water directly onto the batter. This method helps to smooth out any ridges or uneven spots.
-
Bake the brownie base for 10-12 minutes, or potentially up to 15 minutes, depending on your oven. The cookies are done when they appear firm to the touch and are set. Remove the pan from the oven and allow the cookie to cool completely within the pan. Once fully cooled, carefully lift the entire cookie from the pan using the parchment paper and transfer it to a large cutting board.
-
Once cooled, cut the cookie lengthwise down the middle to create two long, even rectangles. Then, cut each of these rectangles cross-wise into two more pieces, yielding four manageable rectangles in total (this makes them significantly easier to handle during assembly). Place one of these baked cookie rectangles onto a large sheet of plastic wrap. Evenly spoon your softened favorite ice cream over the entire surface of this cookie layer. Gently cover the ice cream with a second cookie rectangle and press down slightly to ensure the ice cream spreads to the edges and adheres well. Wrap this assembled sandwich tightly in the plastic wrap. Repeat this process with the remaining two cookie rectangles. Place both wrapped, unassembled sandwiches onto a baking sheet and transfer them to the freezer. Allow them to freeze overnight, or until they are very firm and solid. This crucial freezing time ensures the sandwiches are stable and easy to cut.
-
Once thoroughly frozen, retrieve the large ice cream sandwich blocks from the freezer. Using a large, sharp knife, carefully trim any uneven sides to give your homemade ice cream sandwiches a clean, professional-looking edge. Then, cut each large section into four individual, perfectly portioned rectangles. Serve immediately or store individually wrapped in the freezer for future enjoyment.
Notes
When it comes to cocoa powder, you have options! Dutch process cocoa will give you a darker, richer color and a smoother, less bitter chocolate flavor. Natural cocoa powder, like regular Hershey’s or Ghirardelli, can also be used and will result in a slightly lighter, fluffier cookie. Whichever you choose, precise measurement is crucial. Too much cocoa powder can quickly dry out your cookies, making them less pliable and prone to cracking when frozen. If you can, use a kitchen scale to weigh your cocoa powder for the best consistency and texture in your finished ice cream sandwiches.
