Indulge in Decadent Black Forest Cookies: A Double Chocolate, Gluten-Free Friendly Recipe
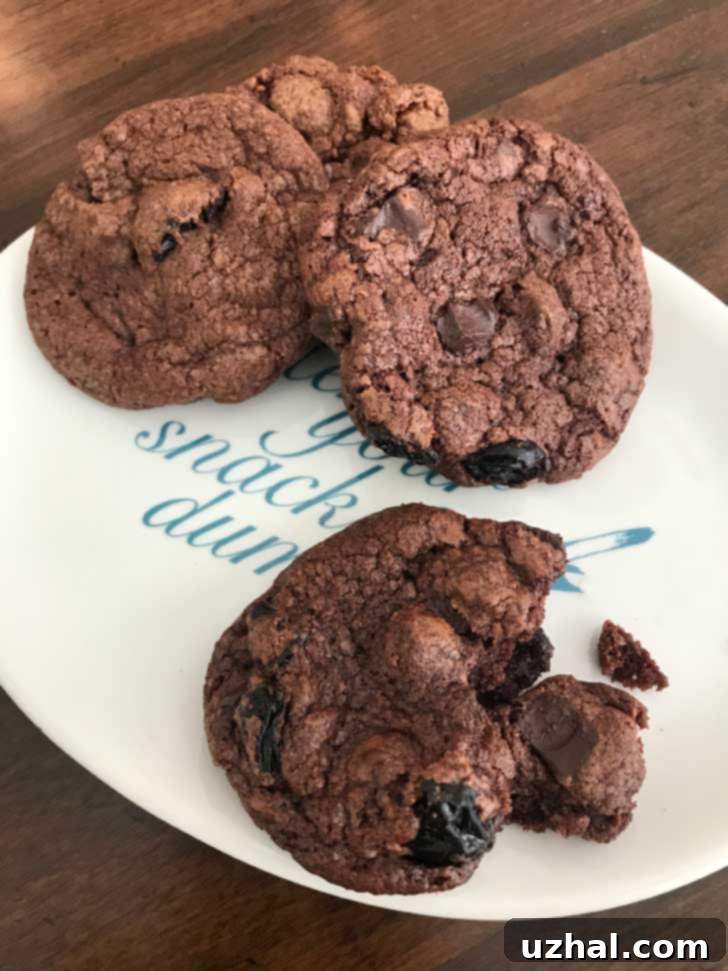
The culinary journey often begins with an unexpected ingredient, and for these luscious Black Forest Cookies, it was the leftover juice from a jar of Aldi Morello cherries. For too long, that vibrant, ruby-red liquid sat in the fridge, promising future interesting drinks that never materialized. But not this time! This time, it became the secret weapon, transforming humble dried cherries into plump, juicy bursts of flavor and adding a subtle, dark fruit complexity to our double chocolate batter. This recipe isn’t just about avoiding waste; it’s about elevating a simple cookie into a truly gourmet experience, reminiscent of the classic Black Forest cake, but in a delightfully chewy, handheld form. And for those with dietary considerations, we’ve perfected a fantastic gluten-free version, ensuring everyone can savor this rich, chocolatey treat.

The Magic of Melted Chocolate in Your Cookies
This exquisite Black Forest cookie recipe is a delightful spin-off of an older, much-loved double chocolate chip cookie creation by the talented Carole Water. What makes this recipe particularly compelling, especially in today’s baking landscape, is its generous use of melted chocolate paired with a surprisingly small amount of butter. In times past, when cocoa powder was a more economical choice, many double chocolate cookie recipes leaned heavily on a combination of cocoa and butter to achieve that intense chocolate flavor. However, ingredient costs fluctuate, and currently, incorporating more melted chocolate often proves to be a more cost-effective way to achieve superior flavor and texture.
Using melted chocolate, whether it’s rich semisweet or bittersweet, contributes significantly to the cookies’ characteristic deep flavor and wonderfully chewy texture. Unlike cocoa powder, which can sometimes lead to a drier, more cake-like crumb, melted chocolate introduces additional fats and cocoa butter, resulting in a fudgier, more intensely flavored cookie that spreads beautifully. This method also allows for a greater depth of flavor, as you’re using chocolate in its pure, solid form, rather than just the defatted cocoa solids. Of course, the precise economics can vary depending on your local grocery store prices and what’s on sale, but the quality difference is undeniable. It’s truly fascinating to observe how the subtle chemistry of ingredients can impact the final bake. For instance, I even have a phenomenal triple chocolate cookie recipe that ingeniously utilizes a product like “I Can’t Believe It’s Not Butter” straight from the tub. This just goes to show that successful baking often involves creative experimentation and an open mind to unconventional approaches to achieve perfect results.
When selecting your chocolate for melting, opt for high-quality baking bars or blocks rather than chocolate chips. Baking chocolate is formulated to melt smoothly and evenly, creating a consistent batter, whereas chocolate chips often contain stabilizers that prevent them from fully melting or spreading properly in cookies, which can lead to a less desirable texture. The richness and quality of your melted chocolate will be directly reflected in the final taste of these Black Forest gems, making it a crucial component in achieving that truly decadent, fudgy cookie experience.
Crafting Perfect Gluten-Free Black Forest Cookies
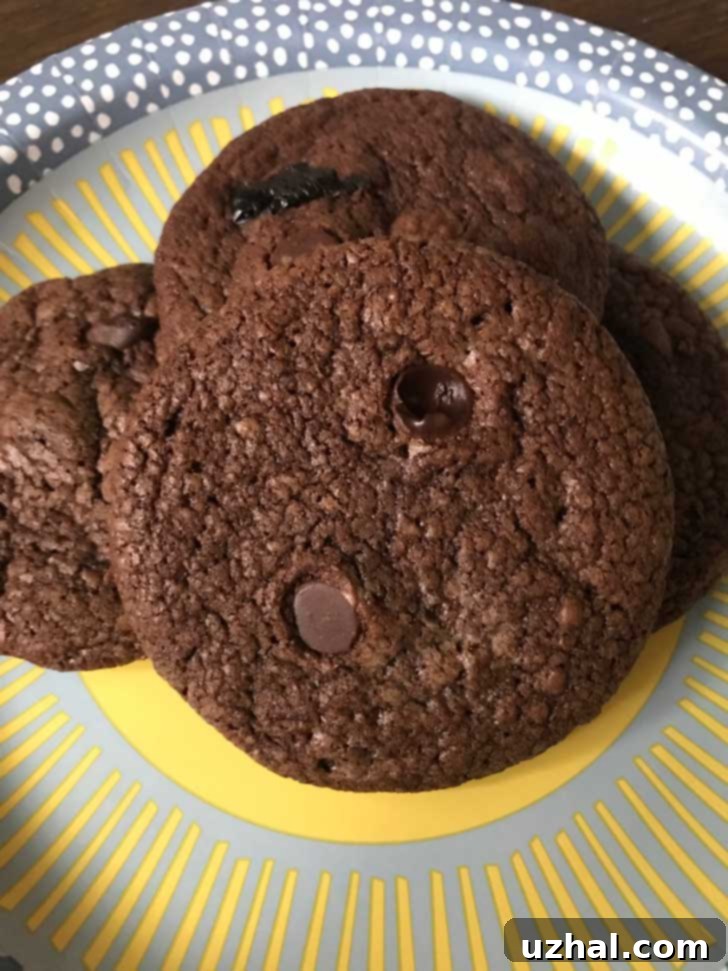
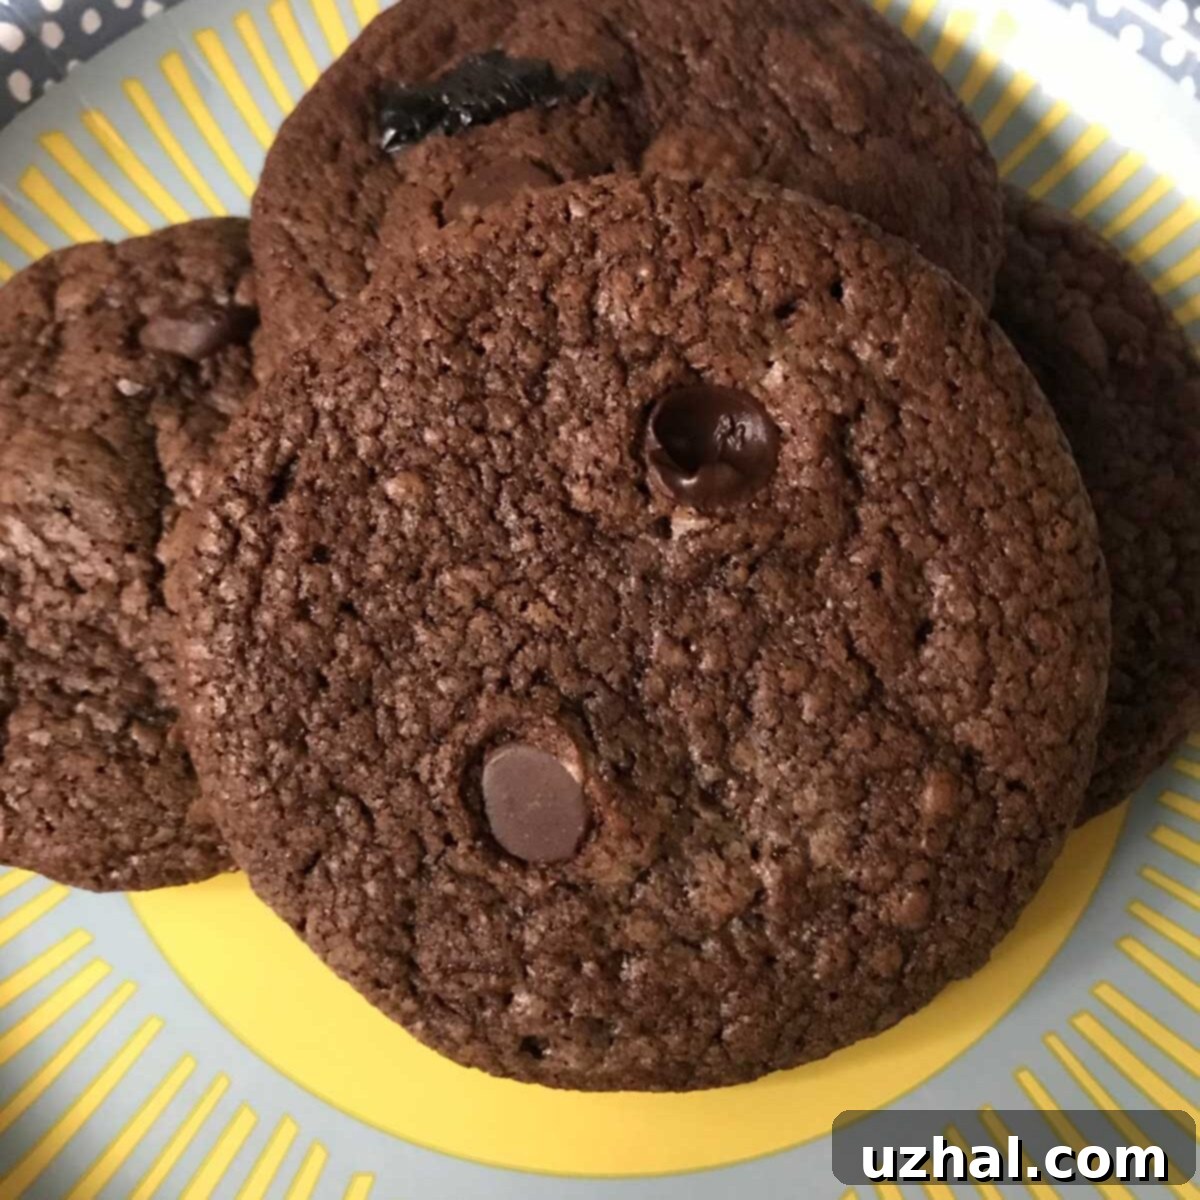
Developing a robust gluten-free option was a key goal for these Black Forest Cookies, and the results have been wonderfully rewarding. This particular recipe was rigorously tested using both traditional all-purpose flour and King Arthur’s Measure for Measure gluten-free blend. Both versions yielded delicious cookies, although it’s worth noting that they presented with distinctly different appearances and textures. The gluten-free cookies tended to be a bit more dense and less prone to extensive spreading, often showcasing a slightly paler hue compared to their all-purpose counterparts, even with the same amount of chocolate and cocoa.
The world of gluten-free baking is an exciting frontier, filled with continuous learning and fascinating discoveries about how different flour blends behave. Each brand formulates its blends with varying ratios of rice flour, tapioca starch, potato starch, and xanthan gum, all of which contribute unique characteristics to the final product. King Arthur’s Measure for Measure blend, for instance, is known for its reliability and ease of use in many recipes, often yielding excellent results without significant adjustments. Its carefully balanced composition helps to mimic the structure and elasticity that gluten typically provides, leading to cookies that are both tender and satisfyingly chewy.
My exploration into gluten-free flours is far from over! Next on the testing agenda is the equivalent Pillsbury gluten-free blend, which I recently acquired. I’m also keen to experiment with Bob’s Red Mill 1:1 Baking Flour and Cup4Cup in future batches. Each blend promises a slightly different outcome, influencing everything from the cookie’s spread and chewiness to its moisture content and overall flavor profile. Understanding these nuances is what makes gluten-free baking so captivating.
While many commercial gluten-free flour blends perform exceptionally well in cookie and cake recipes, creating gluten-free yeast bread remains a significant challenge. The absence of gluten’s elastic network makes it incredibly difficult to achieve the light, airy, and chewy texture characteristic of traditional yeast breads. In such cases, bakers are often better served by creating their own custom gluten-free flour blends, tailored to the specific needs of yeast-leavened dough, rather than relying on general-purpose commercial mixes. However, for cookies like these Black Forest delights, the ready-made blends offer a convenient and highly effective path to delicious, inclusive baking.

Essential Ingredient and Baking Notes for Perfect Cookies
While these Black Forest Cookies are remarkably easy to prepare, paying close attention to a couple of crucial details will ensure your baking success and result in truly exceptional treats. These two recommendations are fundamental to achieving the desired texture and spread:
- **Avoid Chocolate Chips for Melting:** This is perhaps the most critical tip. Do not, under any circumstances, use standard chocolate chips for the melted chocolate component of the recipe. Commercial chocolate chips are formulated with stabilizers (such as additional lecithin) that help them maintain their shape when baked, which is great for chocolate chip cookies, but detrimental when you need the chocolate to melt smoothly and contribute to the cookie’s spread. If you use chocolate chips for melting, your cookies are likely to be dense, cakey, and won’t spread properly, resulting in a less appealing texture. Instead, opt for high-quality baking chocolate bars or blocks (semisweet or bittersweet) that are designed to melt into a silky-smooth consistency. This ensures the correct fat balance in your dough, promoting the ideal fudgy texture and consistent spread.
- **Mind the Temperature of Your Ingredients:** The temperature of your ingredients plays a pivotal role in the emulsification of your dough and the final texture of your cookies.
- **Creamed Butter and Sugar Mixture:** This should be slightly cool, but not cold. When butter and sugar are creamed together, air is incorporated, which contributes to the cookies’ lift and tender crumb. If the butter is too warm, it won’t hold enough air; if it’s too cold, it won’t cream properly. A slightly cool temperature ensures the mixture is light and fluffy.
- **Melted Chocolate Mixture:** This should be just a tad warm, not hot, and definitely not cool. When you incorporate the melted chocolate, it needs to be warm enough to blend smoothly with the creamed butter and egg mixture without seizing or clumping. However, if the melted chocolate is too hot, it can scramble the egg in the batter. Conversely, if it cools too much and begins to solidify, the entire batter will become incredibly stiff and difficult to mix, leading to an inconsistent dough and poorly formed cookies. The ideal consistency for your batter should resemble a soft, thick cupcake or muffin batter – easily scoopable yet substantial.
Beyond these key points, remember the importance of properly preparing your cherries. Soaking dried cherries in juice (especially the reserved Morello cherry juice!) rehydrates them, making them plump and juicy, preventing them from drawing moisture from your cookies during baking. This also infuses them with even more delightful cherry flavor. For best results, allow them to soak for at least an hour, or even overnight for maximum plumpness. Also, always line your baking sheets with parchment paper to prevent sticking and ensure even baking. Chilling the dough, even briefly, can also help control spread and create a chewier cookie, making it a valuable extra step if time allows.
Recipe

Black Forest Cookies
Anna
Pin Recipe
Ingredients
- ½ cup dried cherries or cherry flavored cranberries (feel free to use more or less to taste)
- ⅓ to ½ cup cherry juice or water or enough to soak the cherries
- 4 oz semisweet or bittersweet chocolate, chopped (114 grams)
- ¼ cup unsalted butter, cut into small pieces (56 grams)
- 6 tablespoons granulated sugar (75 grams)
- ¼ cup packed brown sugar, light or dark okay (50grams)
- 1 large egg
- ¾ teaspoon vanilla extract
- ½ cup all-purpose flour or a gluten-free blend (70 grams)
- 1 tablespoon Dutch unsweetened cocoa powder (6 grams)
- ½ teaspoon baking powder
- ¼ teaspoon salt plus a small pinch
- 1 cup chocolate chunks or chocolate chips or chopped semisweet or dark chocolate
Instructions
-
Soak the cherries for at least one hour or two (or overnight) in cherry juice or water. This step is crucial for rehydrating the dried cherries, making them plump and juicy and preventing them from drying out your cookies.
-
In a microwave-safe bowl, heat the chopped chocolate on high for 30 seconds; Stir well. Repeat this process in short intervals, stirring thoroughly after each, until the chocolate is completely melted and smooth. Alternatively, if your microwave has lower power settings, use 50% power and stir every 60 seconds to prevent scorching. Set the melted chocolate aside to cool slightly, allowing it to become just warm, but do not let it cool completely and solidify.
-
In a separate large mixing bowl, using an electric mixer, beat the unsalted butter and both the granulated sugar and brown sugar until the mixture is creamy and light in color. Remember to scrape down the sides of the bowl frequently to ensure everything is evenly combined. Beat in the large egg and vanilla extract until well incorporated. Next, gradually beat in the just-slightly-warm melted chocolate, ensuring it’s fully blended. After adding the chocolate, measure and beat in exactly 1 tablespoon of the cherry juice (or water) you used for soaking the cherries. Drain and discard the remaining soaking liquid from the cherries.
-
In a medium bowl, whisk together the all-purpose flour (or gluten-free blend), Dutch unsweetened cocoa powder, baking powder, and salt. Whisk well to ensure all dry ingredients are evenly distributed.
-
Add the dry flour mixture to the wet chocolate mixture. Stir gently until just blended, being careful not to overmix. Overmixing can lead to tougher cookies. Finally, stir in the drained, plumped cherries and the chocolate chunks.
-
If you plan to bake immediately, preheat your oven to 350 degrees F (175 degrees C). Line your baking sheets with parchment paper; this prevents sticking and ensures even baking.
-
Using a medium-sized cookie scoop (about 1.5-2 tablespoons), scoop out balls of dough and arrange them on the prepared baking sheets, spacing them about 2 ½ inches apart to allow for spreading. If you prefer to bake later, arrange the scooped dough balls on a dinner plate lined with wax paper or plastic wrap and chill until ready to bake. For very neat, perfectly round cookies, you can chill the dough briefly (15-30 minutes) then roll the balls between your palms until they are compact and smooth. Otherwise, leaving them a bit rough will give them a more rustic, homemade appearance.
-
Bake one sheet at a time at 350 degrees F (175 degrees C) for approximately 12 minutes. Cookies should be set at the edges but still slightly soft in the center. Avoid overbaking, which can lead to dry cookies. Let the cookies cool on the baking sheet for about 10 minutes to allow them to firm up, then carefully transfer them to a wire rack to cool completely. This ensures they maintain their shape and develop a perfectly chewy texture.
Notes
Tips for Perfect Black Forest Cookies Every Time
Achieving bakery-quality Black Forest Cookies at home is entirely possible with a few extra considerations. Beyond the core recipe, these tips will help you perfect your technique and tailor the cookies to your taste:
- **Chocolate Quality Matters:** For the melted chocolate, invest in good quality baking chocolate. The difference in flavor is noticeable. For the chocolate chunks, feel free to experiment with different types – dark, milk, or even white chocolate chunks can add interesting textural and flavor contrasts.
- **Cherry Choices:** While Morello cherries are fantastic, any good quality dried tart cherry will work beautifully. If you can’t find dried cherries, cranberry-cherry blends or even regular dried cranberries can be used, though the flavor profile will shift slightly. Plumping them in cherry liqueur (like Kirsch, if you’re not avoiding alcohol) instead of juice can add another layer of traditional Black Forest flavor.
- **Chill Time Benefits:** If you have the luxury of time, chilling the dough for at least 30 minutes (or even a few hours) before baking can dramatically improve the cookies’ texture. Chilled dough spreads less, resulting in thicker, chewier cookies with a more concentrated flavor. It also makes the dough easier to handle and shape into uniform balls.
- **Don’t Overbake:** These cookies are meant to be fudgy and chewy. They may appear slightly underbaked in the center when you remove them from the oven, but they will continue to set as they cool on the baking sheet. Overbaking will lead to dry, crumbly cookies, losing that desirable Black Forest richness.
- **Storage:** Store your baked Black Forest Cookies in an airtight container at room temperature for up to 3-4 days to maintain their freshness and chewiness. For longer storage, you can freeze them for up to 2-3 months. Thaw at room temperature when ready to enjoy.
The Allure of Black Forest Flavor in a Cookie
The inspiration for these cookies comes directly from the beloved Black Forest cake (Schwarzwälder Kirschtorte), a German dessert renowned for its rich layers of chocolate sponge cake, whipped cream, and sour cherries, often soaked in Kirschwasser (a cherry brandy). Translating such an iconic, multi-layered dessert into a single cookie is a delightful challenge, and these Black Forest Cookies rise to the occasion beautifully. They capture the essence of the cake – the deep, dark chocolate, the tangy-sweet burst of cherries, and a hint of luxurious indulgence – all in a convenient, bite-sized form.
The double chocolate aspect provides the robust cocoa foundation, while the plump, rehydrated cherries mimic the juicy fruit found in the cake. By carefully balancing the sweetness and the tartness, these cookies offer a sophisticated flavor profile that appeals to chocolate lovers and fruit dessert enthusiasts alike. Whether you’re a long-time fan of Black Forest desserts or simply looking for a new, exciting chocolate cookie recipe, these gluten-free friendly Black Forest Cookies are sure to become a new favorite.
