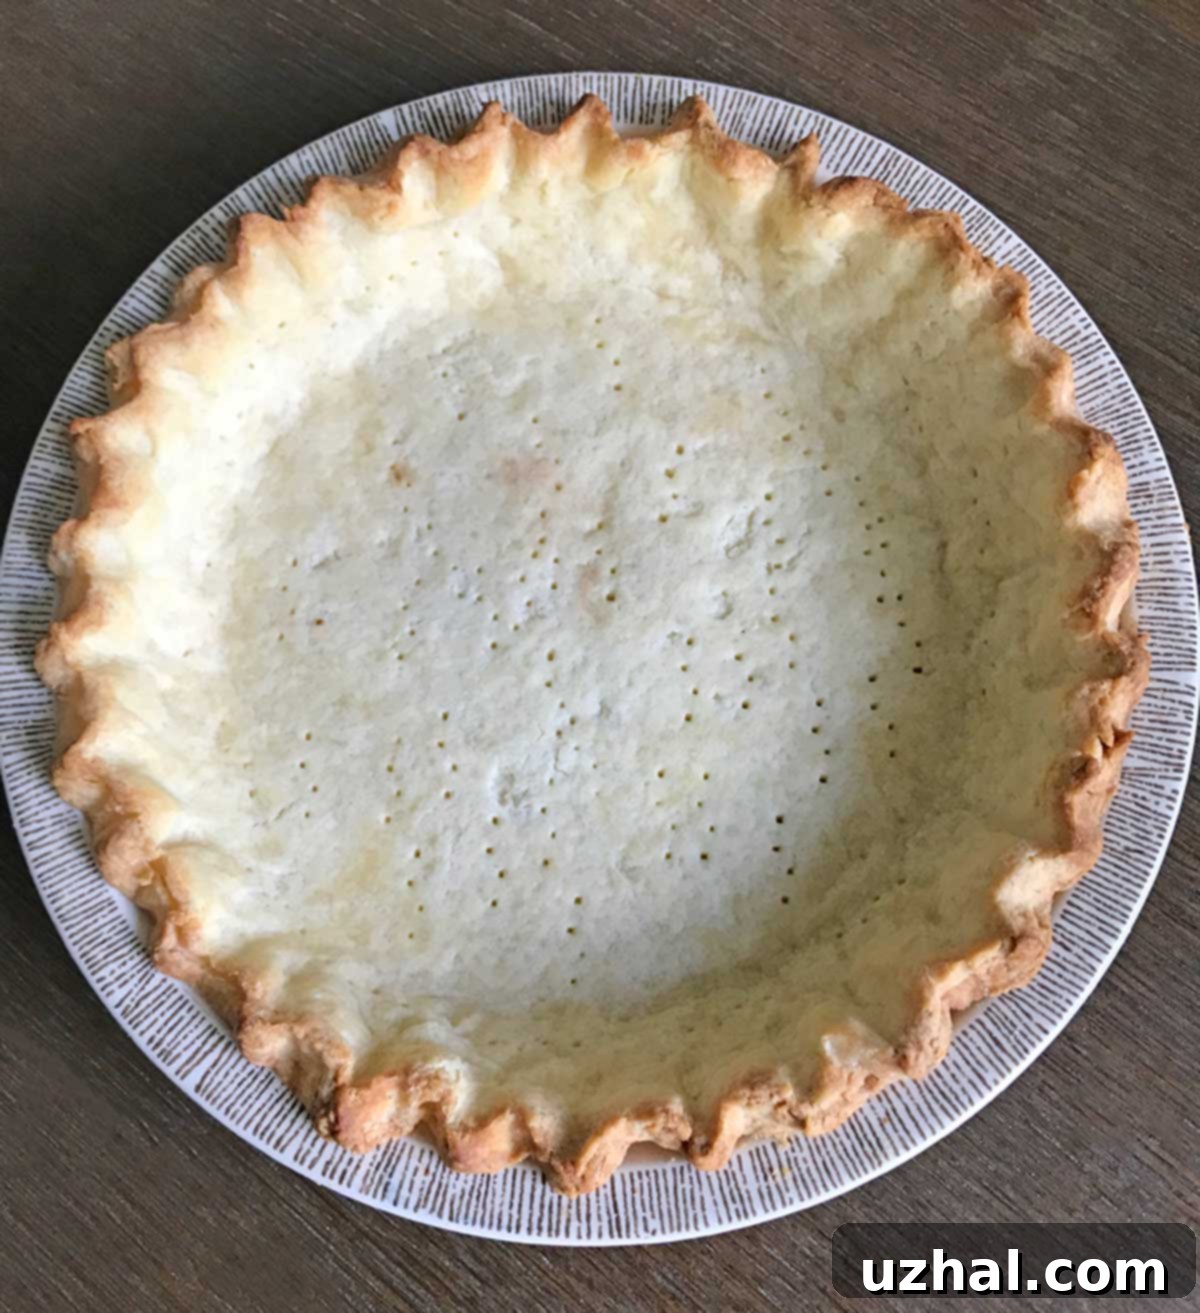
Achieve the Perfect Flaky & Easy Gluten-Free Pastry Crust with Cup4Cup
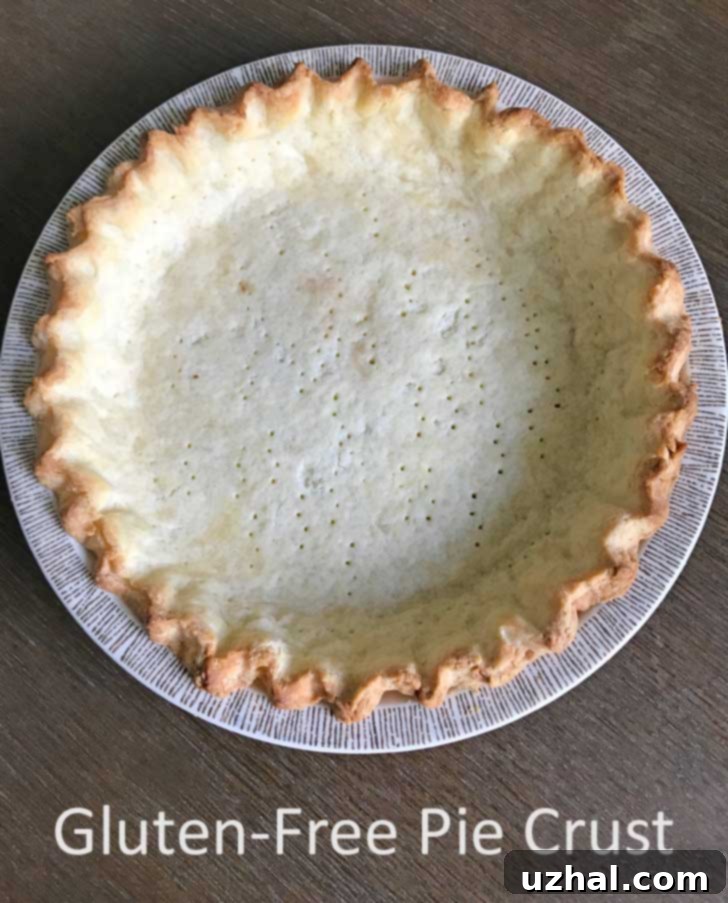
Embarking on a journey into gluten-free baking can sometimes feel like navigating uncharted territory, especially when it comes to delicate items like pastry crusts. However, with the right ingredients and a touch of guidance, achieving a remarkably flaky and robust gluten-free pie crust is more accessible than ever. Lately, my kitchen adventures have centered around Thomas Keller’s acclaimed Cup4Cup gluten-free flour blend. This isn’t a sponsored post or part of any promotion; rather, it’s the result of my genuine desire to explore the capabilities of this fantastic product after purchasing a substantial bag. My initial experiments with Cup4Cup in cookies yielded outstanding results, prompting me to elevate the challenge: could it truly deliver a superior gluten-free pastry crust? The answer, as I happily discovered, is a resounding yes!
It’s incredibly easy to overlook how much gluten-free baking has evolved over the years. Not so long ago, creating a gluten-free baked good involved a complex process of sourcing multiple “unusual” flours like rice, tapioca, and potato starch, meticulously blending them in precise ratios, and often hunting down ingredients like xanthan gum to provide structure. The journey was frequently one of trial and error, often leading to dense, crumbly, or otherwise disappointing results. Fast forward to today, and the landscape is vastly different. The advent of convenient 1:1 gluten-free flour blends has revolutionized home baking. You simply pick up a bag, follow the recipe instructions (or adapt them slightly), and often achieve fantastic outcomes. While results can vary between brands, most 1:1 blends perform admirably when used as directed. This ease and reliability were exactly what I experienced while crafting this particular pastry crust.
The Evolution of Gluten-Free Baking and Why Cup4Cup Shines
For those new to gluten-free cooking or even seasoned bakers, understanding the shift in available ingredients is crucial. Historically, gluten-free meant a significant compromise on texture and flavor. Traditional flours rely on gluten for elasticity, structure, and that desirable chewiness. Mimicking these properties without gluten was a monumental task. Bakers had to become amateur food scientists, mixing various non-wheat flours, each contributing unique characteristics, and then adding gums to bind everything together. The learning curve was steep, and consistency was often elusive.
Today, pre-mixed 1:1 gluten-free flour blends have simplified this process dramatically. Brands like Cup4Cup have done the scientific heavy lifting for us, creating expertly balanced mixtures that can often be substituted directly for wheat flour in many recipes. What makes Cup4Cup particularly stand out is its pedigree; developed by the chefs at Thomas Keller’s renowned restaurants, it’s designed to perform at a professional level. This blend often includes cornstarch, rice flour, tapioca flour, and potato starch, along with milk powder, which contributes to its unique structure and browning capabilities. The inclusion of xanthan gum (or sometimes guar gum) is carefully calibrated within the blend, eliminating the need for bakers to add it separately and guess at the correct amount. This careful formulation results in a gluten-free flour that handles remarkably like traditional wheat flour, especially in pastries and baked goods where a tender, yet structured, crumb is desired.
Crafting Your Gluten-Free Pastry Crust: A Detailed Guide
The recipe for this gluten-free pastry crust comes directly from the creators of Cup4Cup, ensuring it’s specifically tailored to their flour blend for optimal results. It requires a few simple ingredients: the Cup4Cup multipurpose flour, a touch of granulated sugar for flavor and browning, kosher salt to enhance the overall taste, cold unsalted butter for flakiness, tangy buttermilk for moisture and tenderness, and a lightly beaten egg to help bind everything together and enrich the dough.
The process begins by combining the dry ingredients – the Cup4Cup flour, sugar, and salt – in a food processor. This ensures they are thoroughly mixed before the butter is introduced. Adding cold butter, cut into small chunks, to the dry ingredients and pulsing in the food processor is a classic technique for pastry making. The goal is to cut the butter into the flour until the mixture resembles coarse meal with some pea-sized pieces of butter still visible. These pockets of butter are crucial; as they melt during baking, they release steam, creating the desired flaky layers in the crust. Avoid over-processing, as this can warm the butter too much and lead to a tough crust.
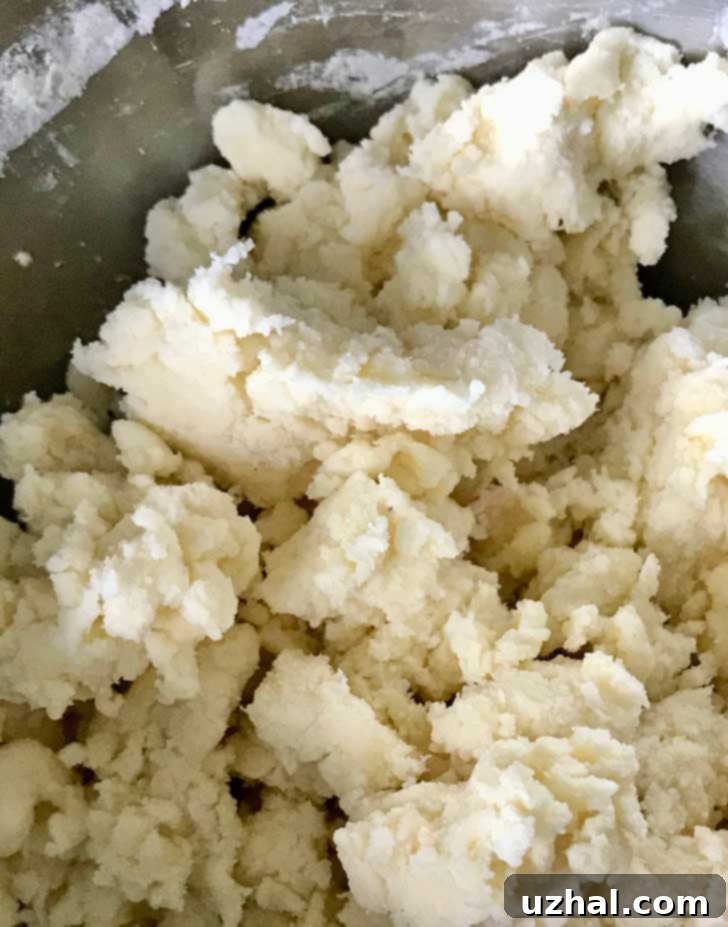
Once the butter is incorporated, transfer the dry mixture to a separate mixing bowl. In a small bowl, whisk together the cold buttermilk and the beaten egg. This liquid mixture is then gradually added to the flour and butter. Start by adding about half, stirring with a sturdy spatula or dough scraper. Continue adding the liquid a little at a time, mixing until the dough just comes together. Initially, the dough might appear quite dry and crumbly, but resist the urge to add more liquid than specified. A gentle knead or two on a lightly floured surface will help it coalesce into a cohesive, pliable dough that is surprisingly easy to work with for a gluten-free option. The dough should feel soft but not sticky.
The Importance of Chilling and Rolling Gluten-Free Dough
The recipe specifically calls for chilling the dough for at least 30 minutes before rolling. While traditional wheat pastry dough benefits from chilling to relax the gluten, in a gluten-free context, the primary purpose is to re-chill the butter that may have softened during the mixing process. Cold butter is essential for a flaky crust. Chilling also allows the flour to fully hydrate, preventing a crumbly dough and making it easier to handle. When the dough is sufficiently chilled, it will be firm but not rock-hard.
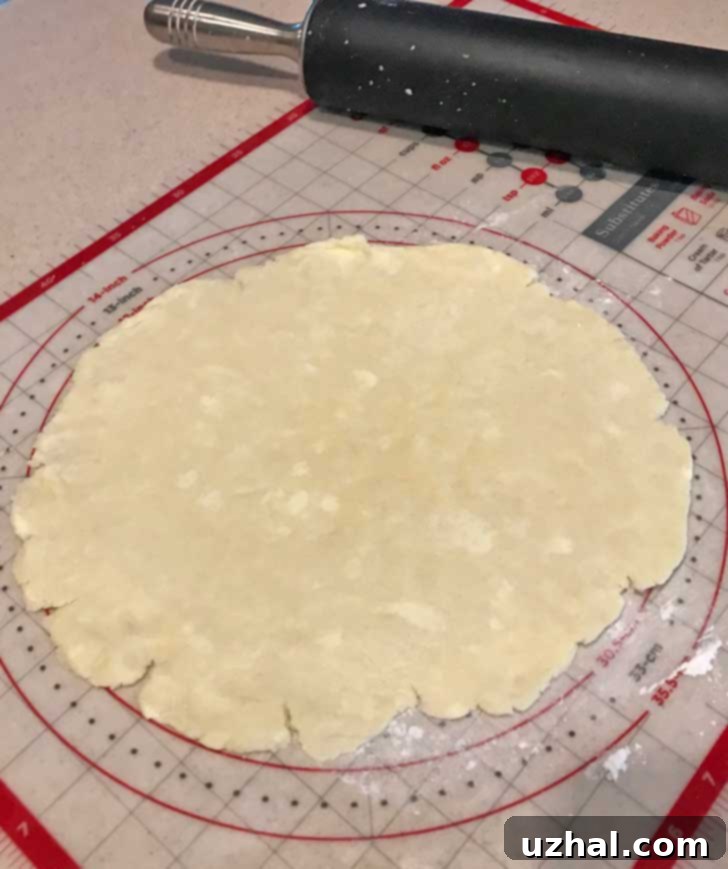
Rolling out gluten-free pastry dough sometimes requires a slightly different approach than wheat-based dough. While Cup4Cup makes it remarkably pliable, you might still encounter some minor cracking at the edges. Don’t worry, this is normal and easily remedied. I rolled my dough into a 12-inch circle on a lightly floured pastry mat. If cracks appear, simply pinch them together with your fingers. The dough is quite forgiving and allows for easy patching. Using a bench scraper or pie lifter can help transfer the rolled dough carefully into a 9-inch pie dish, minimizing stretching and tearing. Once in the dish, gently fit the dough to the contours and crimp the edges to your liking. This is also an excellent time to begin preheating your oven, ensuring it reaches the desired temperature for optimal baking.
The Blind Baking Process: Ensuring a Crisp, Golden Crust
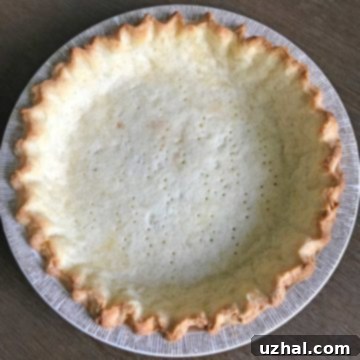
Blind baking, or pre-baking, the pie crust before adding the filling is a critical step, especially for custard-based pies or those with wet fillings that might make the crust soggy. For a gluten-free crust, it ensures the base cooks through completely and achieves a satisfyingly crisp texture. My blind baking process with the Cup4Cup crust was wonderfully glitch-free, though I did need to keep a close eye on it. Gluten-free baked goods, particularly those made with Cup4Cup, tend to brown a little quicker than their wheat counterparts due to the sugar and alternative flours in the blend. This means a watchful eye is key to prevent over-browning.
To blind bake successfully, first, freeze the fitted pie crust until it’s firm. This step is important for two reasons: it helps the butter remain cold for maximum flakiness, and it prevents the crimped edges from slumping down during baking. Once firm, line the frozen crust with a sheet of parchment paper, ensuring it extends over the edges to protect them. Then, weigh it down with ceramic pie weights or dried beans. This prevents the bottom from puffing up. Bake at 425°F (220°C) for about 15 minutes. After this initial bake, carefully remove the parchment paper and pie weights. The edges should just be starting to turn golden. Reduce the oven temperature to 375°F (190°C) and continue baking for another 10 to 15 minutes, or until the crust is golden brown and appears fully baked. If the edges begin to brown too quickly, you can loosely tent them with a strip of aluminum foil to shield them while the center finishes baking. The goal is a beautifully golden-brown, crisp crust throughout.
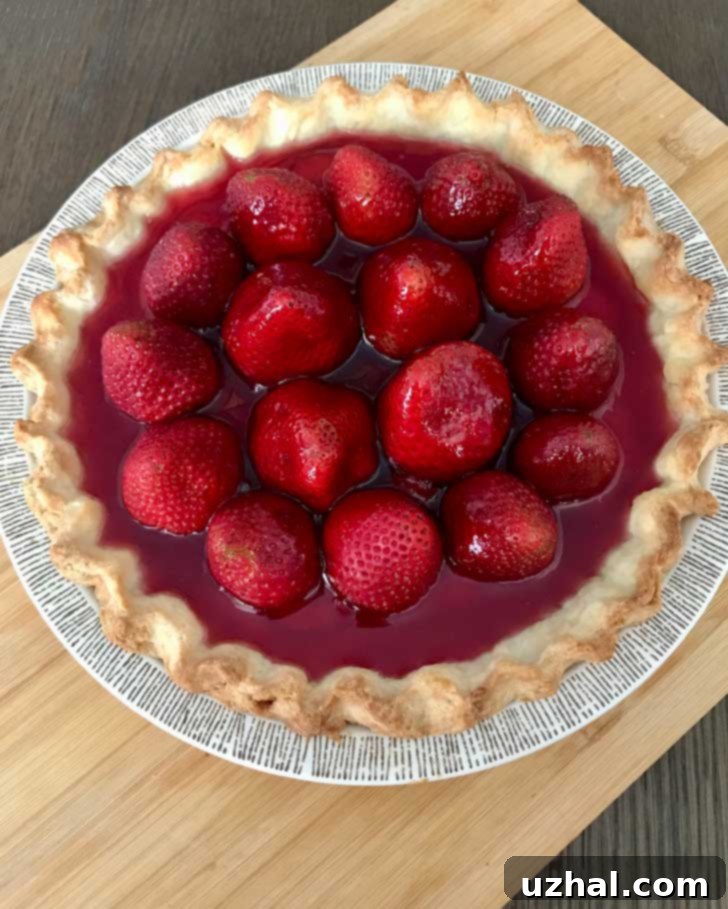
Flakiness of Gluten-Free Pie Pastry: What to Expect
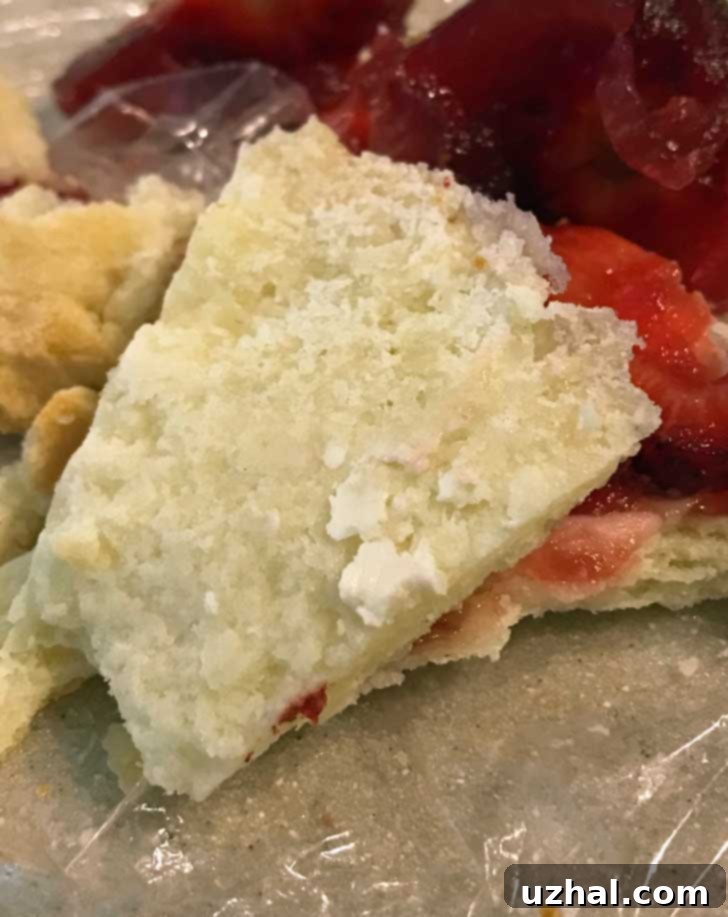
After successfully baking the crust, I couldn’t wait to slice into my gluten-free strawberry pie and gather some feedback. My daughter, Fuzz, who regularly bakes gluten-free goods at school, was equally eager to taste it. The consensus was overwhelmingly positive: it was a pretty good crust, especially for a gluten-free option! It’s important to manage expectations; while it might not replicate the exact ethereal flakiness of a perfectly executed wheat flour crust, this Cup4Cup version delivered a sturdy and satisfying result with a discernible flakiness that truly impressed us. It held its shape beautifully and contributed wonderfully to the overall pie experience.
We noticed that it performed admirably with a cold pie, providing a stable base for the juicy strawberry filling. Interestingly, the flakiness became even more pronounced when the pie was allowed to come to room temperature. This observation suggests that this gluten-free pie crust would be exceptionally well-suited for a variety of pies, particularly baked fruit pies like apple or peach, or rich pecan pies, and especially those served warm. The warmth would further soften the butter within the crust, enhancing its tender, flaky texture. It strikes a delightful balance between structure and delicate crispness, making it a fantastic foundation for both sweet and savory creations.
Versatility Beyond the Pie Plate
Here’s a delightful slice of the pie, by the way, showcasing the beautiful filling and the perfectly baked crust. For this particular pie, I leveraged my trusted old recipe for Glazed Strawberry Pie with Cream Cheese, as it’s peak strawberry season and I couldn’t resist. The combination of the sweet, tangy strawberries with the tender, slightly flaky gluten-free crust was a match made in heaven. Looking ahead, I’m already planning my next culinary adventures with this versatile crust. I’m keen to try it with a savory quiche, perhaps a classic Lorraine or a vibrant vegetable quiche, where its sturdy nature would provide an excellent counterpoint to a rich filling. A fruit tart with a delicate pastry base is also high on my list, offering another opportunity to showcase the excellent texture and flavor of this Cup4Cup creation. The possibilities for this reliable gluten-free pastry crust truly are endless.
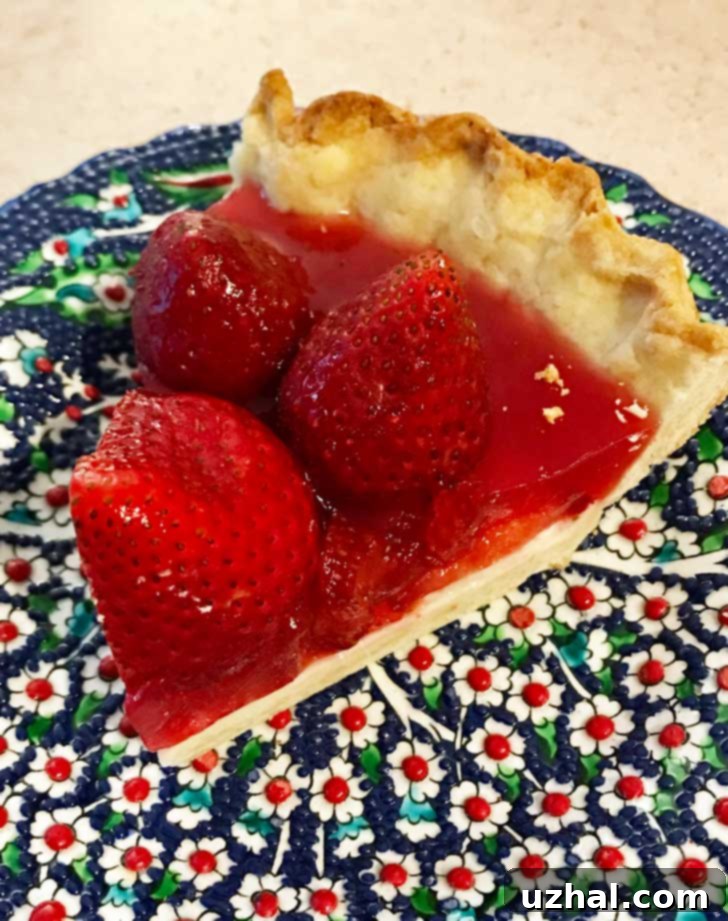
In conclusion, if you’re searching for a dependable and delicious gluten-free pastry crust, look no further than using Thomas Keller’s Cup4Cup flour blend. It simplifies the baking process immensely while delivering results that are impressive in both taste and texture. Whether you’re making a sweet fruit pie or a savory tart, this recipe provides a solid foundation for a wide array of gluten-free culinary delights. Enjoy the journey of discovering how truly wonderful gluten-free baking can be!
- Thomas Keller Chocolate Chip Cookie Recipe
- Harvest Grains Oatmeal Cookies
- National Oatmeal Cookie Day
- Thomas Pumpkin Spice English Muffins and Bagels
- Pillsbury Gluten-Free Flour Chocolate Chip Cookies
Recipe
Gluten-Free Pastry Crust
Anna
Pin Recipe
Equipment
-
Food Processor
-
Pastry Mat
Ingredients
- 1 ½ cups Cup4Cup Multipurpose flour 210 grams
- 1 tablespoon granulated sugar 12 grams
- ½ teaspoon kosher salt
- 1 stick unsalted butter, cold and cut into chunks (114 grams)
- 2 tablespoons lightly beaten egg
- ¼ cup cold buttermilk
Instructions
-
Stir together the gluten-free flour, sugar and salt until evenly blended, then put in the bowl of a food processor. Add the butter and pulse until coarse and uniform. Transfer to a mixing bowl.
-
In a small bowl, whisk together the egg and buttermilk. Gradually add the egg mixture to the flour mixture, stirring with a heavy duty scraper to make a dough. Shape into a ball. Wrap in plastic wrap and chill for 30 minutes. Alternatively, you can press it into a flat disk (which is what I do) which makes rolling a little easier.
-
On a lightly floured pastry mat, roll into a 12 inch circle. Use a benchscraper or pie lifter to transfer the dough to a 9 inch pie dish. Fit the dough into the dish and crimp the edges. This is a good time to begin preheating the oven.
-
Freeze the pastry dough just until firm (this protects the crimped edges from getting squashed), then press a sheet of parchment paper over it. Make sure the parchment comes out over the edges to shield, then weigh down with pie weights or beans.
-
Preheat oven 425 degrees F if you haven’t already. Set the pie crust with the foil and pie weights on a rimmed baking sheet and bake for 15 minutes. Remove foil and pie weights. Edges should be just starting to brown. Reduce heat to 375 and bake for another 10 to 15 minutes. Check at 10. The trick is to bake it through and through without it getting too brown, so if edges are browning too quickly, lay a piece of foil loosely over.
