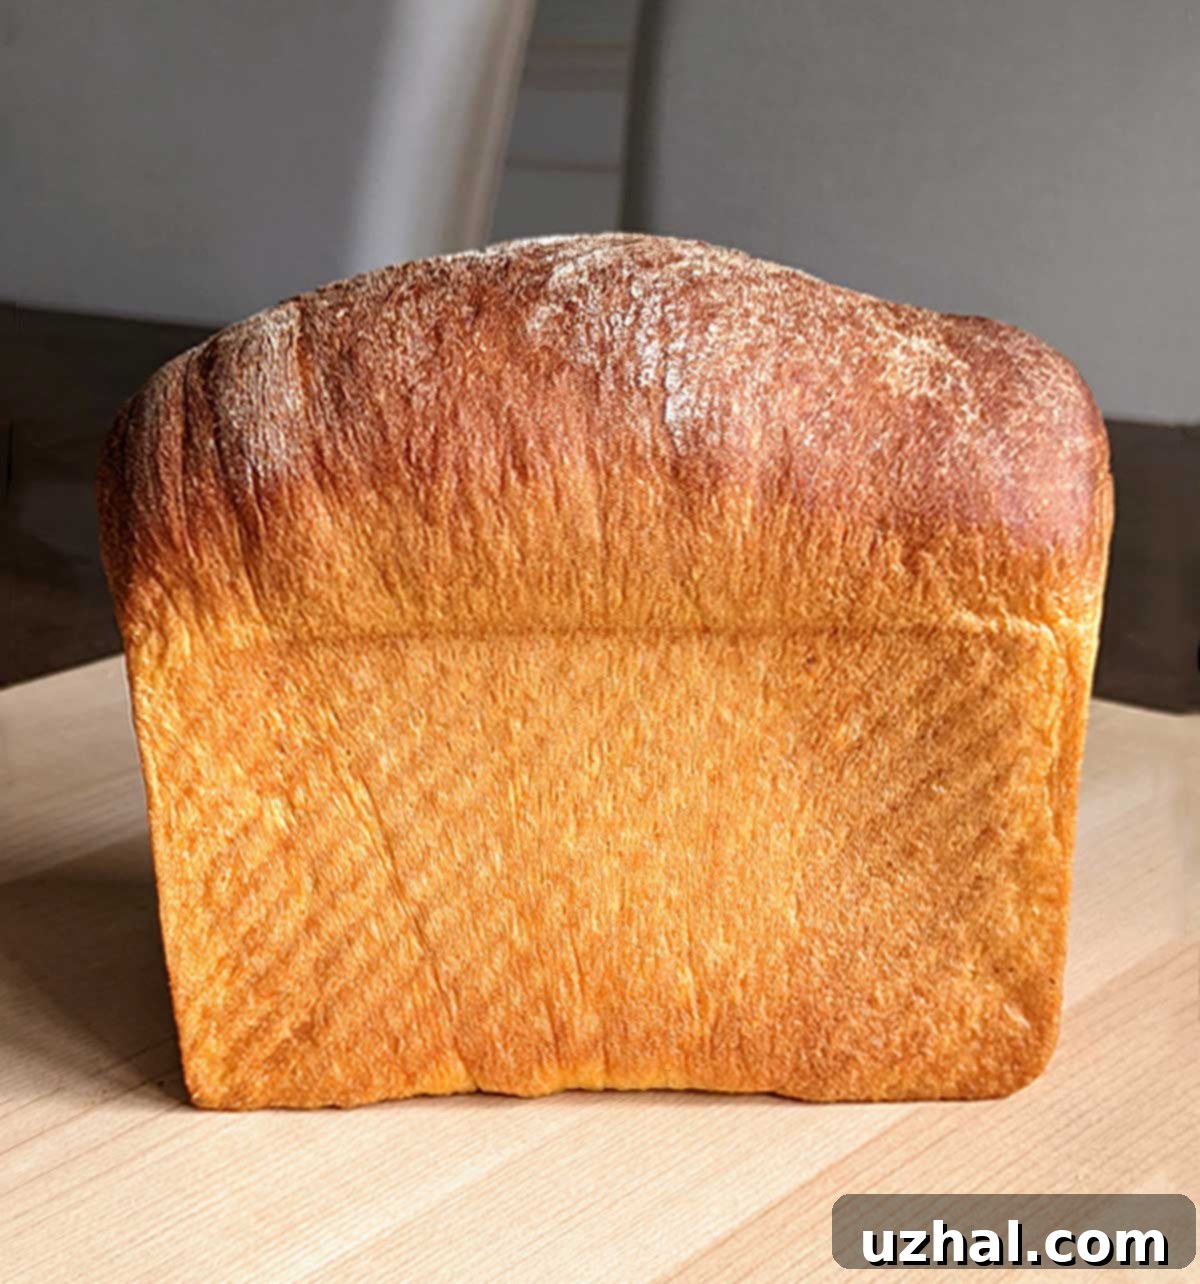
Irresistibly Fluffy Sweet Potato Yeast Bread: Your Guide to Perfect Sandwich Loaves
As the crisp air of fall approaches, the comforting aroma of sweet potatoes fills the imagination. This delightful Sweet Potato Yeast Bread is a staple, crafting loaf after light and fluffy loaf that’s perfect for any occasion. Often referred to as Sweet Potato Sandwich Bread, it’s essential not to confuse it with its quicker counterpart, Sweet Potato Quick Bread. This versatile recipe performs beautifully whether baked in a specialized Pullman loaf pan or a standard 9×5 inch loaf pan, consistently delivering a tender crumb and a subtly sweet flavor.
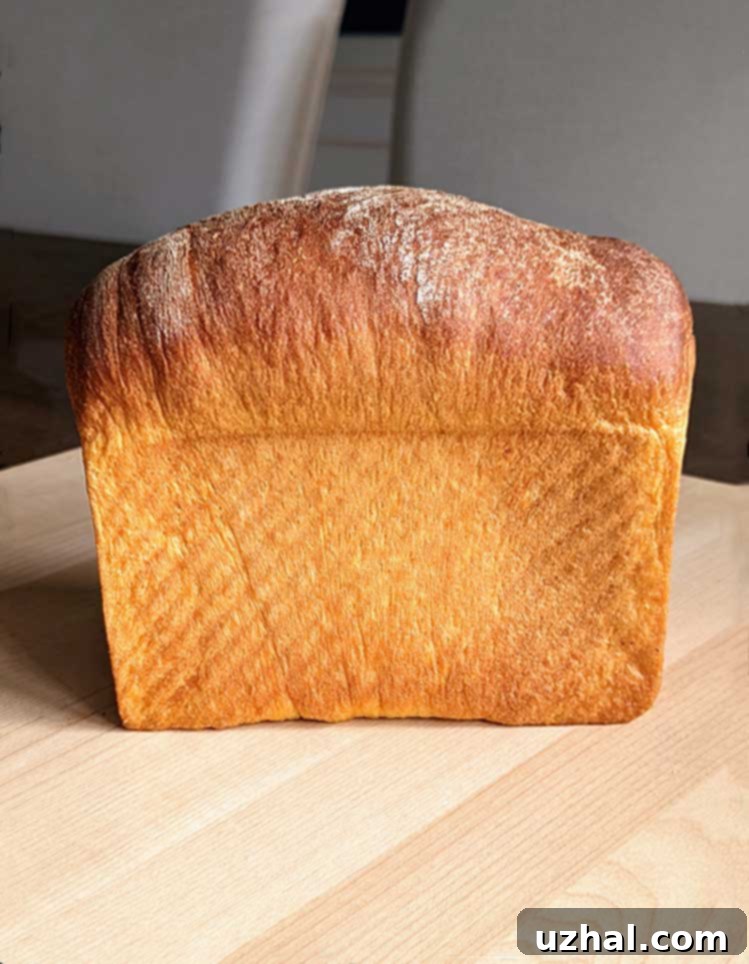
Sweet Potato Yeast Bread: Texture & Flavor Profile
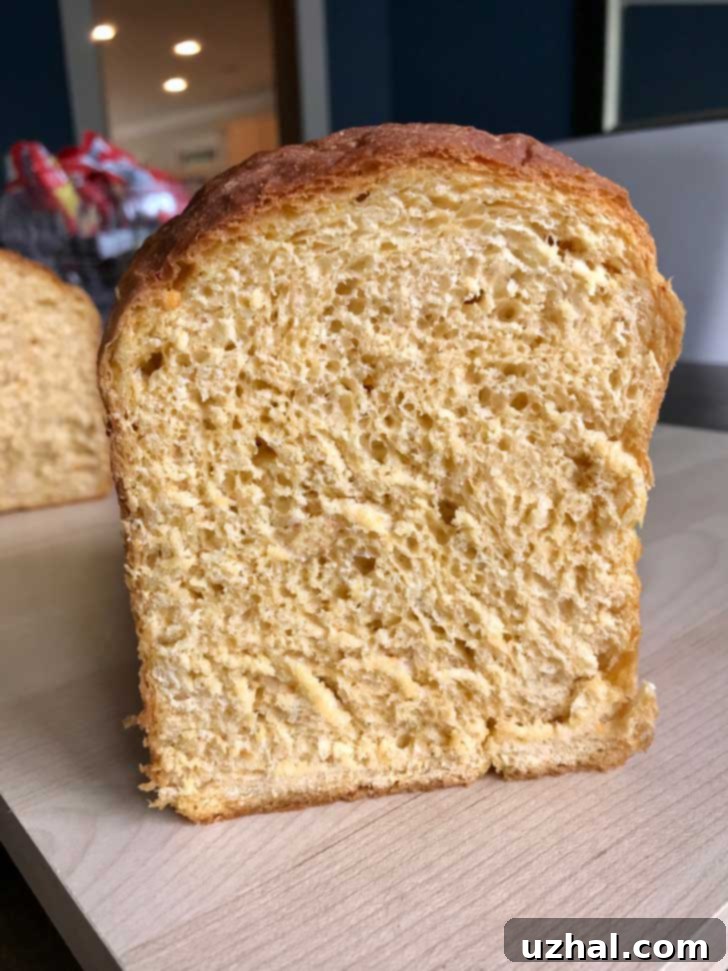
This Sweet Potato Yeast Bread boasts a wonderfully light and fluffy texture, making it an ideal choice for a wide array of culinary uses. It offers a gentle sweetness and a distinct, yet not overpowering, sweet potato flavor, setting it apart from heavily spiced quick breads. While a touch of ground ginger is included in the dough, its primary role is to boost yeast activity, contributing little to no discernible spice flavor in the final product. This intentional design ensures a clean, natural taste that allows the sweet potato to shine.
The versatility of this bread is truly remarkable. It serves as an excellent foundation for classic sandwiches such as peanut butter and jelly, hearty BLTs, or elegant turkey sandwiches. Beyond sandwiches, it transforms into extraordinary toast, especially when slathered with butter or peanut butter. Imagine the decadent possibilities of turning slices of this bread into rich French toast, or incorporating it into a comforting sweet potato bread pudding. For an adventurous twist, consider adapting it for a Sweet Potato Tres Leches Bread Pudding, adding an extra layer of flavor and texture to your dessert repertoire.
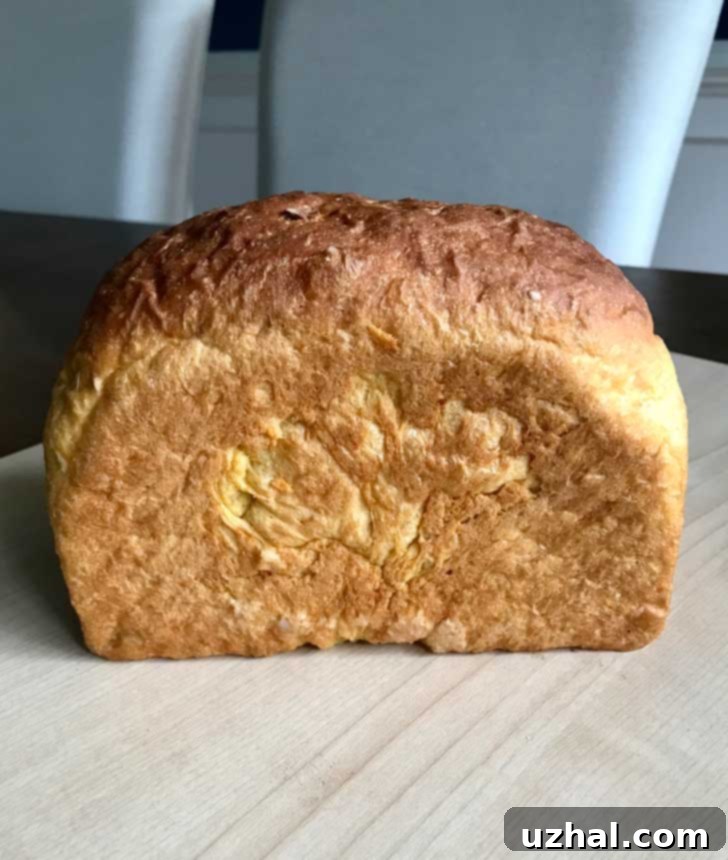
Choosing Your Pan: Pullman or Standard Loaf Pan
After much deliberation, I finally invested in a Pullman pan, and it has quickly become an indispensable tool in my baking arsenal. While the small holes in the bottom require a protective baking sheet to catch any potential drips, the true value lies in its tall, straight sides. These unique dimensions encourage the dough to rise impressively high, resulting in beautifully uniform and perfectly shaped loaves. Traditionally, Pullman pans are recognized by their fitted lids, which I look forward to experimenting with to achieve an even squarer, denser crumb.
My particular Pullman pan measures approximately 4 by 7 inches at the bottom, with sides about 4 ¼ inches high, and has a capacity for a 1-pound loaf. Since this sweet potato bread recipe yields a generous 1 ½-pound loaf, it rises magnificently over the pan’s edge, creating a visually stunning, tall loaf. My next baking adventure with this recipe will involve using exactly 1 pound of dough in the Pullman pan, utilizing the lid to create a perfectly flat-topped, compact sandwich loaf, ideal for uniform slices. If you don’t own a Pullman pan, a standard 9×5 inch loaf pan will work perfectly. However, if you typically use a smaller 8 ½ by 4 ½ inch pan, this recipe will be too large; you’ll need to bake any excess dough in a small custard cup or a mini loaf pan to avoid overflow and ensure proper baking.
Sweet Potato Preparation: Roasted vs. Boiled for Optimal Bread Texture
The method you choose to prepare your sweet potato significantly impacts the final texture and density of your bread. You can opt for roasted (including microwaved) or boiled sweet potato, each yielding distinct results. I’ve experimented with both methods extensively, making the roasted version twice and the boiled version once, to understand their nuances.
Microwaved or Oven-Roasted Sweet Potato: This method results in a sweet potato with less moisture content, leading to a thicker, sturdier dough. The finished bread will have a slightly denser crumb, which many find preferable for sandwiches as it holds up well to fillings. The image below illustrates the somewhat drier texture of mashed roasted potato.
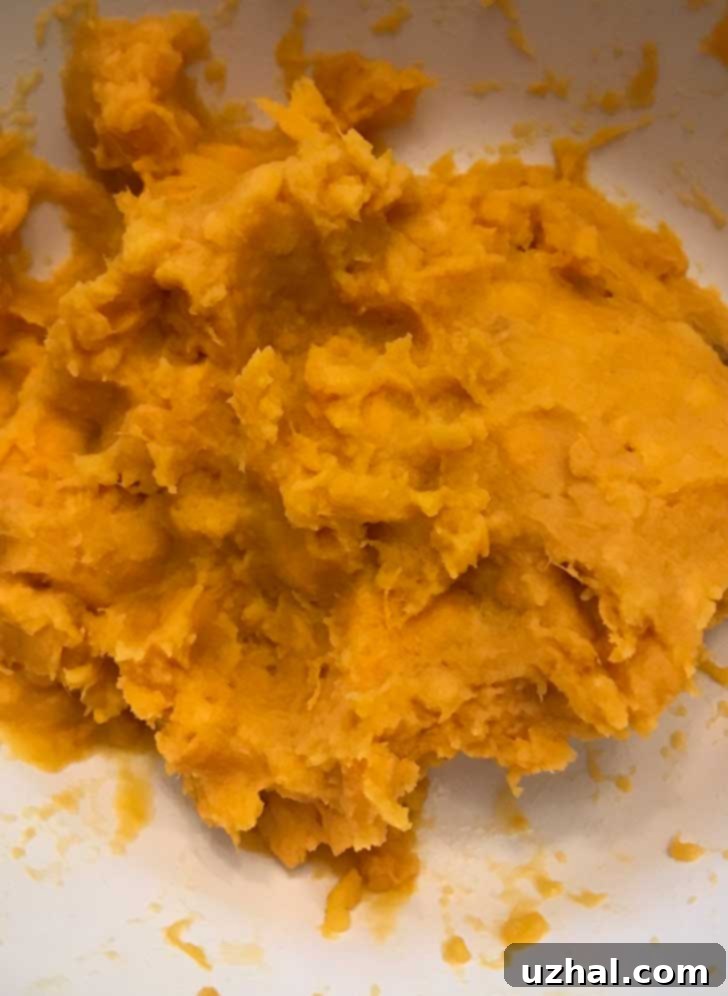
To prepare, start with a whole sweet potato weighing approximately 270 grams. For microwaving, cook for 4 to 5 minutes, depending on your microwave’s wattage, until fork-tender. Allow it to cool slightly, then scoop out about 140 grams of the cooked, slightly dry sweet potato flesh. Alternatively, you can slow roast a potato in the oven for about an hour at 375°F (190°C) until very soft; this method tends to produce a slightly less dry result than microwaving.
Boiled Sweet Potato: Preparing sweet potato by boiling yields a softer, more hydrated sweet potato mash. This translates to a lighter, softer dough and a bread that rises exceptionally high, achieving a texture akin to a rich challah. While incredibly soft, this dough may require a bit more flour to reach the desired consistency.
To prepare, peel a large sweet potato and cut it into 1-inch chunks until you have about 200 grams of peeled and trimmed potato. Boil these chunks in water for approximately 20 minutes, or until very tender. Drain thoroughly, then weigh out 160 grams and mash well. Keep in mind that using all-purpose flour instead of bread flour with boiled sweet potato will also contribute to a softer loaf, potentially increasing the need for additional flour to achieve proper dough structure.
For optimal flavor and structural integrity for sandwiches, we found the roasted sweet potato dough to be superior due to its slightly sturdier crumb. However, if a cloud-like, incredibly soft loaf is your goal, the boiled method is a fantastic choice.
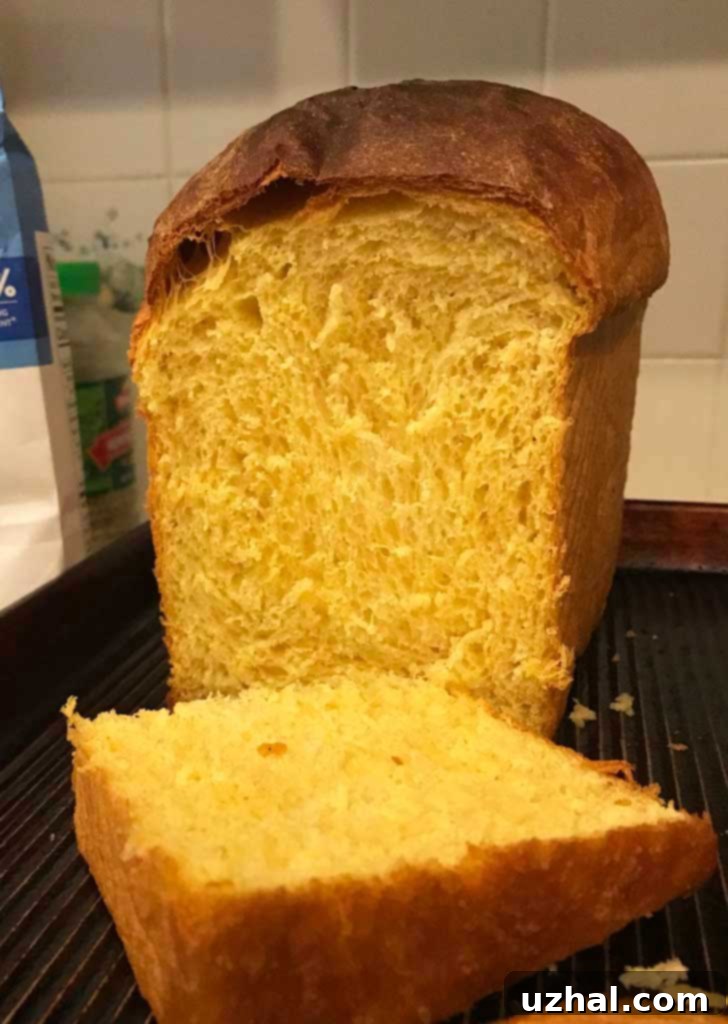
Initial Dough Consistency: Roasted vs. Boiled
When preparing the dough with roasted sweet potato, the initial mixture appears quite thick and firm. At first, I was concerned it might be too dry to develop properly, but it consistently proved to be just right, forming a robust dough that handles beautifully. In contrast, the dough made with boiled sweet potato is noticeably softer and more pliable from the start. This increased softness directly contributes to the lighter texture and higher rise observed in the final baked bread, making it feel almost airy.
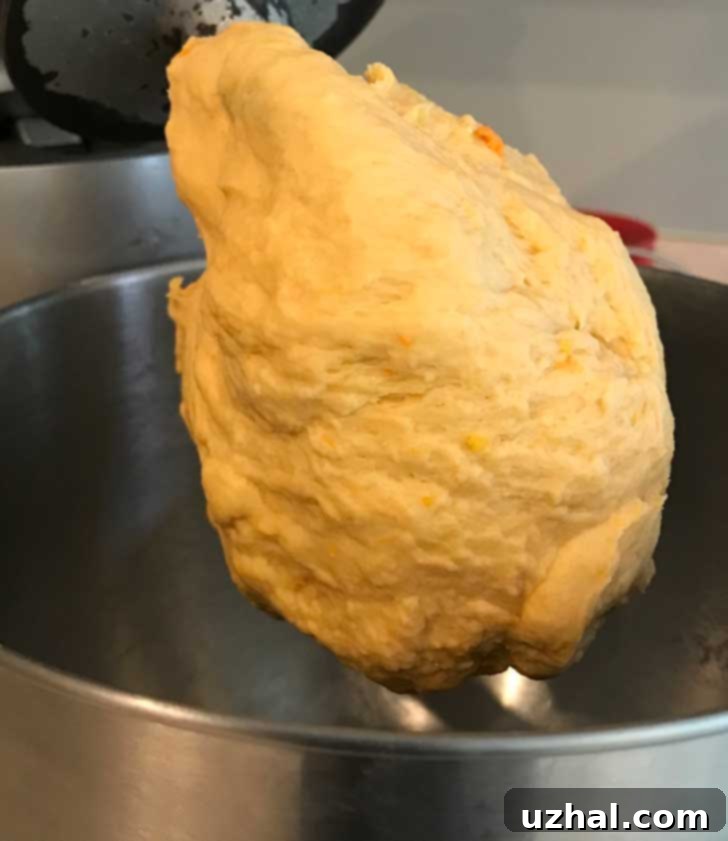
Achieving the Perfect Rise: Risen Sweet Potato Dough
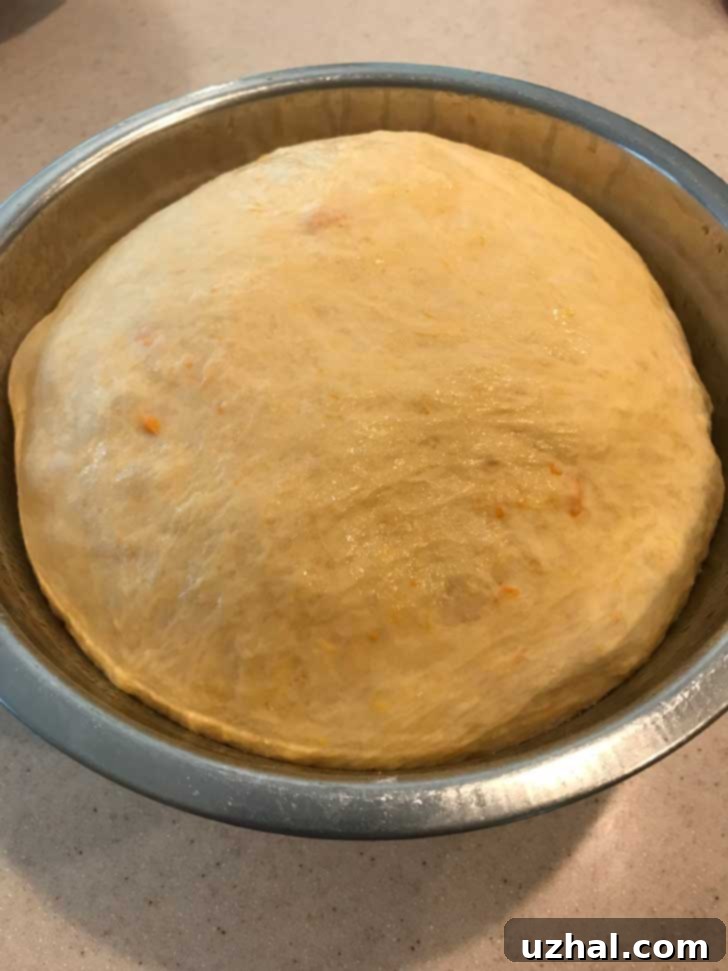
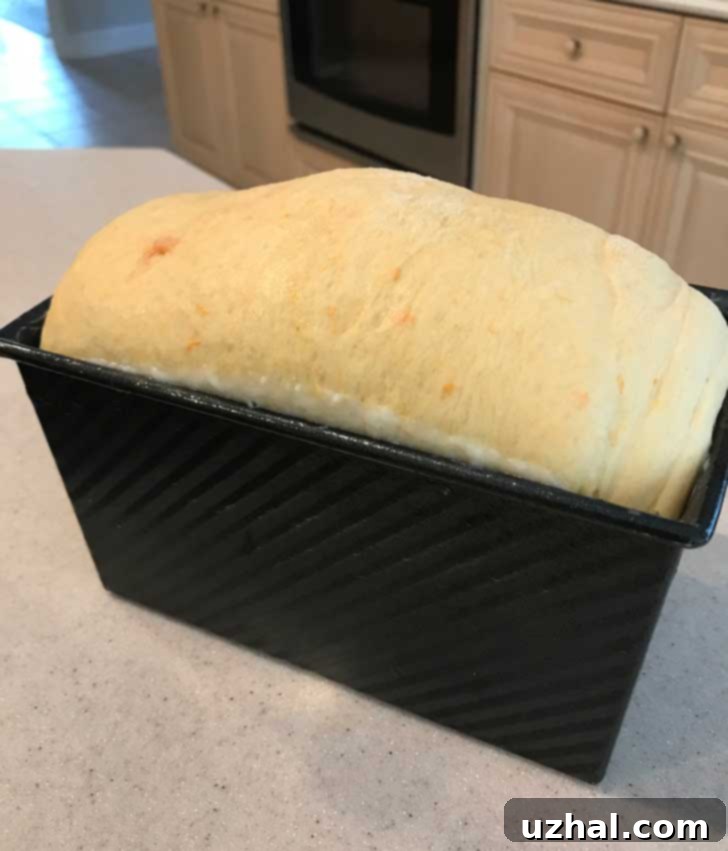
Observing the dough’s rise is one of the most satisfying parts of baking yeast bread. Here, you see the dough after it has undergone its initial proofing, been gently punched down, and then placed into the Pullman pan for its second rise. It achieved this impressive volume just 35 minutes after being shaped and placed in the pan, a testament to the fast-acting power of Platinum yeast. This yeast type is incredibly efficient, producing a strong and active rise.
While Platinum yeast has delivered consistent results in my testing, I’m eager to try this recipe with my preferred SAF instant yeast for comparison in future batches. It’s worth noting that I haven’t yet tested this recipe with standard active dry yeast, so for best results, I recommend sticking with instant yeast varieties like Platinum or SAF. The dough itself is remarkably robust and resilient, maintaining its structure beautifully even when rising significantly above the pan’s edge, with no issues of collapsing.
The Secret to Softness: Dry Milk Powder in Bread
Incorporating dry milk powder into bread recipes is a simple yet effective way to enhance the crumb texture, add a subtle richness, and improve the bread’s keeping qualities. As we primarily use milk for baking, keeping a canister of Carnation powdered milk in the refrigerator is incredibly convenient. It has an extended shelf life and is always ready for those recipes that call for small quantities of milk, like this one, which only requires 1 tablespoon.
I’ve developed and tested this recipe specifically with powdered milk, and I highly recommend keeping some on hand for superior results. However, if you don’t have it, you can certainly experiment with liquid milk as a substitute for some or all of the water. One tablespoon of dry milk powder is roughly equivalent to ¼ cup of liquid milk. Therefore, you could replace ¼ cup of the water with liquid milk, or even use a full ½ cup of milk, reducing the water proportionally. Using liquid milk instead of powdered milk and water is unlikely to negatively impact the recipe, though the texture might vary ever so slightly.
Sweet Potato Yeast Bread: Essential Ingredient Notes for Success
Baking with yeast is often as much an art as it is a science, and every baker knows that practice and intuition play a crucial role. While this sweet potato bread recipe has been thoroughly tested three times in my kitchen with consistent success using the provided weights, don’t hesitate to adjust water or flour as needed based on how your dough feels. These detailed notes should help guide you:
- Sweet Potato or Yam: The preparation method significantly affects moisture. You can microwave, roast in the oven, or boil your sweet potato. For a drier, roasted consistency, aim for about 140-150 grams of mashed potato. If boiled, it will be softer and mushier, so use 160 grams. Ensure the mashed potato is cooled before adding to the dough to avoid prematurely activating or killing the yeast.
- Bread Flour: This recipe specifically calls for bread flour because its higher protein content is essential for developing sufficient gluten structure. Gluten is what gives yeast bread its characteristic elasticity and ability to rise. Substituting with all-purpose flour may result in a weaker dough that is difficult to handle, a bread that collapses, or one with a denser, less airy crumb. For the best rise and texture, I strongly recommend sticking with bread flour.
- Sugar (Granulated): I chose granulated sugar for a clean, pure sweet potato flavor profile, avoiding the deeper, molasses notes that brown sugar would impart. This ensures the bread isn’t overly “dessert-like” but rather a versatile sandwich bread. If you’re keen on a more breakfast-oriented loaf with spices, you might find recipes on sites like King Arthur that incorporate brown sugar and warming spices.
- Ginger (Ground): While a small amount of ground ginger is included, it’s not for flavor in this recipe. Its primary purpose is to act as a natural yeast enhancer, subtly boosting the activity of the yeast and contributing to a more vigorous rise. You can omit it if you prefer, but it’s a helpful trick for consistent yeast performance.
- Yeast (Quick Rising/Instant): My tests have exclusively used Platinum quick-rising yeast, which performs exceptionally well, offering a speedy and strong rise. Next time, I plan to test with my usual SAF instant yeast, which is another reliable quick-rising variety. I haven’t tested this recipe with traditional active dry yeast, which typically requires proofing in warm water first and may have a slightly longer rise time. For best results, use instant yeast.
- Water: The temperature of the water is critical for yeast activation. It should be comfortably warm, between 125°F and 130°F (52°C-54°C), when mixed directly with the dry ingredients. If you prefer to proof your yeast separately (e.g., if using active dry yeast), the water temperature should be slightly cooler, around 105°F (40°C-41°C), to avoid shocking the yeast.
- Egg: Always use a large egg that is at room temperature. A cold egg can chill the dough, slowing down the yeast activity. To quickly bring a cold egg to room temperature, submerge it in a bowl of very warm (not hot) water for 5-10 minutes.
- Coconut Oil: Coconut oil is a wonderful addition to bread dough, contributing to a soft, tender crumb and helping to extend the bread’s freshness. Other neutral-flavored oils like vegetable or canola oil should also work, as would melted butter, though each might subtly alter the flavor and texture. I typically add the oil last, after most of the dry ingredients and liquids have come together, though it’s likely fine to add it earlier. The most important thing is simply not to forget it! I’ll update this guide once I test with butter or other oils.
- Loaf Pan Size: I primarily used my Pullman pan for its tall, straight sides, but a standard 9×5 inch loaf pan will yield excellent results. My go-to smaller pan is an 8 ½ by 4 ½ inch, but this recipe’s dough volume is too substantial for it. If using an 8 ½ by 4 ½ inch pan, you would need to divert a portion of the dough into a smaller vessel, such as a custard cup or a mini loaf pan, to prevent overflow and ensure proper baking.
- Food Processor Pound Cake in a Pullman
- Sweet Potato Pie Bars
- Classic Sweet Potato Pie
- Easy Sweet Potato Quick Bread
- Maple Cream Cheese Frosted Sweet Potato Bars
Recipe: Sweet Potato Yeast Bread
Sweet Potato Bread with Yeast
Anna
Pin Recipe
Ingredients
- 2 ¾ cups King Arthur bread flour (390 grams) or high-quality all-purpose (note: bread flour is highly recommended for best results)
- 2 tablespoons granulated sugar
- 1 ¼ teaspoons fine sea salt
- ⅛ teaspoon ground ginger (optional, for yeast boost)
- 2 ¼ teaspoons quick rising yeast (such as Platinum or SAF Instant)
- 1 tablespoon dry milk powder (for softness; can substitute with ¼ cup liquid milk, reducing water)
- 1 large egg (50 grams, at room temperature)
- ⅔ cup roasted sweet potato, cooled and mashed (140-160 grams)** see notes below on prep method
- ½ cup warm water (125 to 130 degrees F)
- 1 tablespoon melted or very soft coconut oil (or other neutral oil or butter)
Instructions
-
In a large mixing bowl, combine the 390 grams (approximately 2 ¾ cups) of bread flour, sugar, salt, ground ginger (if using), quick-rising yeast, and dry milk powder. Whisk them together thoroughly and set this dry mixture aside.
-
In the bowl of a stand mixer, place the cooled, mashed sweet potato and the room-temperature egg. Using the paddle attachment, mix these two ingredients until well combined. Remove the mixer bowl from the stand. Add the reserved flour mixture over the sweet potato-egg mixture, then carefully pour the ½ cup (4 oz) of warm water (125-130°F) over the flour. Return the bowl to the mixer stand and, using the paddle attachment, begin stirring everything together on a low speed.
-
As the ingredients are mixing, gradually add the melted or very soft coconut oil. Continue mixing until the batter starts to come together, forming a thick, somewhat lumpy, Play-Doh-like consistency. At this point, the paddle attachment may struggle with the thick dough. Switch to the dough hook for more effective kneading. If you are kneading by hand, you can begin the hand-kneading process now.
-
With the dough hook attached, knead the dough on medium-low speed until it becomes more cohesive and elastic. It should eventually cling primarily to the dough hook and stick only slightly to the bottom of the bowl, appearing thick but still a bit lumpy. If the dough is too sticky and clings excessively to the sides of the bowl (which is more likely if using boiled sweet potato or all-purpose flour), stop the mixer. Scrape the dough into the center of the bowl and dust the sides with 1 tablespoon of extra bread flour. Resume kneading. Continue adding flour, 1 tablespoon at a time, and kneading until the dough gathers around the hook and cleans the sides of the bowl, sticking just slightly to the bottom. Remember, if you used roasted sweet potato and bread flour, additional flour should ideally not be necessary.
-
Once kneaded, transfer the dough to a lightly greased bowl, turning it once or twice to coat the entire surface with a thin layer of oil. Shape the dough into a smooth ball. It should hold its shape without spreading. Cover the bowl tightly with greased plastic wrap and place it in a warm, draft-free spot to rise for approximately 1 hour, or until it has noticeably doubled in size.
-
Gently turn the risen dough out onto a lightly floured pastry mat or clean counter. Press it into a large rectangle. Beginning from one of the longer sides, tightly roll the dough downwards into a cylinder, tucking in the corners and pressing out any excess air as you go. Pinch the seam closed securely. Shape the cylinder into a neat loaf and carefully place it into your greased 9×5 inch loaf pan or Pullman pan.
-
Cover the pan with another piece of greased plastic wrap. Allow the loaf to rise again in a warm spot for about 35-45 minutes, or until it has risen approximately an inch (2.5 cm) above the rim of the pan. About 15 minutes before the end of the rising time, preheat your oven to 400°F (200°C).
-
Place the pan in the preheated oven and bake at 400°F (200°C) for the initial 10 minutes.
-
After 10 minutes, reduce the oven temperature to 350°F (175°C) without opening the oven door unnecessarily. Continue baking for an additional 25 minutes, or until the crust is a rich, deep golden brown and a digital thermometer inserted into the center of the loaf registers an internal temperature of about 200°F (93°C).
-
Carefully remove the bread from the oven and set the loaf pan on a wire rack to cool for about 5 minutes. After this brief cooling period, gently invert the loaf onto the wire rack to cool completely. Resist the temptation to slice it while hot, as it can affect the texture. The bread is also much easier to slice neatly once it has fully cooled, and even better when chilled slightly.
Notes
