Nostalgic No-Bake Woolworth’s Cheesecake: An Easy Icebox Dessert Recipe with a Gingersnap Twist
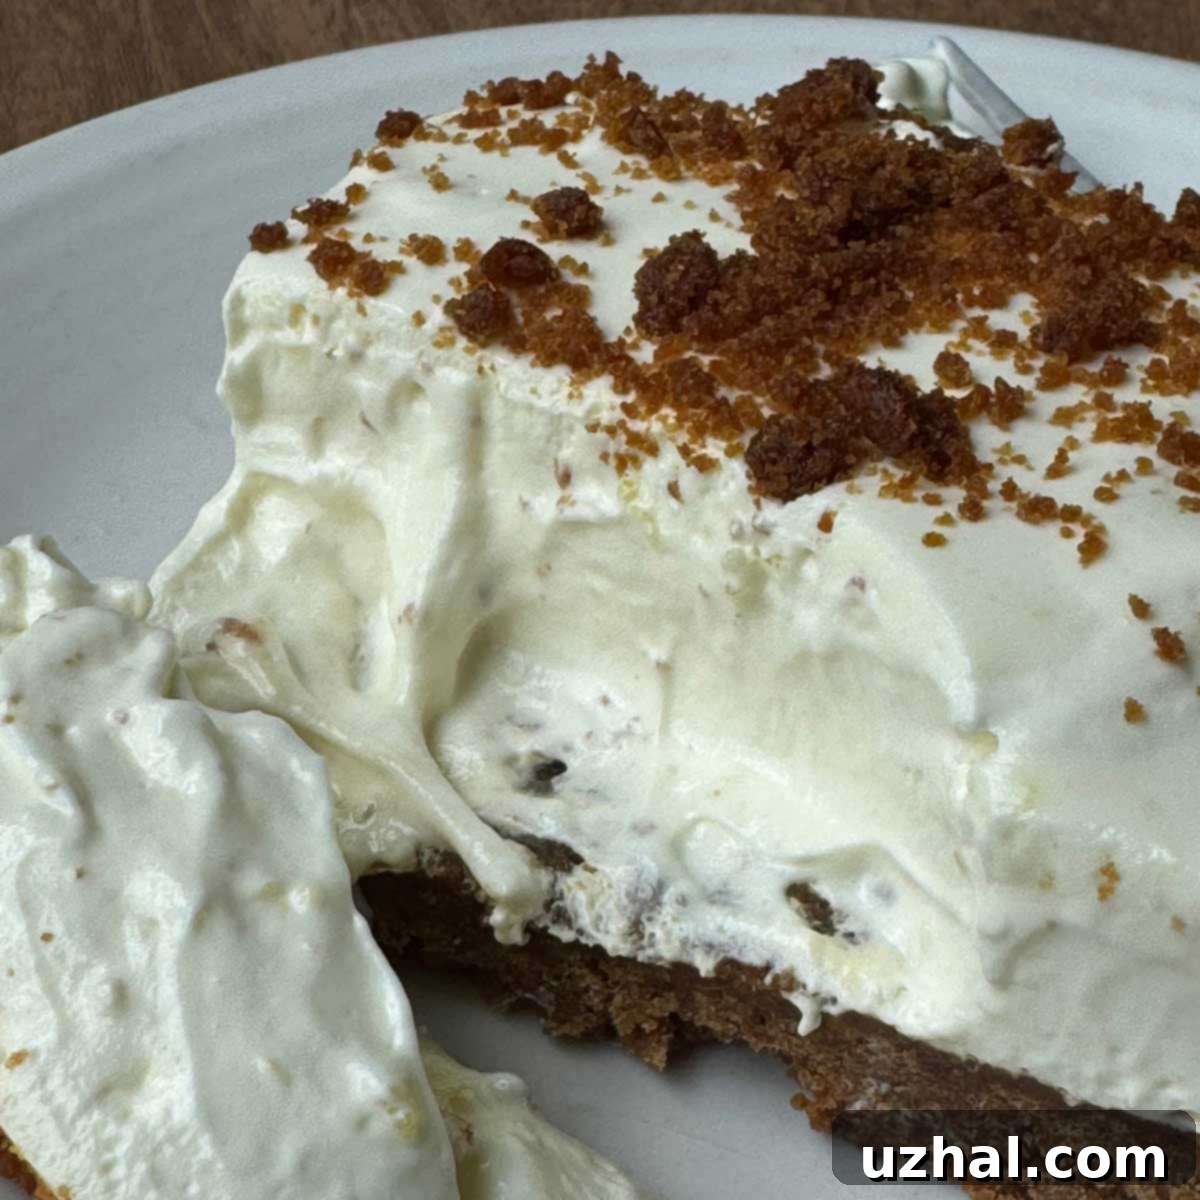
Step back in time to an era of simpler pleasures and delightful treats with this cherished No-Bake Woolworth’s Cheesecake recipe. If you were fortunate enough to visit a Woolworth’s lunch counter as a child, you likely recall the famous cheesecake – a wonderfully fluffy, subtly lemon-flavored dessert, traditionally served with a classic graham cracker crust. While those days might pre-date my own Woolworth’s experiences, I absolutely treasure the heartwarming stories from individuals whose mothers would treat them to a special meal at the counter, always culminating in a slice of this iconic, icebox cake-style cheesecake. This dessert isn’t just food; it’s a gateway to treasured memories, a taste of a bygone era that evokes a sense of comfort and nostalgia with every creamy bite. Its enduring popularity speaks volumes about its simple elegance and irresistible flavor profile.
The Legacy of Mary’s Woolworth’s Cheesecake
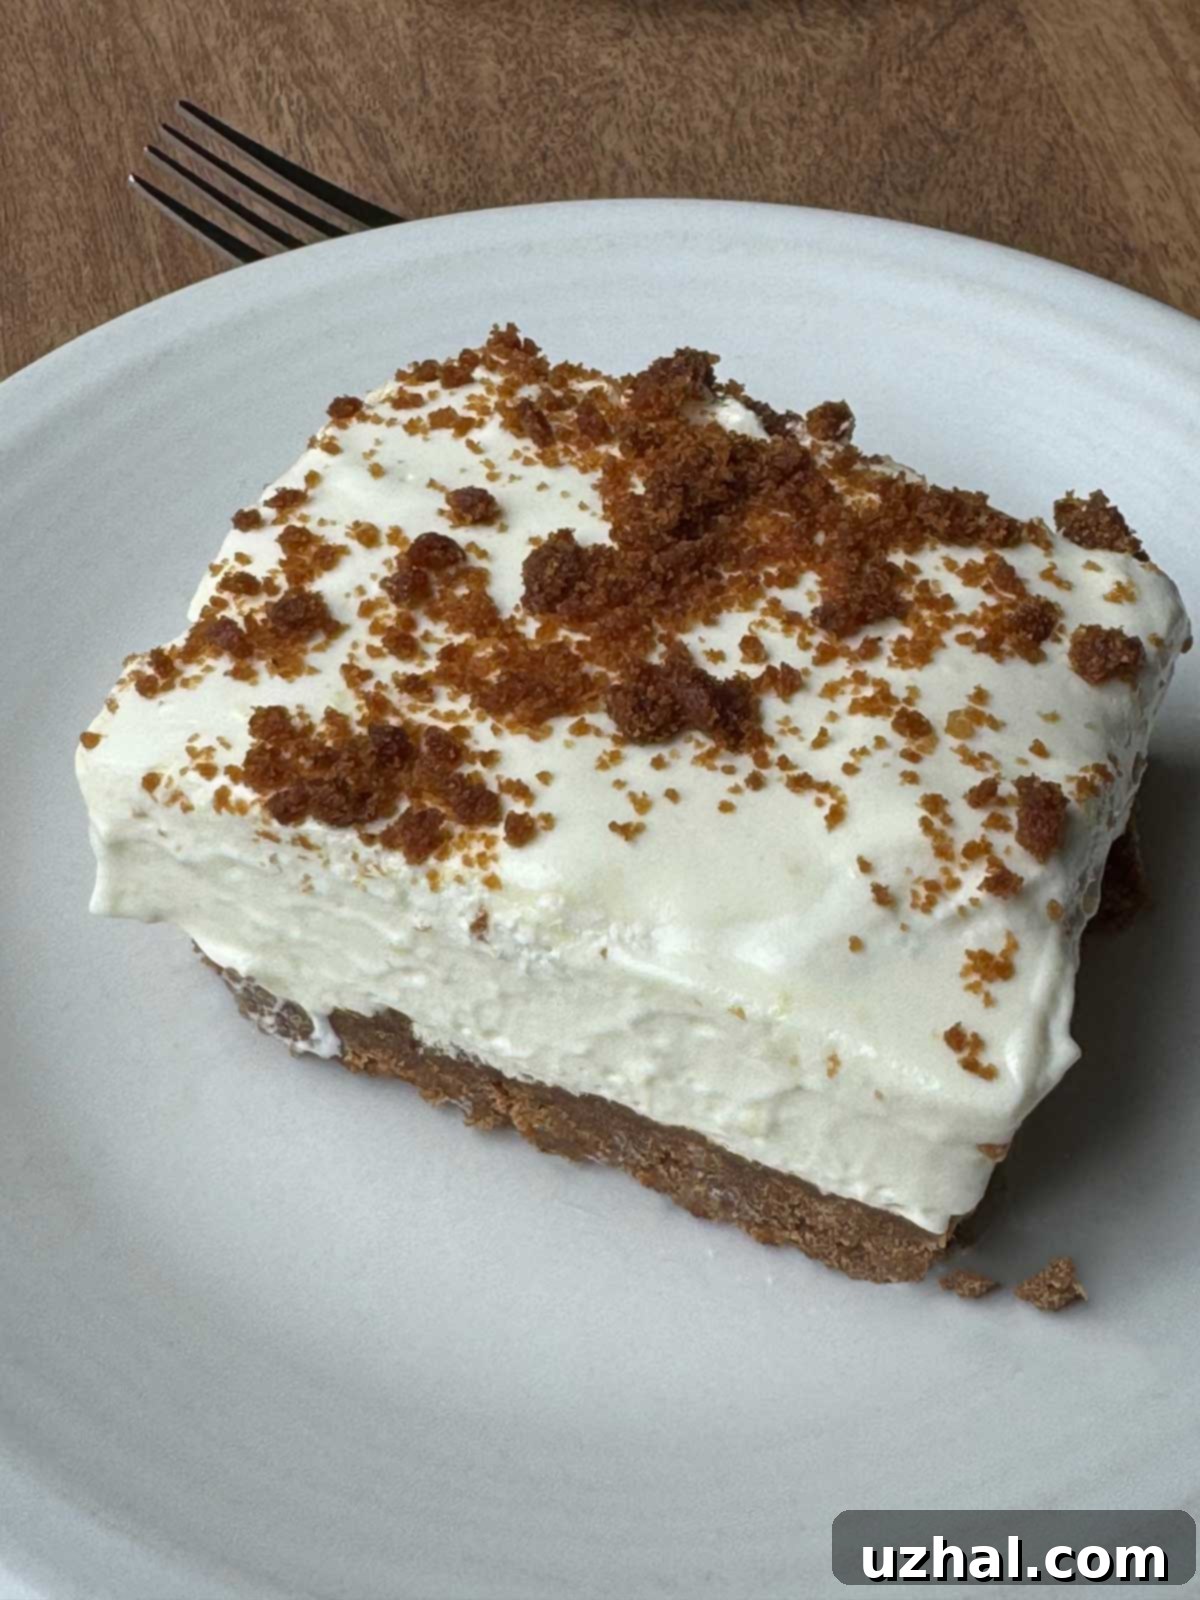
The original beloved recipe for this creamy, no-bake delight originated from a dedicated woman named Mary, who worked at Woolworth’s. Her admiration for their cheesecake was so profound that she painstakingly developed her own version to replicate the magic at home. This homemade adaptation, affectionately known as “Mary’s Woolworth’s Cheesecake,” famously utilized whipped evaporated milk to achieve its signature light and airy texture, paired with a straightforward graham cracker crust. It’s more akin to a creamy, dreamy icebox cake than a dense, traditional baked cheesecake, offering a unique and utterly delicious experience. For this updated recipe, we’re introducing a delightful twist, enhancing its appeal by incorporating modern conveniences like Cool Whip for effortless creaminess and a vibrant gingersnap cookie crust, which adds an exciting layer of spiced flavor that complements the zesty lemon filling beautifully. This contemporary spin aims to honor the spirit of Mary’s original while bringing fresh excitement to this vintage classic.
Gingersnap Crust vs. Classic Graham Cracker Crust: A Flavorful Dilemma
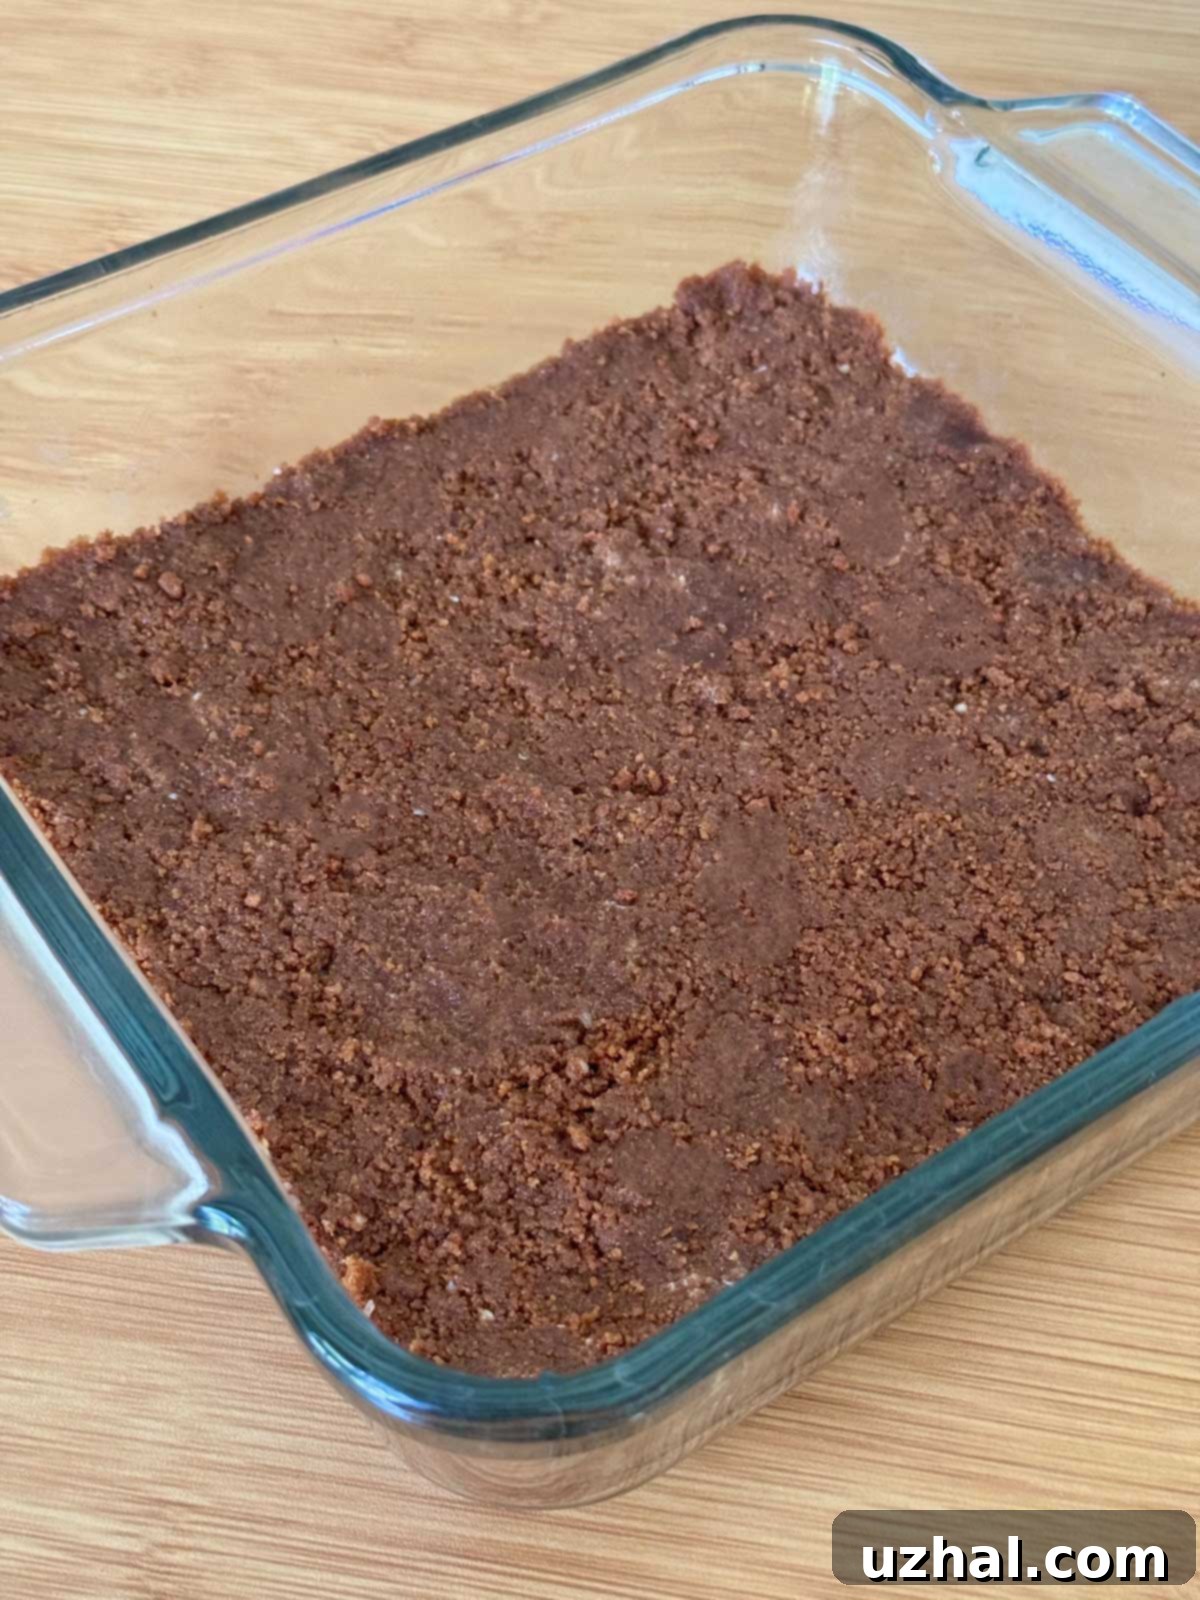
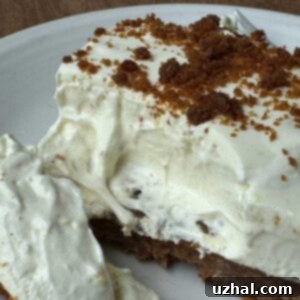
Let’s talk about the foundation of this magnificent dessert: the crust. The original recipe typically features a simple, soft graham cracker crust, which provides a wonderfully subtle base for the creamy lemon filling. However, for this rendition, I simply couldn’t resist experimenting with a robust, no-bake gingersnap crust. The spicy, warm notes of gingersnaps introduce a fascinating depth of flavor that contrasts beautifully with the bright, tangy lemon. To create this firm yet yielding crust, I opted for finely ground homemade gingersnaps, processed into a delicate powder in a high-speed blender like a Vitamix. This fine texture, combined with powdered sugar – chosen for its superior binding properties compared to granulated sugar – and melted butter, creates a crust that is both stable and incredibly flavorful. Initially, the gingersnap crust is quite firm, but after spending several hours chilling beneath the velvety cream topping, it softens to a perfect consistency – holding its shape without becoming overly hard or crumbly. This sturdy base is particularly ideal for icebox cakes, as it resists sogginess, ensuring every slice maintains its integrity and satisfying crunch.
Crafting the Perfect Lemon Filling: Zesty & Creamy Indulgence
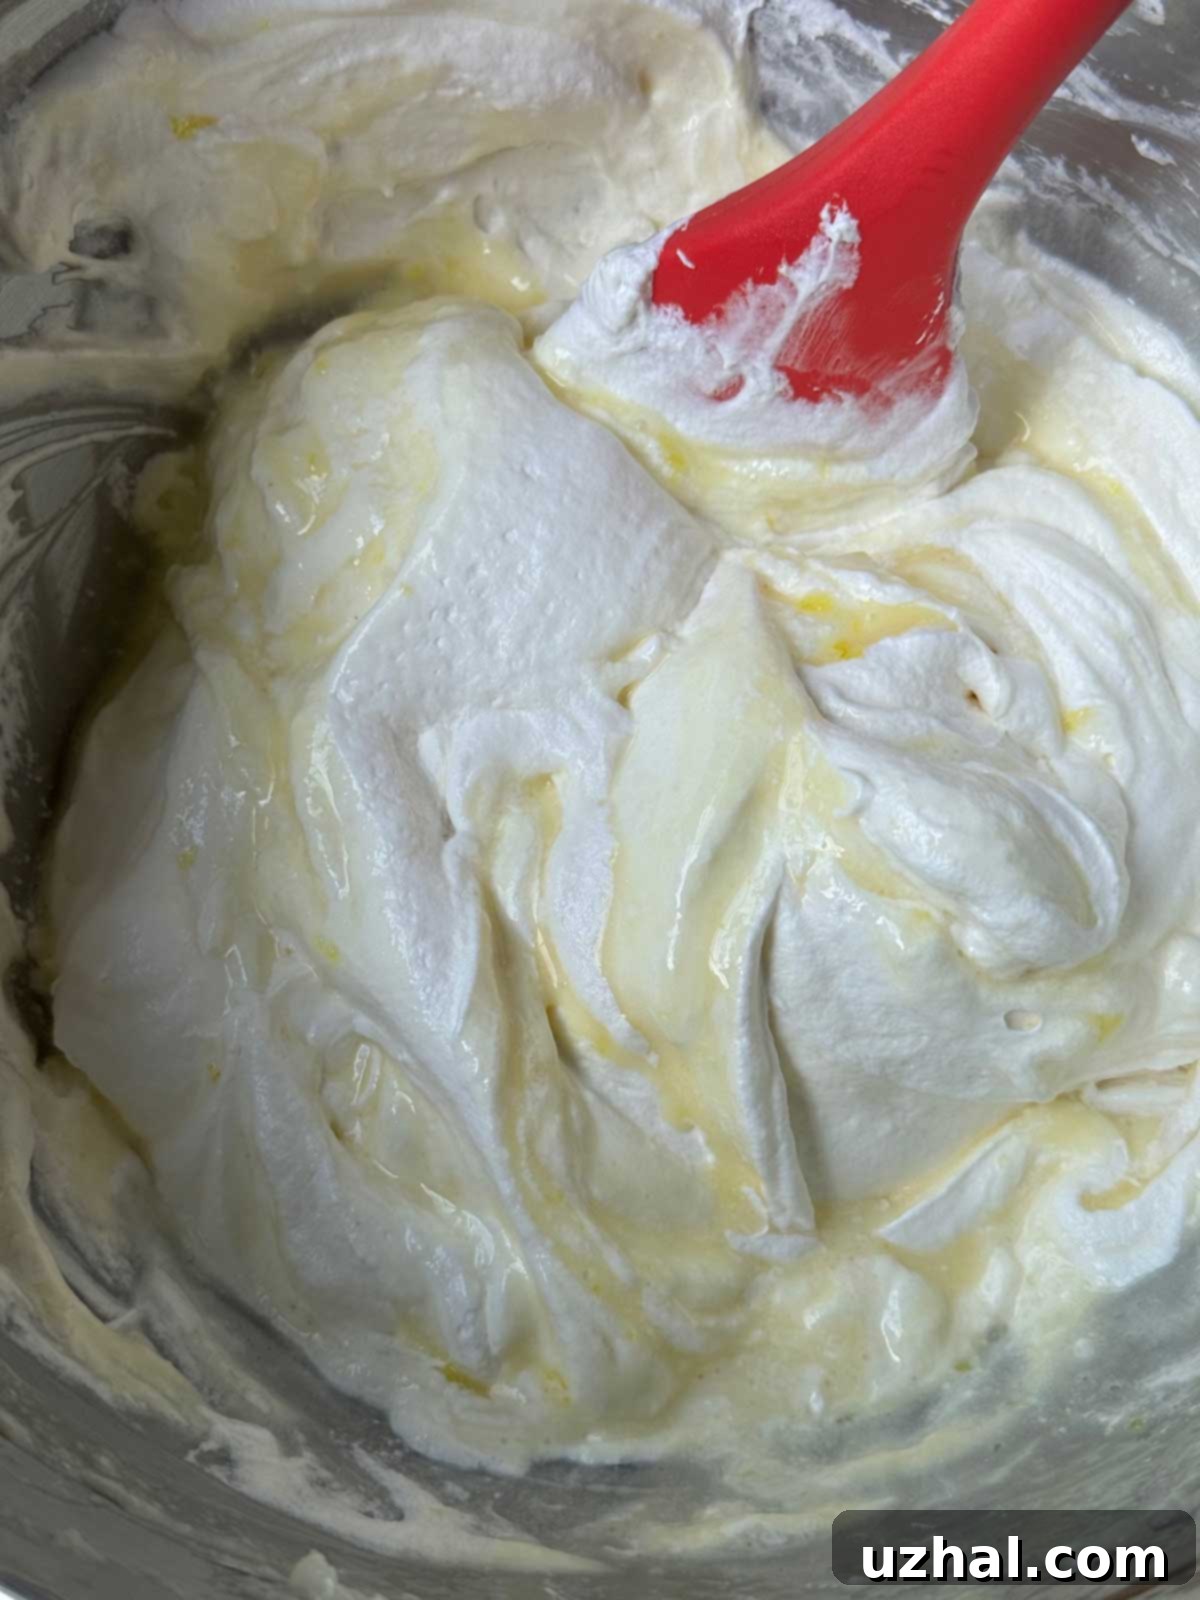
For the heart of this no-bake cheesecake – the vibrant lemon filling – I maintained a strong adherence to the core essence of the original recipe, but with a practical enhancement in preparing the lemon gelatin. Rather than waiting for the gelatin to set completely in the refrigerator, I employed a “quick set” method. This involves dissolving the gelatin in boiling water and then immediately stirring in an equal amount of ice-cold water, often with ice cubes, to rapidly bring down the temperature. This technique allows the gelatin to thicken to a syrupy, slightly viscous consistency much faster, without fully gelling. Once the gelatin had achieved this ideal, slightly thickened state, I proceeded to beat together the softened cream cheese and granulated sugar until the mixture was wonderfully smooth and airy. Next, the prepared lemon gelatin was gently stirred in, followed by a generous splash of fresh lemon juice – essential for that authentic tangy kick – and a touch of pure vanilla extract to round out the flavors. The resulting creamy mixture was intentionally thick enough to gracefully incorporate the whipped topping, allowing me to fold it in right away without fear of it becoming too runny. This beautifully balanced, lemon-infused cream was then poured over the prepared gingersnap crust, ready for its transformative chill.
Choosing the Right Pan Size for Your No-Bake Cheesecake
This versatile recipe is perfectly designed to fit a standard 9×13 inch baking pan, which yields a generous dessert suitable for family gatherings or entertaining a crowd. However, the beauty of this no-bake cheesecake lies in its adaptability. For a smaller household, or when you simply crave a treat for two, the recipe can be easily halved. In my case, a halved version fit beautifully into an 8-inch square dish, providing ample portions. You could even scale it down to a quarter size, using a smaller casserole dish or individual ramekins for single servings, making it a fantastic option for portion control or a delightful mini dessert. The key to successful scaling is to accurately weigh or measure your ingredients, especially the gelatin, to maintain the correct ratios for proper setting. Adjusting the pan size allows you to enjoy this nostalgic dessert no matter the occasion or the number of people you’re serving, ensuring that no one misses out on this easy and delicious treat.
Tips for No-Bake Cheesecake Success
Creating the perfect no-bake cheesecake is surprisingly simple, but a few tips can elevate your dessert from good to absolutely outstanding. First, ensure your cream cheese is thoroughly softened to room temperature. This is crucial for achieving a smooth, lump-free filling that blends seamlessly with the other ingredients. Cold cream cheese will lead to a clumpy texture, no matter how much you beat it. When preparing the lemon gelatin, make sure it’s cooled to that slightly thickened, syrupy consistency before incorporating it. If it’s too warm, it could melt the whipped topping; if it’s too firm, it won’t blend evenly. Don’t be afraid to taste and adjust the lemon juice; personal preference for tartness varies, so feel free to add a little more if you like a brighter lemon flavor. Finally, patience is paramount for chilling. While tempting to cut into it early, giving the cheesecake the full 6 hours, or ideally overnight, in the refrigerator allows the filling to set properly and the crust to achieve its ideal texture, ensuring clean slices and a truly satisfying experience.
Extending the Life of Your Woolworth’s Cheesecake: Freezing Instructions
This delightful no-bake cheesecake is best enjoyed fresh, staying perfectly delicious in the refrigerator for up to 3 days. However, if you find yourself with leftovers (a rare occurrence with this irresistible dessert!) or wish to prepare it in advance, freezing is an excellent option. To freeze individual slices, carefully slide each piece onto a small square of plastic wrap. Place these unwrapped slices on a baking sheet and freeze until they are firm – typically 1 to 2 hours. Once solidified, wrap each frozen slice tightly in additional layers of plastic wrap, followed by aluminum foil to prevent freezer burn. Then, transfer the securely wrapped slices into a heavy-duty freezer bag or an airtight container. Properly stored, your frozen Woolworth’s Cheesecake can maintain its quality for up to 1-2 months. When you’re ready to enjoy a slice, simply remove it from the freezer and let it thaw in the refrigerator for a few hours, or at room temperature for about 30-60 minutes, until soft enough to eat. This makes it a perfect make-ahead dessert for unexpected guests or a spontaneous sweet craving.
The Timeless Appeal of Icebox Cakes
Icebox cakes, like this No-Bake Woolworth’s Cheesecake, hold a special place in culinary history, particularly gaining popularity during warmer months or as an easy, fuss-free dessert for any occasion. Their appeal lies in their simplicity: no oven required, minimal effort, and often relying on readily available ingredients. The magic happens during the chilling process, as components like cookies, cream, and gelatin meld together, softening the crunchy elements and allowing flavors to deepen and harmonize. This transforms a few simple ingredients into a luxurious, cohesive dessert. They are the epitome of comfort food, often linked to childhood memories and family gatherings, making them a perfect choice for anyone seeking a delightful treat without the complexities of baking. This Woolworth’s recipe perfectly encapsulates that effortless charm and delicious outcome, proving why icebox cakes remain a cherished category of desserts.
- Chocolate Chip Gingersnaps
- Spicy Crunchy Gingersnaps Made Easy
- Pear Apple Cranberry Pie with Gingersnap Topping
- Sour Cream Key Lime Pie
- English Gingersnaps
Recipe
Woolworth’s Cheesecake Dessert
Anna
Pin Recipe
Ingredients
- 1 box lemon gelatin, (3 oz)
- ½ cup boiling water
- ½ cup ice water
- 8 ounces cream cheese, softened
- 1 cup granulated sugar
- ¼ cup fresh lemon juice
- 1 ½ teaspoon vanilla extract
- 12 oz sweetened whipped topping (1 large tub, e.g., Cool Whip)
Gingersnap Crust
- 3 cups Gingersnap crumbs (from approximately 1 pound gingersnap cookies)
- ¾ cup powdered sugar (100 grams)
- 8 tablespoons unsalted butter, melted (114 grams)
Instructions
-
Begin by preparing your crust (this can also be done while the lemon gelatin is chilling). In a medium bowl, combine the gingersnap crumbs and powdered sugar, mixing thoroughly. Pour in the melted butter and stir until the crumbs are evenly moistened and well combined. Reserve about ½ to ¾ cup of this crumb mixture to use as a topping later. Firmly press the remaining crust mixture into the bottom of your chosen 9×13 inch pan (or scaled-down pan).
-
Next, prepare the lemon gelatin. In a heatproof bowl, dissolve the lemon gelatin powder in ½ cup of boiling water, stirring constantly until completely dissolved. Immediately stir in ½ cup of ice-cold water, continuing to stir until any ice melts. Allow this mixture to cool and slightly thicken. It doesn’t need to be fully set or super thick, just a viscous, syrupy consistency is perfect. This quick-set method ensures faster preparation.
-
In a large mixing bowl, beat the softened cream cheese, granulated sugar, and vanilla extract together until the mixture is light, fluffy, and completely smooth – ensure there are no lumps. Stir in the fresh lemon juice. Then, add the slightly thickened lemon gelatin and mix until fully incorporated. If the mixture appears too thin or wet to incorporate the whipped topping, you can briefly chill it for about 30 minutes. However, if your gelatin cooled long enough, it should be the perfect consistency to fold in the whipped topping right away. Since this is an icebox cake set in a dish, a slightly looser initial consistency will still firm up beautifully.
-
Gently fold in the entire tub of sweetened whipped topping until no streaks remain and the filling is uniform. Pour this creamy lemon filling evenly over the prepared gingersnap crust in the pan. Evenly scatter the reserved gingersnap crumbs over the top of the filling for an attractive garnish and added texture. Cover the pan loosely with plastic wrap and refrigerate for a minimum of 6 hours, or preferably overnight, to allow the cheesecake to set completely and for the flavors to fully meld.
-
When it’s time to serve, you might find that the crust sticks a little to the bottom of a very cold pan. A clever trick to easily release the crust is to set the cold cheesecake pan into a larger, rimmed baking sheet filled with about an inch of hot water for a few minutes. The gentle heat from the water will slightly soften the cold butter in the crust, just enough to loosen it from the pan, allowing for clean, perfect slices every time. Slice and serve this delightful, nostalgic dessert, perhaps garnished with a thin lemon slice or a sprig of mint.
