Effortless No-Knead Bread: Your Simple Guide to Delicious Homemade Loaves and Rolls
For many home bakers, the thought of making homemade rolls and bread often conjures images of stand mixers churning, dough hooks working tirelessly, and perhaps a lot of hands-on kneading. While these traditional methods certainly yield fantastic results, they can be time-consuming and require a certain level of skill and equipment. This is precisely why the concept of No-Knead Bread has become a true revelation for baking enthusiasts and beginners alike – it’s an absolute game-changer in the world of homemade baked goods!
Inspired by the revolutionary method popularized by the New York Times, this incredible No-Knead Bread recipe simplifies the entire process without compromising on flavor or texture. The magic lies in its simplicity: instead of vigorous kneading, you merely stir all the ingredients together, creating a wet, shaggy dough. This dough is then left to rest and develop its gluten structure over several hours, allowing time to do all the hard work for you. The result? A remarkably flavorful, crusty loaf or tender rolls that taste like they came from a professional bakery, all with minimal effort. It’s perfect for busy weeknights, weekend baking projects, or anyone looking to enjoy the unparalleled taste of fresh bread from their own kitchen.
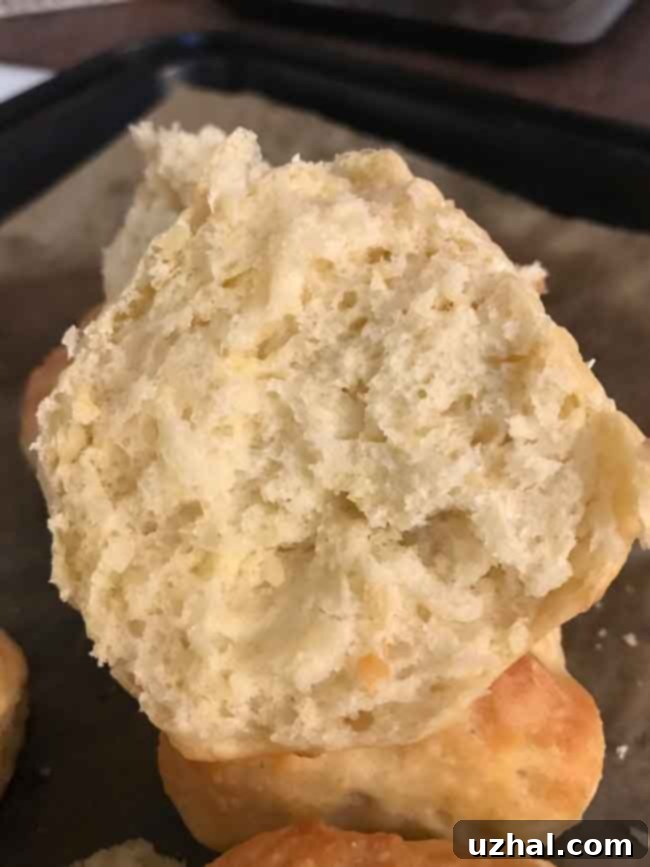
My journey with this recipe began with a sense of curiosity and a desire to simplify my baking routine. I decided to try making the bread not once, but twice, to fully understand its versatility and potential. The first time around, I opted to shape the dough into rolls. The process was straightforward, and as they baked, the aroma that filled my kitchen was absolutely divine—a warm, comforting fragrance that promised something special. The final product was unique, somewhere between a fluffy dinner roll and a tender biscuit. These no-knead rolls had a wonderful, slightly irregular texture and an inviting golden crust. The taste was exceptional, further enhanced by a delightful blend of melted vegetable oil spread and olive oil, which added depth and richness to every bite. They were incredibly satisfying, proving that even in a less conventional form, this no-knead method truly delivers on flavor and homemade comfort.

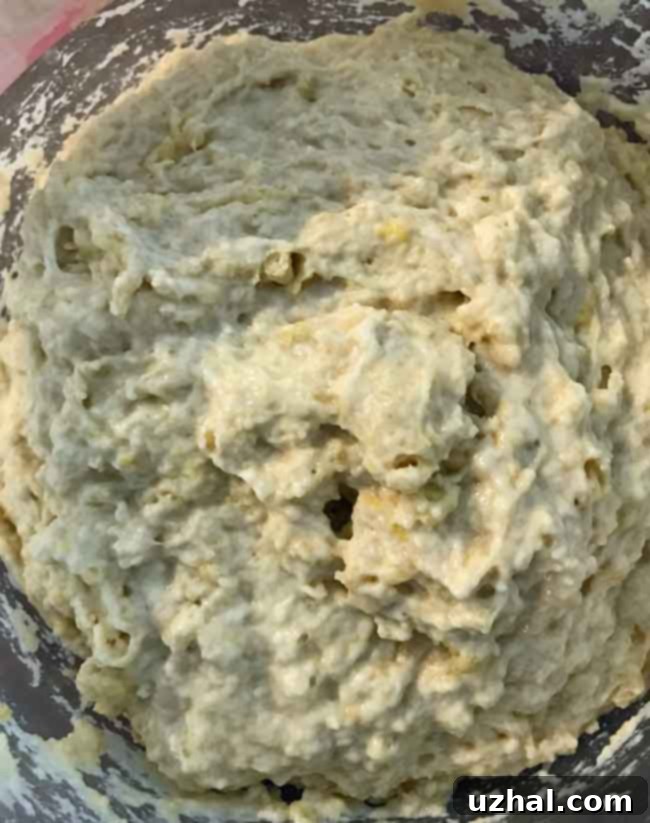
Encouraged by the success of the rolls, I was eager to explore the bread loaf potential of this recipe. For my second attempt, I decided to halve the original recipe, aiming for a single, generous loaf of bread. The initial dough was, as expected for no-knead recipes, very wet—almost like a thick batter rather than a traditional kneadable dough. This wetness is crucial for the method, as it allows the gluten to develop without manual intervention, resulting in an incredibly moist and airy crumb. Below is a visual of this wonderfully wet dough just before it began its transformative rise, a testament to the simplicity of the initial mixing process.
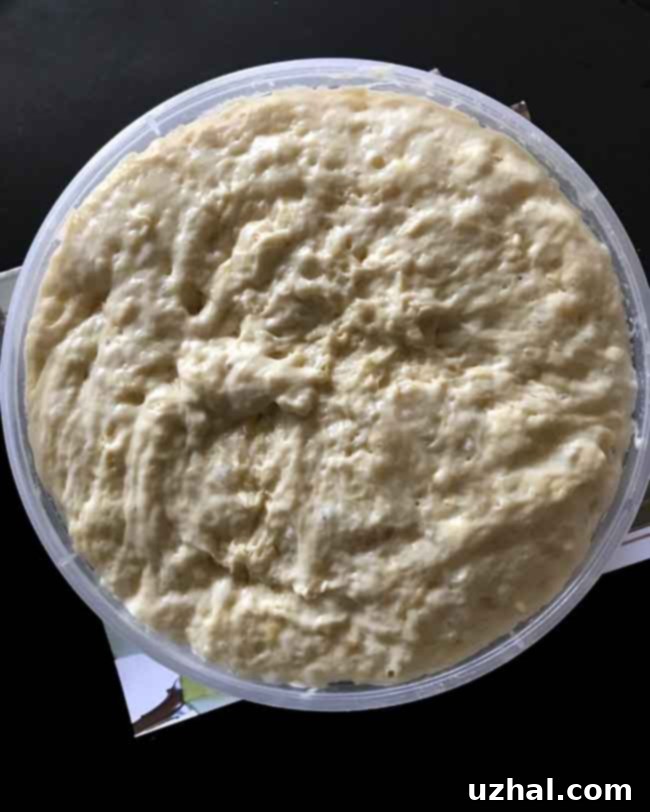
After letting the dough sit and work its magic for a full three hours, the transformation was remarkable. The once wet and unformed mixture had now risen significantly, becoming light and airy, filled with countless tiny bubbles—a clear sign that the yeast was active and the gluten network was beautifully developing. This passive rising period truly highlights the “no-knead” advantage, allowing for rich flavor development and a fantastic texture with minimal effort from the baker. Here’s a glimpse of the dough after its impressive rise, showcasing its readiness for the oven:
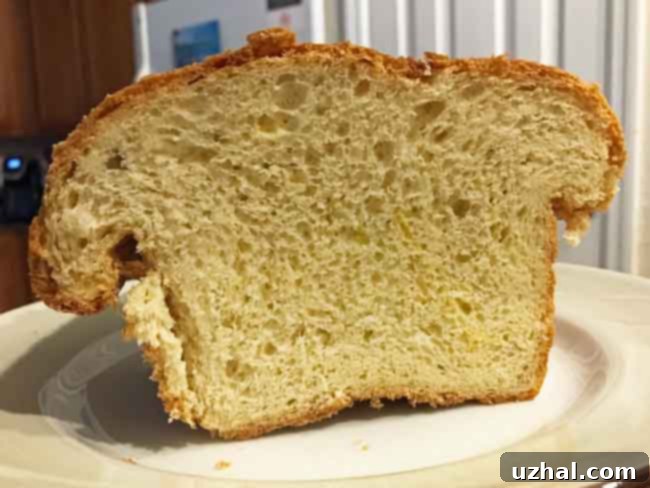
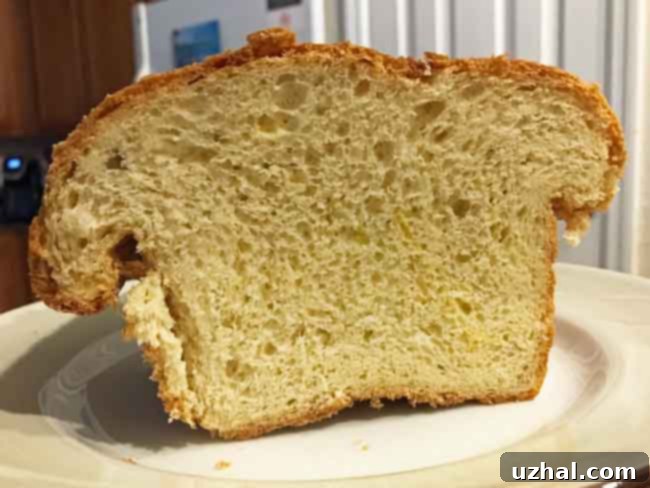
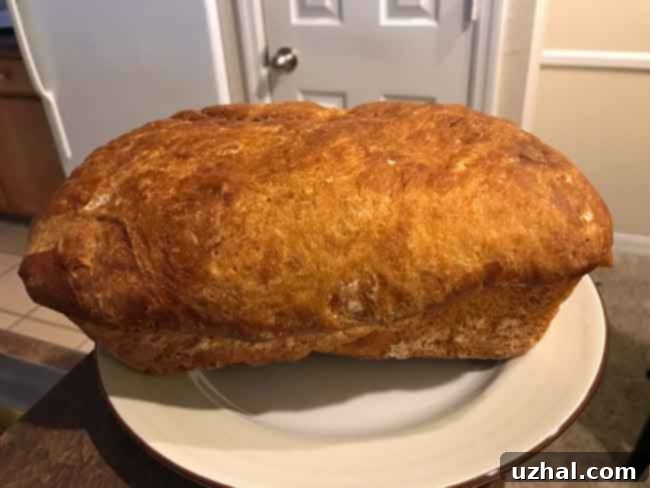
Transferring the risen dough to a greased 9×5 inch loaf pan, I noticed it was quite a generous amount, perhaps a little too much for the pan, suggesting that next time I might hold back a small portion of the dough for another use or opt for a slightly larger pan. However, even with the full amount, the bread still baked beautifully, forming a wonderfully rounded top and a delightful golden-brown crust. The loaf sliced with remarkable ease, revealing a soft, tender interior that was both light and satisfying. The taste was nothing short of fantastic – a subtle sweetness balanced with a comforting yeasty flavor, making it incredibly versatile. It’s not at all heavy, making it an ideal choice for everyday sandwich bread, and it transforms into the most perfect, crisp toast when lightly browned. This simple, effortless recipe has quickly become a household favorite, and I’m genuinely excited to bake another batch very soon.
One of the greatest benefits of this no-knead method is its forgiving nature. It’s a wonderful recipe for those new to bread baking, as it removes the intimidation often associated with traditional yeast breads. There’s no need to worry about over or under-kneading, nor do you require specialized equipment like a stand mixer. The long fermentation time not only develops deep flavors but also contributes to a superior texture that is both chewy and tender. Whether you choose to make rustic loaves or individual dinner rolls, the outcome is consistently impressive. This recipe allows you to enjoy the unparalleled satisfaction of truly homemade bread with minimal hands-on time, making it a perfect addition to any busy schedule. It’s truly a testament to how simple ingredients, combined with patience, can yield extraordinary results right in your own kitchen.
The Ultimate Easy No-Knead Bread or Rolls Recipe
This recipe yields a generous amount, perfect for feeding a crowd or ensuring you have plenty of delicious bread on hand. The full batch is ideal for making two large loaves or a substantial number of dinner rolls. Prepare to be amazed by how such a simple process can lead to such incredible results!
Ingredients for No-Knead Bread or Rolls (Full Batch)
2 ¾ cups warm water, divided use (approximately 105-115°F or 40-46°C for optimal yeast activation)
1 teaspoon sugar and 1 teaspoon flour (to proof the yeast)
4 ½ teaspoons active dry yeast (equivalent to 2 standard envelopes)
8 cups all-purpose flour (which is approximately 2 pounds, 4 oz or 1000 grams – using a kitchen scale for accuracy is recommended)
4 teaspoons salt (fine sea salt or table salt works well)
½ cup granulated sugar (approximately 100 grams, adds sweetness and helps with browning)
½ cup vegetable oil (or a flavorful combination like ¼ cup olive oil and ¼ cup melted plant-based butter spread for added richness)
3 large eggs, at room temperature (for moisture and richness)
Instructions for Baking Your No-Knead Masterpiece
Step 1: Activate the Yeast. In a small bowl, combine ¾ cup of the warm water with the 1 teaspoon of sugar and 1 teaspoon of flour. Sprinkle the active dry yeast over this mixture. Gently stir until combined. Set this mixture aside for about 5-10 minutes. You should see it become foamy and bubbly on top, indicating that the yeast is active and ready to work its magic. If it doesn’t foam, your yeast may be old or the water temperature was incorrect, and you should start again.
Step 2: Combine Dry Ingredients. In a very large mixing bowl (you’ll need plenty of room for the dough to rise!), stir together the 8 cups of flour, 4 teaspoons of salt, and ½ cup of sugar until they are thoroughly blended. This ensures that the salt and sugar are evenly distributed throughout the dough.
Step 3: Add Wet Ingredients. Create a well in the center of your dry ingredients. Add the ½ cup of vegetable oil and the 3 large eggs. Using a sturdy spoon or spatula, stir these ingredients well, gradually incorporating some of the flour mixture, until a rough dough begins to form.
Step 4: Incorporate Yeast Mixture and Remaining Water. Pour the activated yeast mixture into the bowl. Stir until it is fully blended into the dough. Now, gradually add the remaining 2 cups of warm water, about ½ cup at a time. Stir thoroughly after each addition to ensure all the flour is incorporated and a soft, shaggy, very wet dough forms. Avoid overmixing; just ensure there are no dry pockets of flour.
Step 5: First Rise (Bulk Fermentation). Cover the bowl tightly with plastic wrap or a clean kitchen towel. Let the dough sit at room temperature for a minimum of 3 hours. During this time, the dough will expand significantly, becoming very light and bubbly. For best results and deeper flavor development, you can even let it rise for up to 12-18 hours in a cooler spot, or overnight in the refrigerator (allowing it to come to room temperature before proceeding).
Step 6: Punch Down the Dough. After the initial rise, the dough will be wonderfully airy. Use a spoon to gently punch down the dough. This releases the accumulated gases and redistributes the yeast, preparing it for shaping and the second rise.
Step 7: Shape and Pan.
- For Loaves: Divide the dough and place it into two large (e.g., 9×5 inch) or three medium (e.g., 8×4 inch) greased loaf pans. Gently shape the dough to fit the pans.
- For Rolls: Drop about 30 individual gobs of dough, each roughly 1 to 1.5 inches apart, onto large greased baking sheets or into foil casserole dishes. The dough will be sticky, so a lightly oiled spoon or hands can help.
Step 8: Second Rise (Proofing). Cover the pans or baking sheets loosely with plastic wrap or a clean towel. Let the dough rise again for approximately 1 hour in a warm place. The loaves or rolls should noticeably increase in size, becoming puffy and light.
Step 9: Preheat Oven. Towards the end of the second rising time (about 15-20 minutes before baking), preheat your oven to 350 degrees F (175 degrees C).
Step 10: Bake to Perfection.
- For Large Loaves: Bake for about 50-55 minutes. You’ll know they’re done when the crust is golden brown and they sound hollow when gently tapped on the bottom. An internal temperature of 200-210°F (93-99°C) is ideal.
- For Medium Loaves: Check for doneness around 45 minutes, using the same cues.
- For Rolls: Bake for a shorter duration, typically about 15 to 20 minutes, until they are beautifully golden brown on top.
Allow your freshly baked bread or rolls to cool on a wire rack before slicing and serving. This allows the internal structure to set and prevents a gummy texture. Enjoy the fruits of your effortless labor!
If you’re looking for a smaller yield or just want to try a single loaf or fewer rolls, this convenient half batch recipe is perfect. It’s ideal for those who prefer to bake fresh more frequently or have less storage space.
½ Batch No-Knead Bread or Rolls
¼ cup plus 2 tablespoons (3 oz) warm water, plus 1 cup (8 oz) warm water, divided
½ teaspoon sugar and ½ teaspoon flour
2 ¼ teaspoons active dry yeast (1 standard envelope)
4 cups all-purpose flour (approximately 1 pound, 2 oz or 500 grams)
2 teaspoons salt
¼ cup granulated sugar (approximately 50 grams)
¼ cup vegetable oil (or 2 tablespoons each of olive oil and melted vegetable oil spread)
1 large egg plus 2 tablespoons lightly beaten egg (for optimal moisture and richness in a smaller batch)
This half batch makes one very large loaf or approximately 15 to 18 tender rolls. Follow the same step-by-step instructions as the full batch, adjusting the number of pans or baking sheets as needed. Happy baking!
