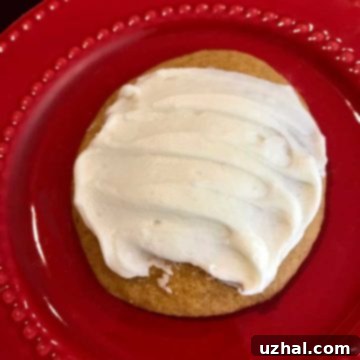
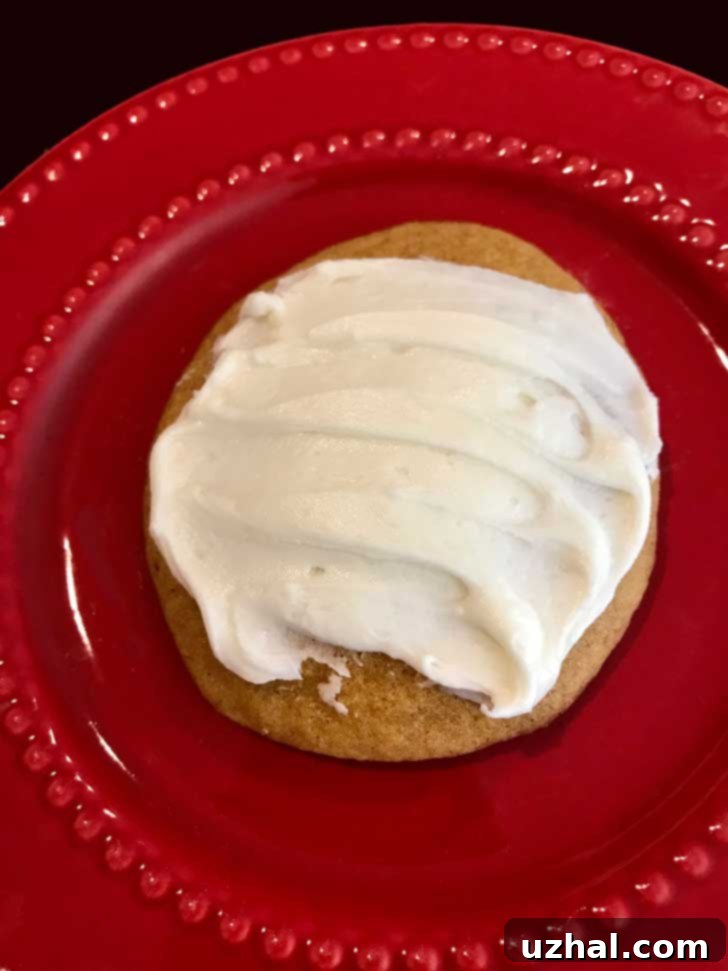
Sue’s Signature Frosted Pumpkin Cookies: A Zesty Autumn Treat
There’s something truly special about a homemade cookie, and this particular recipe, affectionately known as Sue’s Pumpkin Cookies, holds a cherished spot in my collection. It was shared with me years ago by my dear friend, Sue, who hinted that the addition of lemon zest was what set them apart. And indeed, she was right! That subtle citrus note elevates these autumnal delights, making them undeniably unique. Even without the zest, however, these remain incredibly satisfying pumpkin cookies – thick, wonderfully moist, and possessing a delightful cake-like texture that makes them irresistible.
If your quest for the perfect frosted pumpkin cookie has led you down countless recipe rabbit holes, look no further. Sue’s Pumpkin Cookie recipe delivers on all fronts. These aren’t just any pumpkin cookies; they are generously frosted and brimming with an exquisite blend of warming spices that perfectly capture the essence of fall. For an extra touch of seasonal fun and a textural contrast, consider sprinkling the frosted tops with crunchy walnuts or a playful scattering of candy corn. Alternatively, keep it elegantly simple and let the luscious frosting be the star, allowing the rich pumpkin and spice flavors to truly shine.
Effortless Baking with a Self-Rising Flour Adaptation
Baking should be an enjoyable process, and sometimes, a simple ingredient swap can make all the difference. I recently put Sue’s pumpkin cookie recipe to the test using self-rising flour, and I’m thrilled to report that it performed flawlessly! This ingenious shortcut streamlines the baking process without compromising on taste or texture. Since self-rising flour already contains a precise blend of leavening agents and salt, the only adjustment you need to make to the original recipe is to simply omit the salt. This change makes for an even quicker preparation, allowing you to get these delicious cookies into the oven faster.
You’ll notice that the dough for these cookies is exceptionally soft, almost resembling a thick batter rather than a traditional cookie dough. This is perfectly normal and contributes to their wonderfully moist and cakey consistency. Because of this softness, using a cookie scoop is highly recommended. Not only does it help create uniform cookies, ensuring even baking, but it also makes handling the soft dough much easier. Furthermore, remember to give these delightful cookies ample space on your baking sheets. They are known to spread quite a bit as they bake, so generous spacing prevents them from merging into one giant, delicious (but unintended) pumpkin slab. Allowing them to spread naturally ensures each cookie achieves that perfect thick and tender texture.
Using self-rising flour can be a fantastic convenience for many home bakers. It eliminates the need to measure out baking powder and salt separately, reducing the chances of error and saving valuable time. This method is particularly helpful when you’re craving a quick batch of fresh cookies but want to ensure consistent results. The inherent balance of ingredients in self-rising flour is designed to give baked goods a reliable lift and a tender crumb, making it an excellent choice for a recipe like Sue’s Pumpkin Cookies, where a soft, cakey texture is key. It’s a simple trick that delivers professional-quality results every time.
Explore More Delicious Recipes from Sue
If you’ve fallen in love with these pumpkin cookies, you’ll be delighted to know that Sue has a treasure trove of other fantastic recipes in her collection, beautifully curated on her blog, Basically Baked. Her culinary philosophy focuses on approachable, delicious baking that brings joy to every kitchen. Below are two of my personal favorites from her repertoire, which I highly recommend trying if you appreciate her knack for creating comforting and flavorful treats:
- Sue’s Toffee Crunch Cookies: These cookies are a delightful symphony of buttery goodness and crunchy toffee bits, perfect for anyone who loves a good texture contrast in their sweets.
- Sue’s Snickerdoodles: A classic for a reason, Sue’s snickerdoodles are wonderfully soft, chewy, and coated in that irresistible cinnamon-sugar blend. They are a timeless treat that never disappoints.
Sue’s collection is a testament to her passion for baking, offering a range of recipes that are both comforting and exciting. Her clear instructions and reliable results make her blog a fantastic resource for bakers of all skill levels.
Recipe

Sue’s Pumpkin Cookie Recipe
Anna
Pin Recipe
Ingredients
For the Pumpkin Cookies
- ½ cup salted or unsalted butter (114 grams, softened to room temperature for best creaming results)
- 1 ½ cups brown sugar (300 grams, packed, for moisture and rich flavor)
- 2 large eggs (room temperature, for better emulsification)
- 1 cup canned pumpkin (ensure it’s 100% pumpkin puree, not pumpkin pie filling)
- 1 teaspoon vanilla extract (pure vanilla for the best flavor)
- 1 teaspoon grated lemon peel (the secret ingredient for that unique zesty kick)
- 1 teaspoon lemon juice (freshly squeezed is always best)
- 2 ½ cups unbleached all purpose flour (or use self-rising flour, omitting salt from the recipe)
- 1 tablespoon baking powder (ensures a good lift and cakey texture)
- 1 teaspoon salt (balances sweetness, omit if using self-rising flour or salted butter)
- 1 ½ teaspoons pumpkin pie spice (or a blend of cinnamon, nutmeg, ginger, and cloves)
- ¼ teaspoon ground ginger (enhances the warming spice profile)
- 1 cup chopped walnuts (optional, but adds a lovely crunch)
- Candy corn (and additional walnut pieces for decoration, optional)
For the Buttercream Frosting
- ⅓ cup soft butter (salted or unsalted is fine, ensure it’s truly soft for a smooth frosting)
- 3 cups powdered sugar (confectioners’ sugar, sifted to prevent lumps)
- 1 ½ teaspoons vanilla extract (adds depth to the frosting flavor)
- 2 tablespoons cream (heavy cream or half-and-half for richness and creamy texture; add more if needed for desired consistency)
Instructions
-
Prepare the Base: Preheat your oven to 375°F (190°C). In a large mixing bowl, using an electric mixer, cream together the softened butter and brown sugar until the mixture is light, fluffy, and well combined. This process incorporates air, which is crucial for the cookies’ soft, cakey texture.
-
Incorporate Wet Ingredients: Beat in the large eggs, one at a time, ensuring each egg is fully incorporated before adding the next. This helps to create a smooth, emulsified batter. Then, stir in the canned pumpkin, vanilla extract, grated lemon peel, and lemon juice until everything is thoroughly blended. The lemon peel and juice are key to the unique flavor profile of these cookies, adding a bright counterpoint to the rich pumpkin and spices.
-
Add Dry Ingredients and Mix-ins: In a separate bowl, whisk together the unbleached all-purpose flour (or self-rising flour if using, remember to omit the salt from the dry ingredients), baking powder, salt (if using all-purpose flour), pumpkin pie spice, and ground ginger. Gradually add these dry ingredients to the wet mixture, stirring on low speed until just blended. Be careful not to overmix, as this can lead to tough cookies. Finally, gently fold in the chopped walnuts, if desired, distributing them evenly throughout the dough.
-
Bake the Cookies: Drop the dough by tablespoonfuls (a cookie scoop works perfectly here due to the soft dough consistency) onto lightly greased baking sheets, leaving plenty of space between each cookie to allow for spreading during baking. Bake for 12-14 minutes, or until the edges are set and lightly golden, and a toothpick inserted into the center comes out clean. The cookies will be soft to the touch. Let them cool on the baking sheets for a few minutes before transferring them to a wire rack to cool completely.
-
Prepare and Frost: While the cookies are cooling, make the buttercream frosting. In a medium bowl, beat together the soft butter and sifted powdered sugar until well combined. Stir in the vanilla extract and cream. Beat on medium-high speed until the frosting is smooth, light, and fluffy, adding a tiny bit more cream if needed to reach your desired spreading consistency. Once the cookies are completely cool, generously frost each one. Decorate the frosted cookies with additional walnut pieces and candy corn, if desired, for an extra festive touch.
Tips for Perfect Pumpkin Cookies
Achieving bakery-quality pumpkin cookies at home is easier than you think with a few key tips:
- Room Temperature Ingredients: Ensure your butter and eggs are at room temperature. This allows them to cream together more easily and create a smoother, more emulsified batter, leading to a more tender cookie.
- Measure Flour Correctly: For accurate results, spoon your flour into a measuring cup and then level it off with a straight edge. Scooping directly from the bag can compact the flour, resulting in too much flour and dry cookies.
- Don’t Overmix: Once the dry ingredients are added, mix only until just combined. Overmixing develops gluten, making the cookies tough.
- Pumpkin Puree vs. Pie Filling: Always use 100% pure canned pumpkin, not pumpkin pie filling. Pie filling has added sugars and spices that will alter the recipe’s intended flavor and texture.
- Chill the Dough (Optional): If your dough feels too soft to handle, a quick 15-30 minute chill in the refrigerator can make it easier to scoop and may reduce spreading, resulting in thicker cookies.
- Even Scoops: Using a cookie scoop ensures all your cookies are the same size, promoting even baking.
Storage Suggestions
To keep your Sue’s Pumpkin Cookies fresh and delicious:
- Room Temperature: Store frosted cookies in an airtight container at room temperature for up to 3-4 days. Placing a piece of parchment paper between layers can prevent sticking.
- Refrigeration: If your kitchen is warm or if you prefer, you can refrigerate them, but allow them to come to room temperature before serving for the best texture.
- Freezing Dough: You can scoop the cookie dough onto a baking sheet and freeze until firm, then transfer to a freezer-safe bag for up to 3 months. Bake from frozen, adding a few extra minutes to the baking time.
- Freezing Baked Cookies: Unfrosted cookies can be frozen in an airtight container for up to 1 month. Thaw at room temperature and then frost. Frosted cookies can also be frozen, but the frosting might become a bit soft upon thawing.
Variations to Try
While Sue’s original recipe is perfect, feel free to experiment with these delicious variations:
- Spice It Up: Enhance the spice profile by adding a pinch of allspice or ground cloves to the dry ingredients.
- Chocolate Lover’s Delight: Fold in 1 cup of chocolate chips (milk, dark, or white) along with the walnuts for an extra layer of indulgence.
- Nutty Alternatives: Replace walnuts with pecans, macadamia nuts, or even a mix of your favorite nuts for a different crunch.
- Cream Cheese Frosting: For a classic pairing, swap the buttercream with a tangy cream cheese frosting. It complements the pumpkin beautifully.
- Maple Glaze: Instead of frosting, drizzle a simple maple glaze (powdered sugar, maple syrup, and a splash of milk) over the cooled cookies for a less sweet alternative.
- Seed Mix-ins: Add pumpkin seeds (pepitas) for an earthy flavor and extra texture.
