Indulge in the Ultimate No-Bake Layered Chocolate Pie: A Decadent Delight for Any Celebration
The holiday season often brings with it a delightful abundance of treats, and one of my most cherished Christmas gifts this year was a generous bag of exquisite chocolate. As a passionate home baker and dessert enthusiast, I was immediately inspired to transform this delightful treasure into something truly special. That inspiration led me directly to crafting this spectacular Layered Chocolate Pie, a dessert so rich, creamy, and effortlessly elegant that it quickly became a new family favorite. While initially prepared for a New Year’s Eve gathering, its robust structure and amazing flavor make it an ideal candidate for freezing, ensuring you can enjoy a slice of pure bliss whenever the craving strikes.
The Allure of Dual Layers: Perfect for New Year’s Eve and Beyond
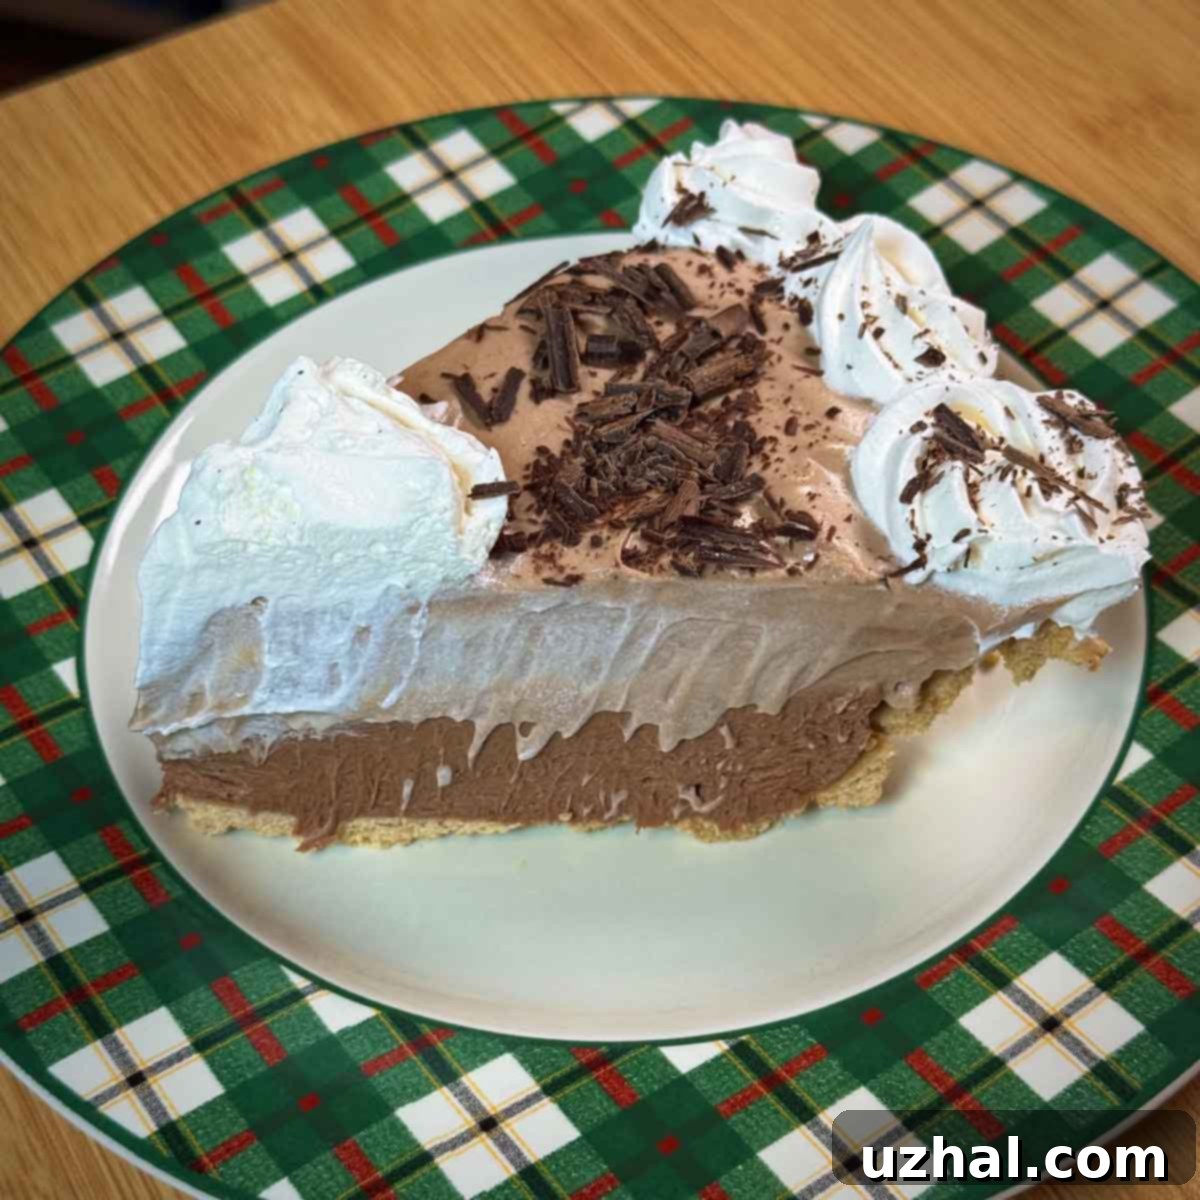
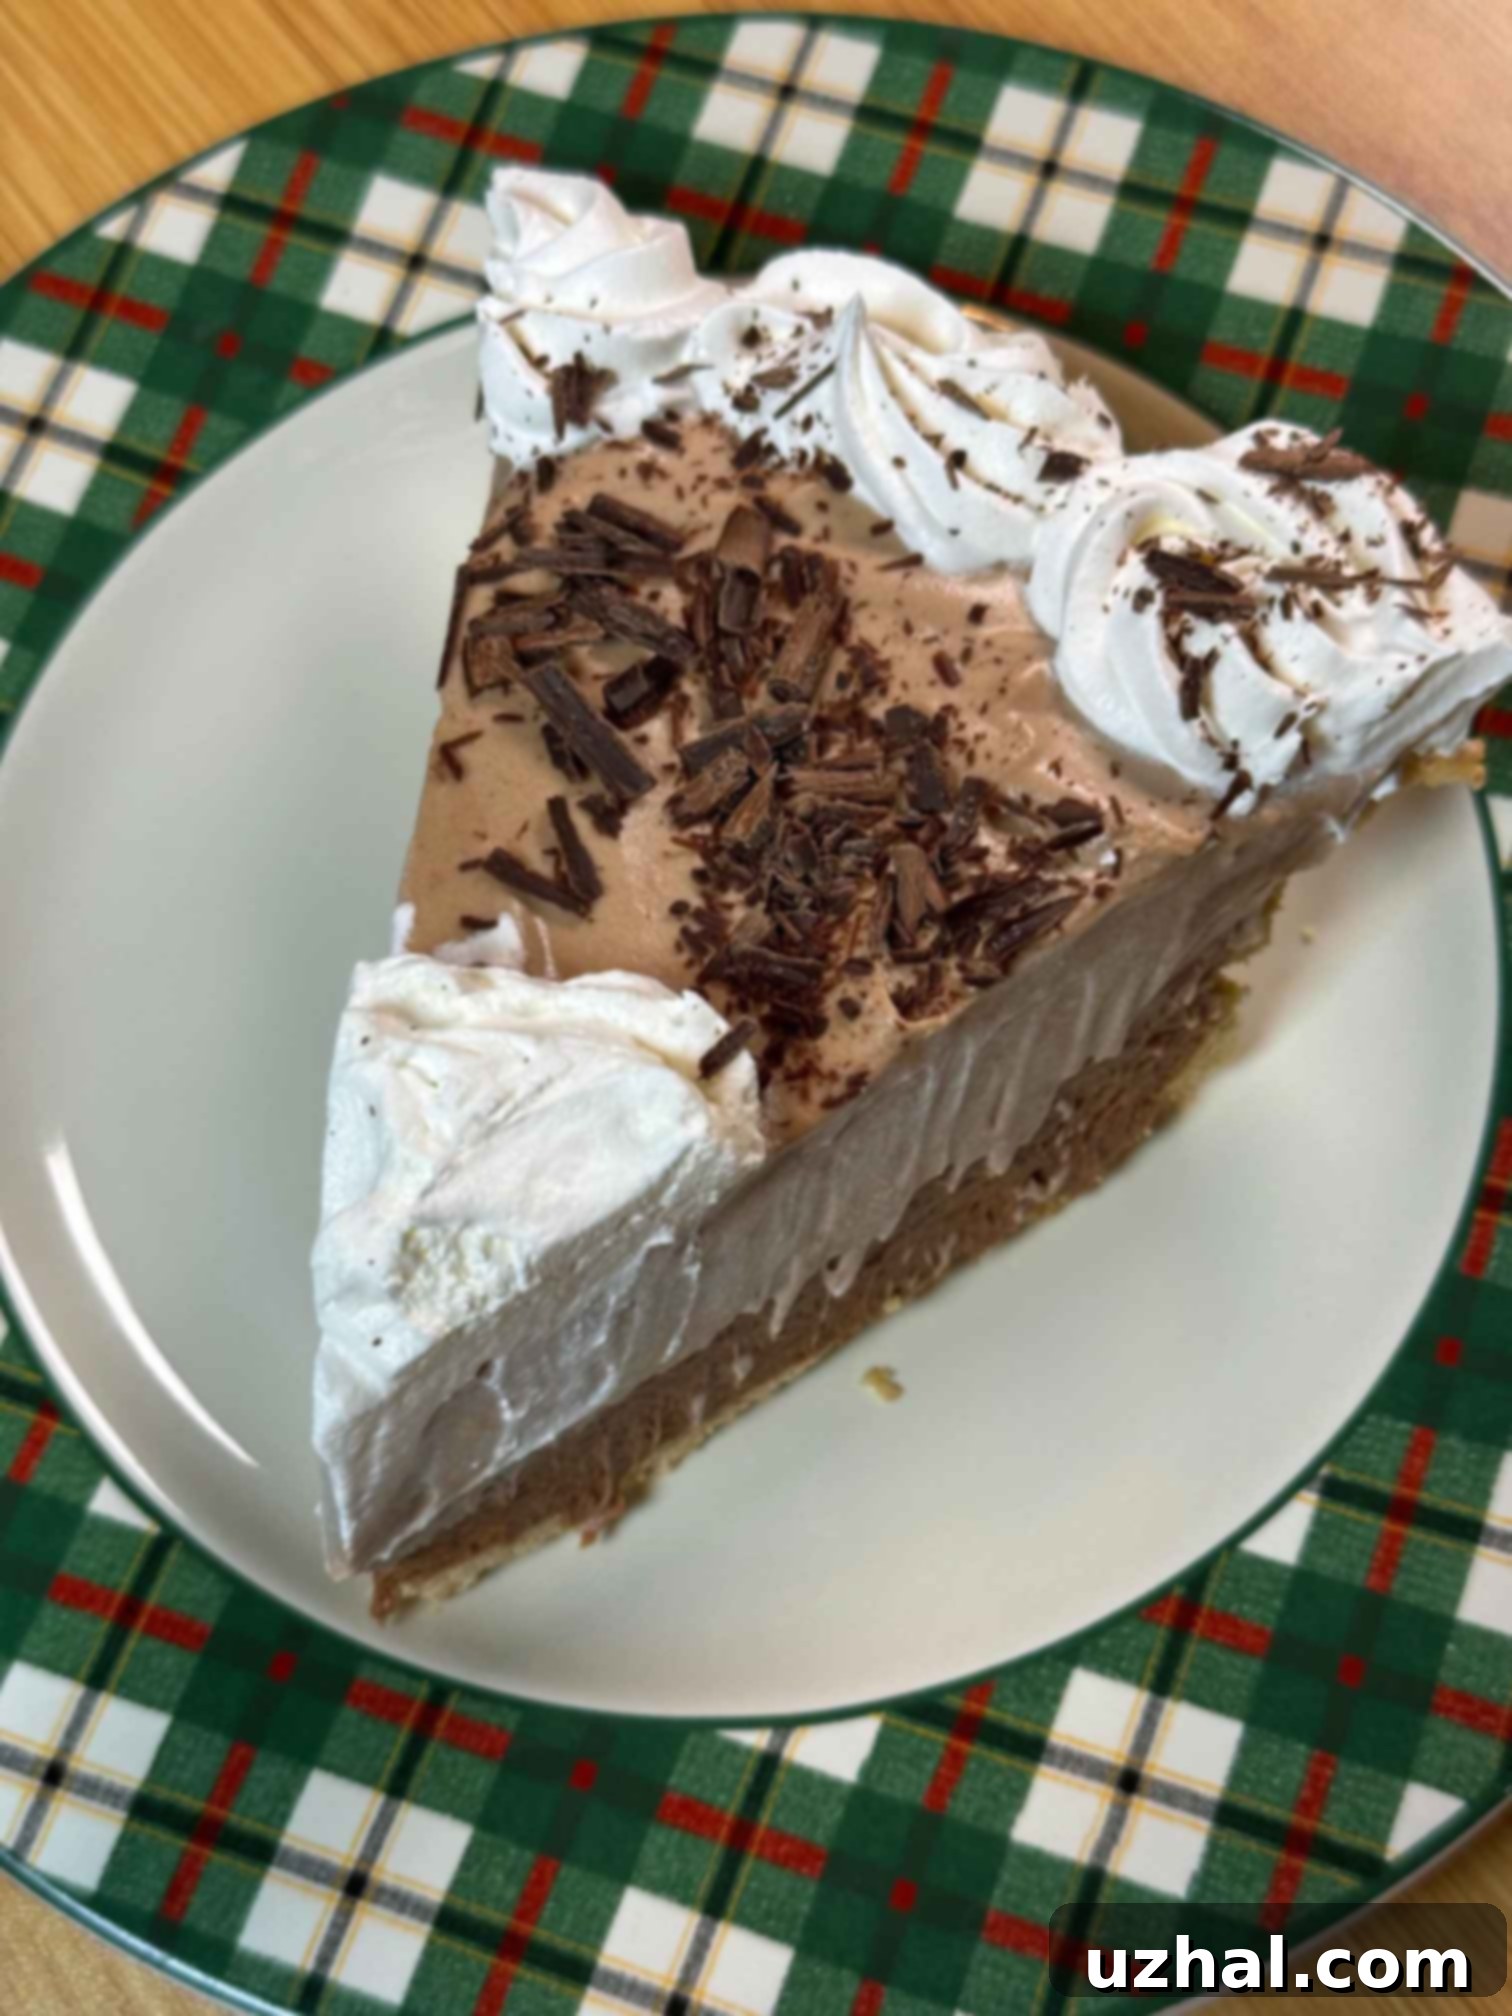
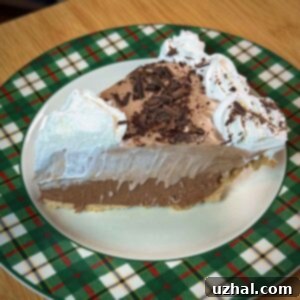
What truly sets this layered chocolate pie apart is its captivating composition: two distinct layers of velvety chocolate cream. The base layer features a deeply flavored bittersweet chocolate cream, offering a sophisticated richness that grounds the dessert. This is beautifully contrasted by a lighter, fluffier, and sweeter milk chocolate cream on top. While I playfully mused about these layers symbolizing the old year’s bittersweet memories and the bright anticipation of the new, the real magic lies in their harmonious interplay of texture and taste. This contrast creates a dynamic dessert experience that tantalizes the palate with every spoonful.
Beyond New Year’s Eve, this pie shines as a versatile dessert for numerous occasions. Imagine it as the grand finale to a festive holiday meal, a delightful treat for a casual potluck, or a comforting indulgence on a quiet weekend. Its elegant appearance makes it suitable for formal gatherings, while its straightforward preparation ensures it’s never too much hassle for an impromptu get-together. The combination of rich dark chocolate and creamy milk chocolate ensures broad appeal, making it a crowd-pleaser for chocolate lovers of all ages.
Effortless Elegance: A No-Bake Dream Dessert
One of the most appealing aspects of this easy chocolate pie is its simplicity. It’s an entirely eggless and no-bake dessert, meaning you won’t need to turn on your oven. This makes it perfect for warmer months when you want to avoid heating up your kitchen, or simply when you’re looking for a quick yet impressive treat. Even the crust is a testament to convenience: I opted for a ready-made graham cracker shell, saving valuable time and effort. While I often enjoy the process of making a crust from scratch, recent busy weeks made the store-bought option an absolute lifesaver. Plus, many brands now offer larger, deep-dish crusts that perfectly accommodate the generous amount of luscious filling this recipe provides.
For those who prefer a homemade touch, crafting your own graham cracker crust is incredibly simple and adds a wonderful fresh flavor. You’ll typically need about 1 ½ cups of graham cracker crumbs (from approximately 10-12 full sheets), ¼ cup of granulated sugar, and 6 tablespoons of melted unsalted butter. Simply combine these ingredients, press firmly into a 9-inch pie plate, and chill for at least 30 minutes before adding the filling. Alternatively, a no-bake Oreo crust is another fantastic option, requiring about 24 crushed Oreo cookies (including the cream) mixed with 4 tablespoons of melted butter. This creates a decadent dark chocolate base that perfectly complements the creamy filling. The beauty of this recipe is its adaptability to your preferences and schedule!
Crafting Your Decadent Layered Chocolate Pie: A Step-by-Step Guide
Creating this stunning layered chocolate cream pie is surprisingly straightforward, relying on simple techniques and readily available ingredients. Here’s a detailed breakdown of the process to ensure your pie turns out perfectly:
The Bittersweet First Layer
Begin by preparing your bittersweet chocolate layer. You’ll need to beat a block of softened cream cheese until it’s wonderfully smooth and creamy. This is a crucial step for a lump-free filling. Next, gradually incorporate 1 ½ cups of powdered sugar, beating until the mixture is light and fluffy. A half cup of heavy cream is then added, ensuring a rich, velvety texture. Finally, gently fold in 4 ounces of perfectly melted bittersweet chocolate. Ensure the chocolate is cooled slightly after melting to avoid shocking the cream cheese mixture and creating a grainy texture. Once combined, spread this decadent first layer evenly over your chosen pie crust. Place the crust in the refrigerator to chill while you prepare the second layer; this helps it set slightly and provides a firm base for the lighter top layer.
The Milk Chocolate Second Layer
For the contrasting milk chocolate layer, the process is equally simple but requires attention to a few key details. In a separate bowl, whisk together a package of instant pudding mix (vanilla or white chocolate flavor works beautifully) with 1 ½ cups of cool milk. It’s important for the milk to be cool, but not ice cold, as this helps prevent the melted chocolate from seizing. Beat on low until combined, then increase the speed and beat for two minutes until the pudding begins to thicken. During this time, gently melt 4 ounces of milk chocolate, allowing it to cool slightly. Stir this melted milk chocolate into your pudding mixture. A crucial tip here is to ensure both the melted chocolate and the pudding mixture are not too far apart in temperature; adding very cold pudding to warm chocolate, or vice-versa, can cause the chocolate to harden into tiny lumps. Finally, whip one cup of heavy cream until soft peaks form and gently fold this whipped cream into the milk chocolate pudding mixture. This step is what gives the second layer its characteristic light, fluffy, and airy texture.
Assembling and Chilling Your Masterpiece
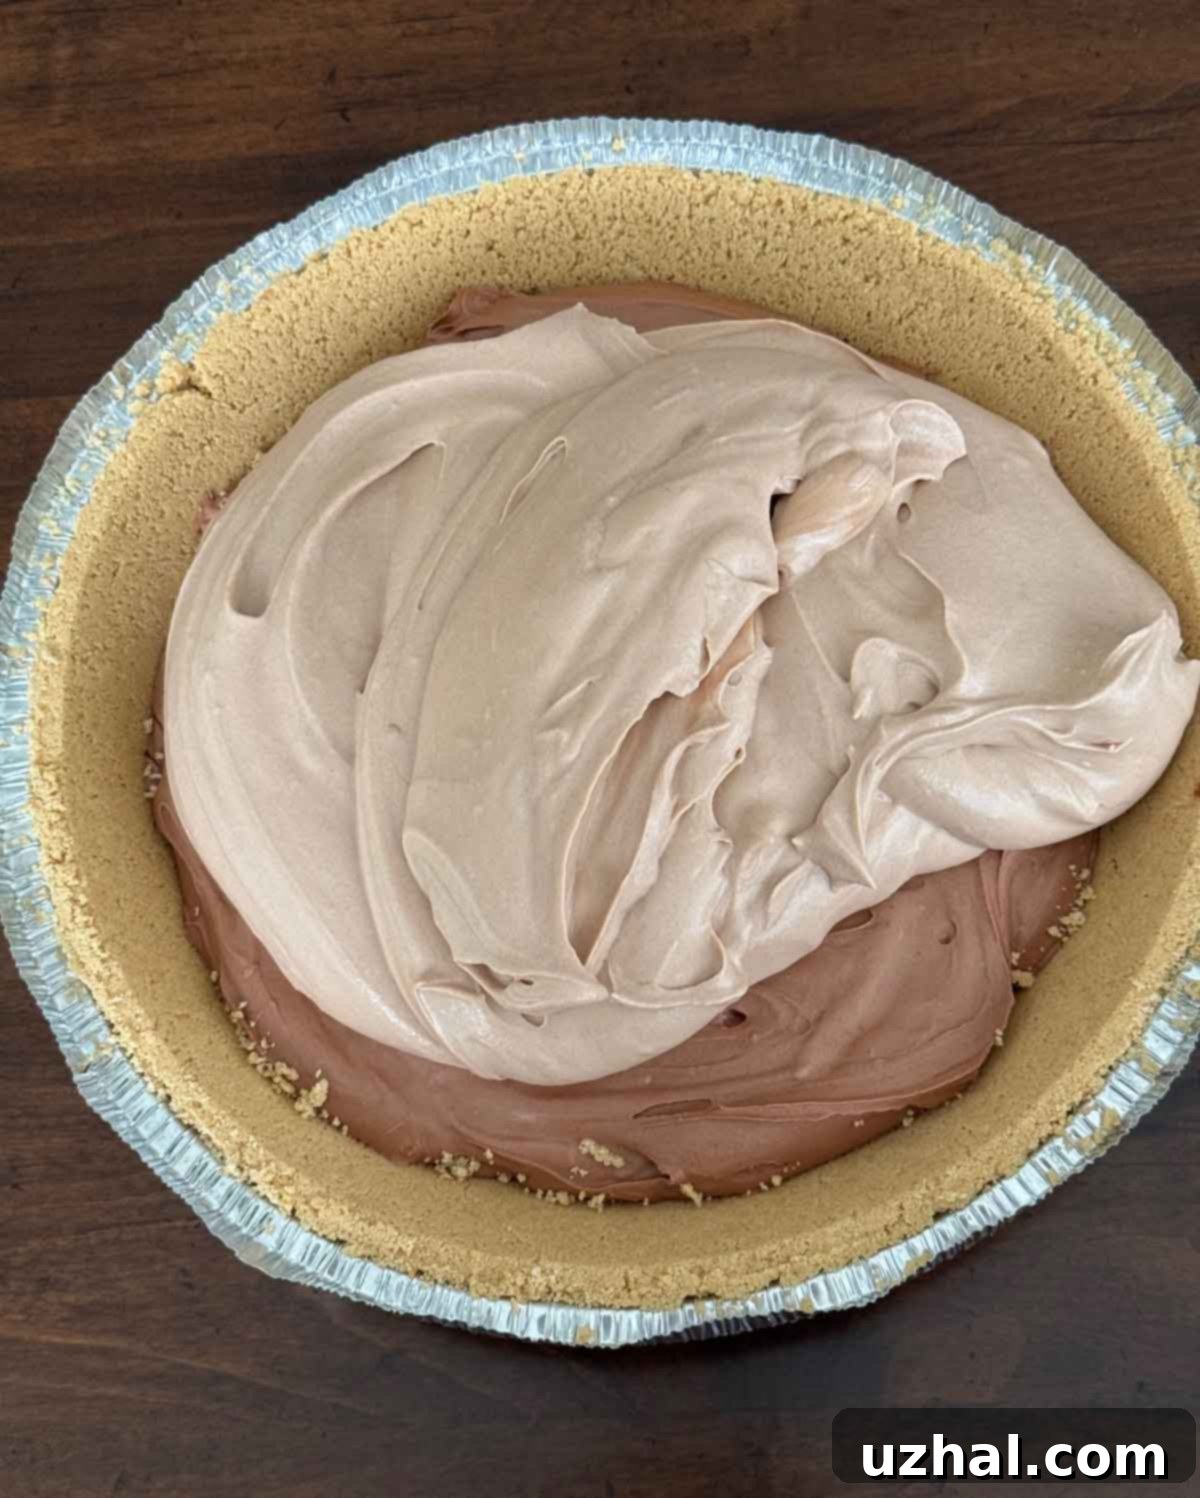
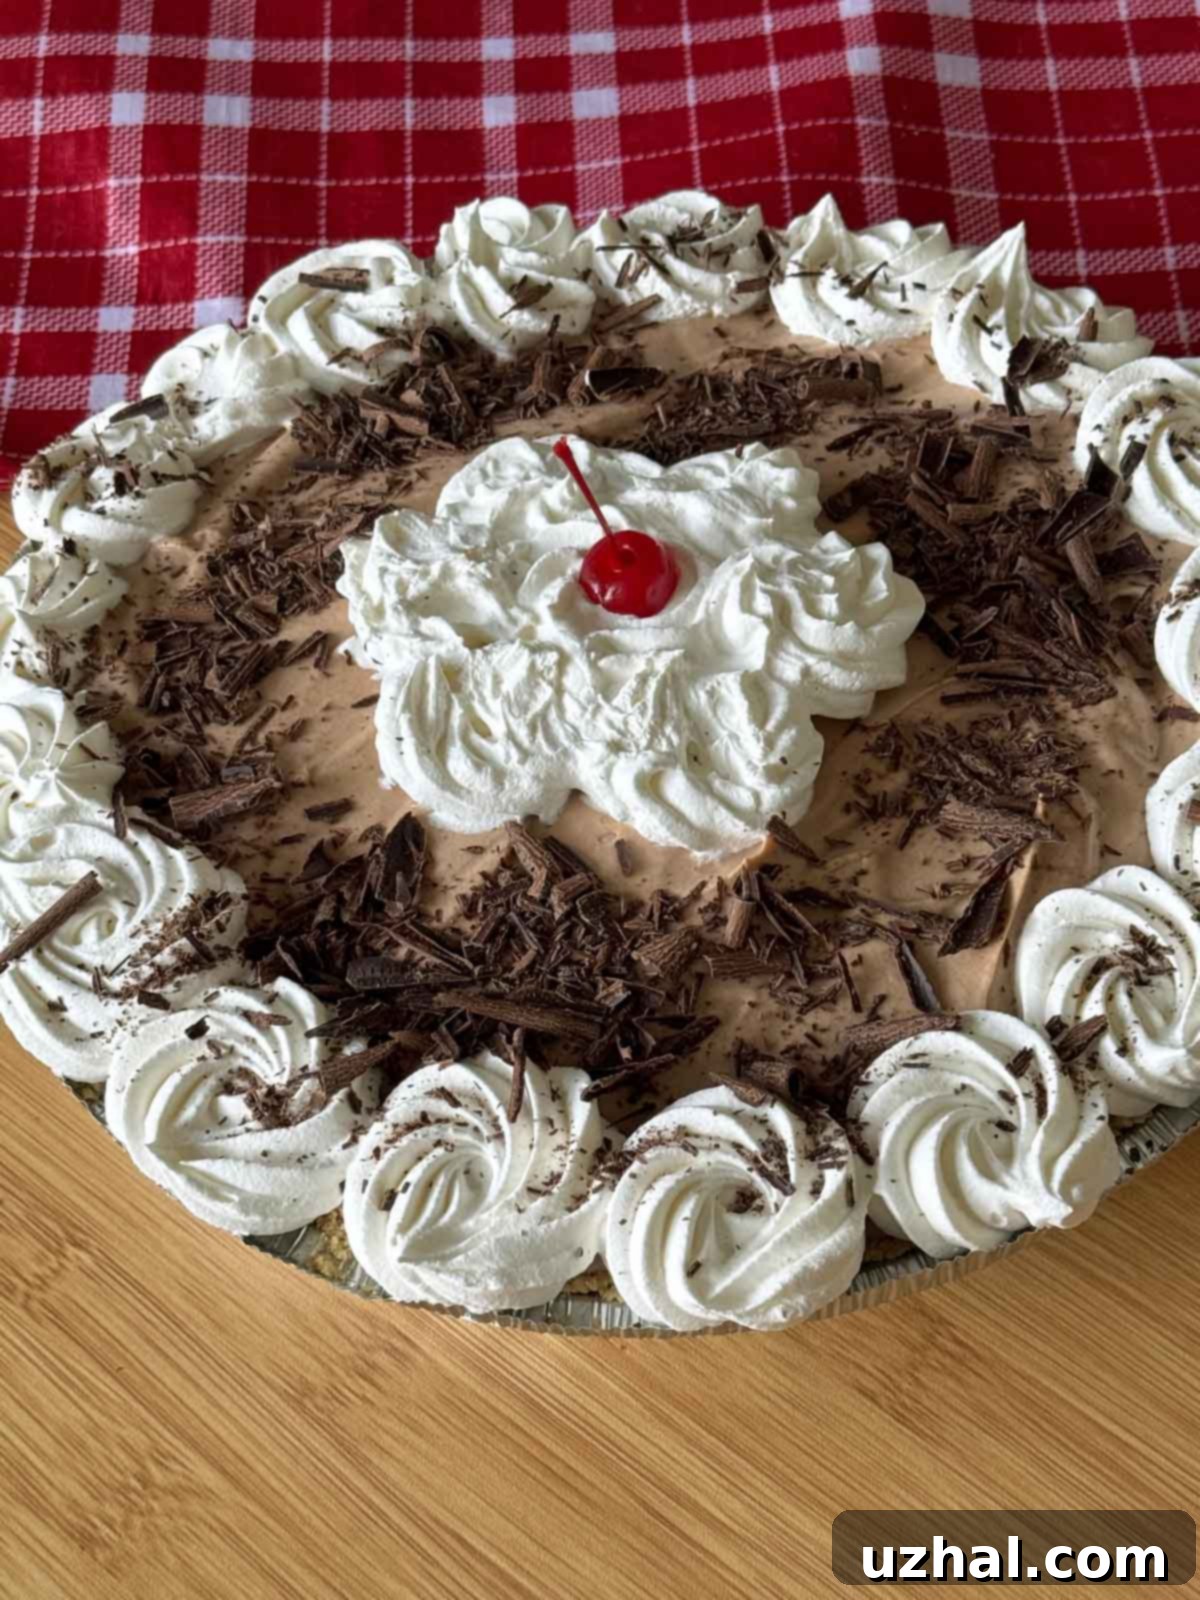
Once the milk chocolate cream is ready, carefully spread it over the chilled bittersweet layer in your pie crust, creating a beautiful two-toned effect. The final and arguably most important step is to chill your pie for at least 2-4 hours, or even better, overnight. This allows both layers to fully set and firm up, ensuring clean slices and optimal flavor integration. Before serving, you can decorate with additional whipped cream, chocolate shavings, or even a classic cherry for a pop of color. The visual appeal of this pie, with its distinct yet complementary layers, is truly something to behold!
Tips for a Perfect Layered Chocolate Pie and Delightful Variations
Achieving the perfect chocolate cream pie is easier than you think, especially with a few insider tips:
- Soften the Cream Cheese: Always start with cream cheese softened to room temperature. This is key to achieving a smooth, lump-free first layer. If it’s too cold, you’ll end up with chunks in your filling.
- Melting Chocolate: When melting chocolate, whether bittersweet or milk, use a microwave at 50% power and stir frequently (every 30-60 seconds) to prevent burning and ensure a smooth, glossy consistency. Allow it to cool slightly before incorporating into the dairy mixtures.
- Temperature Control: As mentioned in the instructions, be mindful of temperatures when combining melted chocolate with dairy. Slightly warm chocolate and cool (not ice-cold) dairy mixture will blend more seamlessly, preventing chocolate from seizing and creating small lumps. If lumps do occur, don’t despair! You can often gently warm the mixture slightly in a double boiler and whisk vigorously to smooth them out, or simply embrace the rustic texture.
- Whipped Cream Perfection: For the fluffiest whipped cream, ensure your heavy cream, mixing bowl, and whisk attachment are very cold. This helps the cream whip up quickly and hold its shape better. Avoid over-whipping, as it can turn granular.
- Chill Time is Crucial: Do not rush the chilling process. The recommended 2-4 hours (or ideally, overnight) allows the pie to set completely, ensuring clean slices and a stable structure. A well-chilled pie tastes infinitely better and holds its shape beautifully.
Creative Variations to Explore
While this classic layered chocolate pie is a star on its own, don’t hesitate to experiment with variations to suit your taste or occasion:
- Crust Alternatives: Beyond graham cracker and Oreo crusts, consider a shortbread crust for a buttery flavor, or even a salty pretzel crust for a delightful sweet and salty contrast.
- Pudding Flavors: While vanilla or white chocolate instant pudding works best for the milk chocolate layer, you could try a butterscotch, banana, or coconut instant pudding for a different flavor profile.
- Topping Extravaganza: Elevate your garnish beyond simple whipped cream. Consider chocolate shavings, cocoa powder dusting, fresh berries (strawberries, raspberries pair wonderfully with chocolate), toasted nuts, or even a drizzle of caramel or hot fudge sauce.
- Mini Pies: For individual servings or portion control, prepare this recipe in mini pie shells or in small ramekins for charming chocolate parfaits that are perfect for parties.
This pie has become a source of great joy in my kitchen, and I’m already looking forward to making it again, perhaps with that delightful no-bake Oreo crust (a simple mix of 24 crushed Oreos and 4 tablespoons of melted butter for the perfect base). The clear distinction in both flavor and texture between the bittersweet and milk chocolate layers is truly a culinary delight. I sincerely hope you give this incredible recipe a try and discover its magic for yourself!
- Layered Cream Cheese Brownies
- Layered Strawberry Dessert
- Six Inch Ice Cream Cake
- Layered Pumpkin Cheesecake Brownies
- Lemon Cake Pie
Recipe: No-Bake Decadent Layered Chocolate Pie
Layered Chocolate Pie
Anna
Pin Recipe
Ingredients
- 1 9-inch graham cracker crust, deep dish or large Keebler
- 4 oz bittersweet chocolate or ⅔ cup bittersweet chips
- 8 oz cream cheese, softened
- 1 ½ cups confectioners’ sugar
- 1 ½ cups heavy whipping cream, divided use (½ cup for bittersweet layer, 1 cup for milk chocolate layer)
- 4 oz milk chocolate
- 1 3.4 oz package instant pudding mix, white chocolate or vanilla flavored
- 1 ½ cups milk, cool but not ice cold
Garnish
- ½ cup heavy whipping cream, whipped and sweetened to taste with confectioners’ sugar or Cool Whip I also added a cherry for a festive touch!
Instructions
-
In a microwave-safe bowl, melt the bittersweet chocolate (or chips) using 50% power, stirring every 60 seconds until smooth and completely melted. Set aside to cool slightly.
-
For the first layer: In a large mixing bowl, beat the softened cream cheese until it’s light and creamy. Gradually add 1 ½ cups of confectioners’ sugar and continue beating until the mixture is smooth and well combined. Pour in ½ cup of the heavy whipping cream and beat on medium-high speed for 1 minute, ensuring to scrape down the sides of the bowl to incorporate everything evenly. Finally, stir in the slightly cooled melted bittersweet chocolate until no streaks remain. Spread this mixture evenly over the bottom of your graham cracker pie crust and place it in the refrigerator to chill while you prepare the second layer.
-
In another microwave-safe bowl, melt the milk chocolate using 50% power, stirring every 30 seconds until smooth. Allow it to cool slightly.
-
For the second layer: In a clean mixing bowl, combine the instant pudding mix (white chocolate or vanilla) and 1 ½ cups of cool (not ice cold) milk. Beat on low speed until the ingredients are just blended, then increase the speed to medium and beat for 2 minutes. This brief beating helps thicken the pudding slightly and warms it a tiny bit, which is beneficial for the next step. Stir in the slightly cooled melted milk chocolate. Remember, it helps if the melted chocolate is just slightly warm and the dairy mixture is not icy cold; this prevents the melted chocolate from solidifying too quickly and creating lumps.
-
In a separate bowl, whip the remaining 1 cup of heavy cream until soft peaks form. Gently fold this whipped cream into the milk chocolate pudding mixture until fully combined, creating a light and airy texture. Carefully spread this second layer over the chilled bittersweet chocolate layer in the pie crust. Return the pie to the refrigerator and chill for a minimum of 2-4 hours, or preferably overnight, to allow the layers to set completely.
-
For garnish: Prepare sweetened whipped cream by beating ½ cup of heavy whipping cream with 2 teaspoons (or more, to taste) of confectioners’ sugar until soft peaks form. Alternatively, you can use Cool Whip for convenience. Transfer the whipped cream to a pastry bag fitted with a star tip (or simply use a spoon) and pipe decorative rosettes around the edges of the pie. Feel free to garnish with additional chocolate shavings, sprinkles, or a festive cherry for a beautiful presentation. Keep the pie chilled until you are ready to serve to maintain its perfect consistency.
-
For longer-term storage, this layered chocolate pie freezes beautifully. Wrap the chilled pie tightly in plastic wrap, then in aluminum foil, and freeze for up to 1-2 months. To serve, thaw in the refrigerator overnight before garnishing and slicing.
