The Ultimate Flaky Pie Crust Recipe: Achieve Croissant-Like Perfection Every Time
For too long, the quest for the perfect pie crust has been a source of culinary frustration for many home bakers. With countless recipes circulating, it can be overwhelming to sift through them all to find one that consistently delivers exceptional results. Look no further! This carefully developed pie crust recipe is designed to simplify your baking journey and elevate your pies to a new level. Prepare yourself for a crust that boasts an incredible, buttery flakiness reminiscent of a delicate croissant – a dream texture that will truly make your pies stand out.

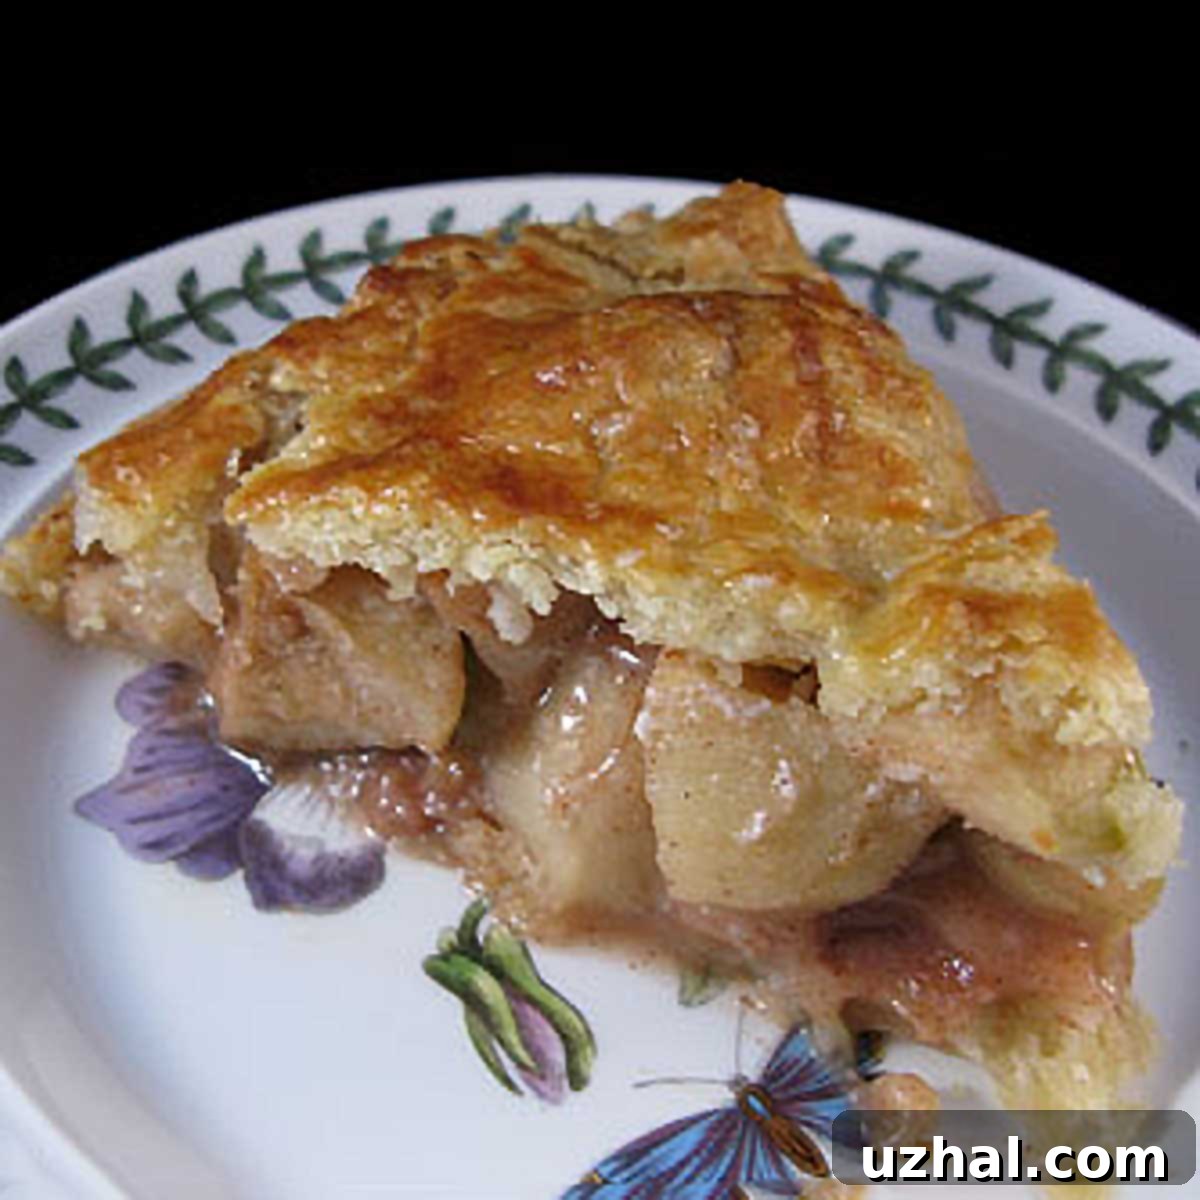
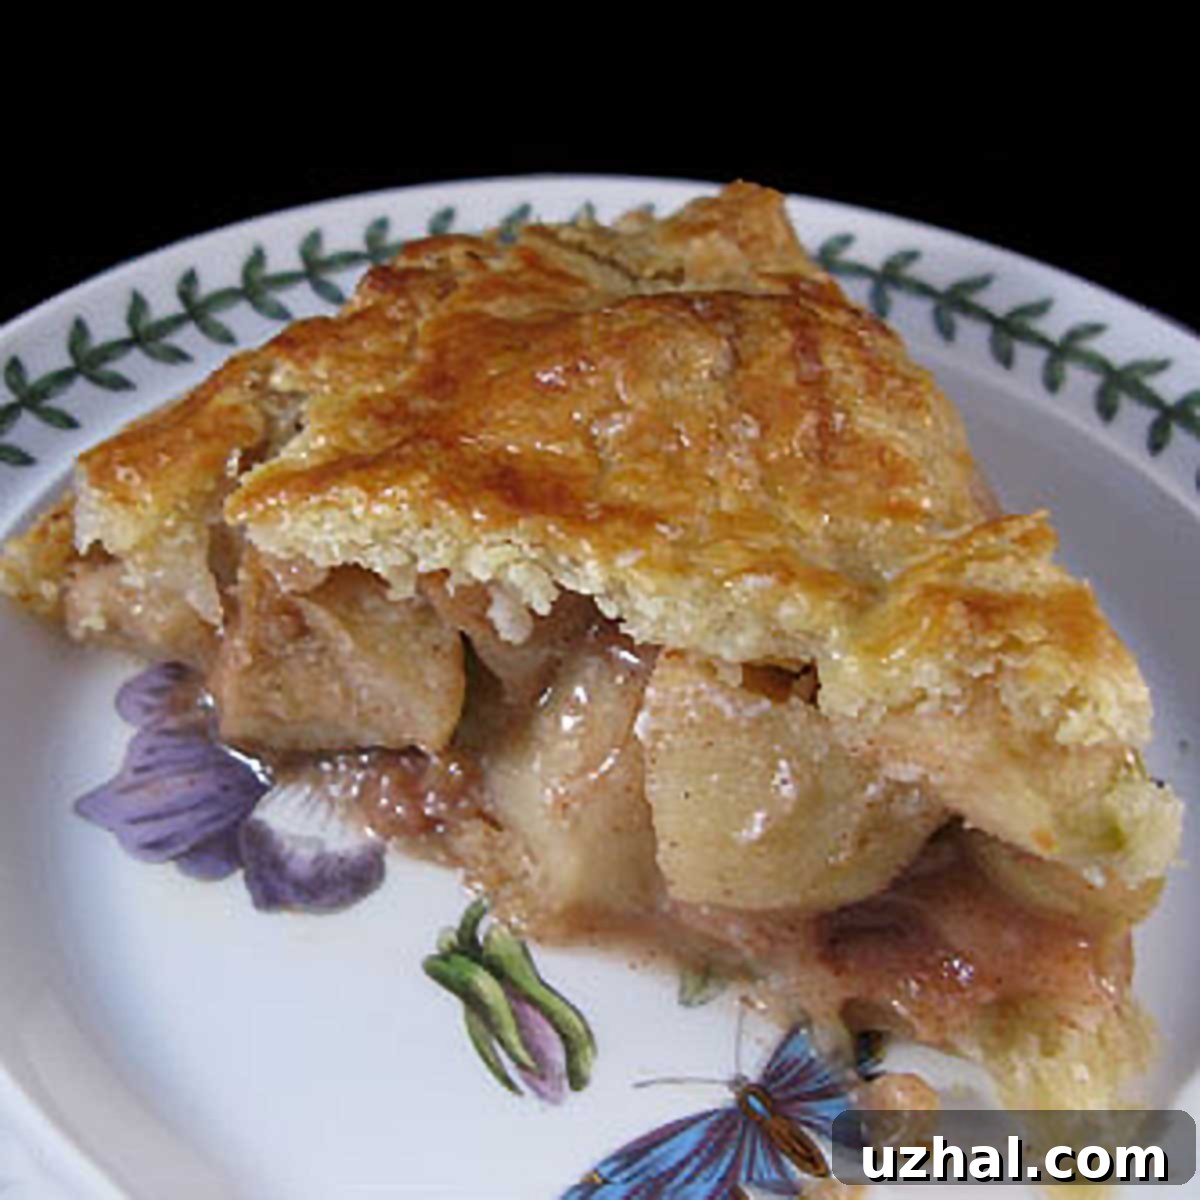
My culinary journey to this “perfect pie crust” was profoundly inspired by the esteemed Dawn Viola, a true champion in the world of pie making. Her legendary apple pie is renowned for its extraordinarily buttery crust, often described as tasting like a pie enveloped in layers of crispy croissant dough. Dawn’s original recipe, while magnificent, primarily shines with fruit pies. This is because when blind-baked, her crust, which relies heavily on European-style butter (known for its higher fat content), tends to pool butter, leading to an overly rich, almost greasy result. Furthermore, sourcing European butter can be a challenge for many, especially those in the USA, although its availability is improving. I wanted to create a more versatile and accessible alternative that captured that coveted flakiness without requiring specialized ingredients or succumbing to excess butteriness during blind baking.
My solution involved a clever work-around: a balanced combination of readily available regular unsalted butter and shortening. This blend achieves the ideal fat content and composition, delivering exceptional flakiness and flavor that works beautifully for both fruit and savory pies, even when blind-baked. The shortening contributes to tenderness and helps prevent the crust from becoming too dense or overly greasy, while the butter provides that irreplaceable rich flavor. This hybrid approach allows for consistent, spectacular results, giving you a pie crust that’s both flavorful and structurally perfect, embodying the best qualities of Dawn Viola’s inspiration with added versatility.
This is what I proudly consider the perfect pie crust recipe at this moment – a culmination of inspiration, experimentation, and a desire for consistent excellence. When it comes to preparation, I almost invariably reach for my food processor. There’s an ongoing internal debate among bakers about whether to prepare pie dough by hand or using a machine. While the food processor does add an extra item to clean, the speed, efficiency, and consistent results it delivers usually make it well worth the effort. It excels at quickly cutting the cold fats into the flour, minimizing handling, and preventing the butter and shortening from warming up prematurely – a critical factor in achieving a truly flaky crust.
For those embarking on the rewarding journey of making your own pie dough for the first time, don’t hesitate to seek additional guidance. Resources like King Arthur Baking Company offer a wealth of excellent tutorials, covering everything from basic techniques to troubleshooting common issues. You can also find a myriad of visual guides and step-by-step demonstrations on platforms like YouTube, which can be incredibly helpful for beginners looking to master the art of pie crust.
- Baked All Butter Pie Crust
- Perfect Sugar Cookies
- Cake in a Pie Crust
- Perfectly Chocolate Bundt Cake
- Fruit and Cream Meringue Squares
Recipe

Flaky Butter & Shortening Pie Crust Recipe
Anna
Pin Recipe
Ingredients
- 2 ½ cups all purpose flour plus extra for dusting (322 grams) plus more for the mat. Using cold flour helps keep the fat cold and prevents overworking.
- 1 teaspoon salt (Essential for flavor balance in both sweet and savory pies.)
- 1 tablespoon granulated sugar (12 grams – adds a touch of sweetness and helps with browning.)
- 12 tablespoons unsalted butter, cold and cut into chunks (170 grams – ensure it’s very cold for maximum flakiness.)
- 4 tablespoons shortening (48 grams – provides tenderness and aids in flakiness without making the crust too rich.)
- 1 tablespoon vinegar, chilled plus 1 teaspoon vanilla (Vinegar tenderizes the crust, while vanilla adds a subtle aroma and flavor.)
- 6 tablespoons ice water plus more if needed (The colder the water, the better to keep the fats solid.)
Instructions
-
To ensure all ingredients remain as cold as possible, which is key for a flaky crust, begin by combining your all-purpose flour, salt, and granulated sugar in a mixing bowl. Place this mixture into the freezer for approximately 20 minutes. Simultaneously, put the bowl and blade of your food processor into the freezer. This crucial step prevents the fats from melting into the flour too quickly during processing, allowing them to remain as distinct pieces that will later create steam and layers of flakiness in the oven.
-
Once chilled, assemble your food processor with the cold bowl and blade. Transfer the flour mixture from the freezer into the food processor. Give it a few quick pulses to ensure everything is thoroughly combined. Next, add the cold, pre-cut chunks of unsalted butter and shortening. Pulse the mixture 10 to 15 times in short bursts, or until the fat is cut into pea-sized pieces and the mixture resembles a coarse meal. Be careful not to over-process, as this can warm the fats and lead to a tough crust. Now, pour in the chilled vinegar and vanilla mixture and pulse to just combine. Finally, add the ice water, two tablespoons at a time, pulsing briefly after each addition. Continue until the mixture is just moist enough that when you pinch a small amount between your fingers, it holds together. At this stage, the dough should still look quite dry and crumbly in the bowl but exhibit cohesion when pressed.
-
Carefully turn the dough out onto a clean work surface. Gently gather and divide the dough into two equal portions. Lightly shape each portion into a ragged, flat disk. Don’t worry if they still appear somewhat uneven or “raggedy”; the goal is merely to bring the dough together. What’s important is that they hold their shape when gently pressed. If they refuse to come together, it’s an indication that you need a bit more water – add an additional teaspoon of ice water and knead gently until just combined. Wrap each disk tightly in plastic wrap and refrigerate for at least one hour. This resting period is paramount: it allows the gluten to relax, making the dough easier to roll out and preventing a tough crust. Do not skip this crucial chilling step!
-
When you are ready to bake, prepare your rolling surface. Lightly sprinkle some all-purpose flour onto a pastry mat. A pastry mat is a fantastic investment for any baker, offering a non-stick surface and often helpful measurements. However, if you don’t have one, a large sheet of non-stick foil or parchment paper dusted with flour will also work effectively. The key is to have a surface that prevents the dough from sticking while you roll it out, ensuring an even thickness.
-
Remove one disk of dough from the refrigerator and place it on your prepared, floured pastry mat. Allow it to sit at room temperature for about 15 minutes; this slight warming makes the dough more pliable and less prone to cracking. Sprinkle the top of the dough with a little more flour, then gently place a sheet of nonstick foil or parchment paper over it. This technique helps prevent sticking and allows for more even rolling. Using a rolling pin, begin rolling from the center outwards to the edge, rotating the dough clockwise after each stroke. Aim for a round approximately 13 inches in diameter, ensuring it is consistently thick. Rolling gently and evenly is vital for a tender, uniform crust.
-
Now it’s time to carefully transfer your rolled-out dough into the pie dish. A simple and effective method is to invert your 9-inch pie plate or tin directly over the center of the rolled dough and then, using both hands, quickly flip the entire assembly right-side up. Alternatively, you can carefully fold the dough circle in half, then in half again to form a quarter circle, lift it into the pie dish, and gently unfold it, pressing it into the contours of the pan. Once the dough is in place, gently press it firmly against the bottom and sides of the pie dish. Trim any excess dough, then fold the edges inward and crimp them decoratively around the rim. This not only creates a beautiful finish but also helps contain the pie filling. Your perfect pie crust is now ready for filling and baking!
