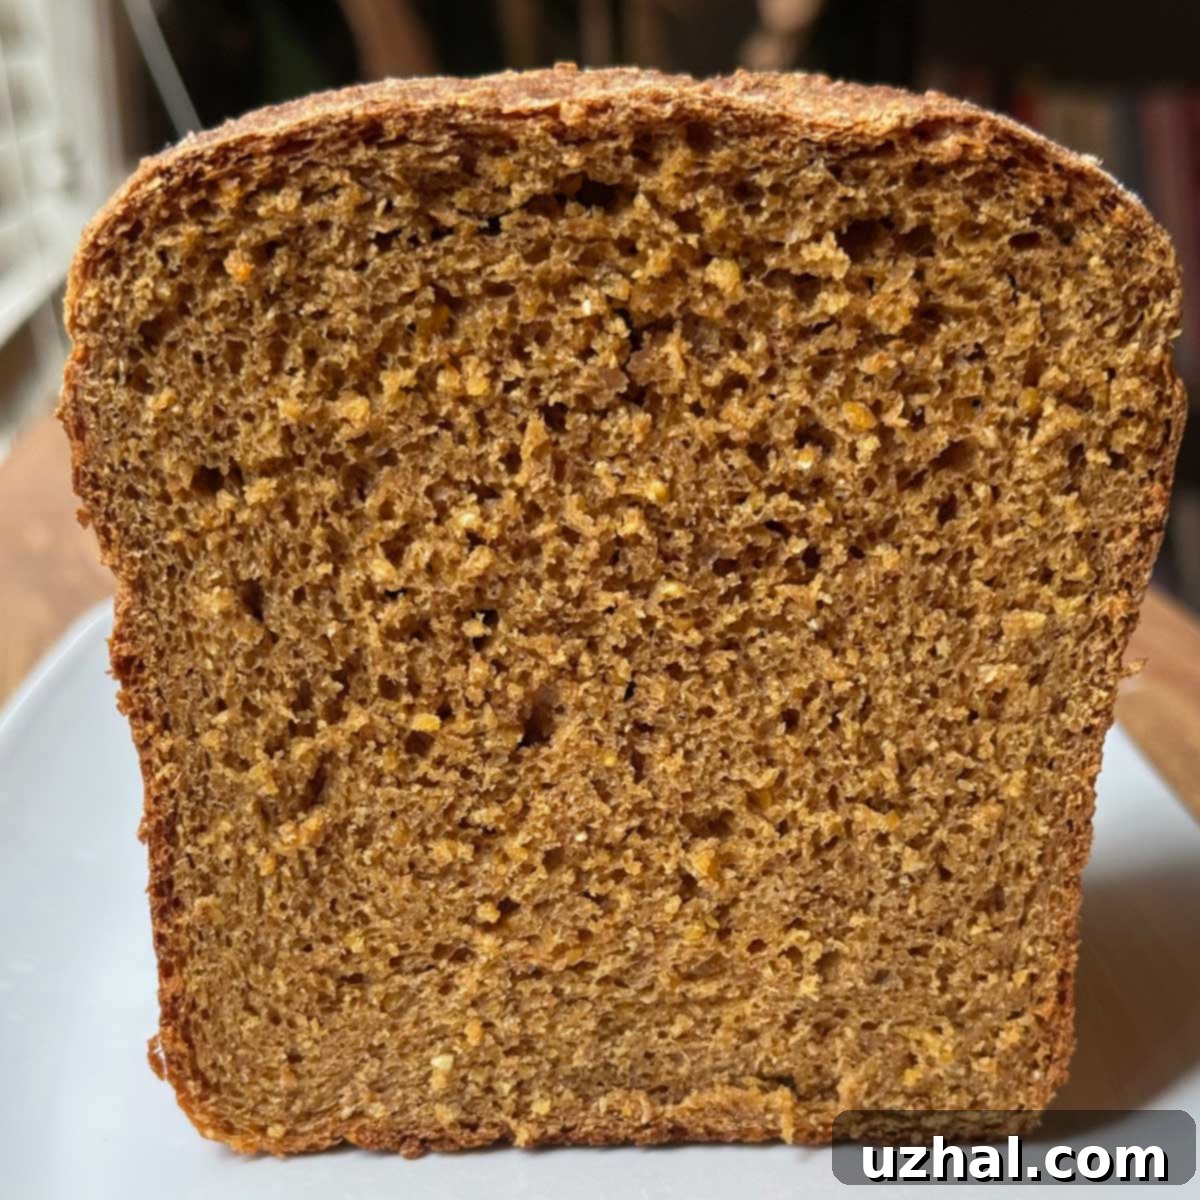
Classic New England Anadama Bread: A Timeless Molasses Cornmeal Loaf Recipe
The intriguing name of Anadama Bread has always sparked conversation, often tied to its peculiar, somewhat contentious origin story involving a fisherman and his wife, Anna. For years, this tale, with its infamous “Anna, damn her!” exclamation, kept me from truly delving into this classic New England bake. However, after experiencing the comforting richness of Franciscan brown bread – a particular favorite of my husband’s – I realized it was time to put the old legend aside and embrace this unique loaf. And I am so incredibly glad I did. Anadama bread, with its distinctive blend of cornmeal and molasses, is more than just a historical curiosity; it’s a truly satisfying, versatile bread that deserves a place in every home baker’s repertoire. It offers a warmth and heartiness that few other breads can match, making it an instant classic for those who finally give it a try. This recipe promises a delightful journey into the heart of traditional American baking.
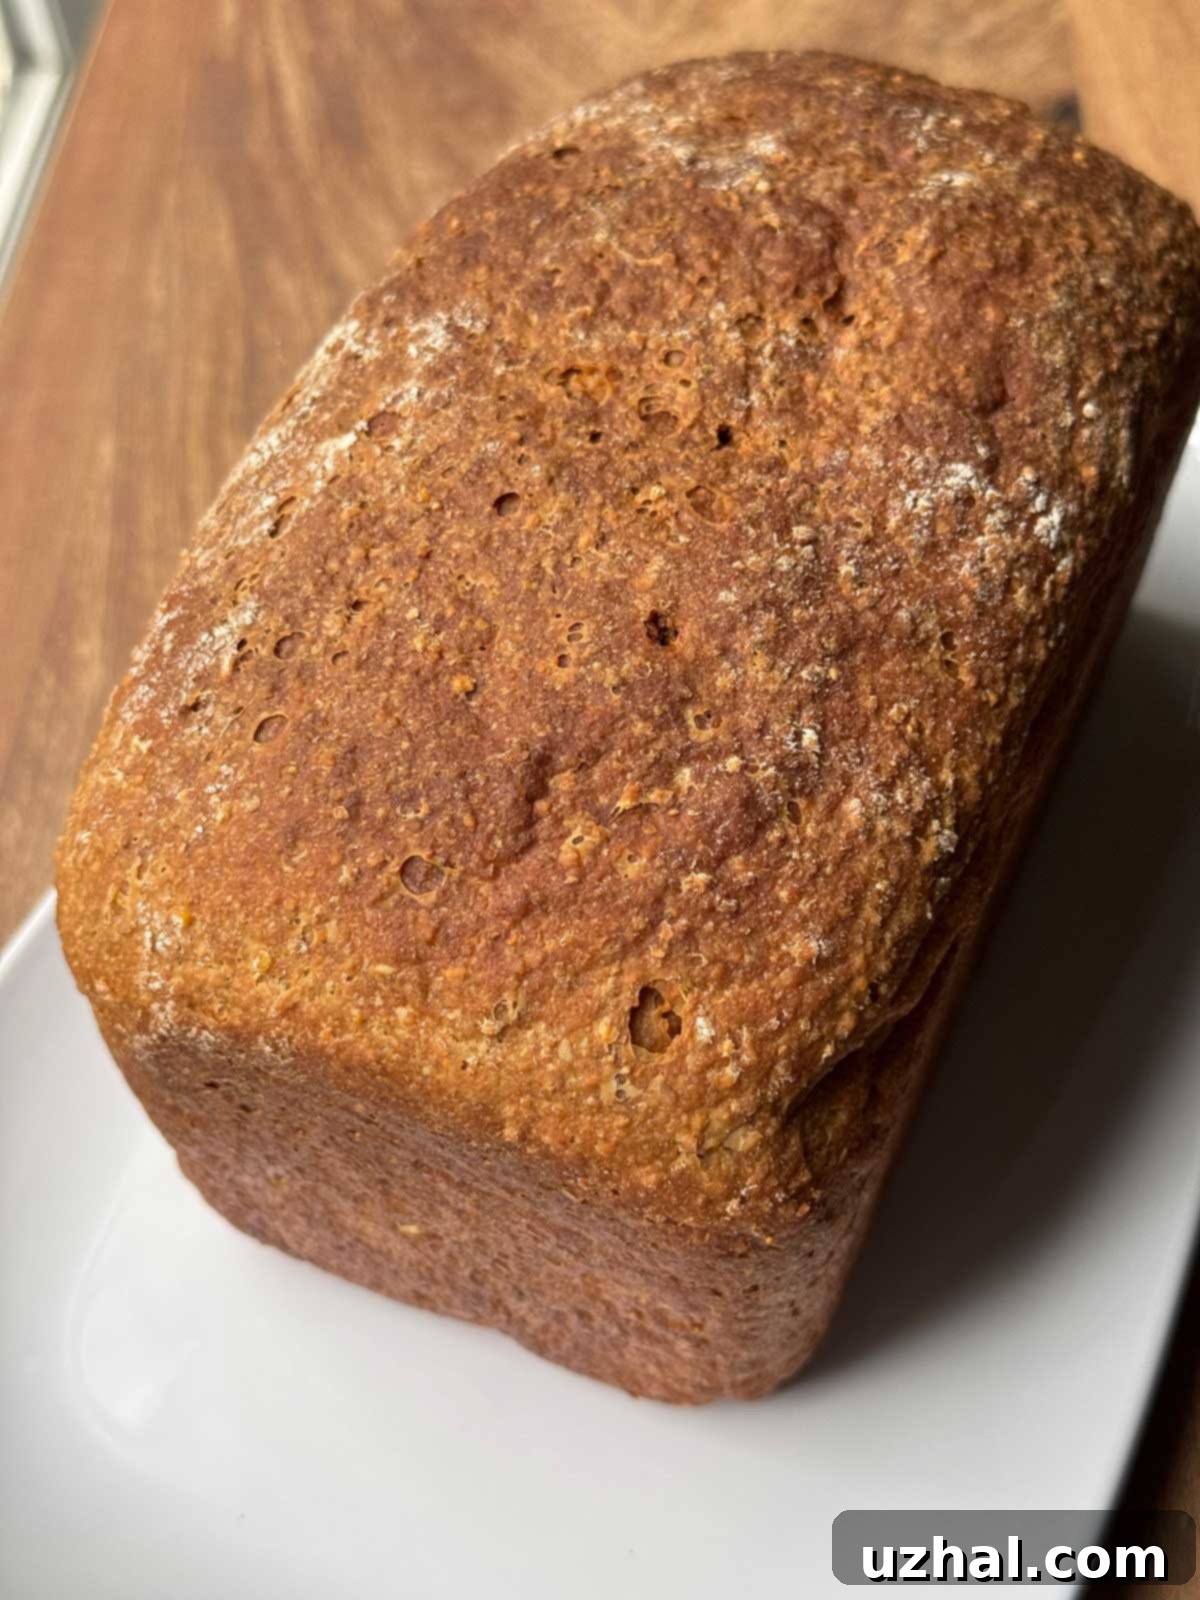
The Distinctive Charm of Anadama Bread: Molasses and Cornmeal
Like other beloved brown breads, such as the Franciscan Brown Bread, Anadama Bread features the rich, dark sweetness of molasses and a combination of both whole wheat and bread flours. What truly sets it apart, however, is the prominent inclusion of cornmeal. This addition is not merely for bulk; it imparts a wonderfully coarse, rustic texture and deepens the bread’s overall flavor profile, creating a loaf that is both subtly sweet and robustly earthy. This unique characteristic makes it a standout. It’s a bread that holds its own, whether served simply toasted for a nourishing breakfast, generously slathered with butter, or as a hearty accompaniment to a steaming bowl of comforting soup or stew. Its unique character makes it a staple in New England cuisine and a delightful discovery for anyone exploring traditional American baking.
A Rich History and Curious Name
The origin story of Anadama Bread is as much a part of its charm as its flavor. Legend has it, the bread was named after a frustrated New England fisherman who, tired of his wife Anna’s plain cornmeal and molasses meals, exclaimed, “Anna, damn her!” and impulsively threw flour and yeast into the mix, creating this distinctive loaf. While possibly apocryphal and certainly a tale that might make you roll your eyes (“Yeah, right back at you too, buddy”), this anecdote nevertheless highlights the resourcefulness and ingenuity often found in early American cooking. Historically, Anadama bread became a common staple in coastal New England, particularly around Massachusetts, where ingredients like cornmeal and molasses were readily available and inexpensive. It was a hearty, energy-rich food perfectly suited for the region’s tough winters and demanding lifestyles, embodying the spirit of traditional Yankee cooking. The bread’s resilience and ability to satisfy hungry families cemented its place in local culinary traditions. This historical context only adds to the enjoyment of baking and eating a truly authentic Anadama loaf, connecting us to a simpler, more resourceful time.
An Easy and Rewarding Recipe for Every Baker
If you’ve never made this classic bread before, don’t be intimidated, especially if your name is Anna! This is just a straightforward yeast bread recipe, designed to be accessible to bakers of all experience levels. The dough itself is incredibly forgiving and easy to work with, making the baking process enjoyable rather than daunting. It consistently bakes into a soft, tender loaf with a delightful crumb, yet it possesses just enough structural integrity to hold up beautifully to thick slices and generous spreads of butter, jam, or your favorite sandwich fillings. This particular recipe, hailing from a cherished collection of traditional Boston recipes, carries with it a strong sense of history and authenticity. If you love old-fashioned breads or are looking for a classic New England recipe to add to your baking repertoire, give this “Damn Anna Bread” (as the playful legend implies) a try. I think you’ll love this historic and utterly delicious recipe, which offers an immediate connection to a rich culinary past.
Visualizing the Dough: A Key to Success
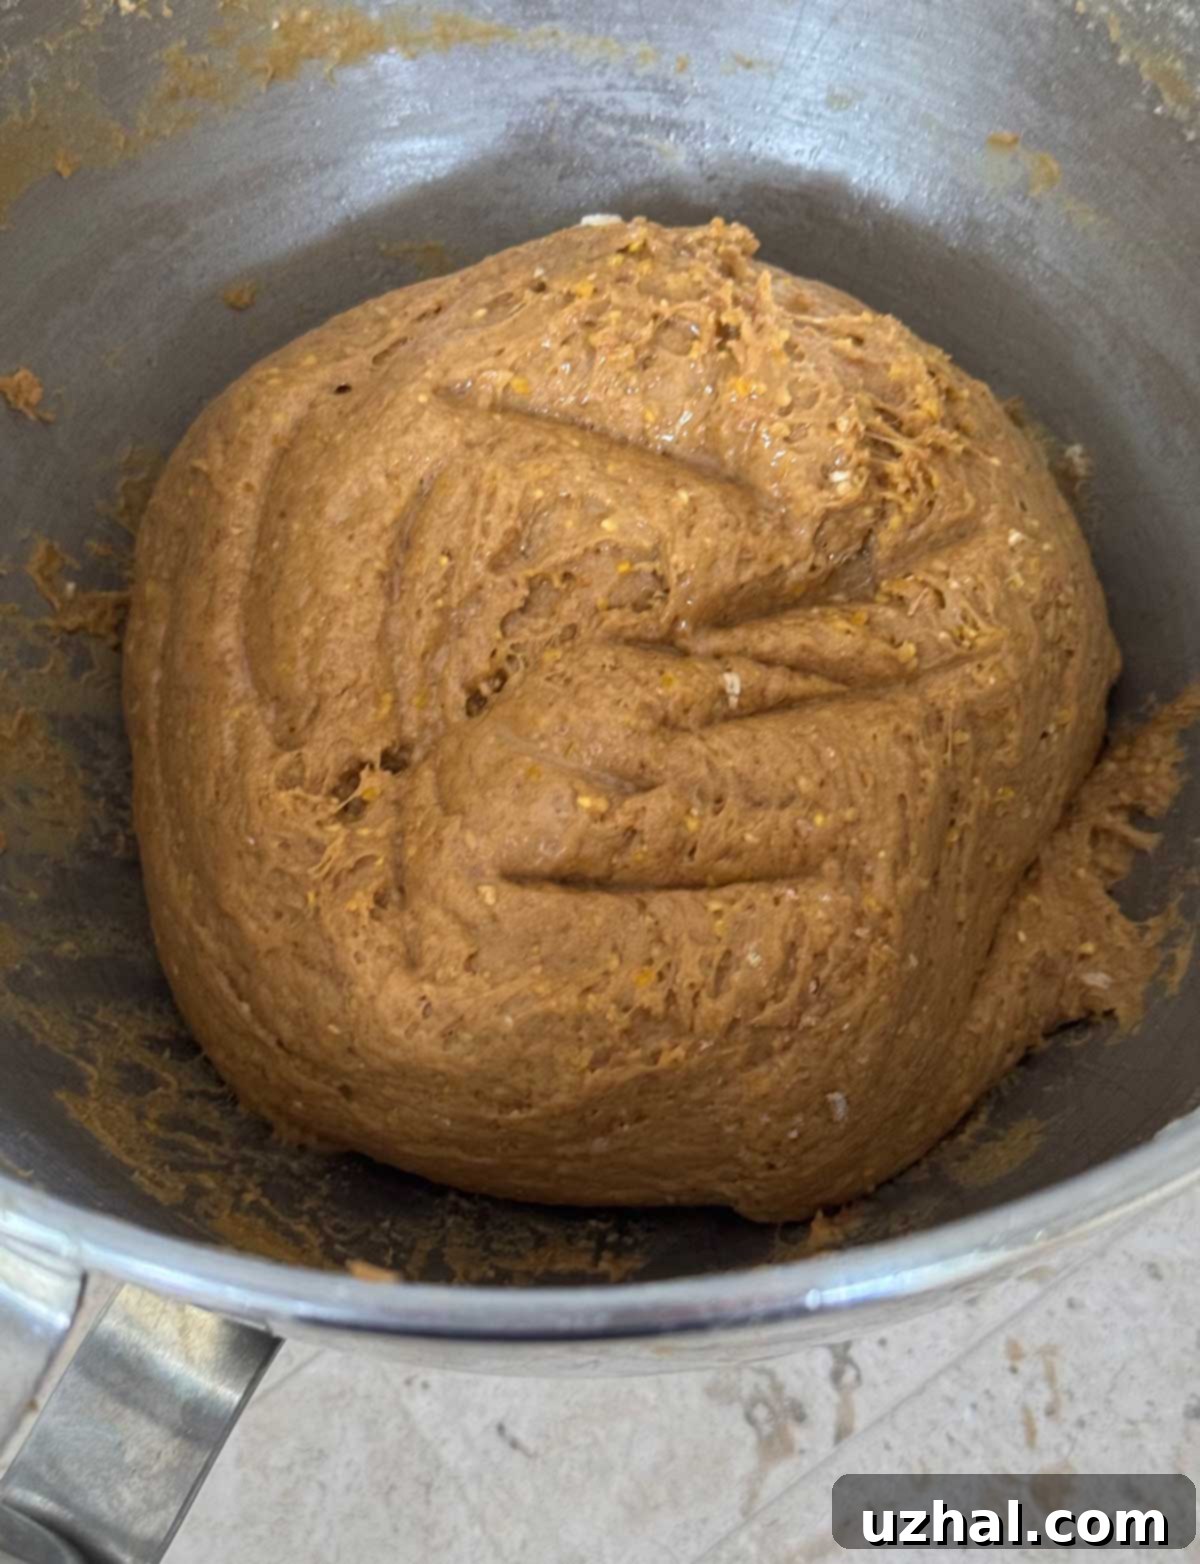
One of the most crucial aspects of successful bread baking is understanding the correct consistency of your dough. I highly recommend adding the bread flour gradually as the directions say, as this allows you to adjust for environmental factors and specific flour brands. To help you visualize, here’s a picture of what the dough should look like after the initial kneading phases, before the final rise. It should be pliable, slightly sticky, and beginning to pull away from the sides of the bowl:
Essential Ingredients for Authentic Anadama Bread
Achieving the signature taste and texture of Anadama Bread relies on a few key ingredients, each playing a vital role in the final product:
- Stone Ground Cornmeal: This is crucial for the authentic character of Anadama Bread. Unlike finely ground cornmeal, stone ground varieties offer a coarser texture and a more pronounced, earthy corn flavor that truly shines through in the finished loaf. When mixed with boiling water, it softens beautifully, integrating into the dough while maintaining its unique textural contribution. For this particular recipe, I used Bob’s Medium Stone Ground Cornmeal. It’s quite coarse initially but softens wonderfully in the boiling water, contributing to the bread’s delightful chew.
- Molasses: The defining sweetener and flavor agent. Molasses provides the bread’s characteristic dark color and deep, caramelized sweetness, which is distinctly different from sugar. It also significantly contributes to the bread’s moistness and helps to prolong its shelf life, keeping your loaf fresh longer. Using a good quality, unsulphured molasses will yield the best and most authentic results.
- Flours (Whole Wheat and Bread Flour): A thoughtful blend of whole wheat flour and bread flour creates a balanced structure and flavor profile. Whole wheat flour adds nutty undertones, essential fiber, and a rustic quality. Bread flour, with its higher protein content, is key to developing strong gluten strands, which give the loaf its necessary chew, volume, and excellent rise. The recipe thoughtfully suggests adding the bread flour gradually, allowing you to achieve the perfect dough consistency for optimal kneading and development.
- Milk Powder: While seemingly a minor ingredient, powdered milk plays an important role. It enhances the bread’s flavor, contributes to a softer, more tender crumb, and can even help with browning. A small but important note regarding milk powder: there can be a discrepancy in weight depending on the brand. As observed by a fellow baker, Sue, and confirmed in my tests, ½ cup of Bob’s Red Mill brand weighs around 64 grams, while other brands might weigh closer to 46 grams for the same volume. For consistency and best results, it’s safest to simply use ½ cup by volume, regardless of the brand you choose. The recipe is robust enough to accommodate this slight variation without compromising the final product.
Choosing the Right Loaf Pan
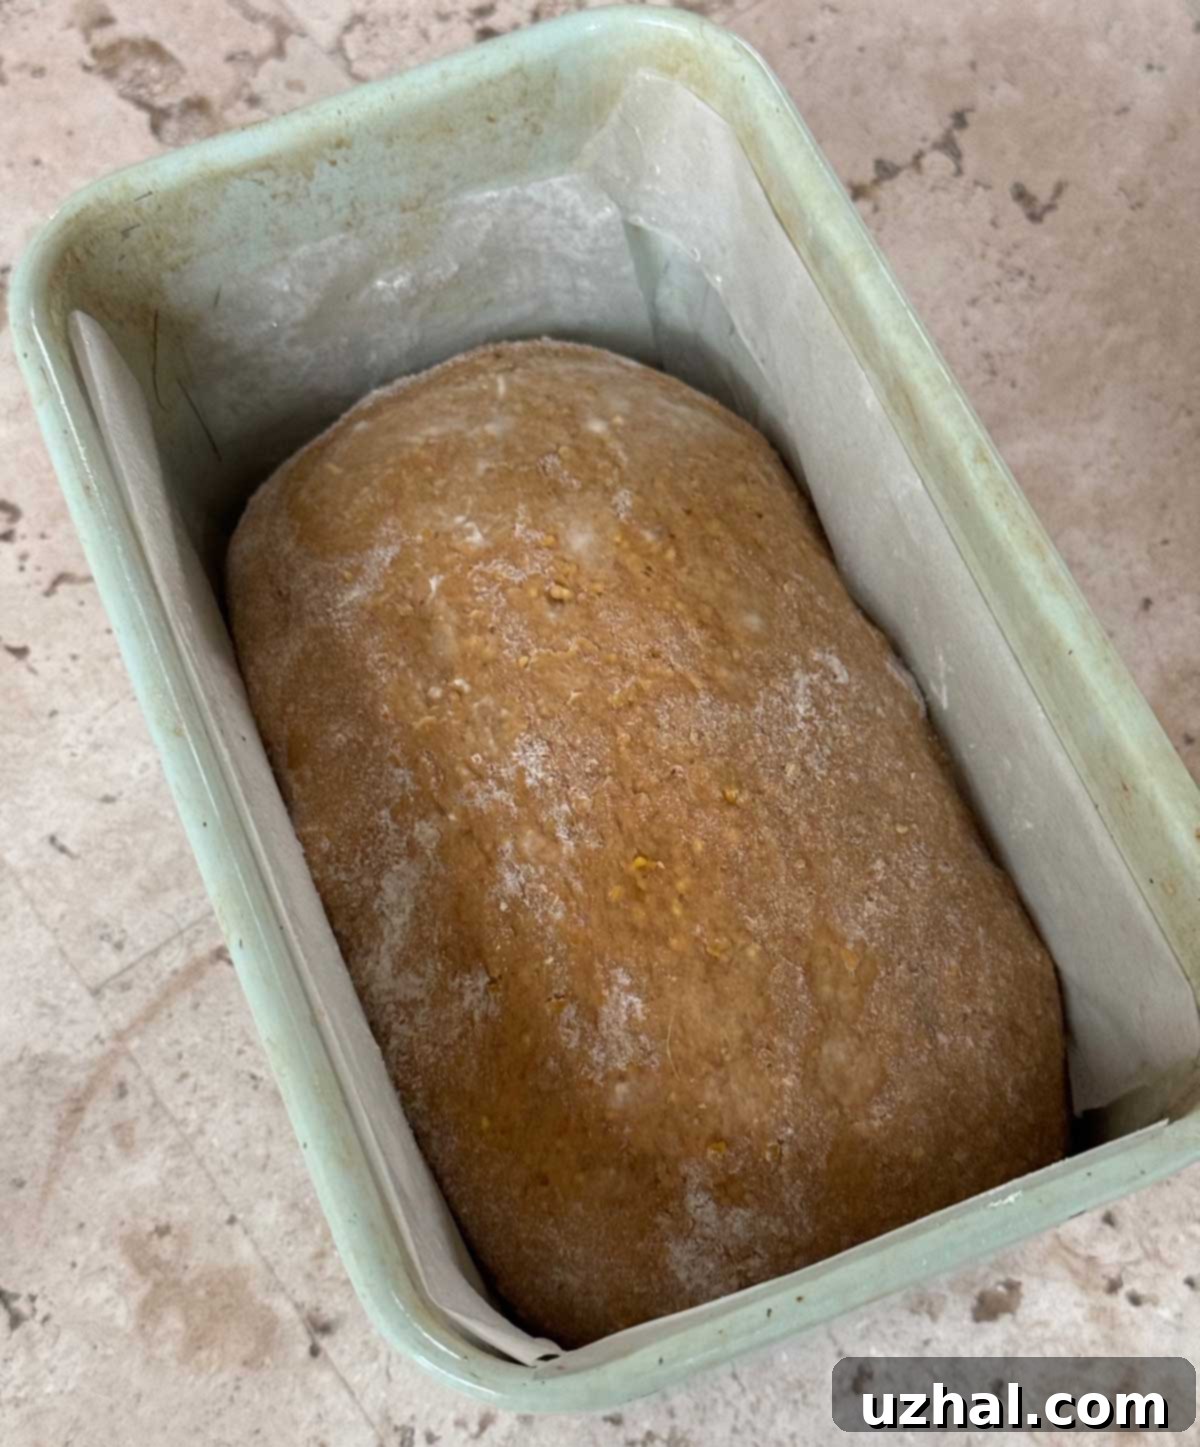
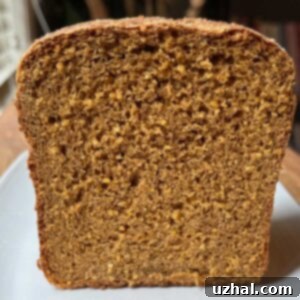
The loaf fits perfectly in an 8 ½ by 4 ½ inch pan. While a standard-depth loaf pan will work perfectly fine and yield a delicious loaf, I personally love using my deep barrel loaf pan. This is what’s shown in the photos, and it creates a beautifully tall, impressive loaf with a more uniform crumb and a lovely domed top. If you don’t already have one, I highly recommend getting a good deep loaf pan! They’re a lot of fun to work with and can significantly improve the appearance of your homemade breads.
- Easy No-Yeast Bread
- Crusty Corn Flour Bread
- Small Loaf Pan Banana Bread
- Sour Cream Banana Bread
- Peanut Butter Banana Bread with Chocolate Chips
Recipe
Anadama Bread
Anna
Pin Recipe
Ingredients
- 1 cup stone ground cornmeal (150 grams)
- 1 ¼ cups boiling water (280 grams)
- 4 teaspoons active dry yeast
- ¼ cup warm water for proofing yeast
- ½ cup molasses (80 grams)
- ½ cup powdered milk (46-65 grams)**
- 1 cup whole wheat flour (130 grams)
- 1 ½ cup bread flour, divided use (140 grams plus 70 grams)
- 1 ½ teaspoons salt
- 3 tablespoon very soft unsalted butter (42 grams)
Instructions
-
Put the cornmeal in the bowl of a stand mixer and pour 1 ¼ cups boiling water over it. Let stand for 15 minutes or until it is lukewarm.
-
Proof the yeast in ¼ cup of warm water. When it is foamy, add to the cornmeal along with the molasses, milk powder, whole wheat flour, just 1 cup of the bread flour, salt and butter. Mix well with a scraper.
-
Place mixing bowl on the mixer stand and knead with the dough hook for about 3 minutes. At this point the dough should still be pretty sticky and cling to the side of the bowl. If for some reason it’s stiff and already clinging to the hook, you can stop here. Otherwise, go ahead and add another ¼ cup of flour, return to the stand knead for another 2-3 minutes. Check dough again. It should still be pretty stiff, but still sticking to the sides of the bowl
-
Scrape the dough off the sides of the bowl towards the center and add the last ¼ cup of flour. Return to mixer stand and knead for about 3-5 minutes. At this point, the dough should be clinging to the hook and very elastic, but a wee bit sticky. Scrape it all to the middle of the ball to form a ball. If you can’t form a ball, then you’ll need to add more flour.
-
Spritz the dough with a little oil or cooking spray. Cover the bowl and let the dough rise for 1 hour or until it has doubled in bulk. If you prefer, you can transfer the dough to a greased bowl, but I just left it in the work bowl.
-
Meanwhile, grease am 8 ½ by 4 ½ inch loaf pan.
-
Once the dough has risen, punch it down and press it into a rectangle. Roll it up, sealing the sides, and bounce it around to remove air bubbles. Set the dough the prepared pans and cover with greased plastic wrap.
-
Allow the dough to rise again — this time for only about 45 minutes.
-
Preheat the oven to 375 F.
-
Bake for about 50-55 minutes at 375F. Let cool for 10 minutes, then remove from the loaf pan and let cool completely.
Notes
Essential Baking Tips for a Perfect Anadama Loaf
Baking Anadama bread is a truly rewarding process, and a few expert tips can ensure your loaf turns out perfectly golden-brown and delicious every time:
- Hydrating the Cornmeal: Begin by pouring boiling water over the stone-ground cornmeal. This initial step is vital; it softens the cornmeal significantly, preventing a gritty texture in the final bread and allowing its full, earthy flavor to properly develop. It’s crucial to then let this mixture cool to a lukewarm temperature before introducing the yeast, as excessive heat can kill the active yeast.
- Proofing the Yeast: Always proof your active dry yeast in warm water (around 105-115°F or 40-46°C) before adding it to the main dough. This step confirms that the yeast is alive and active, ready to work its magic and ensure a good, consistent rise. Look for a foamy layer to form on top of the water; this is your sign that the yeast is viable.
- Gradual Flour Addition: The recipe thoughtfully advises adding the bread flour gradually, and this is excellent advice that caters to varying conditions. Dough consistency can fluctuate slightly depending on ambient humidity, the specific brand of flour you’re using, and even the coarseness of your cornmeal. Start with the initial specified amount of bread flour, carefully observe the dough’s behavior during the first kneading phase, and then add the remaining ¼ cup portions only as needed. The ultimate goal is to achieve a dough that is still slightly sticky but manageable, visibly elastic, and beginning to cling to the dough hook of your stand mixer. Over-flouring is a common pitfall that can lead to a dry, dense, and less flavorful loaf, so it’s always better to err on the side of a dough that is just a touch sticky rather than too stiff.
- Kneading for Structure: Proper kneading is paramount in yeast bread baking, as it develops the gluten networks that give the bread its characteristic structure, chewiness, and ability to hold its shape. Follow the recommended kneading times diligently, and pay close attention to the dough’s evolving texture – it should gradually become smooth, supple, and elastic, pulling away cleanly from the sides of the mixing bowl, even if it retains a slight tackiness.
- The Rise (Proofing): Allow ample time for the dough to undergo its primary rise in a warm, draft-free environment until it has visibly doubled in bulk. This first rise is critical for developing the bread’s deep flavor. The second, shorter rise, which occurs in the prepared loaf pan, is equally important for ensuring a light, airy texture and a beautifully domed top crust. Lightly oiling or spraying the dough surface and covering it loosely with greased plastic wrap prevents a dry, crusty exterior from forming during the rising process.
- Cooling is Key: After baking, resist the almost irresistible urge to slice into your warm loaf immediately. Allowing the bread to cool for at least 10 minutes in the pan, and then completely on a wire rack, is crucial. This cooling period allows the internal structure of the bread to fully set, and any residual steam to escape gradually. The result is a bread with a far superior texture, easier slicing, and optimal flavor development.
Serving Suggestions & Versatility
Anadama Bread is incredibly versatile and lends itself beautifully to a multitude of serving options. Its subtly sweet, wholesome flavor makes it an ideal choice for breakfast, whether lightly toasted and generously slathered with unsalted butter, your favorite fruit jam, or a bright marmalade. It also makes fantastic French toast, absorbing the custard beautifully for a truly indulgent treat. For lunch or dinner, its hearty and robust texture stands up wonderfully to both sweet and savory fillings, making it perfect for substantial sandwiches. Beyond that, it’s an exceptional accompaniment to comforting and robust meals like hearty soups, rich stews, or spicy chili, where its unique flavor and sturdy crumb can soak up all the delicious broth and flavors. Don’t be surprised if this traditional New England loaf quickly becomes your new favorite go-to bread for any meal!
Conclusion: A Timeless New England Tradition
From its intriguing, albeit legendary, origin story to its wholesome ingredients and utterly delicious results, Anadama Bread is a true gem of New England baking. It stands as a testament to how simple, readily available ingredients can come together to create something truly extraordinary and deeply satisfying. Whether you’re a seasoned baker looking to expand your repertoire or just starting your journey into the wonderful world of homemade bread, this recipe offers a rewarding experience from start to finish. The process is straightforward, the aroma filling your kitchen is intoxicating, and the final loaf is a comforting masterpiece. Give this traditional Boston recipe a try, and discover the satisfying charm of a perfectly baked Anadama loaf. It’s historic, it’s delicious, and it’s waiting for you to create a little piece of culinary history in your own home!
