Fluffy & Flaky Buttermilk Biscuits: Your Guide to Southern Comfort (Alton Brown’s Way!)
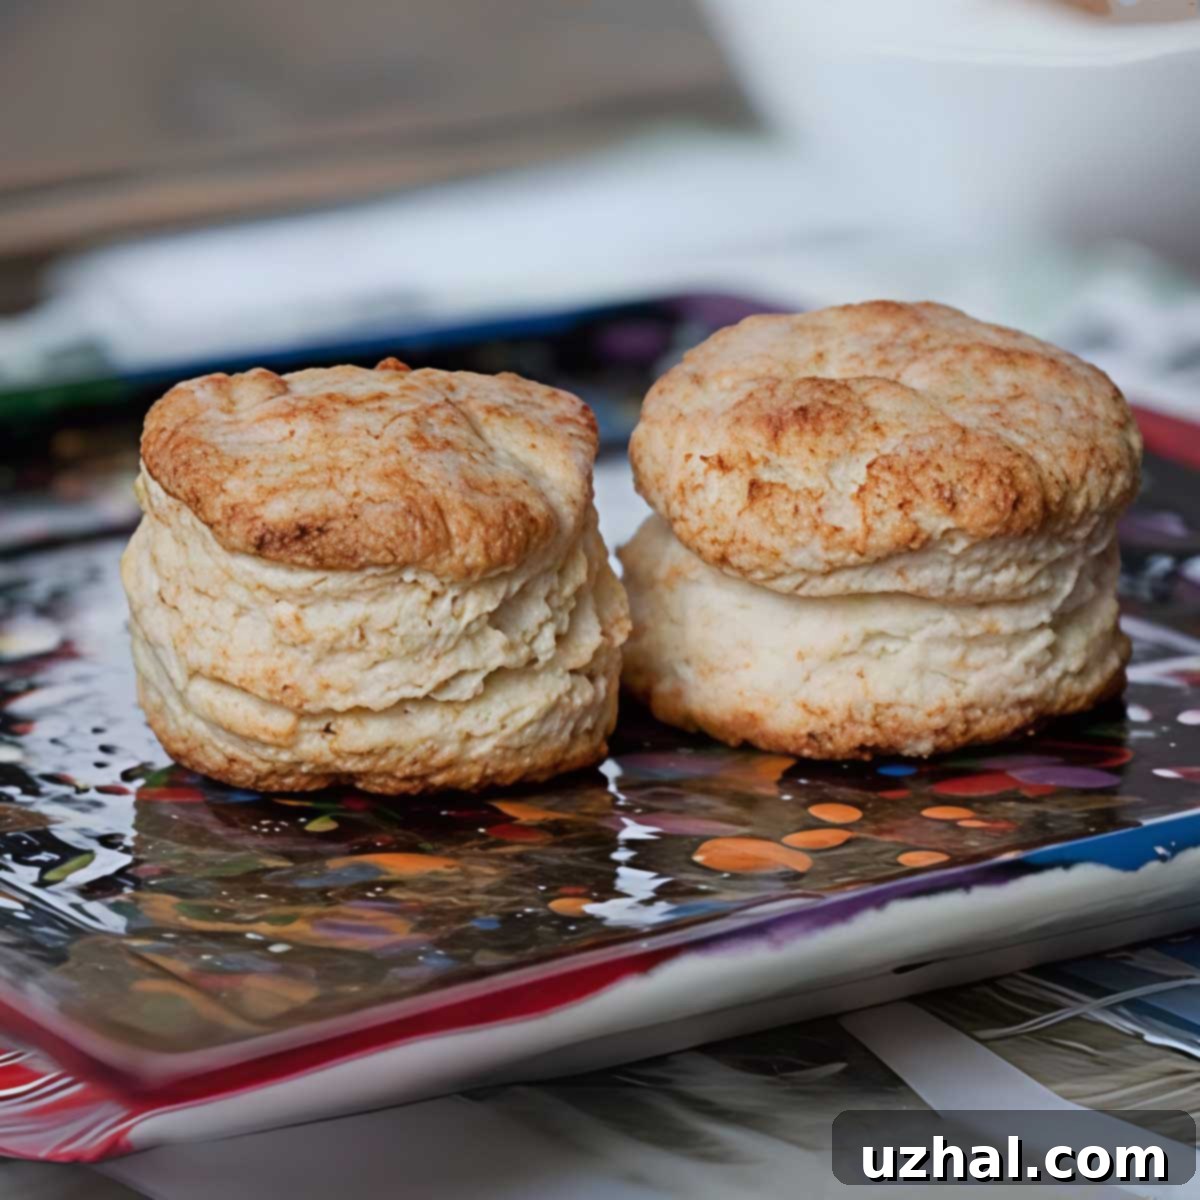
There are few things as comforting and satisfying as a warm, homemade buttermilk biscuit. Perfectly golden on the outside, incredibly fluffy and tender on the inside, with distinct flaky layers that practically melt in your mouth. These buttermilk biscuits, inspired by the brilliant Alton Brown, are truly a culinary triumph and a staple in my kitchen. While they boast a slightly lighter touch on the fat compared to some traditional recipes, they absolutely do not compromise on richness, tenderness, or that deeply satisfying texture we all crave.
Whether slathered with butter and jam, soaking up gravy, or serving as the foundation for a breakfast sandwich, a good biscuit elevates any meal. This recipe promises not just a delicious outcome but also an enjoyable baking experience that will have you mastering the art of biscuit-making in no time.
Jump to Recipe
Mastering Buttermilk Biscuits: Essential Recipe Tips for Flakiness
Achieving that perfect fluffy and flaky buttermilk biscuit used to feel like a distant dream for me. For a long time, I harbored a deep-seated fear of overworking biscuit dough, leading me to shy away from any technique that seemed to involve too much handling. However, a significant turning point came when I embraced the folding technique, realizing that a little more dough manipulation, when done correctly, actually leads to those coveted, beautiful layers.
The secret lies not in traditional kneading, but in a method that mimics lamination, similar to puff pastry, creating distinct strata within the dough. This process, coupled with the right ingredients and careful execution, transforms simple flour and fat into an extraordinary baked good. Let’s dive into some key tips that will help you achieve biscuit perfection every time.
The Art of Folding: Building Those Layers
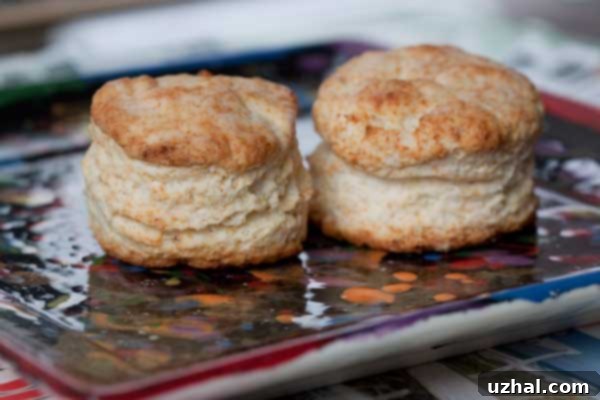
The folding technique is paramount for achieving incredible flakiness. Instead of simply bringing the dough together, you gently press it out, fold it over itself multiple times, and then press it out again. Each fold creates a new layer, trapping tiny pockets of butter and air. As the biscuits bake, the butter releases steam, forcing these layers apart and resulting in a light, airy, and wonderfully flaky texture. Don’t be afraid to handle the dough; just ensure your movements are gentle and purposeful. Think of it as carefully stacking thin sheets, rather than vigorously mixing.
Flour Power: Choosing the Right Type for Tender Results
The type of flour you use makes a significant difference. I highly recommend using a softer, low-protein flour, such as White Lily. Flours with lower protein content develop less gluten when worked, which is precisely what you want for tender biscuits. Too much gluten development leads to tough, chewy biscuits – the opposite of what we’re aiming for. If White Lily isn’t available in your area, look for an unbleached all-purpose flour with a protein content of around 8-10% or consider using a combination of all-purpose and cake flour. The softer the flour, the more forgiving the dough will be, allowing for that essential folding without compromising tenderness.
Keep it Cold: The Golden Rule of Biscuit Making
Cold ingredients are non-negotiable for flaky biscuits. Cold butter and shortening, cut into small chunks, and cold buttermilk are essential. As the dough bakes, the small pieces of cold fat melt slowly, creating steam that puffs up the layers, resulting in that signature flaky texture. If your butter or buttermilk is too warm, the fat will integrate too quickly into the flour, leading to a denser, more cake-like biscuit. Consider chilling your flour and even your mixing bowl for 15-30 minutes before starting, especially in a warm kitchen, to maintain that crucial cold temperature throughout the process.
The Perfect Cut: Sharp and Straight
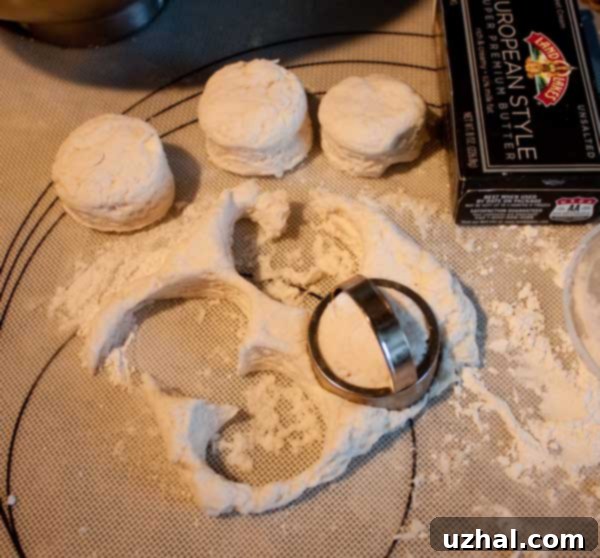
When cutting your biscuits, use a sharp biscuit cutter and press straight down without twisting. Twisting the cutter seals the edges of the biscuit, preventing it from rising properly and creating those beautiful layers. For optimal rise, try to cut as many biscuits as possible from the first press. When re-rolling scraps, work them minimally and gently, as further handling develops more gluten and can lead to tougher re-cut biscuits.
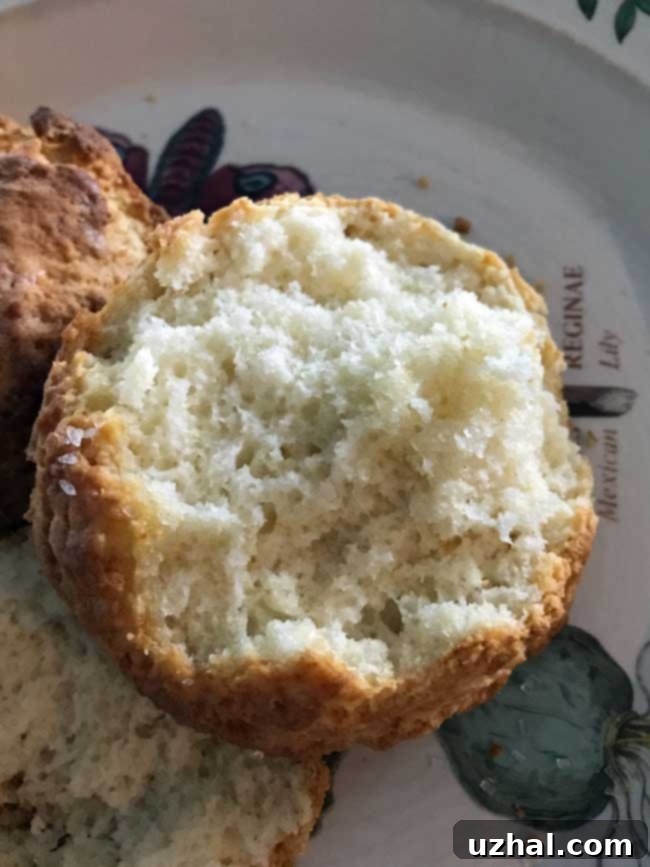
The original Alton Brown recipe typically yields 12 standard-sized biscuits. However, for a smaller batch perfect for a cozy breakfast or a quick snack, I often halve the recipe. This adjustment comfortably makes 6 small, two-inch biscuits or 4 larger, more substantial biscuits, ideal for individual servings without an abundance of leftovers. Adjusting the recipe size is simple, making it easy to enjoy fresh biscuits whenever the craving strikes.
From Savory to Sweet: Transforming Biscuit Dough into Delicious Scones
While these buttermilk biscuits are primarily designed for their classic savory appeal, a small touch of sweetness can beautifully enhance their flavor profile. I’ve personally found that adding a very small amount of sugar to the recipe helps to balance the inherent tang of the buttermilk and the salt, creating a more rounded and nuanced taste without making the biscuits overtly sweet. They still retain their savory soul, making them perfect alongside a hearty meal, but with just a hint of something extra.
Sweetening the Deal (Just a Little)
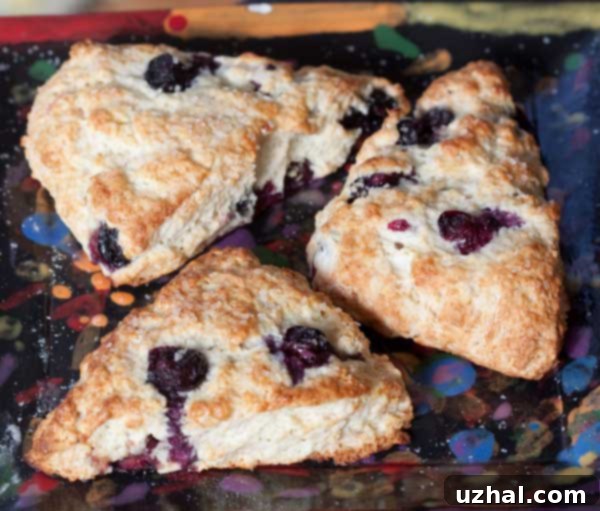
If you prefer a truly sweet treat, these biscuits, as is, aren’t quite there. For those with a sweeter tooth, I highly recommend exploring options like chocolate chip biscuits, which offer a delightful indulgence. However, this incredibly versatile buttermilk biscuit dough can also be easily transformed into fantastic scones! With just a few simple modifications, you can convert this savory base into a light, tender scone that’s perfect for afternoon tea or a sweet breakfast.
Scone Conversion: A Simple Adaptation
The beauty of this dough lies in its flexibility. To turn these biscuits into slightly reduced-fat scones, you’ll want to increase the sugar content slightly and perhaps add a touch of vanilla for aroma. The notes section of the recipe card provides specific instructions for this conversion. Beyond the basic sweetening, consider a myriad of additions: fresh or frozen berries (blueberries are particularly popular), dried fruits like cranberries or currants, a handful of mini chocolate chips, or even a citrus zest for a bright, tangy flavor. For a savory scone, omit the extra sugar and vanilla, and instead fold in grated cheddar cheese and chopped chives or herbs. The folding technique used for biscuits works equally well for scones, creating that desired light and tender crumb.
Serving Suggestions for Biscuits and Scones
No matter if you choose to make savory biscuits or sweet scones, how you serve them can elevate the experience. For classic biscuits, think rich sausage gravy, creamy grits, fried chicken, or simply warm with butter and your favorite preserves. They are fantastic with honey, apple butter, or even a dollop of clotted cream. As for scones, they shine brightest with clotted cream and jam, fresh fruit, a drizzle of lemon glaze, or a side of tea. Both are best enjoyed fresh from the oven, when their aroma fills the kitchen and their texture is at its peak.
Whether you’re new to baking or a seasoned pro, these buttermilk biscuits offer a rewarding experience. With a little practice and attention to these tips, you’ll be baking perfect, sky-high, flaky biscuits that rival any bakery. Enjoy the process and the delicious results!
- Glazed Cinnamon Rolls
- Small Batch Cream Cheese Biscuits
- Pumpkin Biscuits with Cinnamon Sugar
- Biscuits and Scones
- Impossible Cheesecake Pie
Recipe
Buttermilk Biscuits
Anna
Pin Recipe
Ingredients
- 1 cup all purpose flour plus more for work surface (4.5 oz or 128 grams – preferably a soft, low-protein flour like White Lily for best texture)
- 1 ¼ teaspoon sugar
- 2 teaspoons baking powder
- ⅛ teaspoon baking soda
- ⅜ teaspoon salt
- 1 tablespoon cold unsalted butter, cut into small chunks
- 1 tablespoon shortening
- ½ cup cold buttermilk (full fat if you can find it for optimal richness!)
- Melted butter for brushing tops
Instructions
-
Preheat your oven to a blazing 450 degrees Fahrenheit (232°C). High heat is key for a good biscuit rise!
-
In a large bowl, combine the flour, sugar, baking powder, baking soda, and salt. Whisk or stir these dry ingredients very well to ensure they are evenly distributed. Then, using your fingertips, quickly rub the cold butter and shortening into the dry ingredients until the mixture resembles coarse crumbs with some pea-sized pieces of fat remaining. Avoid overworking it.
-
Add half of the cold buttermilk to the flour mixture. Stir with a sturdy rubber spatula or heavy-duty dough scraper until the dough is just moistened. Gradually add the remaining buttermilk, continuing to stir gently until the dough mostly comes together into a shaggy ball. It should feel slightly sticky, but will become easier to handle as it picks up flour from your work surface.
-
Turn the dough out onto a generously floured work surface. Lightly dust the top of the dough with more flour. Gently press the dough down with your hands or a rolling pin until it’s about ¼ inch thick. Now, for the crucial part: perform the “folds.” Fold the dough over on itself in thirds (like folding a letter), then gently press it down again until it’s about ¼ inch thick. Repeat this folding process 2-3 more times. Finally, press the dough down one last time to create a slab about 1 inch thick. Cut out biscuits using a 2-inch round cutter, pressing straight down and not twisting.
-
Gather the scrap dough, gently re-shape it with as little handling as possible, press it down to 1-inch thick, and continue cutting out additional biscuits. Arrange all biscuits on a parchment-lined baking sheet. Bake for 15 to 20 minutes, or until the tops are beautifully golden brown and the biscuits have risen high.
-
For an extra touch of richness and shine, brush the tops of the hot biscuits with melted butter immediately after they come out of the oven, if desired. Serve warm and enjoy!
Notes
To convert this dough into delicious Buttermilk Scones: Add 2 tablespoons of granulated sugar (instead of 1¼ tsp) to the dry ingredients, and mix in about ¼ teaspoon of pure vanilla extract with the buttermilk. After pressing the dough down (before the final 1-inch thickness), gently spread ⅓ to ½ cup of fresh or frozen blueberries (or other desired additions like mini chocolate chips, chopped nuts, or dried cranberries) over the surface. Lightly press the additions into the dough. Carefully fold the dough over, being mindful not to crush the berries or inclusions. Shape the dough into a 3½ to 4-inch wide half-circle (or round disk) and cut the half-circle into 4 triangles (or the disk into 6-8 wedges). Arrange scones on a parchment-lined baking sheet and bake for 15-20 minutes, or until golden brown.
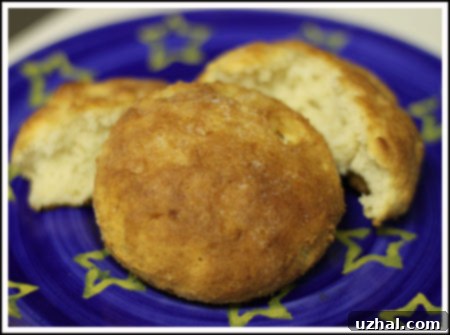
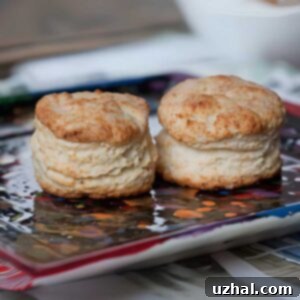
Here’s a throwback to an older picture of these glorious buttermilk biscuits, showcasing their irresistible golden hue and classic shape.
