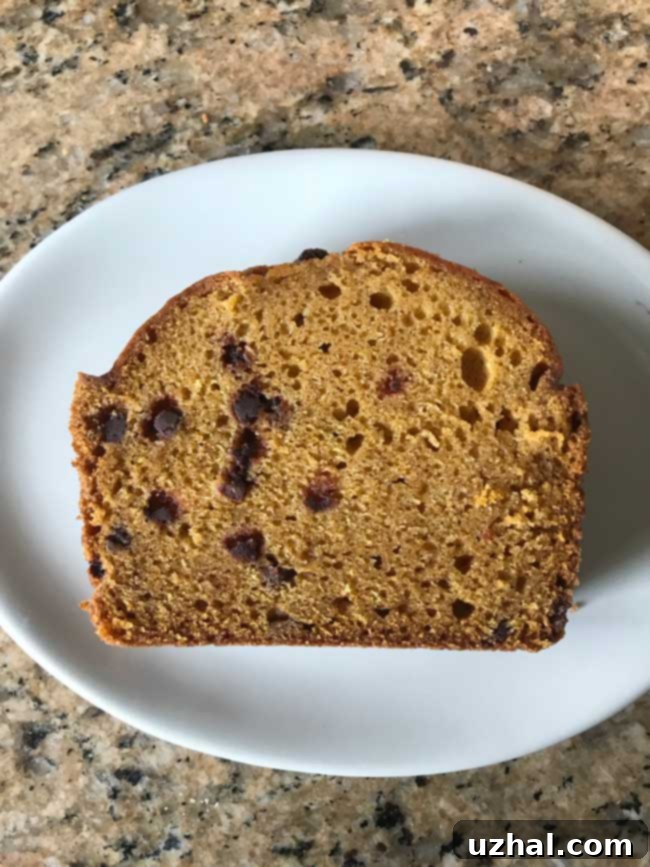
The Ultimate Guide to Baking Irresistible Pumpkin Bread Loaves: Classic, Mini & Blueberry Variations
There’s nothing quite like the aroma of freshly baked pumpkin bread filling your home, especially during the crisp days of fall. This isn’t just “another pumpkin bread recipe”; it’s a meticulously crafted formula that consistently delivers exceptional results, ensuring a perfect loaf every time. I’ve personally made this recipe countless times since its inception, and it never disappoints. Its versatility is one of its greatest strengths, allowing you to easily customize it to your liking. Whether you prefer the classic warmth of plain pumpkin spice, the delightful burst of blueberries, or the rich indulgence of chocolate chips, this recipe serves as the perfect foundation. It’s a truly reliable and beloved staple that you’ll return to season after season.
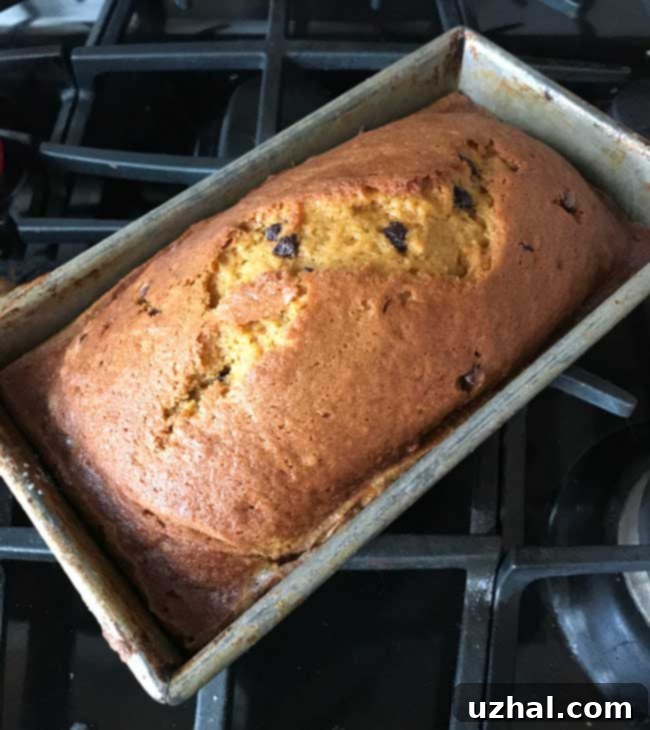
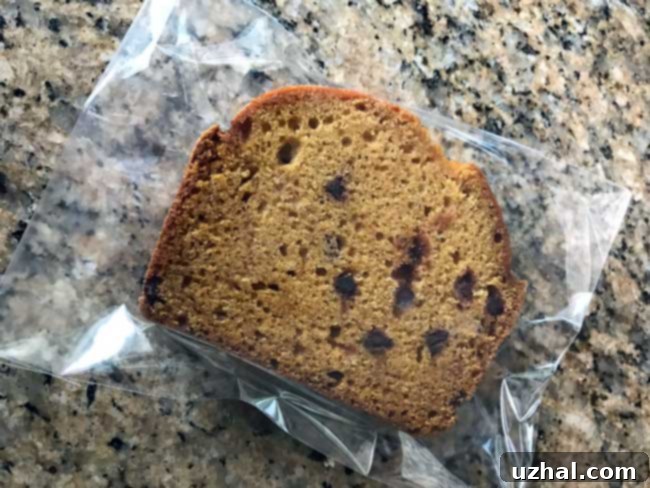
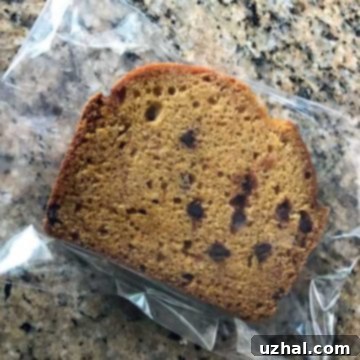
What sets this particular pumpkin bread recipe apart is its ability to bake up with a gorgeously domed top and a perfectly moist, tender crumb that holds together beautifully. You’ll find that each slice cuts neatly without crumbling, making it ideal for presentation and enjoyment. Beyond its immediate appeal, this pumpkin bread also freezes exceptionally well, preserving its fresh-baked flavor and texture for weeks. This makes it a fantastic option for meal prepping, ensuring you always have a delicious treat on hand. Furthermore, the slices are perfectly sized to fit into sealable food bags – a practical detail I discovered after purchasing some handy bags from Amazon. This convenient feature makes it incredibly easy to portion out individual slices to share with friends, family, or to simply store for yourself.
The Versatility of Pumpkin Bread: Loaf Sizes & Customizations
This generous pumpkin bread recipe yields two large, robust loaves, ensuring there’s plenty to go around. However, its true charm lies in its adaptability. If you’re looking to create delightful gifts or simply prefer smaller portions, you can easily divide the batter into 8 or 9 smaller (approximately 3×5 inch) loaves. I often find myself making one large loaf for immediate enjoyment and four smaller ones to freeze or share, striking the perfect balance. This recipe truly makes a substantial amount of bread, so be sure to pull out your largest mixing bowls to accommodate the batter comfortably. And with such a bountiful yield, you’ll definitely want to have a list of lucky friends ready to share in the deliciousness.
Customizing Your Pumpkin Bread: Chocolate Chips, Blueberries, and More
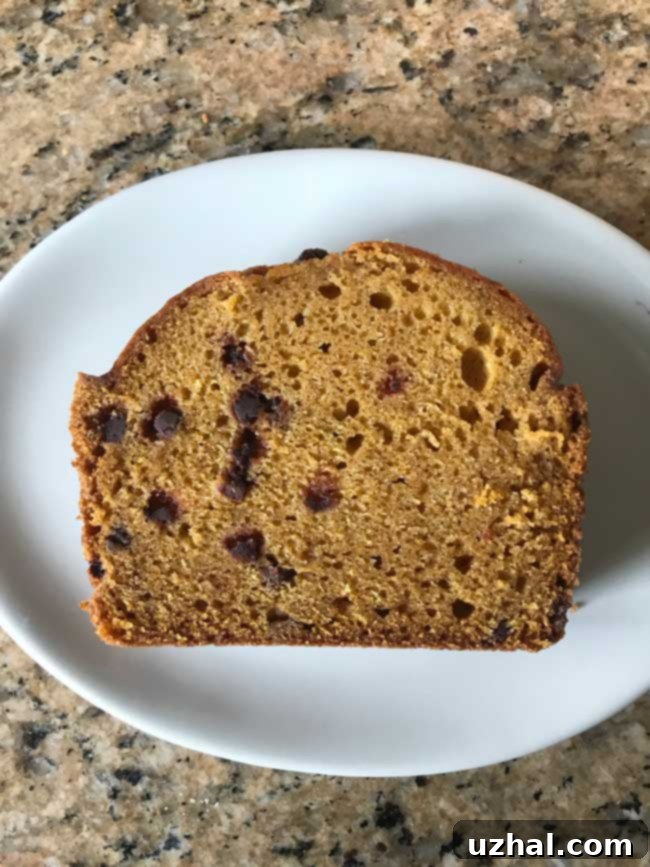
One of the joys of baking this pumpkin bread is the endless possibilities for customization. While the base recipe is fantastic on its own, adding mix-ins can elevate it to new heights. As mentioned, chocolate chips are a popular choice, adding pockets of melty sweetness. You can use semi-sweet, milk, or even dark chocolate chips, depending on your preference. For a vibrant fruity twist, blueberries are a phenomenal addition. Fresh blueberries offer a juicy burst, while frozen blueberries (tossed in a little flour to prevent sinking) work just as well. But don’t stop there! Consider incorporating chopped nuts like pecans or walnuts for an added crunch and nutty flavor. Dried cranberries or raisins can provide a chewy, tart counterpoint, while a sprinkle of ginger, allspice, or cloves can intensify the autumnal spice profile. Feel free to experiment with combinations to find your perfect pumpkin bread blend.
Baking Perfect Pumpkin Blueberry Mini Loaves
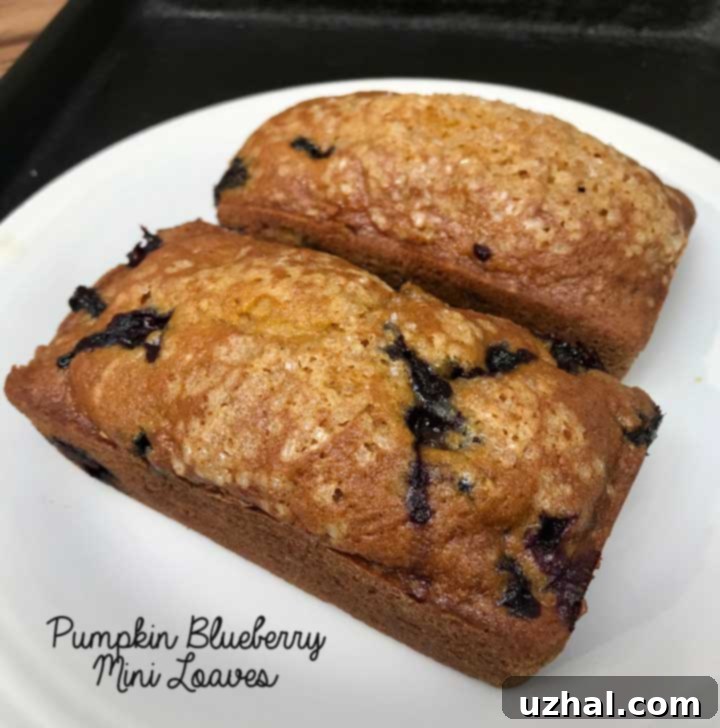
Recently, I experimented with this very recipe to create charming Pumpkin Blueberry Mini Loaves, utilizing nine 6×3 inch mini loaf pans. While the packaging might say 5.75×3 inches, I usually round up for simplicity. These smaller loaf pans are absolutely perfect for a variety of reasons. Firstly, they make for wonderful, heartfelt little gifts that are always appreciated. Secondly, their size is ideal for individual portions, making them super convenient to store in the freezer. Imagine having a ready-to-go, perfectly sized pumpkin bread treat whenever the craving strikes! When opting for these mini loaf pans, it’s crucial to adjust your baking time. As noted in the instructions, the bake time should be reduced to approximately 40 minutes, but always keep an eye on them and perform the toothpick test for perfect doneness. This ensures they don’t dry out while still achieving that beautiful golden crust and moist interior.
Tips for Success and Troubleshooting
Achieving the perfect pumpkin bread is easily within reach with a few key considerations. Always ensure your ingredients are fresh; old baking soda or spices can significantly impact the taste and rise of your bread. When mixing the dry and wet ingredients, be careful not to overmix. Overmixing can develop the gluten in the flour too much, leading to a tough, dense loaf rather than the desired light and tender crumb. Mix just until the ingredients are combined. Your oven temperature is also critical; an accurate oven thermometer can be a valuable tool. If your loaves are browning too quickly on the outside but still raw inside, your oven might be running hot. Conversely, if they’re taking too long, it might be running cool. The toothpick test is your best friend for checking doneness: insert it into the center of the loaf. It should come out with moist crumbs, but not wet batter. If it’s completely clean, the bread might be slightly overbaked, but still delicious! For uniform distribution of heavy mix-ins like chocolate chips or blueberries, toss them lightly with a tablespoon of the dry flour mixture before adding them to the batter. This helps prevent them from sinking to the bottom of the pan.
Serving Suggestions and Storage
Once your delectable pumpkin bread has cooled, the serving possibilities are endless. It’s fantastic simply sliced and enjoyed plain, allowing its rich, spiced flavor to shine. For an extra treat, slather a slice with softened cream cheese, a dollop of whipped cream, or a sprinkle of powdered sugar. It pairs wonderfully with a warm cup of coffee, tea, or cider, making it an ideal breakfast, brunch item, or afternoon snack. As for storage, proper handling will ensure your pumpkin bread stays fresh and delicious for as long as possible. Once completely cool, wrap individual loaves or slices tightly in plastic wrap. For short-term storage, refrigerate for up to a week. For longer enjoyment, double-wrap the plastic-wrapped loaves in aluminum foil or place them in a freezer-safe bag, expelling as much air as possible. Frozen pumpkin bread can be stored for several months and easily thawed overnight in the refrigerator or quickly in the microwave for a warm, comforting treat.
- Coconut Flour Chocolate Muffins
- Oatmeal Cinnamon Chip Muffins
- One Bowl Mini Pumpkin Loaves
- Soft Pumpkin Cream Cheese Cookies
- Texas Size Peanut Butter Cookies
Recipe
Pumpkin Blueberry Mini Loaves
Anna
Pin Recipe
Ingredients
- 2 cups unbleached all-purpose flour (approximately 270 grams, essential for structure and texture)
- 1 ⅓ cups white whole wheat flour (approximately 170 grams, or simply use an additional 170 grams of all-purpose flour for a softer crumb)
- 2 teaspoons baking soda (ensures a good rise and tender texture)
- 1 teaspoon cinnamon (a key warming spice for pumpkin bread)
- ½ teaspoon ground nutmeg (adds a complementary spice note)
- ¼ teaspoon salt (balances flavors and enhances sweetness)
- 3 cups sugar (approximately 590 grams, provides sweetness and moisture)
- 1 cup vegetable oil (contributes to the bread’s moistness and tender crumb)
- 15 ounce can pure pumpkin (not pumpkin pie filling, for authentic pumpkin flavor)
- ⅔ cup water (helps achieve the perfect batter consistency)
- 4 eggs (large, binds ingredients and adds richness)
- 1 ½ cups blueberries (fresh or frozen, for a delightful fruity addition; if using frozen, toss with a tablespoon of flour to prevent sinking)
Instructions
-
Begin by preheating your oven to a consistent 350 degrees Fahrenheit (175°C). Carefully grease and flour nine standard 3×6 inch mini loaf pans. Alternatively, if you prefer larger loaves, prepare two regular-sized loaf pans in the same manner. Ensure all crevices are thoroughly coated to prevent sticking and guarantee easy removal after baking.
-
In a large mixing bowl, combine the dry ingredients. Whisk together the unbleached all-purpose flour, white whole wheat flour (or additional all-purpose flour), baking soda, ground cinnamon, ground nutmeg, and salt. Whisk thoroughly until all ingredients are evenly distributed, which is crucial for a consistent rise and flavor throughout the bread.
-
In a separate and very large mixing bowl, combine the wet ingredients. Add the sugar, vegetable oil, pure pumpkin puree, water, and eggs. Using a sturdy spoon or a heavy-duty rubber scraper, stir these ingredients together until they are completely well blended and smooth. This ensures a homogenous pumpkin base for your bread.
-
Gradually add the whisked dry flour mixture to the pumpkin mixture. Stir gently with your spoon or scraper until the flour is just incorporated and no streaks of dry ingredients remain. Be careful not to overmix the batter, as this can lead to a tough texture. Once combined, gently fold in the blueberries until they are evenly distributed throughout the batter.
-
Divide the prepared batter evenly among your greased and floured pans. For mini loaf pans, bake for approximately 40 minutes. If you are using large loaf pans, the baking time will be longer, typically around 60 minutes or an hour. The bread is done when a wooden toothpick inserted into the center comes out with moist crumbs attached, but no wet batter.
-
Once baked to perfection, remove the loaves from the oven. Allow them to cool in their pans on a wire rack for about 10 to 15 minutes. This cooling period helps the loaves firm up before removal. After this initial cooling, carefully loosen the edges of the bread from the loaf pans and gently turn them out onto the cooling rack. Allow the loaves to cool completely to room temperature before slicing or wrapping.
-
To store your delicious pumpkin bread, wrap individual loaves or slices tightly in plastic wrap to maintain freshness. It can be refrigerated for at least a week. For longer storage, place the well-wrapped loaves in a plastic freezer bag or airtight container and freeze for several months. Thaw overnight in the refrigerator or gently warm individual slices for a quick treat.
