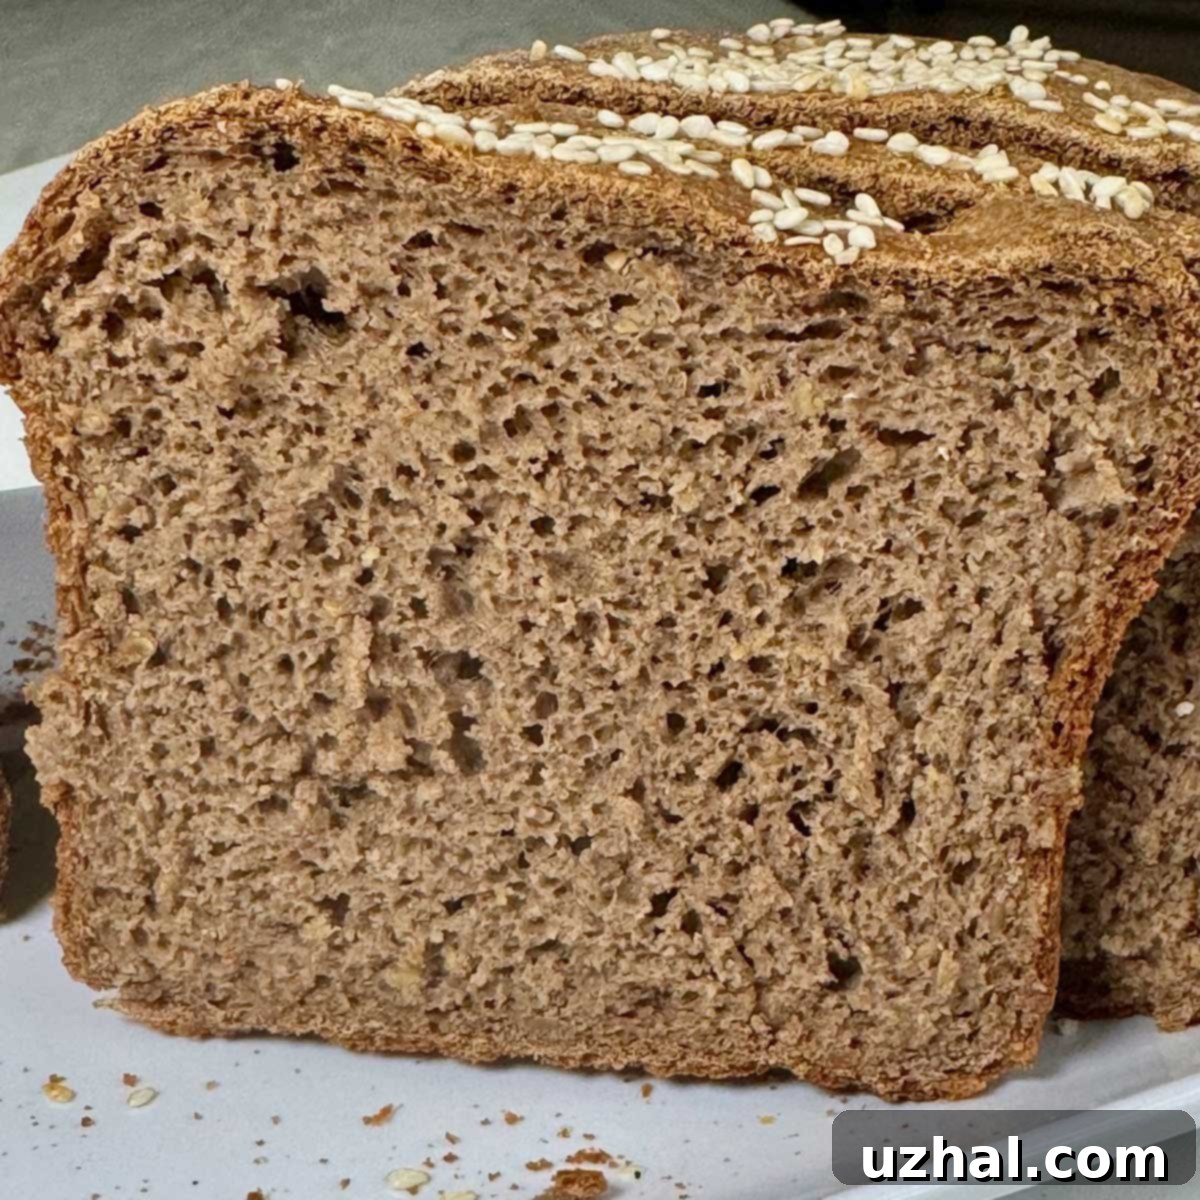
Baking the Perfect Gluten-Free Whole Grain Bread: A Comprehensive Guide for a Delicious, Homemade Loaf
Embark on a culinary journey to bake an exceptional gluten-free whole grain bread that will become a staple in your kitchen. This recipe is more than just a substitute; it’s a creation designed for flavor, texture, and nutrition, making it an everyday essential for gluten-free households. Crafted with a thoughtful blend of teff flour, brown rice flour, sweet rice flour, ground flaxseeds, and psyllium, this bread is packed with an abundance of fiber and wholesome goodness. Its subtly sweet profile makes it an ideal companion for a wide range of toppings, from creamy peanut butter to a rich avocado spread. Perfect for toasting, it delivers a delightful crisp exterior and a tender interior. While the baking process is straightforward, the initial step of sourcing specific flours is key to unlocking its unique character and health benefits.
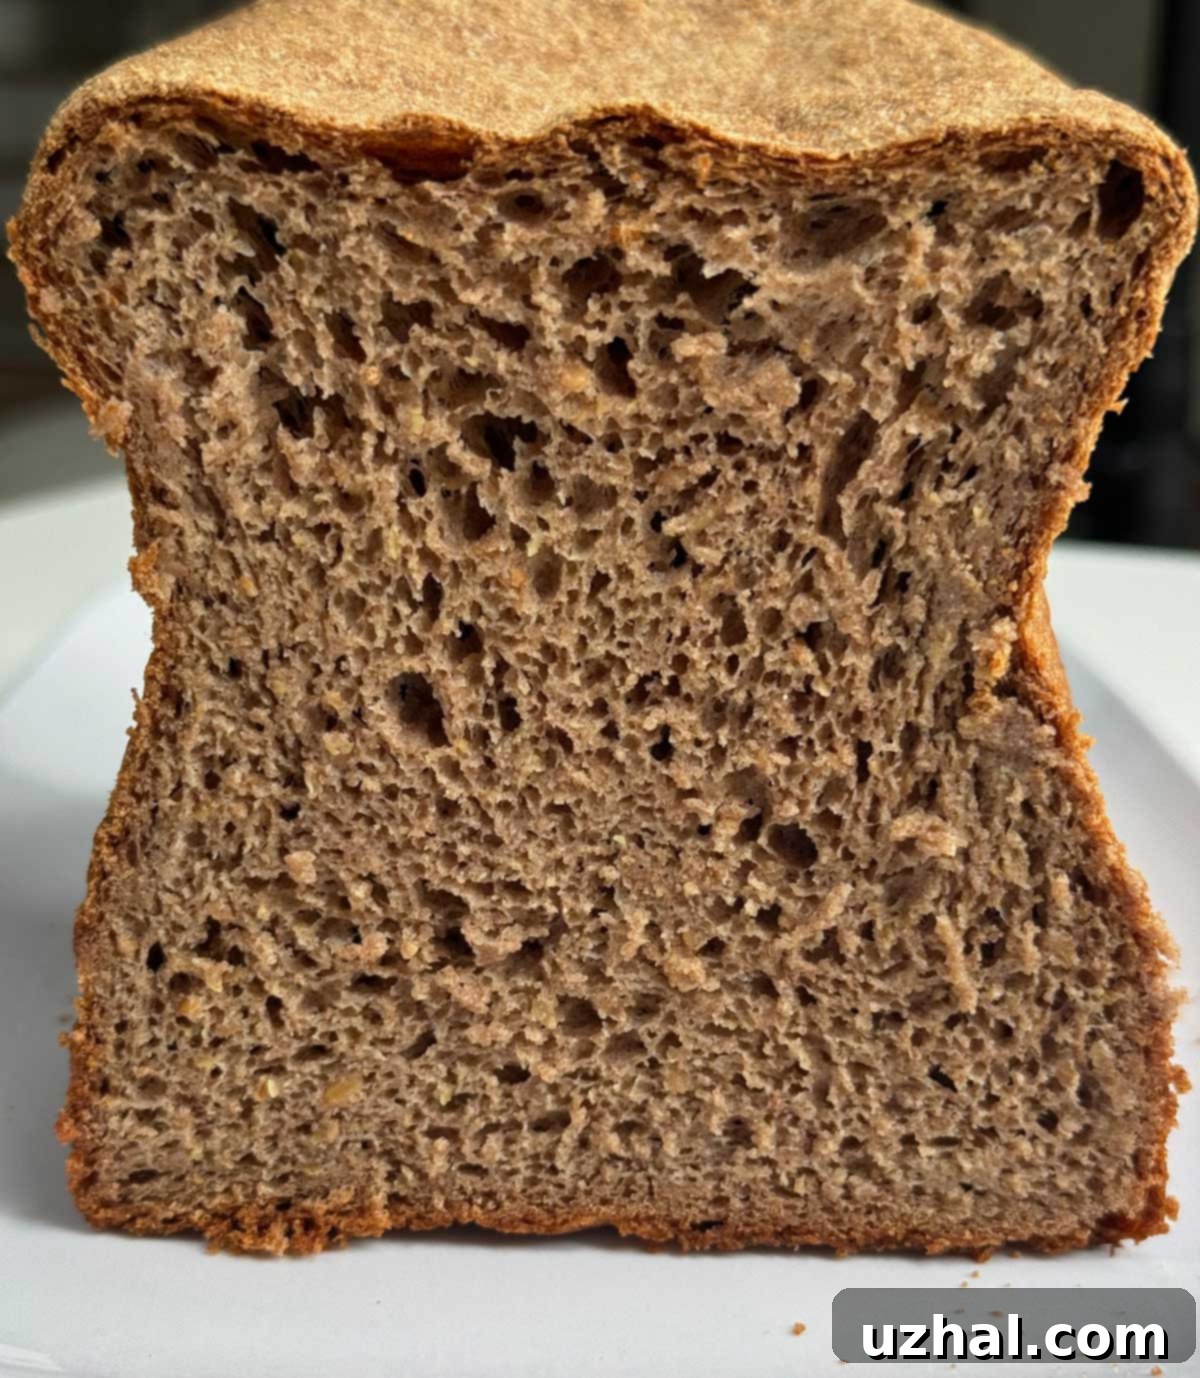
The Essential Whole Grain Gluten-Free Flour Blend: Building Blocks for Your Loaf
The secret to this bread’s incredible texture and nutritional profile lies in its unique flour blend. Unlike conventional baking where a single type of flour often suffices, gluten-free baking thrives on a synergistic mix of various flours, each contributing distinct qualities. The “catch,” as some might call it, is that these specialized flours might not be readily available in every mainstream grocery store. However, with the rise of online shopping and specialty health food stores, acquiring them has become easier than ever, and the effort is truly rewarded in the final product. Understanding the role of each component is crucial for successful gluten-free baking.
Here’s a breakdown of the blend and why these flours are chosen:
Crafting Your Whole-Grain Gluten-Free Flour Blend (Flax Blend)
This master blend yields approximately 48 ounces or 10 cups, providing enough flour for multiple loaves, ensuring you always have some on hand for your next baking session. You won’t use all of it for a single loaf, making it efficient for future baking.
- **24 ounces (5 ¼ cups) Teff Flour:** Teff is a tiny, ancient grain that lends a slightly earthy, malty flavor to the bread. It’s a nutritional powerhouse, rich in iron, calcium, and protein, and provides excellent structure and elasticity to gluten-free dough, which can often be challenging to achieve.
- **8 ounces (1 ¾ cups) Brown Rice Flour:** A common and versatile gluten-free flour, brown rice flour adds a slightly coarse texture and a mild, nutty flavor. It’s crucial for providing bulk and a sturdy framework in gluten-free baking.
- **8 ounces (2 ⅓ cups) Ground Golden Flaxseeds:** Flaxseeds are indispensable in gluten-free bread for their binding properties. When ground and mixed with liquid, they form a gel-like consistency, mimicking some of the functions of gluten by adding elasticity and helping the dough hold together. They also boost the bread’s fiber and omega-3 fatty acid content, contributing to a healthier loaf.
- **5 ounces (1 cup) Sweet White Rice Flour:** Also known as glutinous rice flour (despite being gluten-free), sweet white rice flour is key for adding chewiness and a softer texture. It’s highly absorbent and contributes to the bread’s overall moisture retention and pleasant mouthfeel, preventing it from becoming crumbly.
To prepare the blend, simply combine all ingredients thoroughly in a large bowl. For best results and consistent texture, consider sifting them together or using a whisk to ensure an even distribution. Store your custom flour blend in an airtight container in a cool, dark place, or for extended freshness, in the refrigerator or freezer. Having this blend pre-mixed makes future bread-making sessions incredibly quick and convenient.
Effortless Dough Preparation: Precision in Gluten-Free Baking
The process of making this dough is surprisingly simple, especially when you embrace the precision of weighing your ingredients. In gluten-free baking, accuracy is paramount because the absence of gluten means there’s less room for error in hydration and flour ratios. Using a kitchen scale ensures consistent results every time and removes the guesswork often associated with volumetric measurements, which can vary greatly depending on how flours are packed.
Begin by placing your mixing bowl directly onto a digital scale. Add the prepared gluten-free flour blend by weight, followed by the psyllium powder, yeast, sugar, baking powder, and salt. This method is not only more accurate but also remarkably tidy, minimizing the number of measuring cups and spoons you’ll need to wash. The dry ingredients are then gently stirred together to ensure they are well combined before the wet ingredients are introduced. This initial blending helps distribute the leavening agents and binders evenly throughout the flour mixture.
Understanding the Unique Gluten-Free Dough Consistency
Once your dry ingredients are perfectly combined in the bowl, it’s time to introduce the wet components: very warm water, a large egg, and softened butter. The water temperature is critical to activate the yeast effectively, usually around 120-130°F (49-54°C). The addition of egg and butter not only enriches the flavor but also contributes to the loaf’s tender crumb and golden crust.
Unlike some gluten-free bread recipes that result in a thin, pourable batter, this particular dough is designed to be quite robust. The psyllium powder plays a vital role here, absorbing moisture and creating a dough that, while slightly sticky, is firm enough to be handled. After mixing, it will clear the sides of the bowl and form a cohesive mass around your mixer’s paddle attachment. This unique consistency allows the dough to be easily scraped onto a lightly floured mat and shaped into a distinct loaf. This hands-on shaping is a rewarding part of the process and a key difference from many “no-knead” gluten-free batters.
Once shaped, the dough is gently placed into a greased bread pan. From this point, it undergoes a single, focused rise before heading into the oven for baking. This streamlined process simplifies gluten-free bread making, making it accessible even for those new to the craft.
The Efficiency of a Single Rise for Gluten-Free Bread
A distinctive feature of this recipe is its requirement for only one rise, which commences immediately after the dough has been pressed into the pan. This singular rise method simplifies the baking schedule without compromising the bread’s quality. For gluten-free doughs, especially those structured with psyllium, over-handling or multiple rises can sometimes lead to a less desirable texture. The carefully balanced ingredients in this recipe allow for optimal leavening in one go, producing a light and airy result.
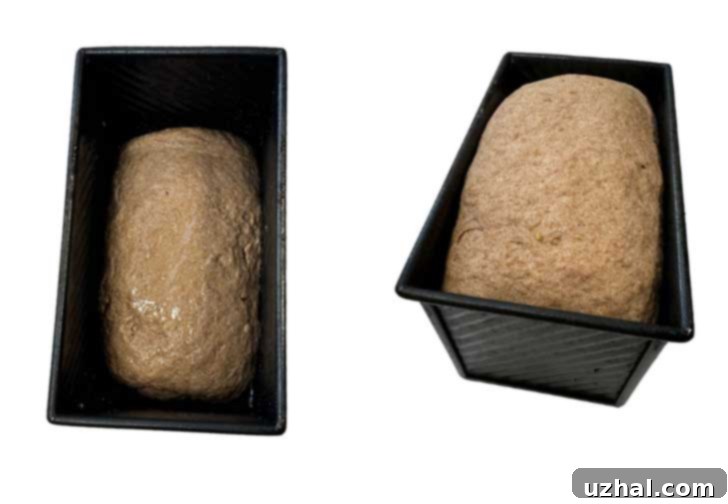
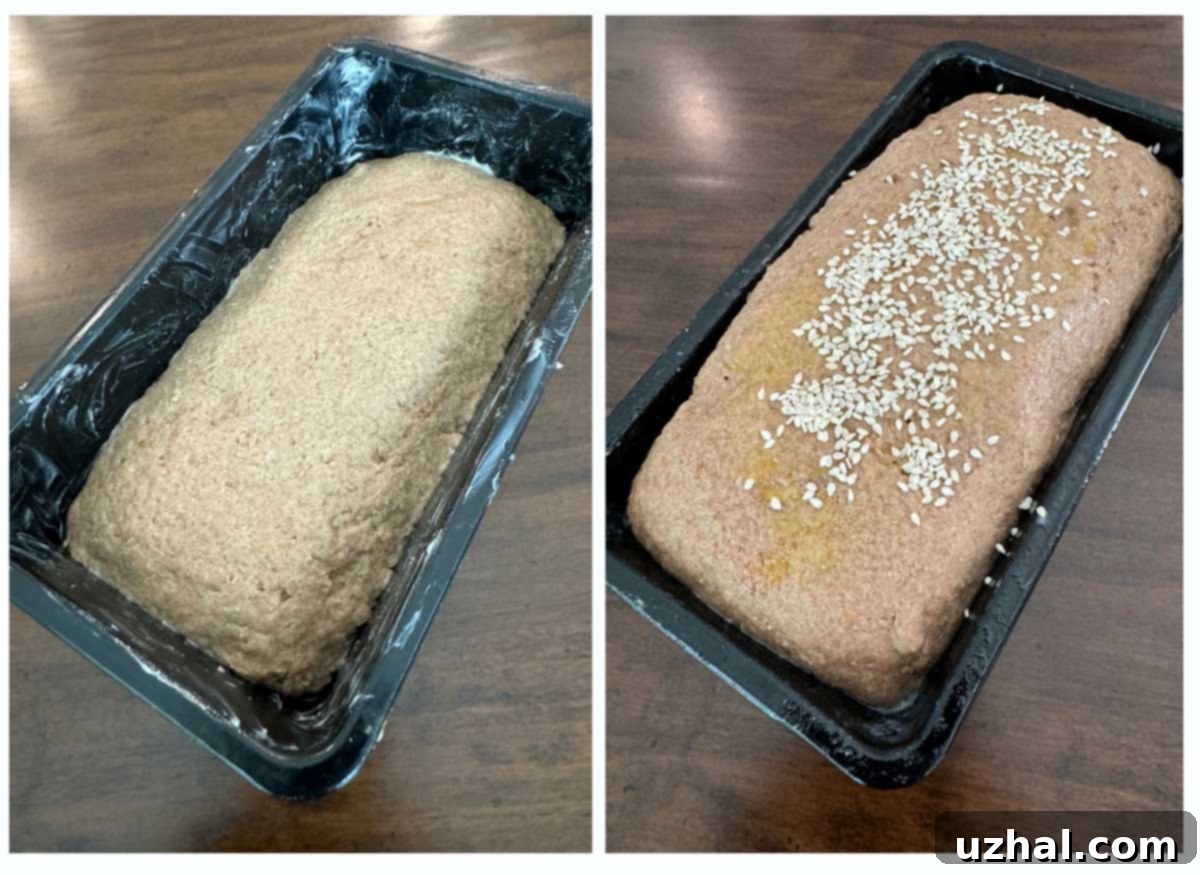
The images below illustrate the transformation: the initial photo shows the dough freshly mixed and settled into the pan, a dense but pliable mass. The subsequent photo, taken after approximately 40 minutes of rising in a warm environment, demonstrates the significant expansion of the dough, reaching generously to the top edge of a Pullman loaf pan. It’s important to note that, unlike traditional gluten-based breads that often experience a final “oven spring” (a sudden rise in the oven’s heat), this gluten-free loaf will likely not rise further in the oven; in fact, it may even settle slightly. Therefore, allowing it to achieve a good height during this initial rise is crucial for the final volume and texture of your baked bread.
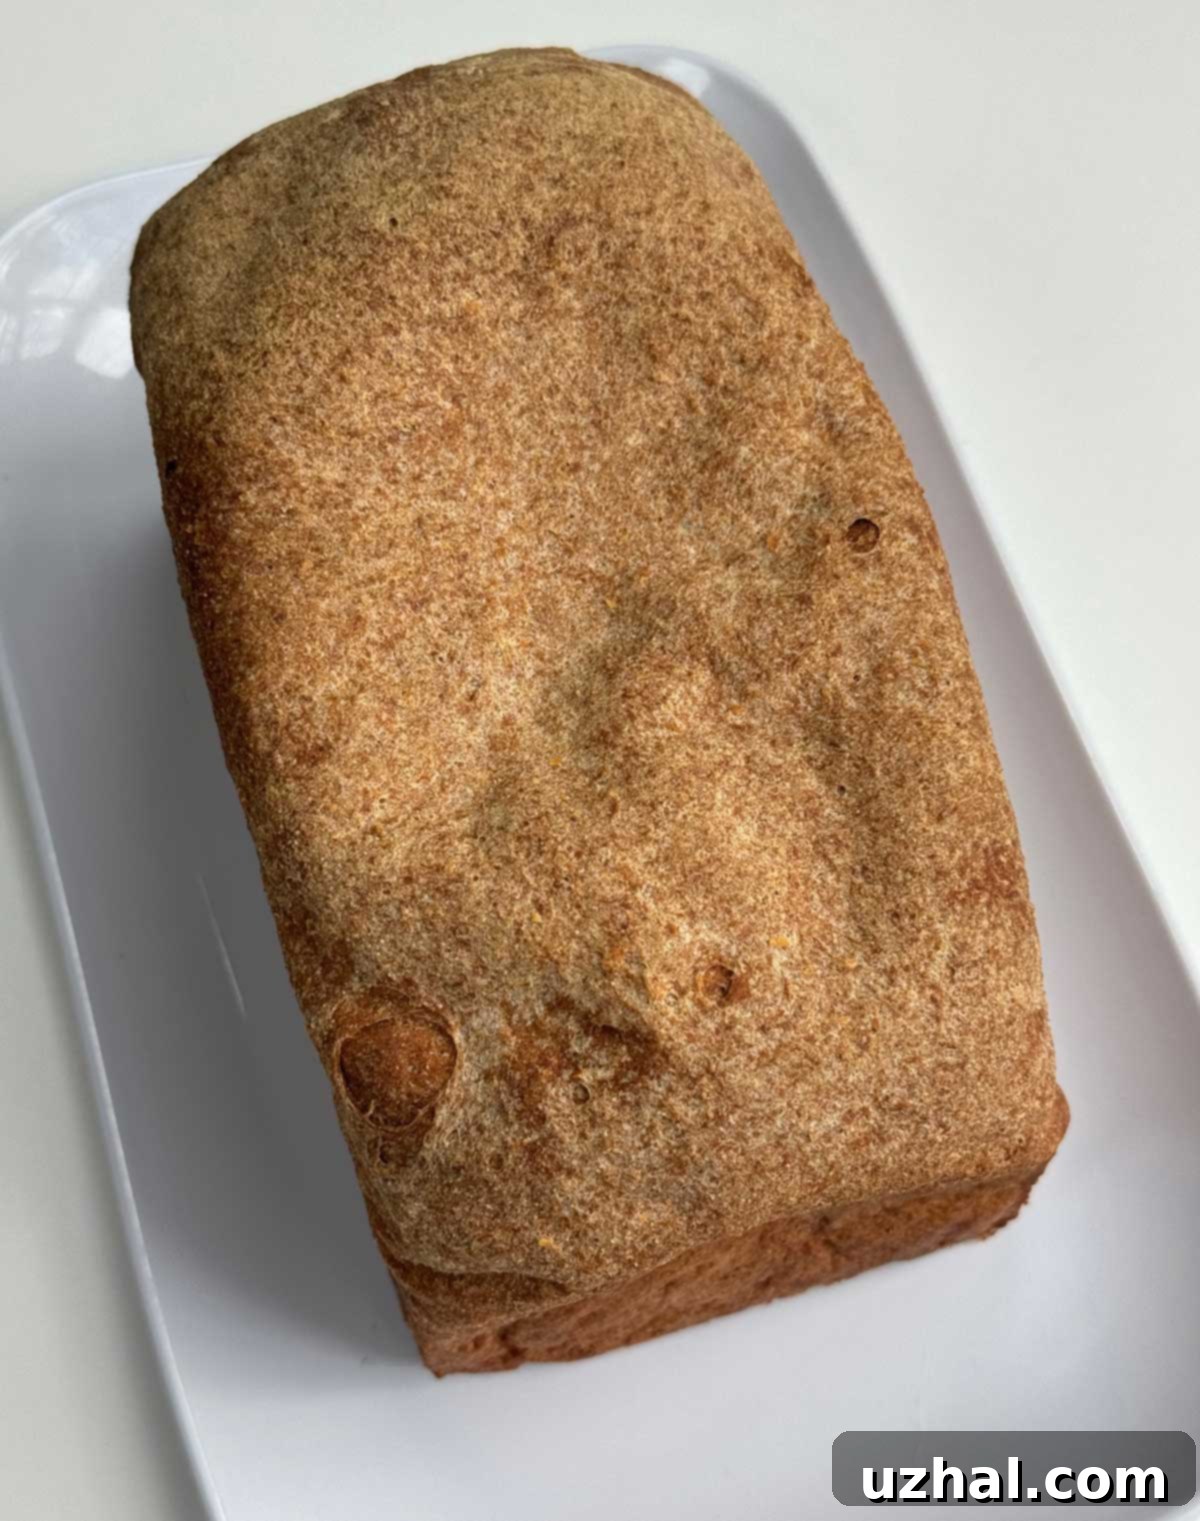
Baking Perfection: Achieving the Ideal Texture for Gluten-Free Whole Grain Bread
Baking this gluten-free whole grain bread requires a generous commitment of time in the oven—approximately 70 minutes. While this might seem like a lengthy duration compared to some traditional bread recipes, it is a critical step for gluten-free doughs like this one (and similar recipes such as sorghum bread). The extended baking time serves a crucial purpose: to thoroughly remove excess moisture from the bread. Gluten-free flours and binders, particularly psyllium, absorb and retain a significant amount of water, which can result in a gummy texture if not properly dried out during baking. This long, slow bake ensures a fully cooked interior and a desirable, firm crumb.
Upon initial removal from the oven, the bread will still feel quite soft. However, as it gradually cools, its structure will firm up considerably. For optimal slicing and a more robust texture, it’s often beneficial to let the bread cool completely, and even store it in the refrigerator for a day. This resting period allows the internal moisture to redistribute and the starches to fully set, resulting in a loaf that is easier to handle and slice cleanly. While you can certainly enjoy a warm slice right away, many find that the flavor and texture of this bread improve slightly with age, becoming more developed and pleasant. After the first day, a practical tip is to slice the entire loaf and freeze half of it. This ensures you always have a fresh supply of delicious, homemade gluten-free bread on hand, ready for toasting or quick sandwiches.
Choosing the Right Pan: Pullman vs. Standard Loaf Pans for Gluten-Free Bread
The choice of baking pan significantly impacts the final shape and texture of this gluten-free whole grain bread. While it can certainly be baked in a standard 8 ½ by 4 ½ inch loaf pan, this recipe truly excels when prepared in a Pullman loaf pan. The unique design of a Pullman pan—its narrow base and exceptionally high, straight sides—provides crucial support for gluten-free dough, which often lacks the structural integrity of its gluten-containing counterparts. As this dough rises high and then tends to slightly sink during baking, the Pullman pan helps to contain and encourage an even, vertical rise, resulting in a beautifully uniform, square-shaped loaf.
When baked in a regular 8 ½ by 4 ½ inch loaf pan, you will still achieve a delicious bread, but it will likely be somewhat denser and shorter. The absence of the high-sided support means the dough might spread outwards slightly more before setting, leading to a less airy crumb and a more rounded top. The Pullman’s dimensions are specifically designed to yield a perfectly square slice, ideal for sandwiches or uniform toast.
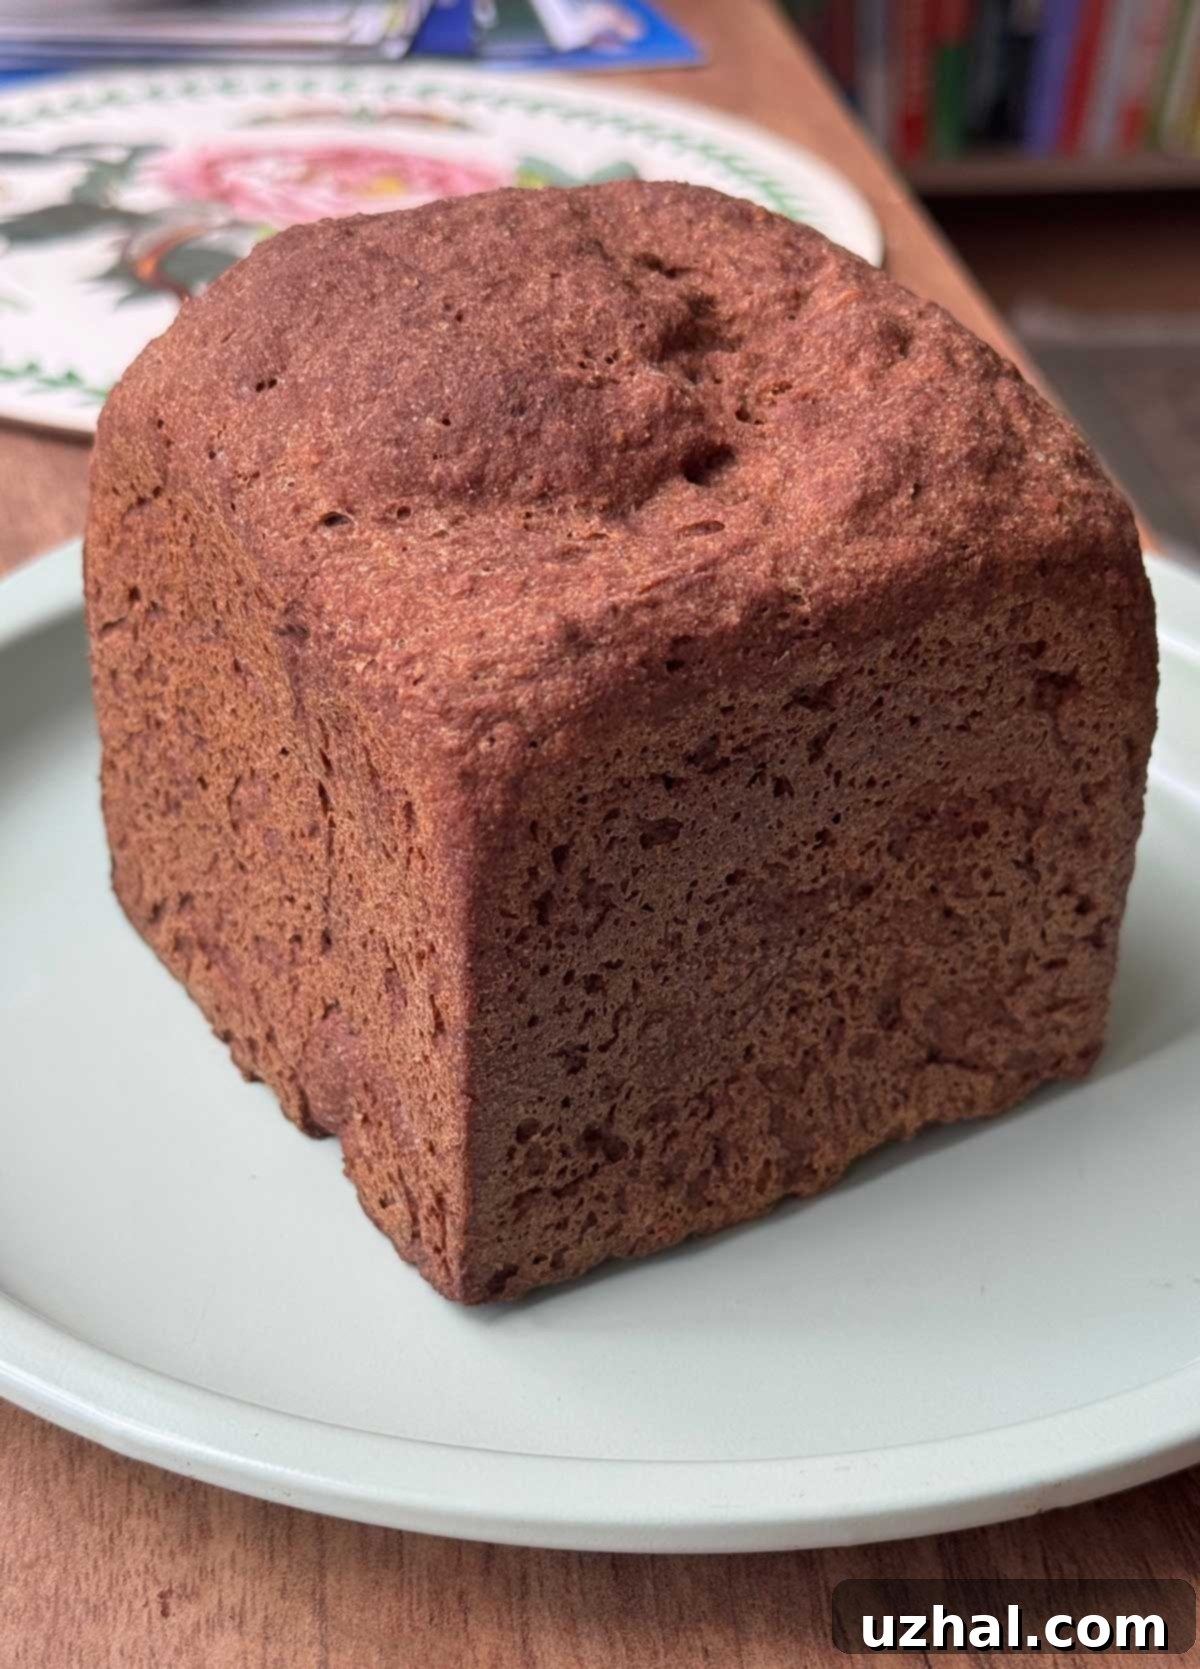
I personally own two Pullman pans: a standard size one from Chefmade for full-sized loaves and an adorable cubical Pullman for making sample or mini loaves. Both feature excellent nonstick coatings, which perform best when hand-washed to preserve their integrity. However, if a Pullman pan isn’t part of your kitchen arsenal, rest assured that an 8 ½ by 4 ½ inch pan will still produce a wonderful, albeit slightly different, loaf. The key is to embrace the characteristics each pan imparts on your homemade gluten-free masterpiece.
Baking your own gluten-free whole grain bread is a truly rewarding experience, offering superior flavor, texture, and nutritional value compared to many store-bought options. With a little preparation and adherence to these guidelines, you’ll be enjoying fresh, wholesome bread in no time.
- Gluten-Free Raisin Bread
- Cottage Cheese Bread
- Easy Gluten-Free Dutch Oven Bread
- Sweet Potato Yeast Bread
- Food Processor Pound Cake in a Pullman
Recipe
Gluten-Free Whole Grain Bread For Pullman
Anna
Pin Recipe
Ingredients
- 2 ⅔ cup gluten-free flax blend from above (12.8 oz/358 grams)
- 2 tablespoons psyllium powder (20 grams)
- 1 ¾ teaspoons instant yeast
- 2 ½ tablespoons granulated sugar (30 grams)
- 1 teaspoon salt
- 1 ½ teaspoons baking powder
- 1 ½ cups water (12 oz)
- 1 large egg
- 1 large egg white OR 2 tablespoons beaten egg
- 1 tablespoon unsalted butter, very soft but not melted (14 grams)
Instructions
-
Heat the oven to 200 degrees and then turn it off. The goal is to create a very warm proofing box. You don’t have to do this, but it sometimes speeds things up.
-
In the bowl of a stand mixer, combine the gluten-free flax blend, psyllium powder, instant yeast, sugar, baking powder and salt. Stir until blended.
-
Heat the water in the microwave for about a minute and a half or just boiling, and let it cool down to 125 degrees F.
-
Add the 12 oz of 125 degree water to the flour mixture and stir just until moistened, then add the egg, egg white and the butter. Using the paddle attachment, beat on medium speed for about 3 minutes. The dough should clear the sides of the bowl and form a mass on the paddle. If it sticks to the side of the bowl, just scrape it off. It should still be slightly moist, but dry enough so that you can scrape it onto a mat and bounce it a little.
-
Scrape onto a pastry mat (you may or may not need a tiny bit of flour, I never do) and press down. Fold over on itself once or twice and shape into a compact loaf. Transfer to a greased Pullman pan.
-
Cover with greased plastic wrap, then put in the warm oven (make sure you turned it off) for 20 minutes. Remove from oven and let rise for another 20 minutes or until loaf has risen to the top of the Pullman. Meanwhile, preheat oven to 350 degrees F.
-
Bake risen loaf at 350 degrees F. for about 70 minutes. Turn off the oven. Let cool slightly and carefully remove the loaf from the pan. At this point, if it feels kind of heavy (which is usually will), let it sit in the oven with the door closed to further dry out the crumb for about 20 minutes. Remove from the oven and let cool completely.
-
The loaf might seem heavy at first, but as it stands and cools it will tend to solidify more. Once cool, you should be able to slice it. It should be firm enough to hold light sandwich fillings only, but it’s mostly best for toast.
Nutrition
