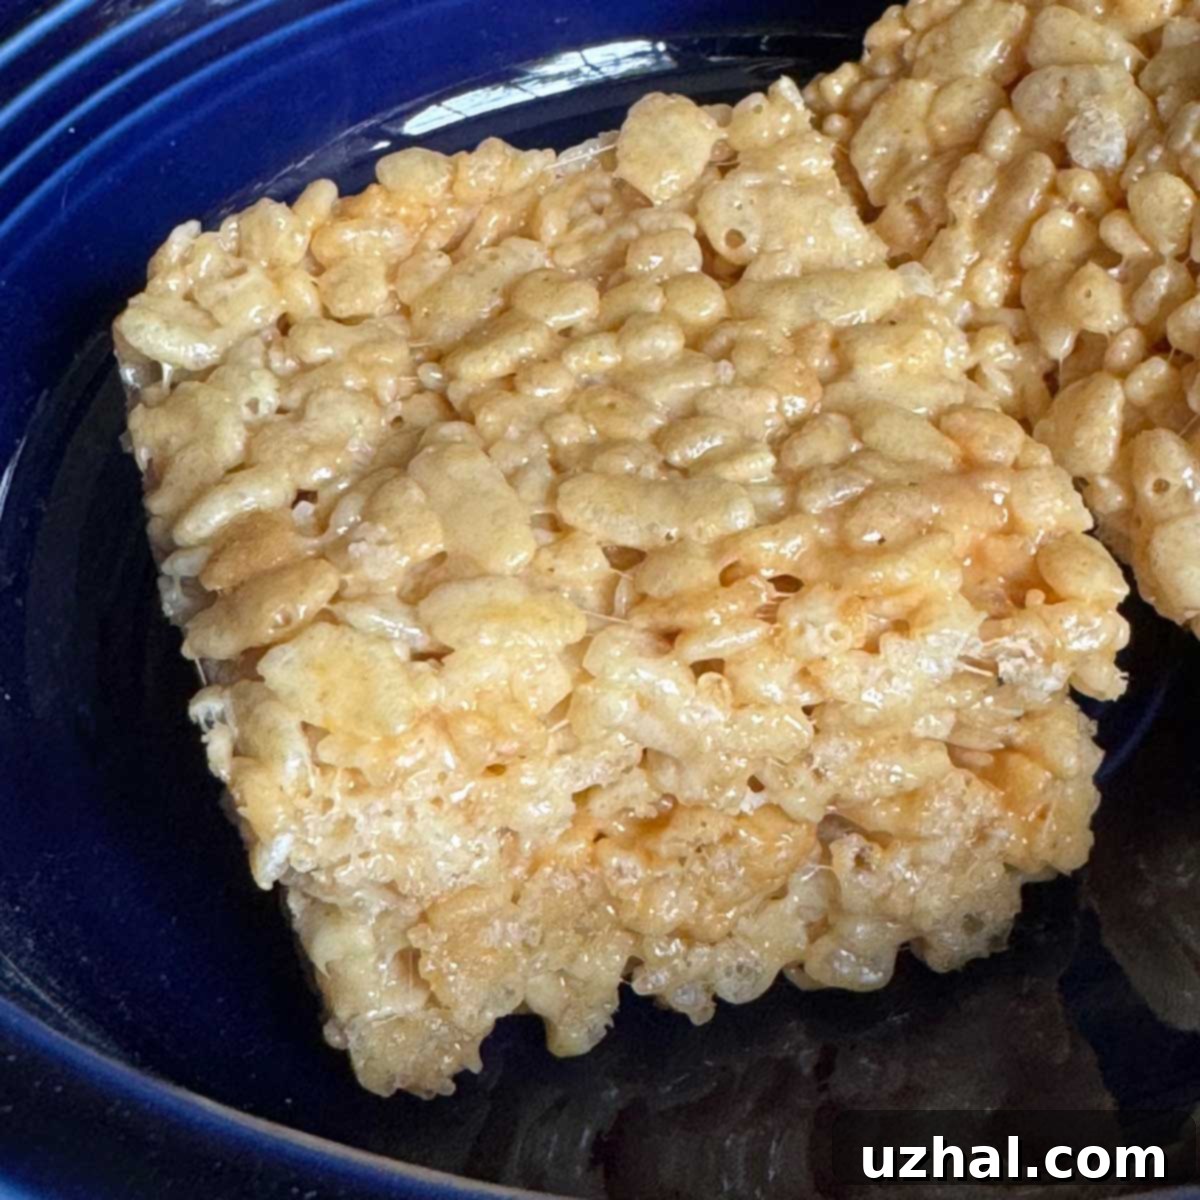
Rediscover the Golden Era: Unearthing the Authentic 80s Rice Krispies Treats Recipe
Have you ever taken a bite of a seemingly classic treat and felt like something was… off? That familiar flavor, the perfect chewiness, the nostalgic aroma – they just weren’t quite the same. If you’ve suspected that the beloved Rice Krispies Treats recipe has subtly shifted over the decades, your intuition serves you well. This isn’t merely a trick of memory or a rose-tinted view of childhood favorites; the truth is, the recipe printed on the side of the cereal box today is indeed different from the one many of us grew up with.
My personal journey into this culinary detective work began with a cherished cookbook from the early 1980s. While that specific red-covered gem has sadly gone missing (along with a yellow counterpart that once held my old favorite bagel recipe!), the knowledge it imparted about authentic marshmallow treats remains. It was in those dog-eared pages that the true secret to the ultimate Rice Krispies Treat was preserved, a secret that many modern recipes have inadvertently strayed from. And let me tell you, rediscovering it has been an absolute game-changer for my taste buds and for anyone who longs for that genuine, old-school flavor. Join me as we delve into the delicious details and bring back the original magic.
The Great Recipe Debate: Old School vs. Modern Marshmallow Treats
The subtle changes in the official Rice Krispies Marshmallow Treats recipe, while seemingly minor on paper, result in a remarkably different end product. The original recipe, as found in my treasured 80s cookbook, called for a generous 4 tablespoons of butter paired with 5 cups of Rice Krispies cereal. Fast forward to today, and you’ll find the contemporary version on the box has reduced the butter to 3 tablespoons and increased the cereal to 6 cups. This isn’t just a slight tweak in proportions; it’s a fundamental shift that alters the very essence of the treat, impacting its texture, flavor, and overall nostalgic appeal.
The extra tablespoon of butter in the old recipe does wonders that cannot be overstated. Butter, beyond just acting as a binder, infuses the treats with a rich, creamy flavor and contributes significantly to their signature chewiness. It creates a more tender, pliable treat that truly melts in your mouth rather than crumbling or feeling overly dry. The increased cereal in the newer recipe, combined with less butter, leads to a drier, more brittle, and less decadent square. While still enjoyable in its own right, it simply lacks the luxurious mouthfeel and deep, satisfying flavor profile that made the 80s version so iconic. For me, the difference is not just noticeable; it’s profoundly impactful – a clear distinction between a good treat and a truly unforgettable one.
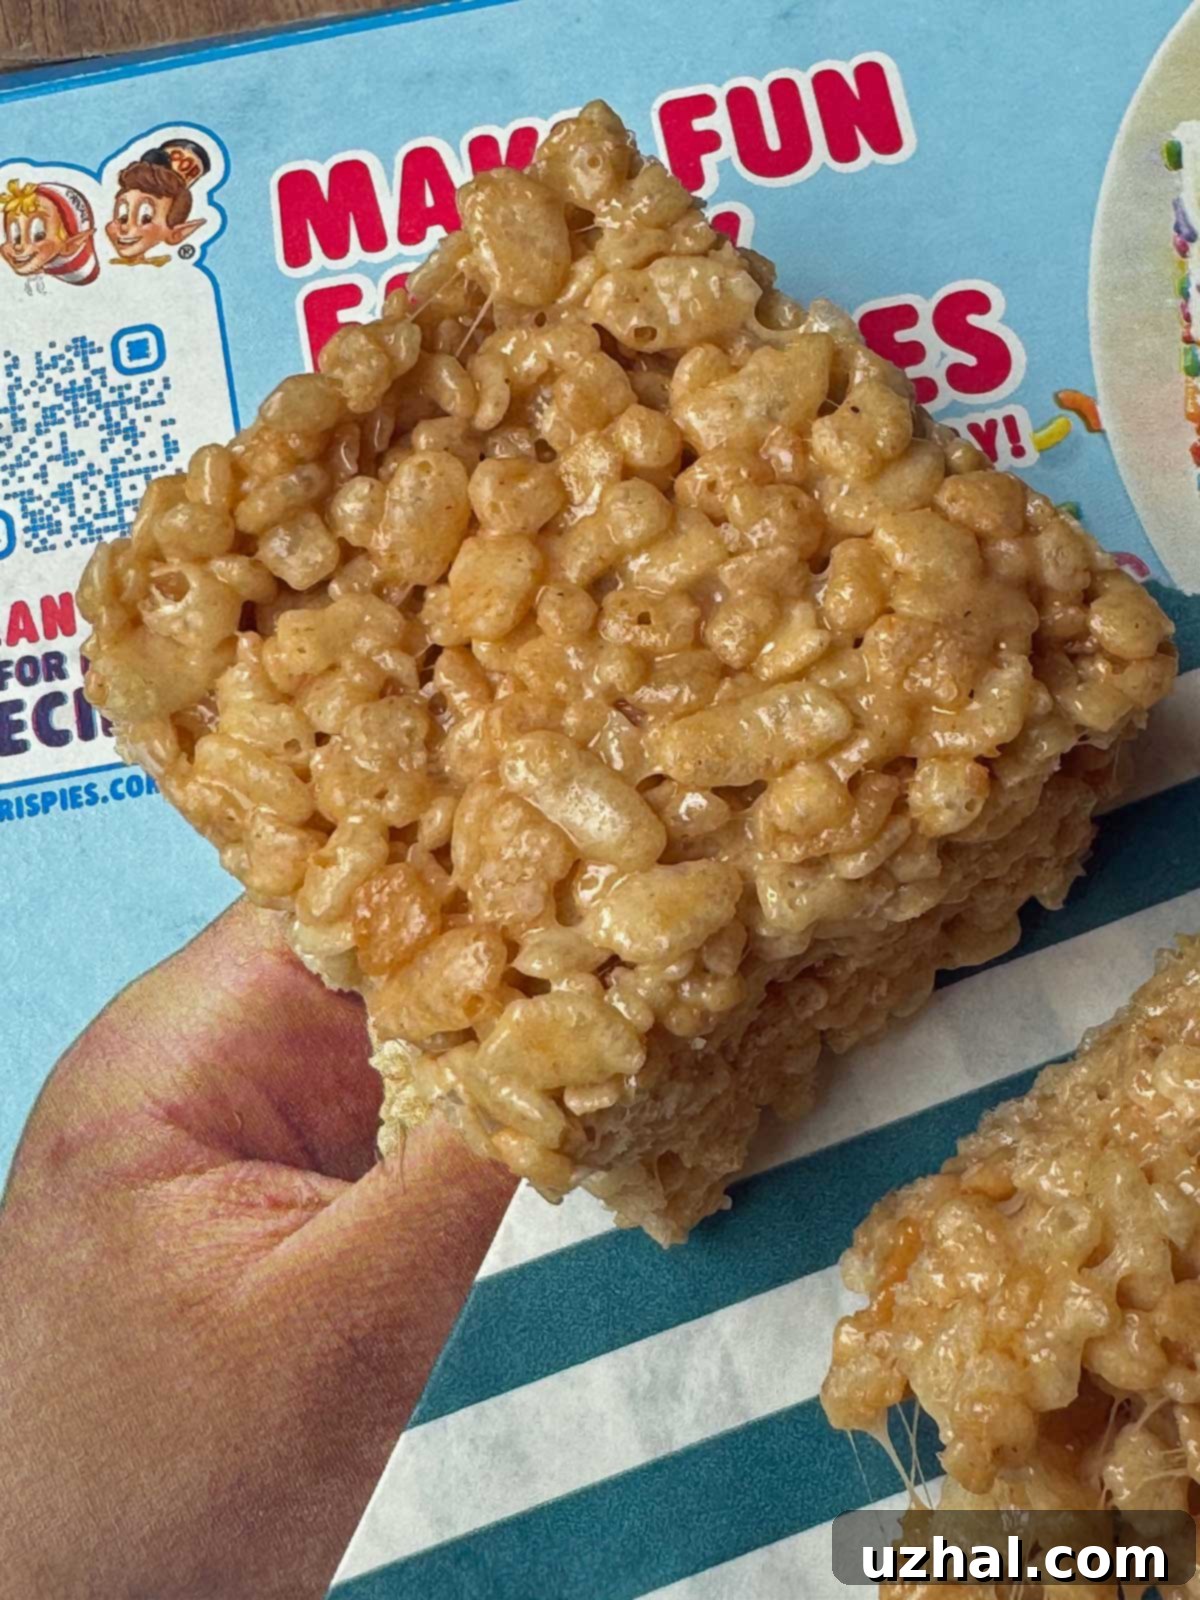
The likely reasons behind these changes are varied, ranging from cost-cutting measures to perceived health trends and the desire for a lighter product. However, for those of us who grew up with the original, these modifications diminish the very qualities that made Rice Krispies Treats so special. That’s why, from this point forward, I am firmly committed to the higher-butter, lower-cereal ratio of the vintage recipe. In fact, for an extra layer of gourmet flavor and sophistication, I often take it a step further by browning the butter – a simple technique that elevates these humble treats into something truly extraordinary. The image you see here is a new photograph, actually featuring a hand from the back of an old Rice Krispies box, perfectly capturing that quintessential moment of delight.
The Authentic Marshmallow Krispies Recipe from the 1980s: A Step-by-Step Revival
Bringing back the glorious flavors of yesteryear starts with the right ingredients and precise technique. Here’s the classic 80s recipe that consistently delivers that perfect balance of chewy, buttery, and perfectly sweet. Prepare to indulge in nostalgia with every bite!
Ingredients for the Classic 80s Marshmallow Treats:
- 4 tablespoons butter (salted): For optimal flavor, I recommend salted butter as it beautifully balances the sweetness of the marshmallows. If you opt for unsalted butter, simply add a generous pinch (about ¼ teaspoon) of fine sea salt when the butter is melted. The salt is crucial; it acts as a flavor enhancer, preventing the treats from being overly sweet and adding a subtle depth.
- 1 (10 oz) package large marshmallows or 4 cups of small marshmallows: While the original recipe might have specified a certain size, either works perfectly. A standard 10 oz bag of large marshmallows typically equates to about 40 large marshmallows or roughly 4 cups when using mini marshmallows. The key is to ensure consistent measurement for the ideal binder-to-cereal ratio, ensuring your treats aren’t too dry or too sticky.
- ¼ cup peanut butter (optional): For those who adore that extra layer of nutty goodness, peanut butter adds a delightful depth of flavor and contributes to a slightly chewier, more substantial texture. If you’re including it, opt for creamy peanut butter for the smoothest integration into the marshmallow mixture.
- 5 cups Rice Krispies cereal: This is the golden number and arguably the most crucial measurement. Resist the urge to add more! The 5-cup ratio ensures maximum marshmallow coating on every single rice krispy, yielding that desirable soft, chewy, and perfectly cohesive consistency that defined the classic treat.
Before you even think about melting butter, ensure your pan is perfectly ready. I highly recommend an 8-inch square metal pan for these treats. While I’ve experimented with 9-inch square or even 13×9-inch pans in the past, I’ve consistently found that the 8-inch pan creates delightfully tall, thick, and satisfyingly chewy treats. If you prefer thinner squares, a 9-inch square pan is a good alternative, but for that truly indulgent, old-school experience where every bite is a substantial marshmallowy dream, stick with the 8-inch. The added depth allows for a better chew and a more substantial feel in every square.
Now, let’s talk technique, particularly the art of browning butter. To prevent the notorious sticking of the marshmallow mixture, generously rub the inside of a large, heavy-bottomed saucepan or Dutch oven with a little extra butter. Place it over medium heat. Add your 4 tablespoons of butter (or unsalted butter with salt). Allow the butter to melt completely, then continue to cook it gently. This is where the magic of brown butter (or beurre noisette) can begin! Watch it closely as it transitions from clear to foamy, then to a beautiful golden brown, emitting a rich, nutty aroma. The milk solids in the butter will sink to the bottom and toast, releasing an incredible depth of flavor that complements the sweetness of the marshmallows beautifully. This process happens quickly, so remain attentive. If you notice it browning too fast, immediately remove the pan from the heat and swirl it to distribute the heat, then return it to a much lower heat setting. Burnt butter will impart a bitter, unpleasant taste, so always err on the side of caution and visual vigilance.
Once your butter is perfectly melted and optionally browned to your liking, reduce the heat to low. Add your marshmallows to the pan. Stir them continuously with a sturdy silicone spatula until they are fully melted and completely smooth. Patience is key here; keeping the heat low and stirring constantly prevents scorching and ensures a silky, uniform marshmallow cream. Once a luscious, uniform marshmallow mixture is achieved, quickly stir in the optional peanut butter until thoroughly combined and evenly distributed. Finally, add your precisely measured 5 cups of Rice Krispies cereal. Fold the cereal into the marshmallow mixture until every single flake is evenly coated. Work quickly but gently to avoid crushing the cereal, which can lead to a less desirable texture.
Promptly transfer the warm, sticky mixture into your prepared 8-inch pan. Using a buttered spatula or a piece of wax paper, gently press the mixture evenly into the pan. This “gentle” part is critical – avoid compacting it too much, as this can make the finished treats hard and dense rather than perfectly chewy. A light, even press is all that’s needed to set the shape and ensure that ideal soft yet firm texture. Allow the treats to cool completely at room temperature – this is an essential step for them to set properly and achieve their full structural integrity. Rushing this process can result in a messier, less satisfying treat. Once firm, lift the entire slab out of the pan, place it on a clean cutting board, and score it into generous, giant-sized squares, just like they used to be! These are not meager portions; these are proper, indulgent squares that evoke pure childhood joy.
Recipe
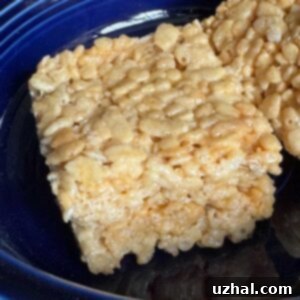
Old School Marshmallow Krispies Treats
Anna
Pin Recipe
Ingredients
- 4 tablespoons butter
- 4 cups mini marshmallows (280 grams, equivalent to 1 (10oz) package large marshmallows)
- ¼ cup peanut butter (optional)
- 5 cups Rice Krispies cereal
Instructions
-
Have ready an 8-inch square metal pan. In the past I’ve used a 9-inch or 13×9-inch, but I like the look of tall krispie treats, so these days I prefer an 8-inch pan for a chewier, thicker square.
-
Rub a large saucepan or Dutch oven with butter to prevent sticking. Set over medium heat and melt the butter completely until it just starts to brown. This process will happen at a different rate depending on your stove’s heat. If it starts browning quickly, remove from heat, swirl the pan to cool slightly, and then return the butter to a very much reduced heat setting. Be careful not to burn it, as burnt butter will taste bitter.
-
Stir in the marshmallows and reduce heat to low. Continue to stir marshmallows until they are fully melted and form a smooth, uniform mixture. When melted, add the peanut butter (if using) and cereal, stirring quickly and thoroughly until all the cereal is evenly coated.
-
Transfer the mixture to your prepared 8-inch pan. Using a buttered spatula or wax paper, gently press the mixture evenly into the pan. Avoid compacting it too much to ensure a soft, chewy texture. Let the treats cool completely at room temperature. Once firm, lift them out of the pan, place the slab on a cutting board, and score into giant-sized squares for that authentic old-school feel.
Tips for Perfect Old-School Rice Krispies Treats Every Time
Achieving that perfectly chewy, irresistible Rice Krispies Treat isn’t hard, but a few additional pointers can significantly elevate your baking game and ensure consistent success with this classic dessert.
Troubleshooting Common Issues:
- Treats are too hard: This is a common complaint and usually stems from one of two reasons. Either the marshmallows were cooked over too high heat, causing them to become brittle and sugary, or the mixture was pressed too firmly into the pan. Remember, gentle pressing is key to maintaining that soft, pliable texture.
- Treats are too sticky: If your treats are excessively sticky, it might be due to not enough butter, too much marshmallow relative to the cereal, or insufficient cooling time. Ensure your measurements are accurate, and allow them to cool completely before handling. Humidity can also play a small role, so store them in an airtight container once set.
- Lacking flavor: Don’t skip the salt if using unsalted butter! It truly enhances the sweetness and butteriness, creating a more balanced and appealing flavor profile. And of course, browning the butter adds an unparalleled nutty depth that transforms the entire treat.
- Uneven coating: To ensure every single rice krispy is perfectly coated, make sure your marshmallows are fully melted and perfectly smooth before adding the cereal. Stir quickly and thoroughly to coat every flake before the mixture starts to cool and set.
Fun Variations & Serving Suggestions:
While the authentic 80s recipe is pure perfection on its own, don’t hesitate to get creative once you’ve mastered the basic technique. These delicious twists can add new dimensions to your marshmallow treats:
- Vanilla Boost: For an extra layer of aromatic sweetness, stir in 1 teaspoon of pure vanilla extract with the marshmallows just before adding the cereal. It truly enhances the overall flavor profile.
- Chocolate Drizzle: Elevate your treats by melting some chocolate chips (milk, dark, or white chocolate all work beautifully) and drizzling it generously over the cooled treats before cutting. A sprinkle of sea salt on top of the chocolate can be a delightful addition.
- Sprinkle Party: For a festive and fun touch, fold in colorful sprinkles with the cereal, or press them onto the top of the mixture while it’s still warm and pliable in the pan.
- Different Cereals: While Rice Krispies are traditional, this method works beautifully with other cereals too! Experiment with Chex cereal for a different texture, Froot Loops for a fruity twist, or even Golden Grahams for a delightful S’mores-like flavor.
- Nut Butter Bonanza: If you’re a fan of the peanut butter variation, consider experimenting with other nut butters like almond butter or cashew butter for different nutty profiles. Just ensure they are smooth and creamy for best results.
Storage Tips:
To keep your old-school Rice Krispies Treats fresh and perfectly chewy, it’s crucial how you store them. Place them in an airtight container at room temperature. They will maintain their ideal texture and flavor for up to 3-4 days. It is generally advised to avoid refrigeration, as the cold can cause them to harden and lose their desirable chewiness, making them less enjoyable. For longer storage, you can freeze them for up to 6 weeks. When ready to enjoy, simply thaw them at room temperature before serving, and they’ll be as good as new.
The quest for the perfect Rice Krispies Treat is a journey many of us embark on, often fueled by fond childhood memories and a longing for simpler, sweeter times. By embracing this authentic 80s recipe, with its generous butter content and ideal cereal ratio, you’re not just making a dessert; you’re recreating a cherished piece of culinary history. It’s a reminder that sometimes, the old ways are truly the best ways, especially when it comes to comfort food. So go ahead, gather your ingredients, whip up a batch, and prepare to be transported back to a time when treats were simple, decadent, and utterly unforgettable. Your taste buds (and your inner child) will undoubtedly thank you for this delightful trip down memory lane!
