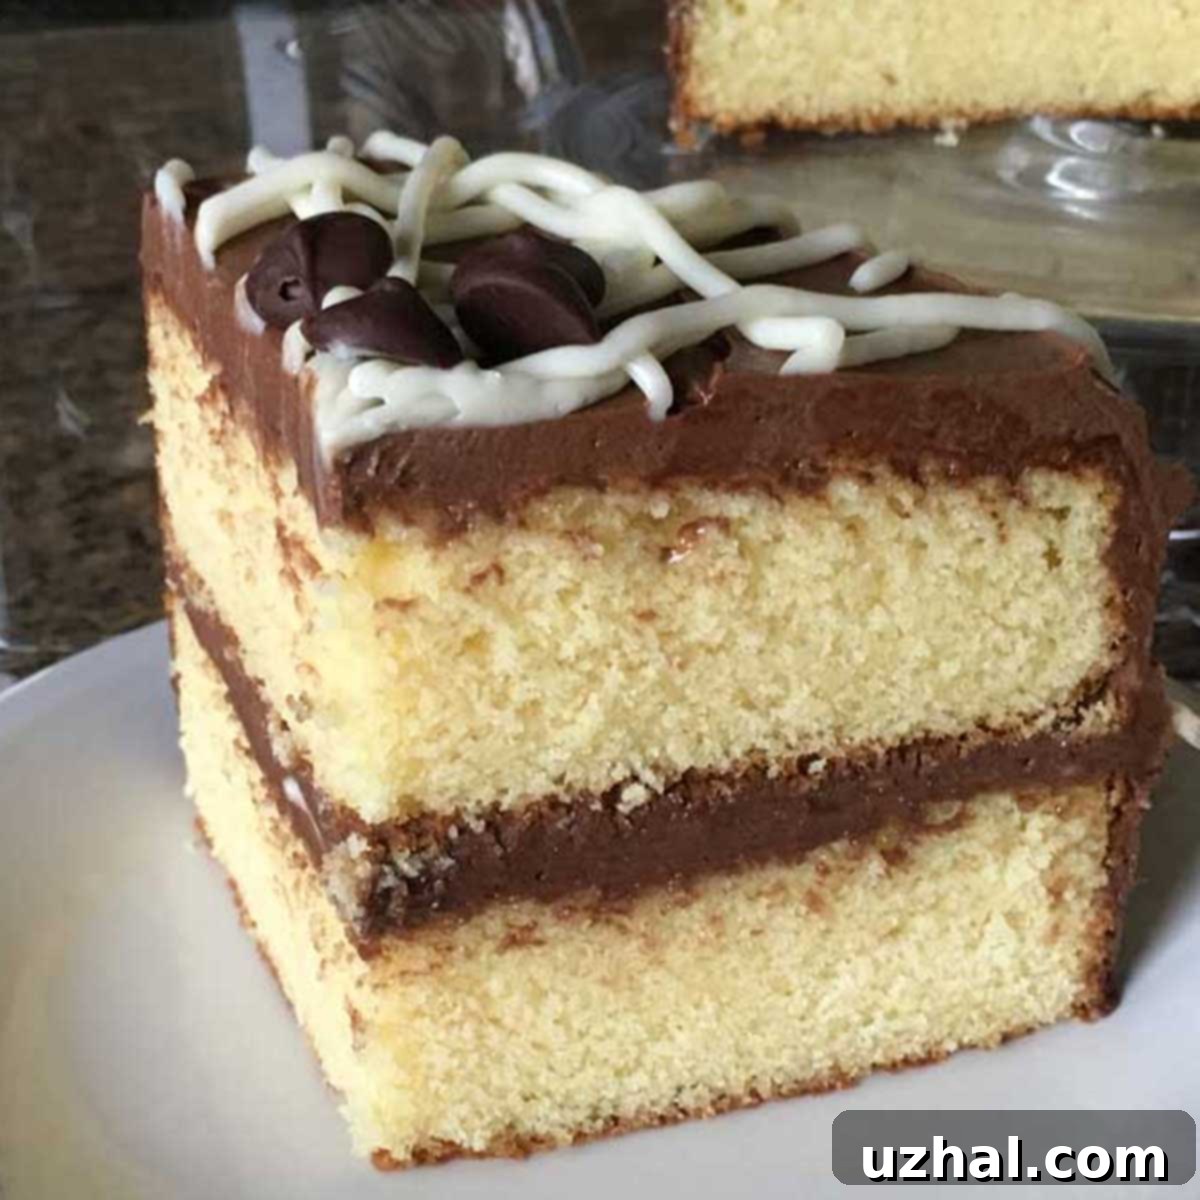
The Ultimate Rich Yellow Cake: A Decadent Recipe with Silky Chocolate Frosting
Every baker dreams of a yellow cake that’s not just good, but truly extraordinary. A cake that is so moist, so flavorful, and so utterly rich that it becomes an instant classic in their repertoire. This particular recipe for a very delicious and rich yellow cake with chocolate frosting is exactly that—a true standout. It’s a recipe I first made while rigorously testing multiple yellow cake variations, searching for perfection, and let me tell you, this one exceeded all expectations.
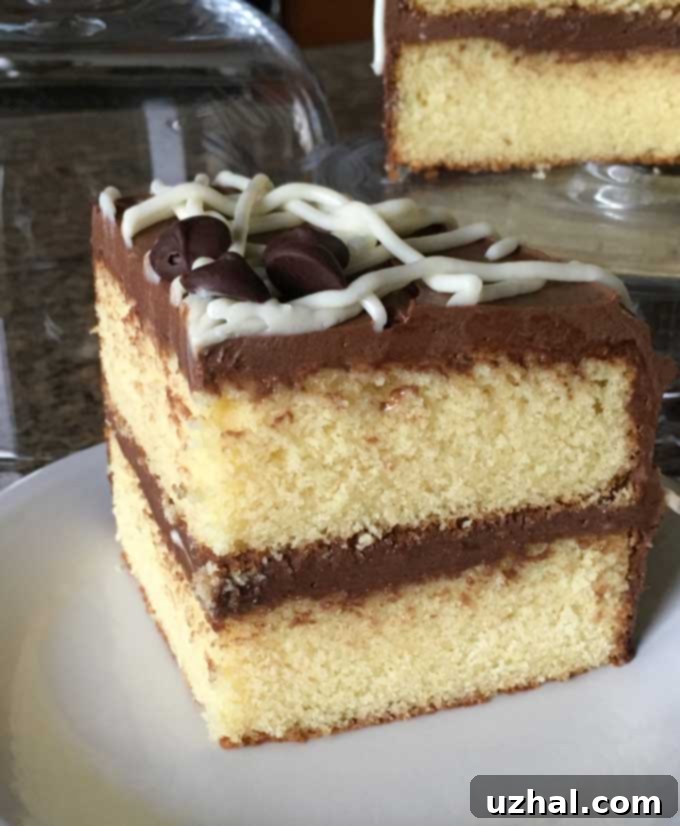
My journey to find the “perfect” yellow cake was an extensive one. This recipe was the sixth yellow cake I rigorously tested, a testament to the dedication required in the pursuit of baking excellence. What immediately piqued my interest, beyond the fact that it came highly recommended by my friend Rina—a truly fabulous baker renowned for her incredible cupcakes—was the astonishing amount of butter it called for. A whopping 2 ½ sticks, or 10 ounces! I was incredibly curious to see how a cake made with such a generous quantity of butter would compare in flavor, texture, and overall richness to the five other recipes I had already tried.
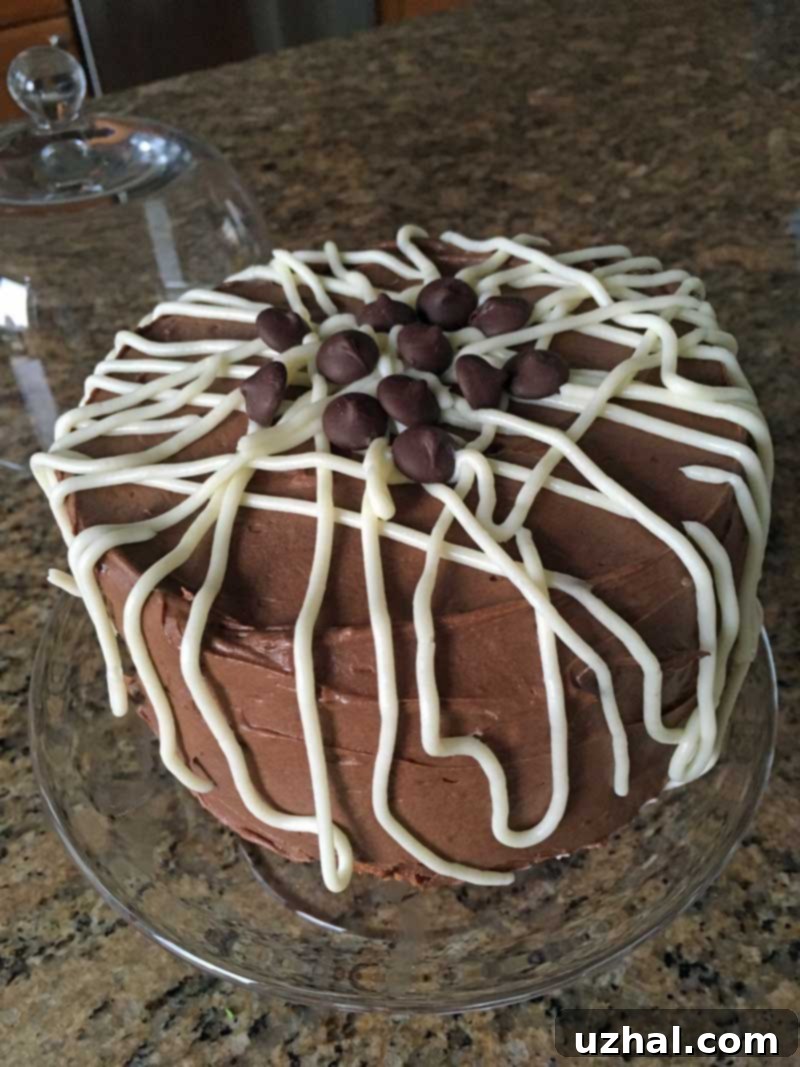
The Inspiration: “Egg Beater” and My Adaptation
This remarkable recipe originated from a blog called Egg Beater. While I paraphrased the directions quite heavily to fit my style and preferences, the core genius of the original recipe shines through. I encourage you to click on the link to Egg Beater for more detailed insights and the original author’s specific nuances about baking her cake. My adaptation, however, yielded consistently excellent results. The cake boasts an incredibly pronounced and delightful butter flavor, a testament to its rich ingredient list. I am fairly certain that anyone who enjoys truly rich and indulgent desserts will fall head over heels for this recipe. It is, unequivocally, a rich cake that delivers on its promise of decadence.
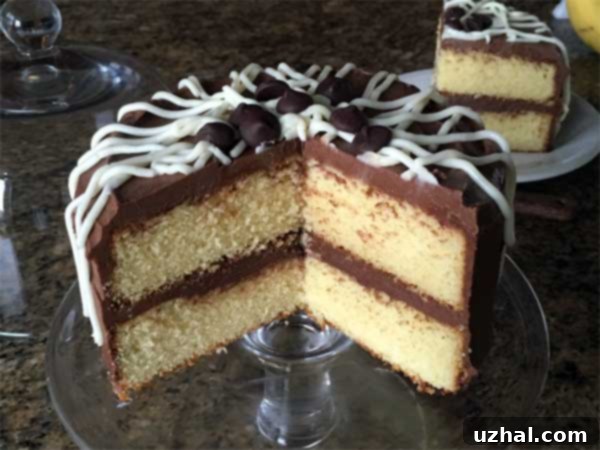
Yellow Cake Texture: A Testament to Moistness
Did I mention just how wonderfully moist this cake is? Its texture is truly one of its most remarkable features. When you gently pinch off a piece with your fingers, it doesn’t crumble apart; instead, it holds together in a soft, slick clump, indicating its incredible moisture content. While it might not slice as perfectly neatly as some lighter, drier cakes, this characteristic is actually a huge advantage, especially if you’re planning to make cupcakes. For cupcakes, moisture is paramount. Small by nature, cupcakes tend to dry out quickly, but this recipe ensures each bite is a moist, cohesive experience. When you bite into one, it’s a delightful bonus if it sticks together rather than falling apart, making it the perfect candidate for a truly satisfying cupcake. So, for both cakes and cupcakes, this recipe is a definite winner.
The secret to this exceptional texture lies in the high fat content, primarily from the generous amount of butter and the inclusion of extra egg yolks. These elements contribute to a tender crumb that melts in your mouth, leaving a rich, buttery aftertaste. Unlike many yellow cakes that can lean towards being dry or crumbly, this recipe delivers a consistently moist and luxurious experience, making it a favorite for those who appreciate a truly substantial and flavorful dessert.
Crafting Your Rich Yellow Cake: Essential Baking Tips
Achieving this level of richness and moistness isn’t just about the ingredients; it’s also about the technique. Here are a few essential tips to ensure your rich yellow cake turns out perfectly every time:
- Room Temperature Ingredients: This is crucial, especially for the butter, eggs, and milk. Room temperature ingredients emulsify better, creating a smoother, more uniform batter that traps air efficiently, resulting in a lighter and more tender cake.
- Sifting Flour: Don’t skip the sifting step, especially if your flour tends to clump. Sifting not only removes lumps but also aerates the flour, contributing to a lighter cake texture.
- Creaming Butter and Sugar: This step is vital for incorporating air into the batter. Beat the butter and sugar until very light and fluffy. This process can take several minutes (up to 5-7 minutes at medium-high speed), so be patient. The mixture should almost double in volume and lighten in color.
- Gradual Egg Addition: Add the egg and yolk mixture gradually, ensuring each addition is fully incorporated before adding more. This prevents the batter from curdling and helps maintain its smooth emulsion.
- Alternating Dry and Wet: When adding the flour and milk mixtures, do so alternately, starting and ending with flour. This method helps to create a uniform batter without overmixing, which can lead to a tough cake. Mix only until just combined.
- Don’t Overbake: Overbaking is the enemy of a moist cake. Start checking for doneness at the earlier end of the suggested bake time (around 18-20 minutes for this recipe). A wooden skewer inserted into the center should come out clean, and the cake should spring back slightly when lightly touched.
More Baking Inspiration: Beyond This Rich Yellow Cake
While this cake is truly exceptional, it’s quite a project, especially if you’re new to scratch baking, or perhaps you’re looking for something with a slightly different profile—fewer than 7 eggs or less than half a pound of butter? No problem! There are many fantastic options out there, each offering its own unique charm.
- Large Yellow Cupcakes
- Yellow Cake with Chocolate Sour Cream Frosting
- Buttermilk Marble Cake
- Magnolia Bakery Yellow Cake
Recipe: Decadent Yellow Cake with Silky Chocolate Buttercream
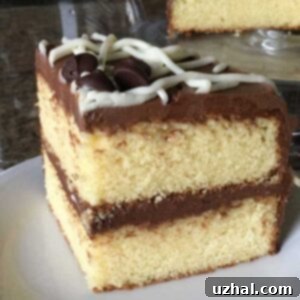
Last of the Yellow Cakes – Rich Yellow Cake
Anna
Pin Recipe
Ingredients
- 2 ½ cups sifted all purpose flour (300 grams)
- 2 teaspoons baking powder
- ½ teaspoon Kosher salt (Morton brand or table)
- 20 tablespoons unsalted butter, room temperature (280 grams)
- 2 cups granulated sugar (390 grams)
- 3 large eggs room temp
- 4 large yolks room temp
- ¾ cup whole milk, room temperature (170 grams)
- 1 tablespoon vanilla
Easy Chocolate Buttercream
- ¾ cup granulated sugar (150 grams)
- ¼ cup all purpose flour (30 grams)
- 3 tablespoon unsweetened cocoa (15 grams)
- 1 cup milk (230 grams)
- 1 cup butter (230 grams)
- 2 teaspoons vanilla extract
- 6 oz bittersweet chocolate melted and cooled
Instructions
-
Preheat oven to 350 degrees F. Grease and flour two 9×2 inch round cake pans.
-
Start by sifting the flour (if you haven’t already) and sifting it again with the baking powder. Whisk in the salt. Set aside.
-
Cream the butter in bowl of a stand mixer fitted with a paddle attachment. Add sugar and salt and continue beating until light, scraping bowl. Continue creaming for another 5 minutes at medium high speed.
-
Combine the eggs and yolks together in a separate bowl.
-
Combine the milk and vanilla in a measuring cup.
-
When the creamed mixture starts to look fluffy, add the egg/yolk mixture gradually, making sure mixture comes together fully after each addition. Scrape down bowl and continue mixing until uniform.
-
By hand or with very lowest speed of mixer, add the flour mixture and milk mixture alternately, beginning with flour and ending with flour so that you add dry, wet, dry, wet, dry. When all flour and liquid is incorporated and batter appears uniform, divide batter among the pans.
-
Bake at 350 degrees F until done. My cake was done in about 28 minutes, but all ovens are different so check at 18 min.Cake is done when middle bounces back and/or small sharp knife inserted in center comes out clean and sides pull away from pan.
Silky Chocolate Frosting
-
Off the heat, combine the sugar, flour and cocoa in a small saucepan. Gradually whisk in the milk.
-
Put the mixture over medium heat and cook, whisking constantly, until mixture thickens and boils. Reduce heat to low, cook 2 more minutes, whisking all the while. Remove saucepan from heat; cool completely. This should take 40 minutes to an hour. At this point, you might want to go ahead and melt your chocolate so it too will be cool.
-
In large bowl with mixer at medium speed, beat softened butter until creamy. Gradually beat in cooled milk mixture, vanilla and melted chocolate. Depending on the temperature of your ingredients, you’ll either have a beautiful frosting or a big goopy mess. Never fear! If what you’ve got is too goopy (this is usually due to ingredients being too warm), stick the whole mixing bowl in the refrigerator for another 40 minutes or until the mixture is thoroughly chilled. Remove it when chilled, put it on the stand mixer with the whisk attached, and beat until it lightens in color and fluffs up. Frost the cake.
More Delicious Desserts to Explore
- Large Yellow Cupcakes
- Rich Lemon Muffins
- Ultimate Yellow Cupcakes
- Dark Chocolate Brownie Cookies
- Rich Butterscotch Pecan Scones
This rich yellow cake is more than just a dessert; it’s an experience. Its moist, buttery crumb, combined with the decadent, silky chocolate buttercream, creates a harmonious flavor profile that is truly irresistible. Whether you’re baking for a special occasion or simply to treat yourself and your loved ones, this recipe promises to deliver a cake that will be remembered and requested for years to come. Dive into the world of rich, homemade yellow cake and discover your new favorite indulgence!
