Irresistible Chocolate & Peanut Butter Chip Bars: Your New Go-To No-Mixer Recipe
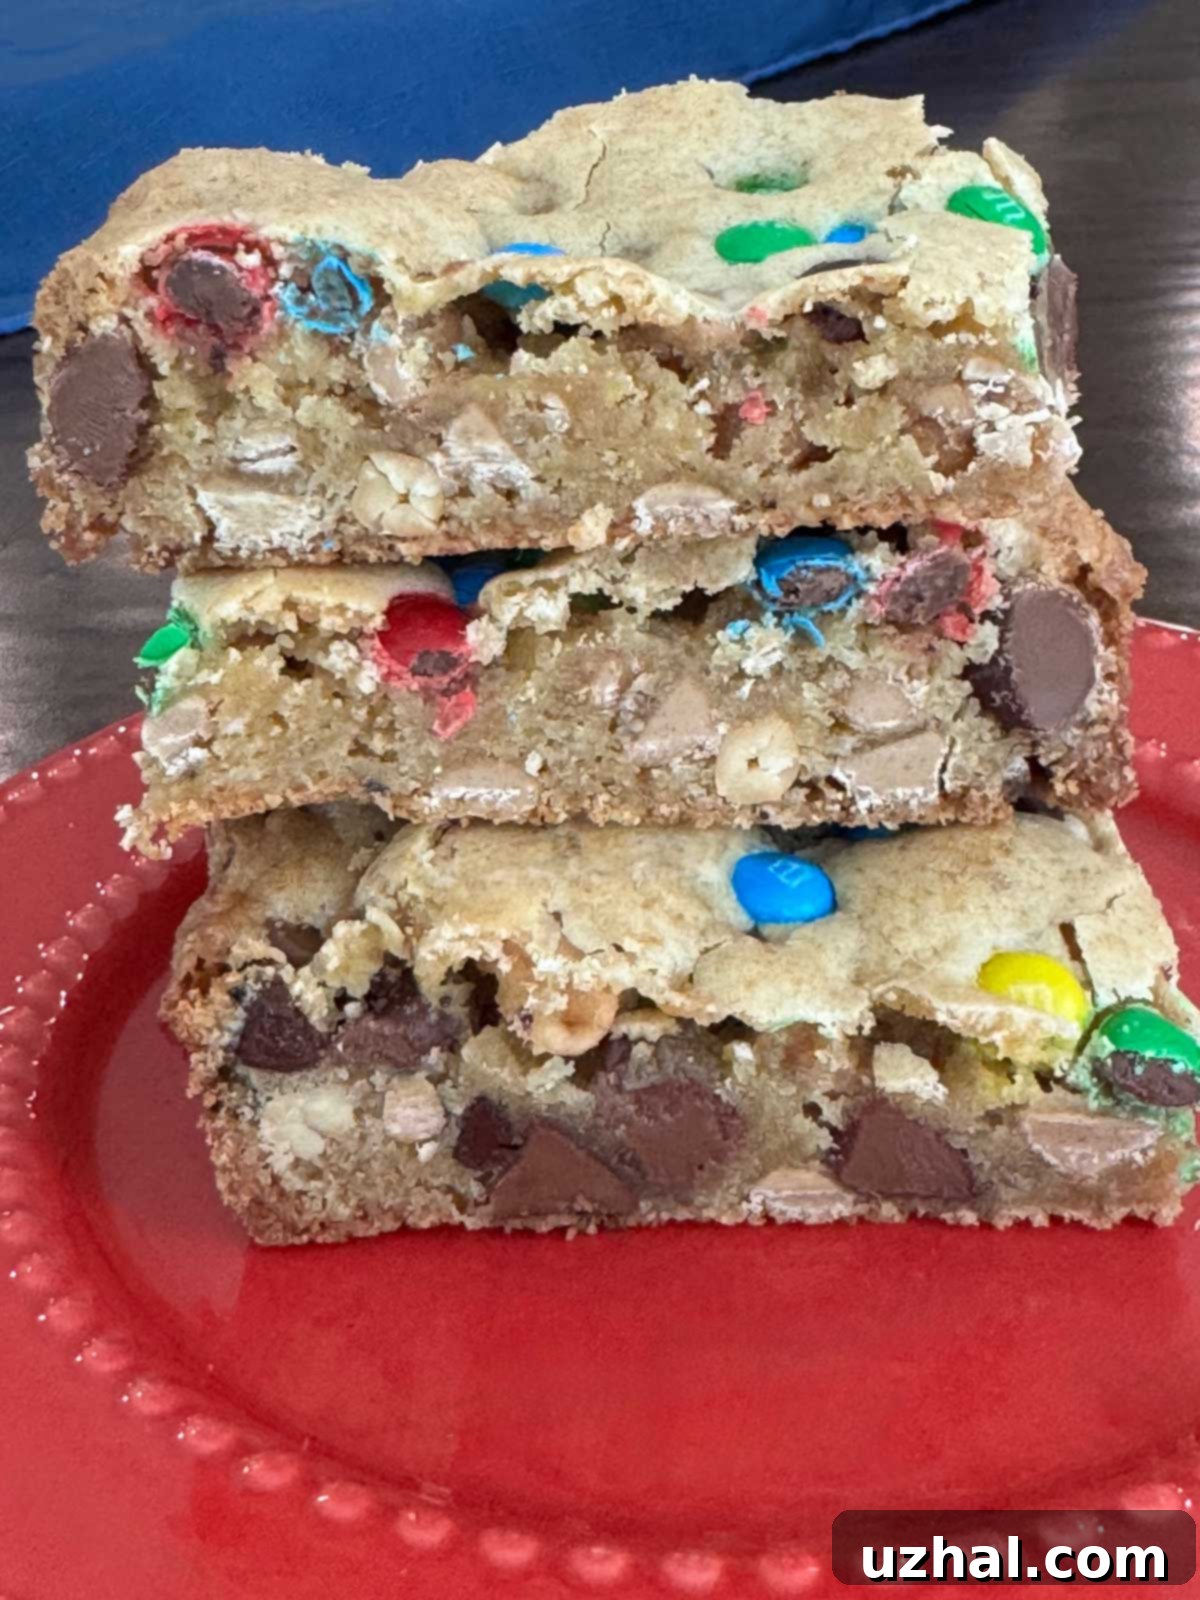
If you’re searching for a dessert that’s not only quick and simple to prepare but also guarantees to be a massive hit with everyone, look no further than these incredible Chocolate & Peanut Butter Chip Bars. Adapted from the beloved King Arthur Cookie Companion, this recipe holds a special place, originally named “Ruth Wakefield Chocolate Chip Cookie Bars” as a tribute to the visionary who invented the classic chocolate chip cookie. We’ve taken that timeless concept and elevated it with the delightful addition of peanut butter chips, creating a sweet and salty symphony that’s truly hard to resist. Perfect for gatherings, gifting, or simply satisfying your sweet tooth, these bars are a testament to how effortless baking can be without compromising on flavor or texture.

Effortless Perfection: No Mixer Required
One of the most appealing aspects of these chewy cookie bars is their sheer simplicity. Forget about dragging out your heavy stand mixer or struggling with complicated steps. This recipe is designed for ease, requiring just two bowls and a whisk. It’s a true no-fuss approach to baking that yields incredibly rich, buttery, and chip-packed bars every time. This makes them an ideal choice for last-minute bake sales, casual potlucks, school events, or simply sharing a homemade treat with friends and family without the usual baking hassle.
The magic of these bars lies in their straightforward method and the delightful combination of flavors. While I personally love the classic pairing of dark chocolate and peanut butter chips for that perfect sweet-and-salty balance, this recipe is incredibly versatile. You have ample room for improvisation! Feel free to customize these bars with whatever chocolate or sweet chips you have on hand. Imagine swirls of white chocolate, butterscotch, or even mint chips for a seasonal twist. The possibilities are endless, making this a truly adaptable recipe that you’ll return to again and again.
A Symphony of Flavor and Texture
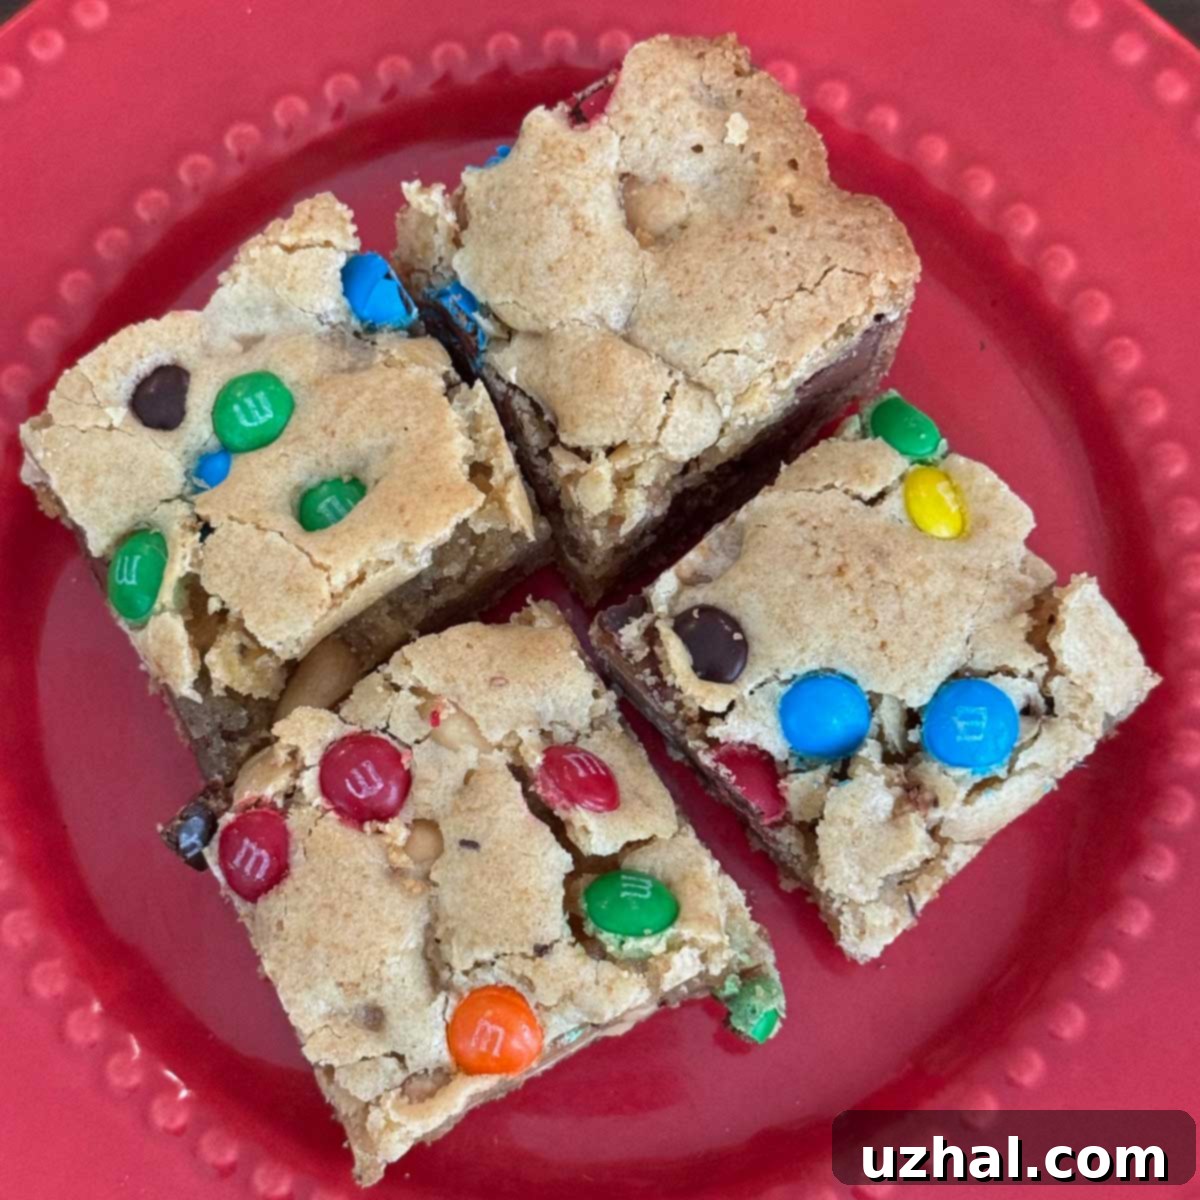
These bars bake up with a gorgeous, shiny, and slightly crackly top, reminiscent of the best homemade brownies. Beneath that enticing surface lies a soft, chewy, and tender center that melts in your mouth. You get the comforting, classic flavor of a chocolate chip cookie, beautifully enhanced by the creamy, nutty hint of peanut butter from the chips. It’s a match made in dessert heaven! Interestingly, the original King Arthur recipe did not include vanilla, but I find that a touch of vanilla extract truly elevates the overall flavor profile, adding a layer of warmth and complexity that makes these bars even more irresistible. This small addition makes a big difference, rounding out the flavors perfectly.
Expert Baking Notes for Perfect Bars
Achieving the perfect batch of Chocolate & Peanut Butter Chip Bars is easy with a few key considerations. These tips will help ensure your bars are consistently delicious, whether you’re a seasoned baker or just starting out.
- Flour Measurement Matters: Precision for Best Results
When it comes to baking, especially with older recipes from sources like King Arthur, flour amounts can be a bit tricky if measured by volume. Their historical recipes sometimes assume a ‘very light’ cup of flour, which can lead to inconsistencies. For instance, this recipe originally called for 2 ¾ cups of flour, equating to 320 grams. However, a typical cup of all-purpose flour usually weighs more (between 120-140 grams). To ensure consistent, perfect results, I strongly recommend measuring your flour by weight using a kitchen scale. I’ve adjusted the volume to 2 ½ cups to better match the 320-gram weight, as this yields a more consistent batter. If you don’t have a scale, try the “spoon and level” method: gently spoon the flour into your measuring cup until overflowing, then level it off with a straight edge, avoiding packing it down. This helps prevent adding too much flour, which can result in dry, crumbly bars. - Unleash Your Creativity: Chip Combinations
While a 50/50 blend of dark chocolate chips and peanut butter chips is my personal favorite – delivering that delightful sweet and savory contrast – this recipe is a blank canvas for your chip preferences. Feel free to use all chocolate chips (milk, semi-sweet, or dark), all peanut butter chips, or get adventurous! Swirl in some white chocolate chips for visual contrast and a creamy sweetness, add butterscotch chips for a rich caramel note, or even toss in some toffee bits for an extra crunch and buttery flavor. Experiment to find your ultimate combination! - Add-Ins for Extra Texture and Flavor: Nuts and Coconut
For those who love a bit more texture and an added layer of flavor, these bars are wonderfully accommodating to mix-ins. Try folding in ½ cup of chopped pecans or walnuts for a satisfying crunch and earthy note. Alternatively, for a tropical twist, add ⅔ cup of shredded coconut (either unsweetened for a subtle flavor or sweetened for an extra touch of sweetness). You could even consider mini pretzels for a truly salty-sweet experience or dried cranberries for a tart counterpoint. - Choosing the Right Pan Size: Thicker vs. Thinner Bars
This recipe is designed to make a generous batch in a 15×10 inch jelly roll pan, resulting in perfectly proportioned bars. If you prefer thicker, chewier bars, you can certainly bake them in a slightly smaller 9×13 inch pan. Just remember that a thicker batter will require a longer baking time. Adjust your baking time accordingly, likely adding an extra 5-10 minutes, and rely on visual cues and the doneness test (described below) rather than just the clock. - Optimal Storage for Lasting Freshness
One of the many benefits of these bars is their excellent shelf life and freezer-friendliness. They keep beautifully at room temperature for several days in an airtight container, making them a fantastic make-ahead option for parties, picnics, or simply ensuring you always have a sweet treat on hand. For longer storage, these bars freeze exceptionally well. Once cooled and cut, wrap individual bars or small batches tightly in plastic wrap, then place them in a freezer-safe bag or container for up to 2-3 months. Thaw at room temperature for a quick and easy dessert any time!
This recipe is proudly adapted from the King Arthur Cookie Companion, a testament to its enduring quality and deliciousness.
More Peanut Butter & Chocolate Inspiration
If you’re a fan of the classic chocolate and peanut butter combination, you’ll love exploring these other delightful recipes from our collection:
- Chocolate Peanut Butter Everything Cookies
- Double Chocolate Peanut Butter Cup Cookies
- One Bowl Peanut Butter Milk Chocolate Cookies
- Chewy Chocolate Peanut Bars
- Peanut Butter Bar Cookies
Recipe: Chocolate & Peanut Butter Chip Bars

Chocolate & Peanut Butter Chip Bars
Anna
Pin Recipe
10 minutes
25 minutes
30 minutes
35 minutes
Dessert
American
36
bars
Ingredients
-
2 ½
cups
unbleached all-purpose flour (weigh out 320 grams for best results)
(320 grams) -
2 ½
teaspoons
baking powder -
½
teaspoon
salt -
⅔
cup
unsalted butter -
2 ½
cups
light brown sugar (very tightly packed)
(504 grams) -
3
large
eggs -
1
teaspoon
vanilla extract (optional) -
1
cup
chocolate chips (milk or semisweet) -
1
cup
peanut butter chips -
1
cup
chopped walnuts or peanuts (optional, for added crunch) -
½
cup
M&Ms mini baking bits (optional, for fun color and texture)
Instructions
-
Preheat your oven to 350 degrees F (175 degrees C). Prepare a 10×15 inch jelly roll pan by spraying it generously with baking spray. If you prefer thicker bars, you can use a 9×13 inch pan instead, but be prepared to adjust the baking time to approximately 30-35 minutes, possibly slightly longer.
-
In a medium bowl, whisk together the measured flour, baking powder, and salt. Set this dry mixture aside.
-
In a separate large bowl, combine the hot melted butter and the very tightly packed light brown sugar. Stir them together until the mixture is smooth and well-combined. Allow this mixture to cool slightly – it should be warm, not hot. Then, add the eggs one at a time, beating well after each addition to fully incorporate them. If you’re using vanilla extract, stir that in now as well.
-
Gradually stir the reserved flour mixture into the wet ingredients until just combined. Be careful not to overmix. Ensure the dough mixture has cooled down sufficiently before adding your chips and any optional nuts or M&Ms. Fold them in gently. Spread the batter evenly into your prepared baking pan. If you’re using M&Ms, you can either fold them in with the other chips or sprinkle them artistically on top of the batter before baking for a decorative finish.
-
Bake the bars for 24 to 26 minutes, or until the top is beautifully shiny and a light golden brown. It’s crucial not to overbake them, as this will lead to dry bars. The center might still appear slightly soft, and a cake tester inserted into the center will likely not come out completely clean, which is perfectly normal for a chewy bar. Remove the bars from the oven and allow them to cool completely to room temperature in the pan before attempting to cut them. Patience here is key for clean, perfect squares. Note: If you opted to bake in a 9×13 inch pan, your bars will require approximately 30 to 35 minutes of baking time.
Notes
Chocolate Peanut Butter Bars, Easy Dessert, No Mixer Bars, Cookie Bars
Tried this recipe?
Let us know how it was!
These Chocolate & Peanut Butter Chip Bars truly embody the spirit of home baking – simple, satisfying, and always a crowd-pleaser. With their rich flavor, delightful chewiness, and the ease of a no-mixer recipe, they are destined to become a staple in your dessert repertoire. Whether you’re whipping up a large batch for a special event or just enjoying a cozy afternoon treat, these bars offer a perfect blend of classic cookie comfort and irresistible peanut butter bliss. Don’t hesitate to give them a try!
