The Ultimate Guide to Baking Saltgrass Steakhouse Shiner Bock Beer Bread at Home
For many, the Saltgrass Steakhouse experience isn’t complete without their legendary Shiner Bock Beer Bread. This iconic dark brown, round yeast bread, with its subtle beer flavor and hint of sweetness, arrives at your table with your drinks, setting the perfect tone for a hearty meal. While I haven’t visited a Saltgrass in over two decades, the memories of this bread, especially from early family outings with our “baby cowgirl,” Fuzz, remain vivid. Saltgrass truly nails the Texas-themed restaurant vibe, excelling in everything from the lively acoustics to the warm service and delicious food. But undeniably, their Beer Bread holds a special place in the hearts of many patrons, including mine.

Recreating beloved restaurant dishes at home is a culinary adventure, and this copycat recipe aims to bring the authentic taste of Saltgrass’s Shiner Bock Beer Bread right into your kitchen. Unlike some quick bread versions that rely solely on beer and baking powder for leavening, this recipe embraces the traditional yeast method, requiring two crucial rises. This commitment to yeast is what gives the bread its characteristic texture and depth of flavor, making it a truly satisfying bake.
The Importance of Beer Choice: Shiner Bock and Beyond
The star ingredient, naturally, is the beer. While Shiner Bock is specified for its unique malty, slightly sweet profile that defines the Saltgrass version, don’t feel limited. The beauty of this recipe lies in its adaptability. I’ve experimented with various beers, each yielding a distinct and interesting result. Lagunitas offers a hoppier note, Guinness lends a richer, darker complexity, and even non-alcoholic beer can be used (though with some caveats, which we’ll discuss). If you’re aiming for that classic Saltgrass flavor, do try to get your hands on Shiner Bock. Its specific characteristics are key to the copycat’s success, contributing to both the color and the subtle taste of the bread.
Yield and Time Commitment: Perfectly Sized Loaves for Any Occasion
This recipe is designed to produce two modest loaves, each ideal for serving 3 to 4 people. This makes it perfect for a family dinner or a small gathering where you want to offer warm, freshly baked bread without an overwhelming quantity. If you’re baking for a smaller household of one or two, the recipe can easily be halved to produce a single loaf, minimizing waste and ensuring freshness.
While this is a yeast bread and thus requires two rising periods, a significant portion of the baking time is passive. You’ll mostly be waiting for the dough to work its magic. The active preparation time is surprisingly minimal, especially if you have a stand mixer equipped with a dough hook. In that case, you’re looking at less than 10 minutes of hands-on work. However, I’ve recently rewritten this recipe to be entirely stand mixer-free, making it accessible to every home baker. In my experience, certain breads, particularly those incorporating whole wheat flour, sometimes develop a superior texture and flavor when kneaded by hand. The tactile process allows for better control and a deeper connection to the dough, often resulting in a beautifully structured loaf.
Experimenting with Non-Alcoholic Beer: A Flavor Experiment
My foray into using non-alcoholic beer for this bread was, shall we say, an interesting experiment. Accidentally purchasing a non-alcoholic brew for Valentine’s Day led me to try it in this recipe. The dough rose beautifully, and the loaves looked perfectly normal. However, the resulting flavor was quite unexpected—a distinct hint of citron or, as I reluctantly noted, something akin to bug spray. While the bread was structurally sound, the flavor profile was far from the rich, comforting taste I associated with Shiner Bock. Needless to say, I wasn’t keen on a second attempt with that particular non-alcoholic IPA. This experience reinforced the importance of the beer’s quality and type in imparting the characteristic flavor. For truly authentic results, a good quality alcoholic beer, ideally Shiner Bock, is recommended.
Essential Baking Notes for Perfect Beer Bread
Achieving bakery-quality beer bread at home involves attention to a few key details. Here are some expanded notes to guide you through the process, ensuring your loaves turn out perfectly every time:
- Beer Temperature: The Foundation of Good Rise
The temperature of your beer is crucial for activating the yeast. It needs to be at room temperature, or even slightly warm. While the hot water in the recipe helps kickstart the yeast, adding cold beer can shock it, hindering the rising process. If your beer is chilled, you can gently warm it in the microwave for about 30 seconds. Be very careful not to boil it, as excessive heat will kill the yeast. For my most successful batches, the beer typically measures around 80 degrees F (27 degrees C). This ensures an optimal environment for the yeast to thrive and produce a light, airy crumb. - Yeast Types: Instant vs. Active Dry
This recipe is flexible for both instant (or rapid-rise) and active dry yeast. I commonly use instant yeast for its convenience, as it can be mixed directly with dry ingredients. If you opt for active dry yeast, a slight adjustment is needed. Instead of hot water, use warm water (around 105-115°F or 40-46°C) to proof the yeast. Combine the two tablespoons of warm water with the yeast in your mixing bowl and let it sit for 5-10 minutes until foamy. This indicates the yeast is active and ready. While some active dry yeasts are robust enough to be added directly, proofing offers an extra layer of assurance, especially if you’re unsure about the yeast’s viability, and it adds only a few minutes to your prep. - Flour Amount: The Art of Feel
Start with the initial 2 cups of flour, which translates to approximately 250 to 280 grams. The precise amount of flour can vary depending on factors like humidity and the specific type of flour you’re using. As you knead, gradually add more flour, a tablespoon at a time, until the dough reaches the desired consistency. It should be soft, pliable, and no longer excessively sticky. You might need anywhere from ¼ cup to ⅓ cup more flour. If you’re using a dough hook in a stand mixer, knead until the dough clings to the hook but still retains a slight stickiness. This indicates proper hydration without over-flouring, which can lead to a dense, dry bread. - Flour Type: Crafting the Perfect Texture
The original Saltgrass beer bread doesn’t taste overly “wheaty” to me, but I’m confident it contains a portion of whole wheat flour for depth. For a balanced flavor and texture that closely mimics the original, I recommend a blend: 1 cup of whole wheat flour combined with 1 cup of bread flour. For any additional flour needed during kneading or for dusting your work surface, stick with bread flour. Bread flour has a higher protein content, which contributes to a chewier texture and better structure, ideal for yeast breads. All-purpose flour can also be used, or even a mix of all-purpose and whole wheat, if bread flour isn’t available. - Scoring the Bread: Timing is Key
The technique of scoring (making shallow cuts on the surface of the dough) is essential for controlling how the bread expands in the oven, preventing uncontrolled cracks, and creating a beautiful crust. Crucially, score the bread *after* its second rise, just before it goes into the hot oven. Older copycat recipes sometimes suggest scoring before the final rise, but this can cause the dough to deflate. Scoring right before baking allows for maximum oven spring and a professional finish. Not all loaves strictly require scoring, but for a round, rustic loaf like this beer bread, it certainly enhances its visual appeal. - Salt Level: Personalizing Your Loaf
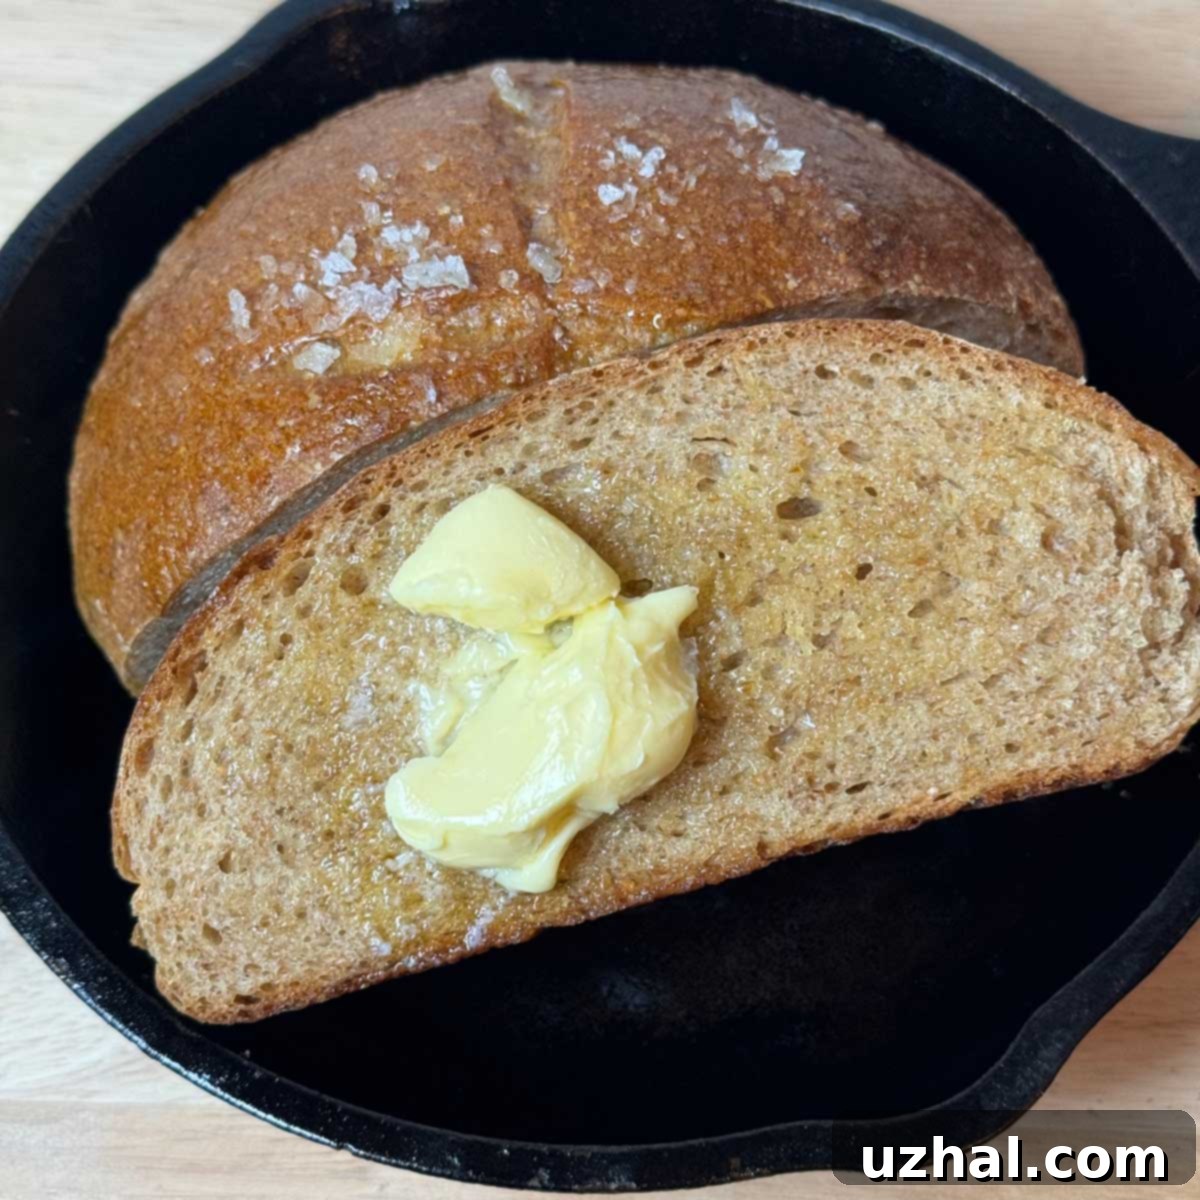
This recipe yields a bread that is intentionally not overly salty, allowing the subtle beer and honey flavors to shine. However, if you have a preference for a saltier crust, there’s a simple trick to elevate it: immediately after the loaves come out of the oven, while they’re still piping hot, generously rub the crust with softened butter and sprinkle it with a flaky sea salt, such as Maldon. The butter will melt into the warm crust, and the salt will adhere, adding a delightful crunch and a burst of savory flavor.
- Craving more beer-infused delights? Try Homemade Soft Pretzels with Beer.
- For a nostalgic treat, explore Root Beer Magic Shell on Vanilla Ice Cream and Blondies.
- Discover another bread variation with Pecan Beer Bread.
- Indulge in Root Beer Fudge Brownies for a sweet twist.
- Cool down with Root Beer Gelato.
With these detailed notes and the comprehensive recipe below, you’re well on your way to recreating the cherished Saltgrass Steakhouse Shiner Bock Beer Bread in your own home. The aroma alone will transport you back to those cozy restaurant nights, and the taste will impress everyone lucky enough to share a slice.
Recipe

Shiner Bock Beer Bread
Anna
Pin Recipe
Ingredients
- ¾ cup Shiner Bock beer, room temperature (slightly warm is ideal) (170 grams)
- 1 teaspoon quick rising yeast
- 2 cups flour, ideally a combination of 1 cup whole wheat and 1 cup bread flour* (250-280 grams)
- ½ teaspoon salt
- 2 tablespoons hot water (28 grams, for activating yeast if using active dry)
- 2 tablespoons vegetable oil
- 2 tablespoons honey (40 grams)
- More bread flour as needed (about 3-4 tablespoons, potentially more, for kneading)
Instructions
-
Begin by opening your chosen beer and pouring it into a microwave-safe measuring cup. Allow it to sit at room temperature for at least an hour. It doesn’t need to be completely flat, but it’s crucial that it’s not cold. The microwave-safe cup is simply a precaution in case you need to gently warm it further (see notes above).
-
In a large mixing bowl, thoroughly combine the instant yeast (or proof active dry yeast as per notes), flour, and salt. Add the hot water, vegetable oil, and honey. Give the mixture a quick initial stir, then pour in the room-temperature beer (170 grams) and continue to stir until all ingredients are just combined and a shaggy dough forms.
-
At this stage, the dough will be quite soft and very sticky. Begin incorporating the additional flour gradually. Add 2 more tablespoons of flour to the bowl and stir well. Then, sprinkle another tablespoon of flour onto a clean, dry work surface or a pastry mat.
-
Turn the sticky dough out onto your floured mat. Begin kneading the dough by hand, adding more flour one tablespoon at a time as needed. Continue kneading until the dough becomes smooth, elastic, and significantly less sticky, though it may retain a slight tackiness. This kneading process should take approximately 10 minutes.
-
Lightly oil a clean bowl. Transfer the kneaded dough to the oiled bowl, turning it once to coat lightly. Cover the bowl tightly with plastic wrap or a damp cloth and place it in a warm, draft-free spot (such as a turned-off microwave oven or a sunny kitchen counter) to rise. Allow it to rise until it has doubled in size, which typically takes about 1 hour, depending on the ambient temperature and dough warmth.
-
Once the dough has doubled, gently punch it down to release the air. Let it rest for 5 minutes. Divide the dough into two equal portions and shape each into a round loaf. Place the shaped loaves onto a baking sheet lined with parchment paper. Loosely cover them with greased plastic wrap (to prevent sticking) and allow them to rise for a second time, for about 30 minutes. During this second rise, preheat your oven to 400 degrees F (200 degrees C).
-
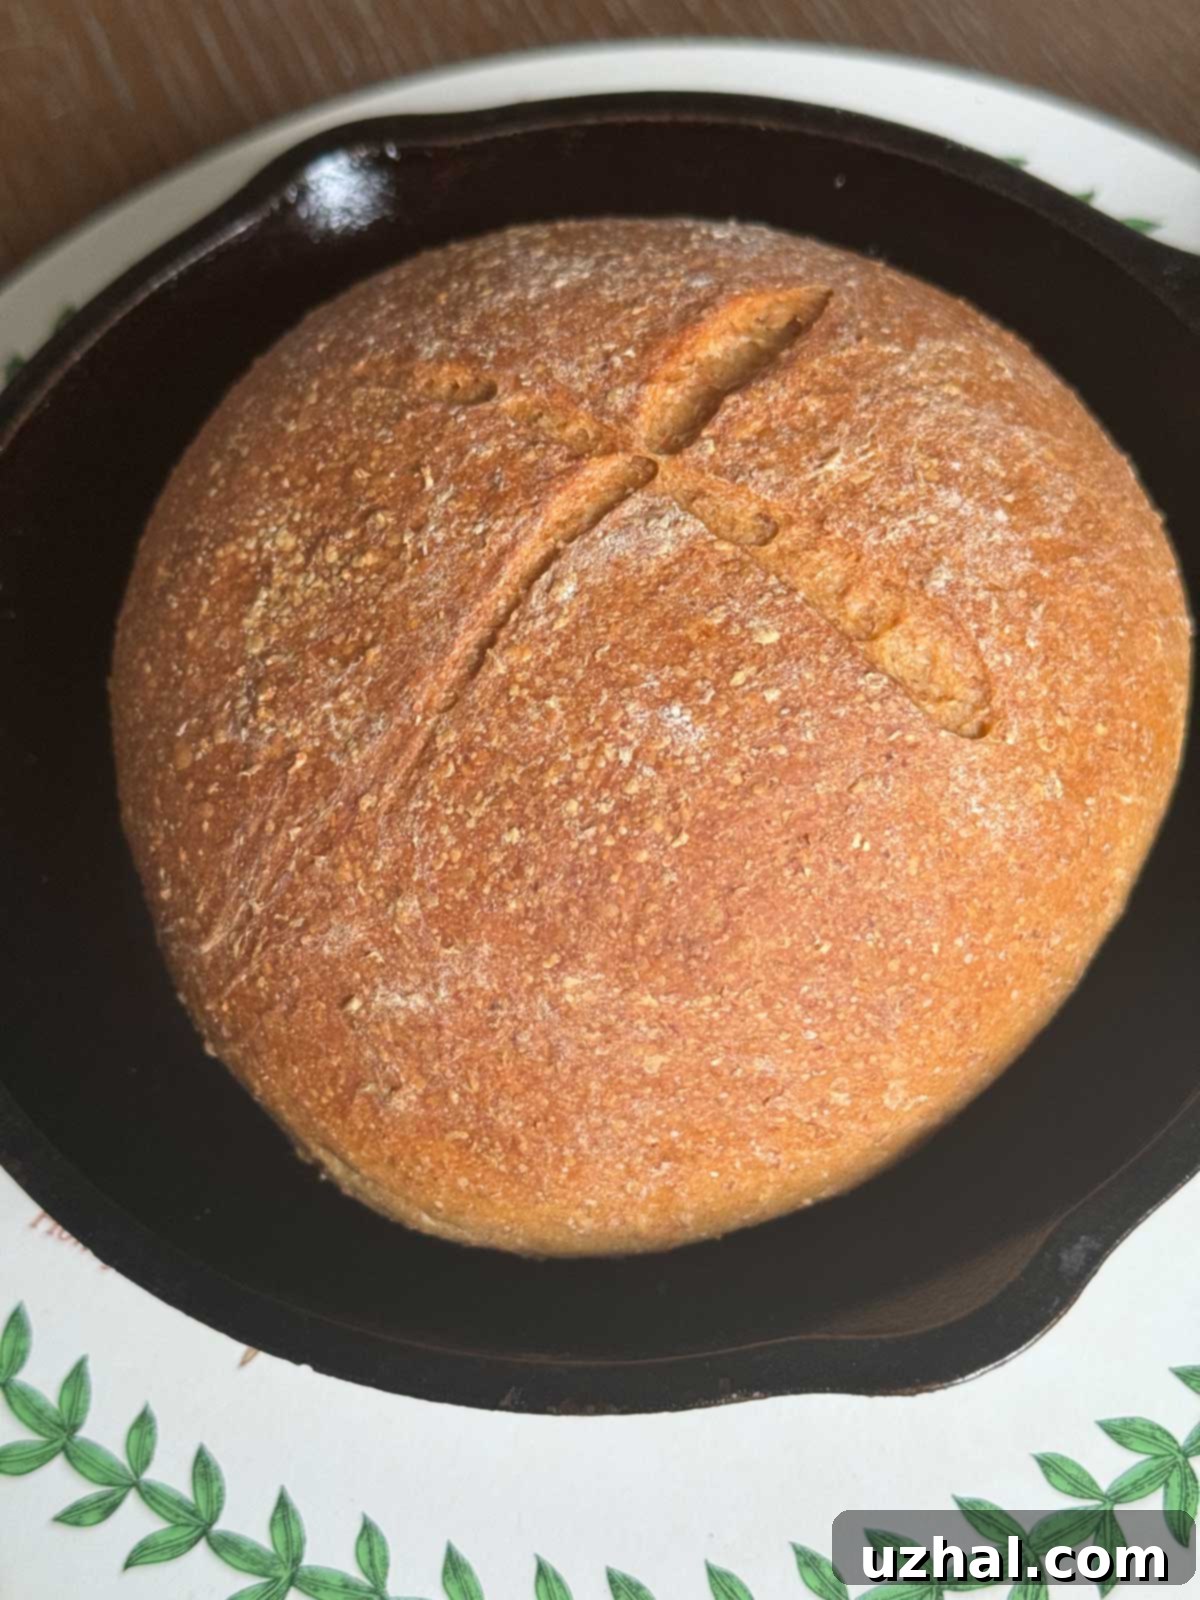
After the 30-minute final rise, use a sharp razor blade or a very sharp knife to score the top of each loaf with a shallow “X” or a few parallel slits. This helps control oven spring. Transfer the baking sheet to the preheated oven. Bake the loaves at 400 degrees F (200 degrees C) for the first 10 minutes. Then, reduce the oven temperature to 350 degrees F (175 degrees C) and continue baking for another 25 to 30 minutes, or until the crust is golden brown and the loaves sound hollow when tapped on the bottom.
Notes
