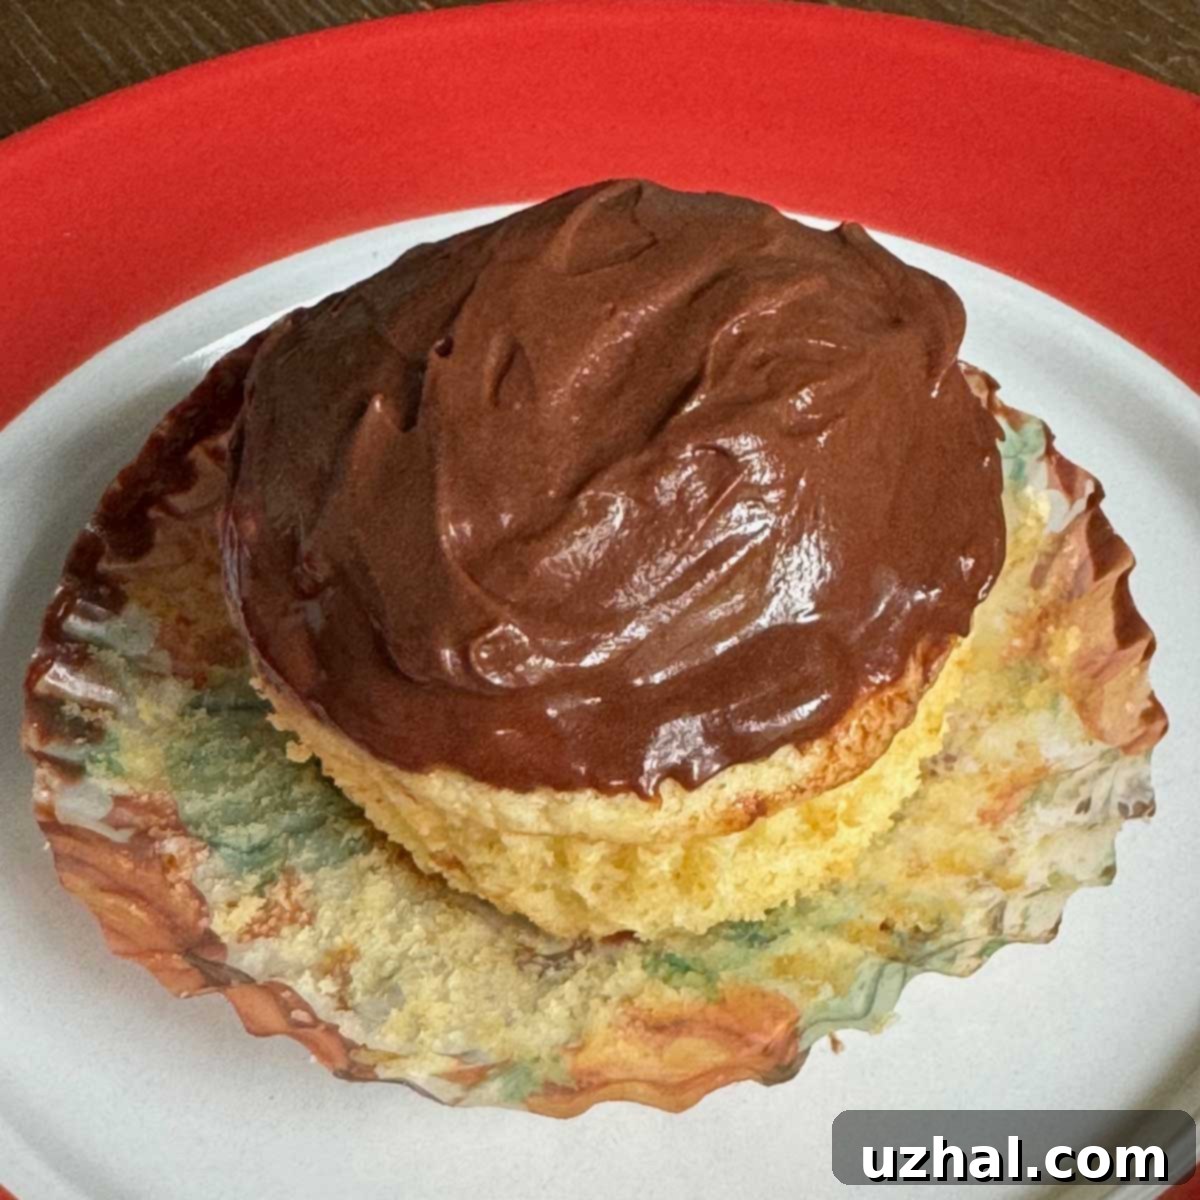
Effortlessly Delicious: Easy Yellow Cupcakes with Luxurious Whipped Chocolate Ganache
There’s a special joy in baking homemade cupcakes, and these Easy Yellow Cupcakes topped with a velvety Whipped Chocolate Ganache are no exception. After a little hiatus from sharing cupcake recipes, I’m thrilled to present a staple that has quickly become a favorite in my kitchen. What makes this recipe truly stand out is its remarkable simplicity: the cupcake batter comes together in a single bowl with minimal effort, and the indulgent chocolate ganache frosting is a breeze to prepare with just two ingredients. Whether you’re a seasoned baker or just starting out, this recipe promises delicious results with a surprisingly easy process, making it perfect for any occasion, from casual treats to celebratory gatherings.
Forget complicated baking methods or endless dirty dishes. This recipe simplifies the entire cupcake-making experience without compromising on flavor or texture. From the rich, buttery cake to the airy, decadent chocolate topping, every element is designed for maximum enjoyment and minimal fuss. Get ready to impress your family and friends with these charming, irresistible yellow cupcakes, ideal for birthdays, potlucks, or simply a sweet afternoon treat.
Jump to Recipe
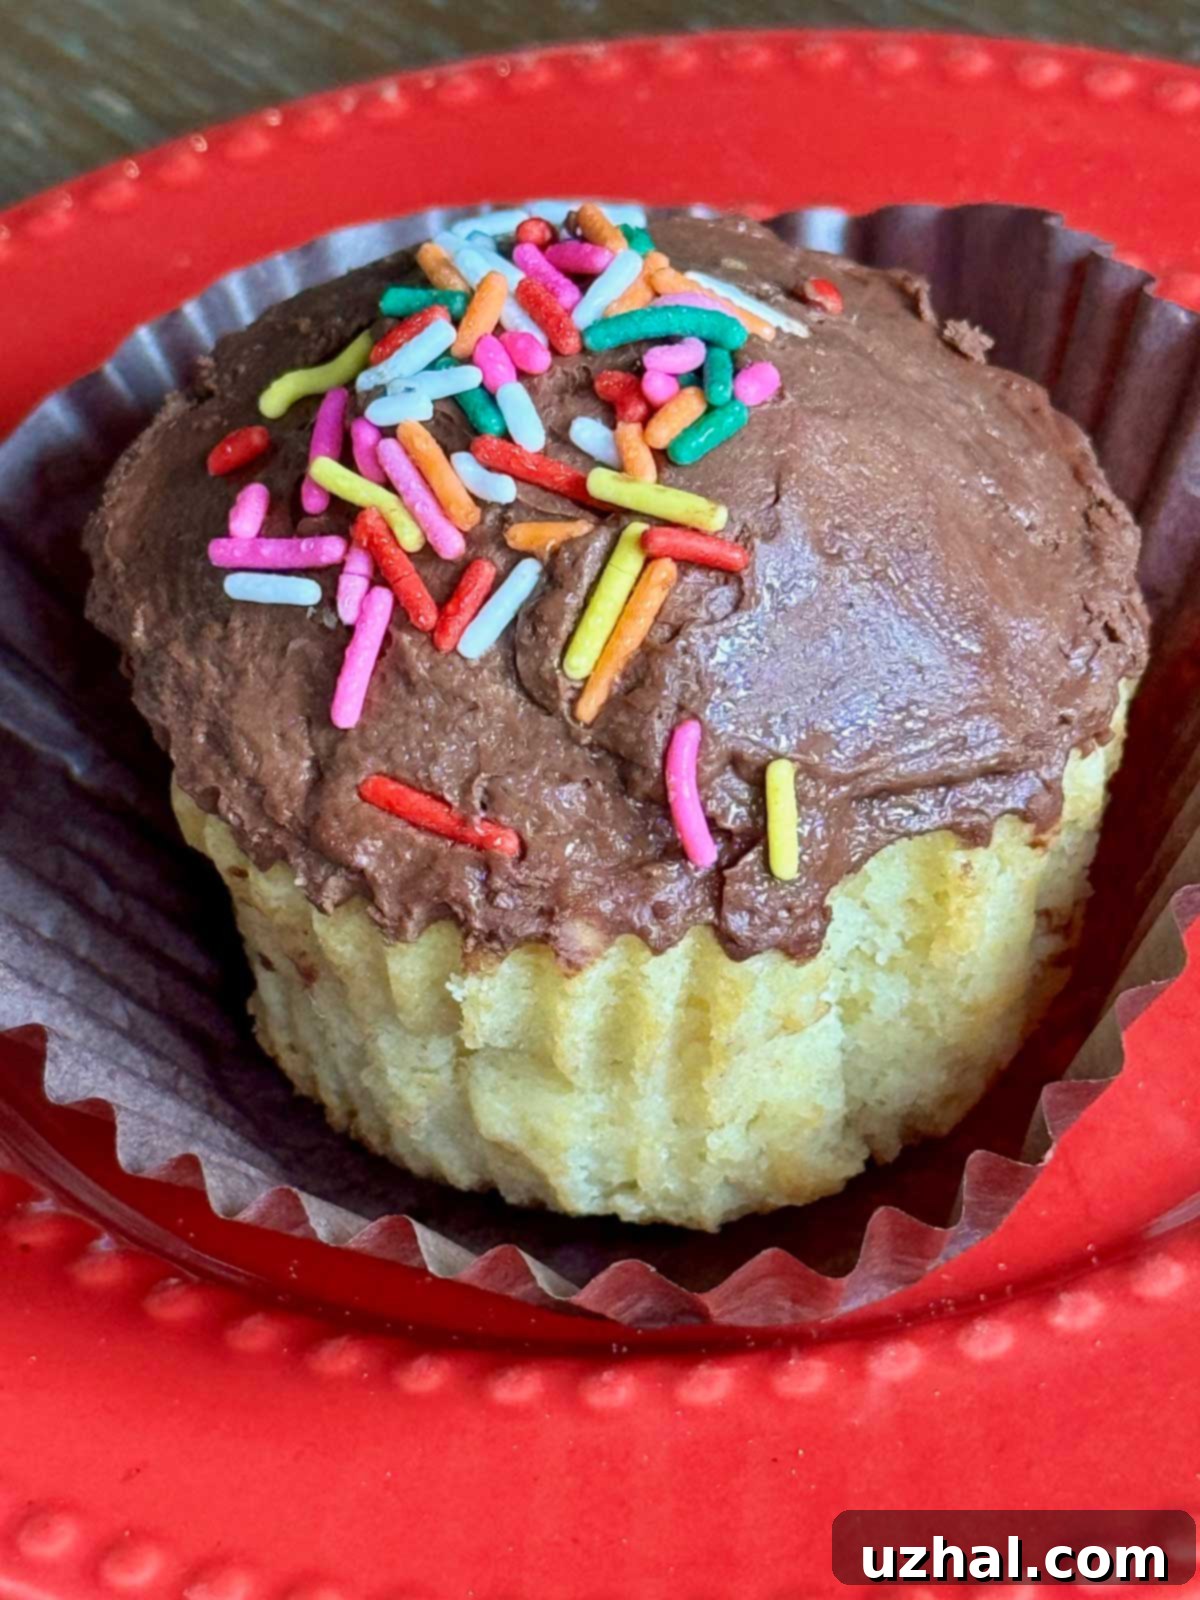
Unveiling the Perfect Cupcake: Flavor and Texture
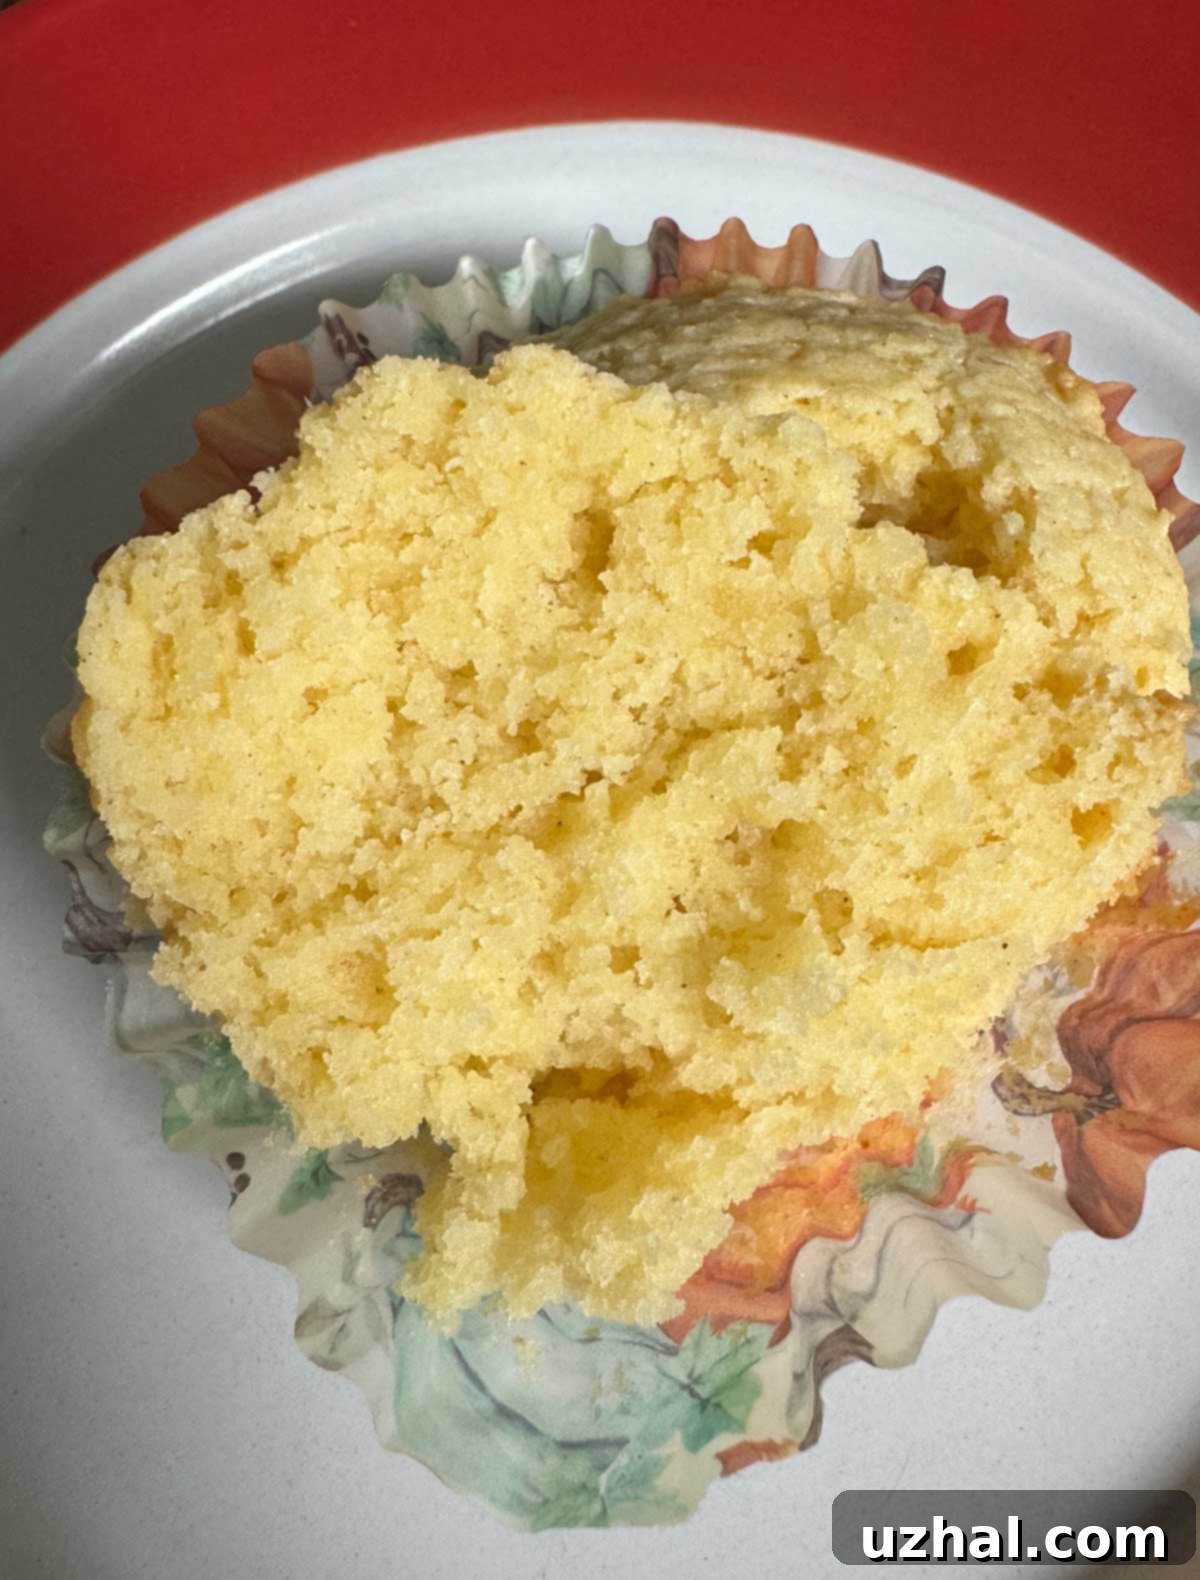
The first bite of these yellow cupcakes transports me back to the delightful treats I once enjoyed at a charming bakery in Austin. They offer a unique texture that balances moistness with a slight, comforting crumb, rather than being overtly light or airy. This substantial yet tender quality is a hallmark of truly homemade baking. What truly shines through in every bite is the rich, authentic taste of butter, perfectly complemented by the subtle tang of sour cream. These aren’t your average cake mix cupcakes; they possess a deeper, more sophisticated flavor profile and a satisfyingly dense crumb that feels far more substantial and indulgent. The nostalgic taste is reminiscent of classic birthday cake, but with a refined, homemade touch.
The secret to their incredible moistness and unique texture lies in the generous use of sour cream and butter. Sour cream not only adds a wonderful depth of flavor but also contributes significantly to the tender crumb, ensuring the cupcakes remain moist for longer. The butter, melted and incorporated correctly, provides a rich foundation that elevates the overall taste, giving these treats their characteristic “yellow” cake flavor. You’ll notice the batter for these cupcakes is quite thick – a feature that actually makes them incredibly easy to handle. Instead of a runny consistency, you can easily scoop this batter with an ice cream scoop, ensuring uniform portions and perfectly shaped cupcakes every time. While these yellow cupcakes are undeniably delicious on their own, like all classic yellow cake recipes, they truly reach their full potential when paired with a decadent frosting. And that’s where our whipped chocolate ganache comes in, providing the perfect creamy counterpoint!
The Irresistible Allure of Two-Ingredient Whipped Chocolate Ganache
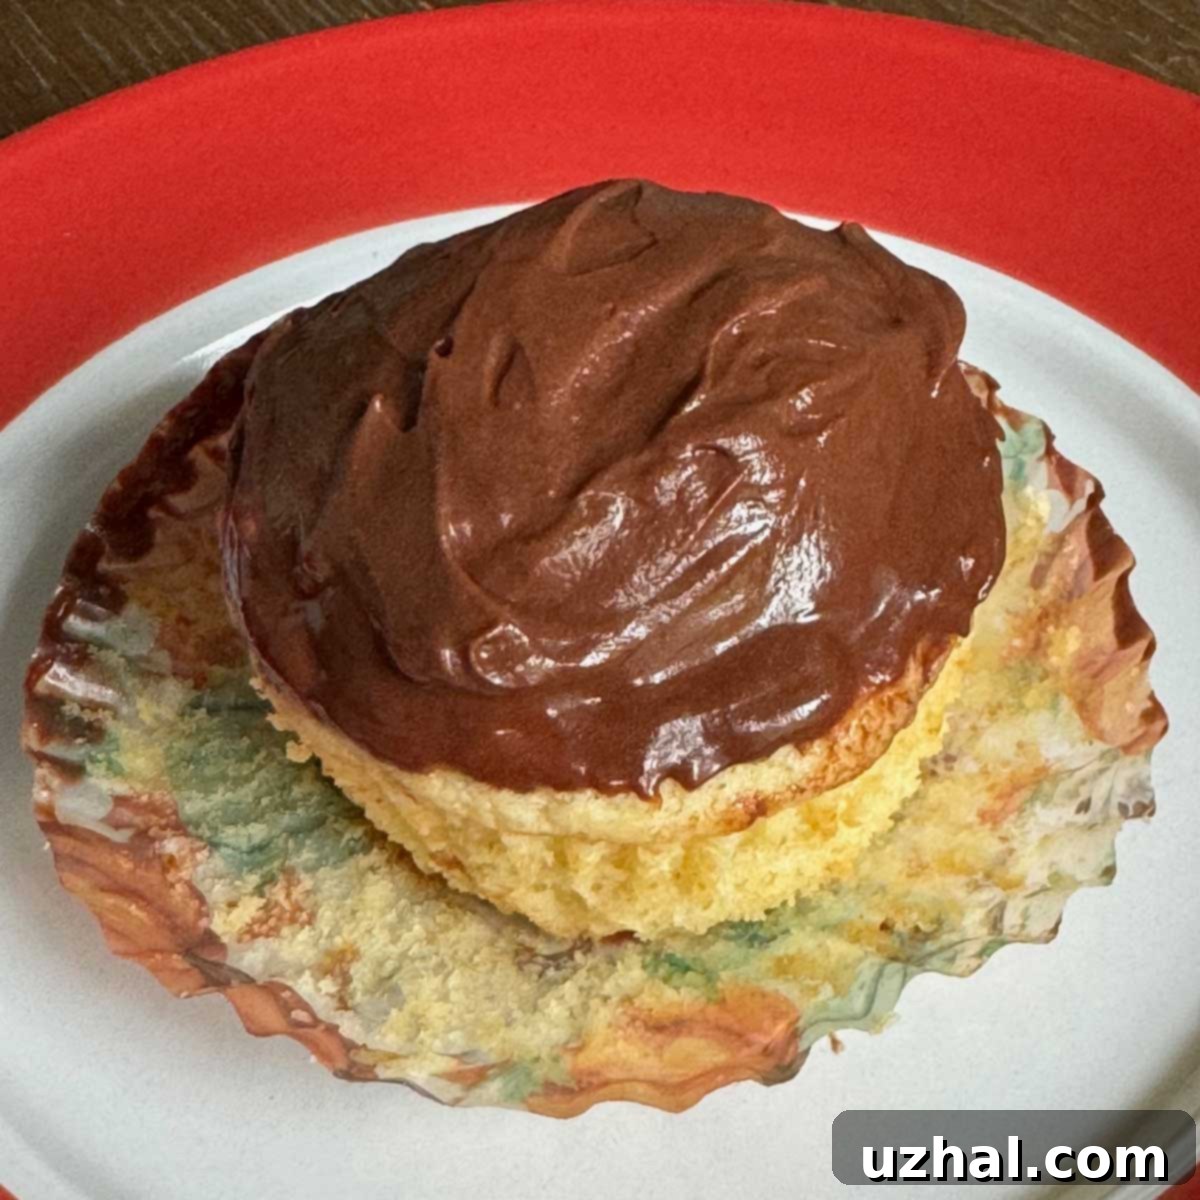
Initially, I considered a simpler American-style chocolate buttercream for these cupcakes, but a happy accident – running out of confectioners’ sugar – led me to embrace this whipped chocolate ganache, and I couldn’t be more delighted with the result! This two-ingredient frosting is not just easy; it’s a revelation. The basic ratio is equal parts heavy cream and chocolate, which allows for incredible versatility and a deep, authentic chocolate flavor. For my batch, I used a delightful medley of semisweet and bittersweet chocolates I had on hand – a touch of Guittard, some trusty Costco chocolate chips, and a hint of rich African dark chocolate. This mix created a complex, nuanced chocolate flavor that was absolutely divine, but feel free to use your favorite type of quality baking chocolate.
The process is wonderfully straightforward: simply melt the chocolate with the hot cream, allow it to cool, and then whip it until it transforms into a light, airy, and incredibly spreadable frosting. Unlike traditional buttercreams that can sometimes be overly sweet, this whipped ganache offers a profound chocolate taste that is both rich and balanced. It whips up beautifully, achieving a fluffy consistency similar to buttercream but with a more intense chocolate punch and a smoother mouthfeel. The smooth texture and deep, satisfying flavor make it the perfect counterpart to the butter-rich yellow cupcakes, creating a harmonious and utterly delicious dessert. Trust me, do not skip this ganache; it elevates these simple cupcakes to an extraordinary dessert experience that tastes far more complex than it actually is.
For best results with your whipped chocolate ganache, ensure your chocolate is finely chopped. This detail is crucial as it allows the hot cream to melt the chocolate more evenly and quickly, preventing scorching and ensuring a silky-smooth base. The cooling step is equally important; the ganache needs to be sufficiently chilled but not rock-hard before whipping. If it’s too warm, it won’t whip properly and will remain soupy; if it’s too cold and firm, it will be difficult to whip and might become lumpy or grainy. Aim for a thick, peanut butter-like consistency before whisking. Once whipped, this ganache is not only perfect for frosting cupcakes but also makes an excellent filling for layer cakes or a sophisticated topping for other desserts.
Perfectly Adaptable: Gluten-Free Easy Yellow Cupcakes
We enjoyed these yellow cupcakes so much that I was eager to test a gluten-free version, and I’m thrilled to report it was a resounding success! Using King Arthur 1:1 Gluten-Free Blend (measured by weight for accuracy, which is always recommended for gluten-free baking), the cupcakes baked up perfectly, indistinguishable from their gluten-containing counterparts in both taste and texture. This recipe is particularly well-suited for gluten-free adaptations, thanks to the high content of dairy, specifically sour cream. Gluten-free flours often benefit immensely from recipes rich in moisture and fat, as these ingredients help to prevent a dry, crumbly, or gritty texture, which can sometimes be a common issue with gluten-free baked goods.
I’m confident that other reputable 1:1 gluten-free all-purpose flour blends, such as Cup4Cup, would yield equally excellent results. These blends are specifically formulated to replace wheat flour cup-for-cup in most recipes, making adaptation straightforward. The sour cream plays a vital role in providing both structure and tenderness to the gluten-free batter, ensuring a moist and flavorful cupcake every time. For anyone with dietary restrictions or simply looking to experiment with gluten-free baking, this recipe offers a reliable and delicious way to enjoy classic yellow cupcakes without compromising on taste or texture. It’s a testament to how simple ingredient adjustments can open up a world of baking possibilities, making delicious homemade treats accessible to everyone.
Choosing the Right Cupcake Wrapper Sizes for Baking Success
When baking cupcakes, the choice of wrapper size might seem minor, but it can actually impact the final look, feel, and even the baking process of your delicious treats. I experimented with two different sizes for this recipe to find the ideal fit. My personal preference leans towards glassine wrappers that measure 2 inches across the base and 1 ¾ inches from top to bottom. These “taller” wrappers, compared to the standard size of 2 inches across the base and 1 ¼ inches high, offer a distinct advantage.
They allow for a little more cake per cup without requiring you to change your muffin pan, giving your cupcakes a more substantial and impressive appearance with a higher dome. Plus, their extra height helps contain the batter better as it rises during baking, which can prevent overflow and contribute to those beautifully domed tops we all love. I initially purchased a bulk supply of these taller wrappers from Webstaurant and have been happily using them ever since. While they can sometimes be a bit harder to find than standard liners – I haven’t spotted them readily on Amazon recently, though they are available on Etsy and various specialized cake and candy supply sites, and of course Webstaurant if you’re comfortable with their shipping costs – don’t fret if you can’t get your hands on them.
Regular 1 ¼ inch tall cupcake wrappers work perfectly fine and are widely available in any grocery store or baking supply shop. In fact, I used these standard liners for the gluten-free batch, and they turned out wonderfully, proving that delicious cupcakes can be made with readily accessible materials. The most crucial tip is simply to not overfill your chosen liners, regardless of their height. Aim to fill each liner approximately two-thirds full to prevent spills and ensure even baking, leading to perfectly shaped cupcakes every time.
Scaling Your Recipe: Halving and Doubling for Perfect Portions
This fantastic yellow cupcake recipe is adapted from a timeless classic featured in Cook’s Illustrated about two decades ago. My modifications were minimal, primarily to slightly enhance the salt and vanilla for an even richer flavor profile, while maintaining the integrity of the original’s excellent texture. When it comes to scaling the recipe, whether you’re aiming for a smaller batch or need to double up for a crowd, there are a few important considerations, particularly concerning the eggs.
The original recipe includes a specific note about doubling: to maintain the ideal texture and consistency, it recommends using 3 whole eggs plus 1 yolk, rather than simply doubling the existing egg quantities (which would be 2 whole eggs and 4 yolks). This specific adjustment is because eggs play a crucial role in both structure and moisture, and a straightforward doubling might throw off the delicate balance of the batter, leading to an undesirably dense or dry result. Therefore, for the absolute best results, especially when making these for a special event, I personally recommend sticking to baking 12 cupcakes at a time. This approach ensures consistency and prevents any potential issues that might arise from improper scaling of the liquids and solids, which can be tricky in baking.
However, if you wish to halve the recipe for a smaller treat, it’s quite manageable and less complex than doubling. You can simply use half an egg (which equates to about 2 tablespoons of a whisked large egg) and 1 whole yolk. To do this, crack a large egg into a small bowl, whisk it well, and then measure out 2 tablespoons. This precise adjustment helps maintain the richness and moisture that the yolks contribute while reducing the overall volume proportionally. Always remember that precision, especially with baking, can make all the difference in achieving consistently delicious results, so follow these egg scaling guidelines carefully!
Expert Tips for Baking Perfectly Moist Yellow Cupcakes
Achieving consistently delicious cupcakes that are moist, tender, and beautifully baked is easier than you think with a few simple, yet crucial, tips. Master these techniques, and your homemade yellow cupcakes will always be a resounding success:
- Bring Ingredients to Room Temperature: This is arguably one of the most important tips for any baking recipe. Ensure your butter, sour cream, and eggs are at room temperature before you begin. Room temperature ingredients emulsify properly with the other ingredients, creating a smooth, uniform batter that traps air more effectively. This leads to a finer, more tender crumb and a better rise. If your butter is too cold, it won’t cream properly; if your eggs or sour cream are cold, they can seize the butter and create a lumpy batter.
- Do Not Overmix the Batter: Once the wet and dry ingredients are combined, mix only until they are just blended. Overmixing develops gluten in the flour, leading to tough, dense, and chewy cupcakes, rather than the desired moist and tender texture. A few small lumps in the batter are perfectly fine and often preferred, as they don’t affect the final product.
- Measure Accurately, Especially Flour: Precision is key in baking. For the most accurate results, especially with flour, it’s highly recommended to measure by weight (grams) using a kitchen scale. If you’re measuring by volume (cups), avoid scooping the flour directly from the bag, as this can compact it and lead to using too much. Instead, spoon the flour into your measuring cup and then level it off with a straight edge like a knife or spatula.
- Fill Liners Evenly and Appropriately: For uniform baking and perfectly shaped cupcakes, use an ice cream scoop (like the recommended 2-ounce size) or a consistent measuring spoon to fill each cupcake liner. Fill them to about two-thirds full. This allows enough room for the cupcakes to rise without overflowing, ensuring consistent dome shapes and preventing messy spills in your oven.
- Avoid Overbaking at All Costs: Overbaking is the quickest way to dry out cupcakes, turning them from moist and tender to crumbly and unappetizing. Start checking for doneness at the minimum bake time specified in the recipe. Cupcakes are done when a wooden skewer or toothpick inserted into the center comes out clean or with just a few moist crumbs attached. The edges should be lightly golden, and the tops should spring back gently when lightly touched.
- Cool Completely Before Frosting: Always let your cupcakes cool completely in the muffin pan for a few minutes after removing them from the oven, before transferring them to a wire rack to finish cooling to room temperature. Attempting to frost warm cupcakes will cause the frosting (especially a whipped ganache) to melt and slide right off, creating a messy situation. Patience during the cooling phase is rewarded with beautifully frosted cupcakes.
Storage and Make-Ahead Tips for Your Delicious Cupcakes
These easy yellow cupcakes are wonderfully versatile and perfect for making ahead, which can save you time and stress, especially when entertaining. Knowing how to store them properly will ensure they remain fresh, moist, and delicious for longer.
- Storing Unfrosted Cupcakes: Once your yellow cupcakes have completely cooled to room temperature, they can be stored in an airtight container at room temperature for up to 2-3 days. To extend their freshness even further, you can freeze unfrosted cupcakes. First, arrange them in a single layer on a baking sheet and freeze until firm (this prevents them from sticking together). Then, transfer them to a freezer-safe bag or container, removing as much air as possible, and store for up to 2 months. When you’re ready to enjoy them, simply thaw the frozen cupcakes at room temperature for a few hours before frosting.
- Storing Frosted Cupcakes: Cupcakes frosted with our luxurious whipped chocolate ganache are best stored in an airtight container in the refrigerator due to the fresh dairy content in the ganache. They will keep beautifully for up to 3-4 days when refrigerated. For the best flavor and texture of both the cake and the frosting, allow the frosted cupcakes to come to room temperature for about 15-30 minutes before serving. This softens the butter in the cake and the ganache, enhancing their creaminess.
- Make-Ahead Whipped Ganache: The unwhipped chocolate ganache can be an excellent component to prepare in advance. You can make the ganache mixture a day or two before you plan to bake and store it in an airtight container in the refrigerator. When you’re ready to whip it, simply take it out and let it sit at room temperature for about 30 minutes to soften slightly. Then, proceed with whipping as directed in the recipe. If, by chance, your ganache has become too firm in the fridge, you can gently warm it in 10-second intervals in the microwave, stirring well after each interval, until it reaches the right, thick but scoopable consistency suitable for whipping.
Creative Variations and Flavor Enhancements for Your Yellow Cupcakes
While these easy yellow cupcakes with whipped chocolate ganache are undeniably perfect as they are, there’s always room for a little creative twist! Customizing your batch can be a fun way to explore new flavor combinations or cater to different preferences. Here are a few ideas to enhance or vary your next batch of homemade yellow cupcakes:
- Alternative Frostings: If you’re looking for a change from chocolate, these versatile yellow cupcakes pair beautifully with a wide array of other frostings. Consider a classic vanilla buttercream for a pure, sweet flavor, a tangy cream cheese frosting for a delightful contrast, or even a vibrant lemon curd frosting for a burst of citrusy brightness. A peanut butter frosting would also be a fantastic pairing with the moist yellow cake.
- Citrus Zest Infusion: For a bright and refreshing note that perfectly complements the rich butter and sour cream in the cake, add 1-2 teaspoons of finely grated lemon or orange zest to the batter along with the wet ingredients. The citrus zest will infuse the cupcakes with a subtle, aromatic freshness without overpowering the classic yellow cake flavor.
- Almond Extract for Depth: If you enjoy a slightly different flavor profile, try substituting half a teaspoon of the vanilla extract with almond extract. Almond extract has a distinct, fragrant flavor that adds a sophisticated depth to baked goods. Just be mindful, as almond extract is quite potent, so a little goes a long way.
- Funfetti Style with Sprinkles: To create a festive “funfetti” style cupcake, gently fold in a handful (about ¼ to ½ cup) of colorful rainbow sprinkles into the batter just before scooping it into the liners. Alternatively, for a simpler festive touch, sprinkle them generously on top of the whipped chocolate ganache immediately after frosting.
- Add Mini Chocolate Chips: For the ultimate chocolate lover, consider folding in ½ cup of mini chocolate chips into the cupcake batter just before scooping it into the liners. This adds an extra layer of chocolatey goodness directly into the cake itself, making it even more decadent.
- Coffee Infusion: For a subtle mocha flavor that complements the chocolate ganache, you can add 1-2 teaspoons of instant espresso powder (dissolved in a tiny bit of hot water) to the cupcake batter. This will deepen the flavor of the chocolate ganache and add a lovely warmth to the yellow cake.
- Ground Oats Chocolate Chip Cookies
- Condensed Milk Granola
- Thick & Crunchy Chocolate Chip Cookies with Corn Flakes
- Chocolate Peanut Butter Cupcakes Version Two
- Cookies and Cream Cupcakes
Recipe: Easy Yellow Cupcakes with Whipped Chocolate Ganache
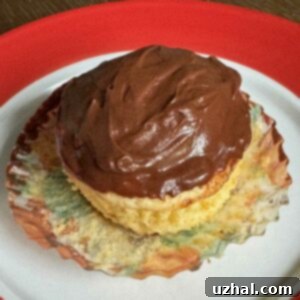
Easy Yellow Cupcakes
Anna
Pin Recipe
Ingredients
For the Easy Yellow Cupcakes
- 1 ½ cups all-purpose flour (210 grams)
- 1 cup granulated sugar (200 grams)
- 1 ½ teaspoons baking powder
- ½ teaspoon salt plus an extra pinch
- 1 stick unsalted butter, very soft and cut into chunks (114 grams)
- ½ cup sour cream, room temperature (120 grams)
- 1 large egg, room temperature
- 2 large egg yolks
- 1 ½ teaspoons vanilla extract
For the Whipped Chocolate Ganache
- 8 oz heavy cream
- 8 oz semisweet, bittersweet or dark chocolate, finely chopped (or a mix of your favorite baking chocolates)
Instructions
Making the Easy Yellow Cupcakes
-
Preheat your oven to 350° F (175° C). Line a 12-cup muffin pan with paper liners.
-
In the bowl of a stand mixer (or a large mixing bowl), combine the all-purpose flour, granulated sugar, baking powder, and salt. Mix on low speed with the paddle attachment (or by hand with a whisk) until these dry ingredients are thoroughly and evenly blended.
-
To the dry ingredients, add the very soft, chunked unsalted butter, room temperature sour cream, the large egg, two large egg yolks, and vanilla extract. Using a heavy-duty rubber scraper or spoon, stir until the ingredients are just combined and blended. Then, if using a stand mixer, beat on medium speed for approximately 20 seconds, scraping down the sides of the bowl as needed to ensure everything is incorporated. If you don’t have a stand mixer, you can mix everything together with a sturdy spoon and then beat with a handheld electric mixer for about 20 seconds. (While I haven’t tried mixing the batter fully by hand, its thick consistency might require considerable effort.)
-
Using a 2-ounce ice cream scoop, a large cookie scoop, or a generously heaping tablespoon, distribute the thick batter evenly into the prepared muffin cups, filling each approximately two-thirds full.
-
Bake for 20-24 minutes, or until the cupcakes are beautifully golden brown around the edges and a wooden skewer or toothpick inserted into the center comes out clean. Carefully remove the cupcakes from the muffin pan and transfer them to a wire rack. Allow them to cool completely for at least 45 minutes while you prepare the decadent whipped chocolate ganache frosting.
Crafting the Whipped Chocolate Ganache
-
Place your finely chopped chocolate in the clean bowl of your stand mixer (or a large heatproof bowl if you’ll be using a hand mixer later).
-
In a small saucepan, heat the heavy cream over medium heat on the stove, or in a microwave-safe bowl, just until it barely comes to a boil (small bubbles will appear around the edges). Immediately pour the hot cream over the chopped chocolate. Cover the bowl with a plate or plastic wrap and let it stand undisturbed for 5 minutes. This allows the residual heat from the cream to melt the chocolate effectively. After 5 minutes, uncover and stir gently with a spatula or whisk until the chocolate is completely melted and the mixture is smooth, glossy, and uniform.
-
Place the entire bowl of ganache into the refrigerator for approximately 30 to 40 minutes. The mixture needs to chill thoroughly until it is cold and thick, resembling a soft peanut butter or pudding-like consistency. It’s important to keep a close eye on it during this time; if it gets too cold or becomes too solid, it will be difficult to whip into a light, airy frosting. You want it firm but still pliable.
-
Once chilled to the right consistency, attach the bowl to your stand mixer (or use a hand mixer) and, using the whisk attachment, beat the ganache on medium-high speed until it becomes thick, creamy, and light, forming soft to medium peaks, similar to a rich chocolate buttercream. This usually takes 2-4 minutes. Be careful not to over-whip, as it can become grainy or separate.
-
Once your cupcakes are completely cool and the ganache is perfectly whipped, generously frost each cupcake using a spatula, spoon, or piping bag. Enjoy your decadent homemade masterpiece!
Notes
