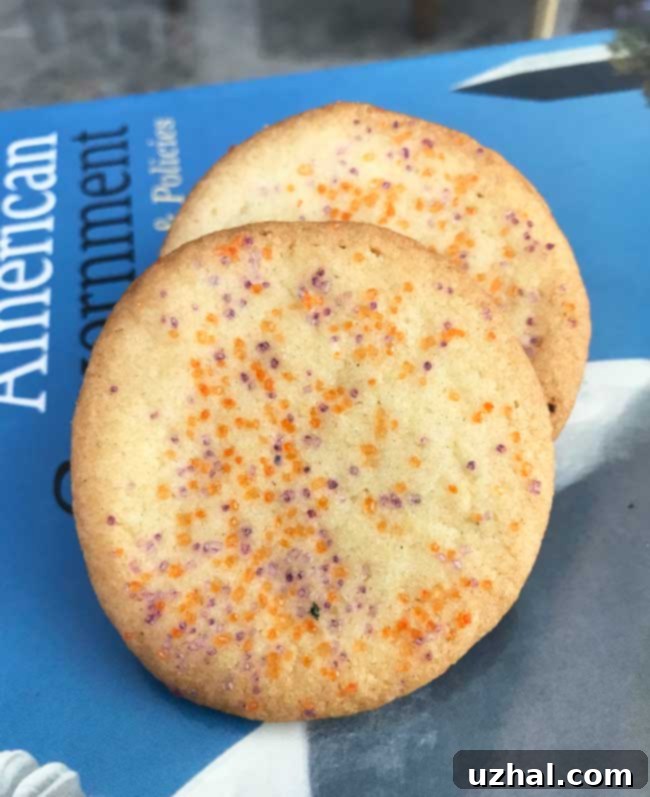
The Best Crisp Sugar Cookies Recipe: Achieving Perfect Texture Every Time
Imagine a sugar cookie that isn’t just sweet, but possesses an extraordinary crispness and a unique, delicate “sandy” texture that practically melts in your mouth. If that sounds like your ideal treat, then you’ve come to the right place. These particular cookies, sometimes affectionately known as Sawdust Cookies or Amish Sugar Cookies, stand apart from their chewier, more cake-like counterparts. Their secret lies in a clever combination of butter and oil, a duo that delivers both rich flavor and that irresistible, signature crispness. While they might not be the best choice for intricate cut-out shapes, they are absolutely perfect for simple, delightful rounds that readily embrace a generous sprinkle of your favorite decorations.
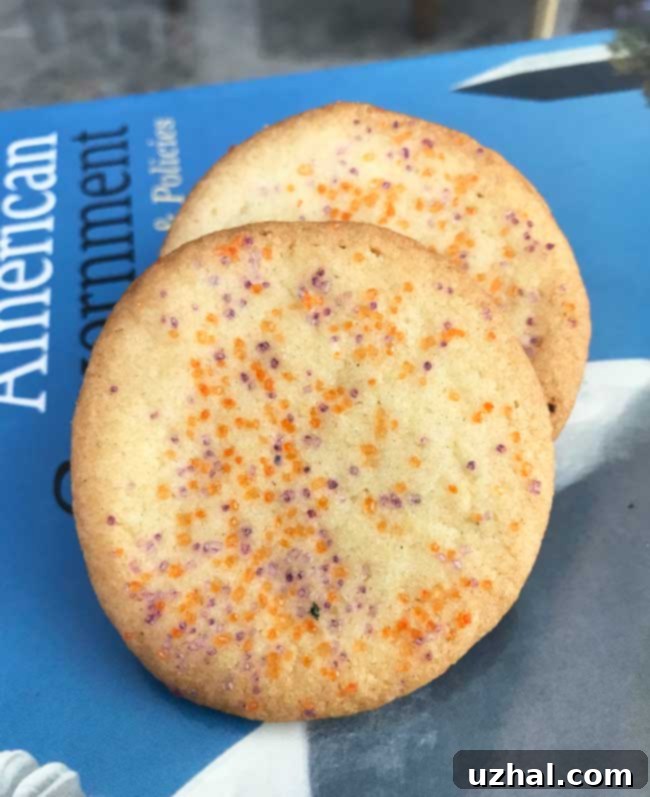
These cookies are designed to be thin, small, and wonderfully crisp, making them an ideal canvas for vibrant sprinkles. Whether you’re baking for a special occasion or simply craving a sweet snack, their delicate structure and satisfying crunch make them truly addictive.
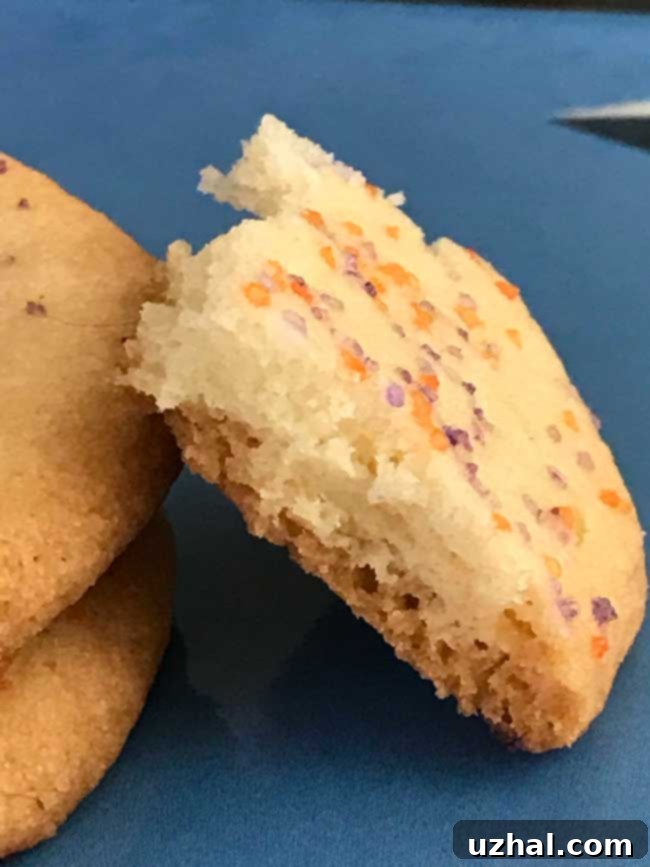
The Unique Blend: Butter for Flavor, Oil for Texture
The distinctive character of these sugar cookies comes from the ingenious use of both butter and vegetable oil. Butter, as any baker knows, is crucial for imparting a rich, classic flavor that is simply unmatched. It lends a depth and warmth to the cookies that sets them apart. However, it’s the addition of vegetable oil that truly transforms the texture. Oil helps to inhibit gluten development in the flour, resulting in a tender crumb that is less chewy and more prone to that wonderful crispness. Furthermore, the fat from the oil contributes to the “sandy” texture, giving the cookies a delicate, almost crumbly mouthfeel that is incredibly satisfying. This isn’t a soft, chewy sugar cookie; it’s a cookie with a distinct snap, a delightful crunch, and a subtle richness that keeps you reaching for more.
Mastering the Crispness: The Art of Flour Measurement
Achieving that coveted crisp texture is paramount for this recipe, and the most critical factor influencing it is the precise measurement of flour. This recipe, a slightly scaled-down (half batch) version, calls for 2 cups of all-purpose flour. It’s crucial to note that for these cookies, consistency is key: each cup of my flour weighed approximately 4.5 ounces (126 grams), totaling 252 grams for the two cups. Flour can be notoriously tricky to measure accurately by volume; a scooped cup can contain significantly more flour than a spooned and leveled cup, which can drastically alter your results. If your flour is too heavy, meaning you’ve packed too much into your measuring cup, your cookies will likely turn out tougher and less crisp, leaning more towards a cakey or chewy texture. For the absolute best results and to ensure that perfect crispness, we highly recommend using a digital kitchen scale to measure your flour by weight. This eliminates all guesswork and guarantees consistent outcomes every single time.
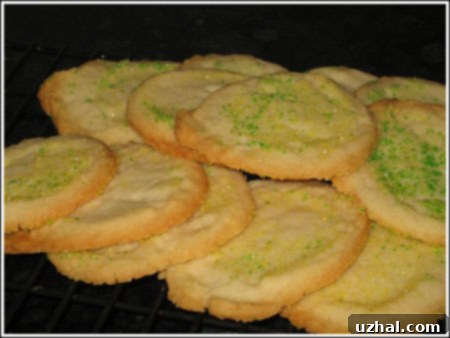
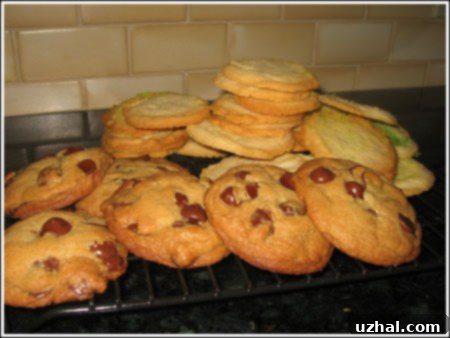
(Some older pictures – the deliciousness remains timeless!)
The Salt Factor: Salted Butter is Your Friend
Another subtle yet impactful detail for this recipe is the type of butter you use. This recipe truly shines with salted butter. The added salt helps to balance the sweetness, bringing out the depth of the other flavors and enhancing the overall taste profile. If your pantry only holds unsalted butter, don’t worry! You can easily adjust by increasing the amount of salt in the recipe by about ¼ teaspoon. This small modification will ensure your cookies still achieve that perfectly balanced flavor that makes them so irresistible.
A Deeper Look at the Ingredients and Their Roles
Every ingredient in this crisp sugar cookie recipe plays a vital role in creating its unique flavor and texture profile:
- All-Purpose Flour: Provides the structure for the cookie. Precise measurement is essential for crispness; too much can lead to a dense, tough cookie.
- Baking Soda & Cream of Tartar: These are your leavening agents. Baking soda reacts with the acidic cream of tartar to create carbon dioxide gas, which helps the cookies spread and become tender, contributing to their crisp snap.
- Salt: A flavor enhancer that balances the sweetness and brings out the full depth of the butter and other ingredients.
- Salted Butter (softened): Adds rich, dairy flavor and contributes to the cookie’s tenderness. Softened butter creams well with sugar, incorporating air for a lighter texture.
- Vegetable Oil: The unsung hero for texture. It contributes to the characteristic “sandy” texture by preventing excessive gluten formation and adds moisture, ensuring a tender, non-chewy crispness.
- Granulated Sugar: Provides sweetness and contributes to the crispness, especially when used to press the cookies down.
- Powdered Sugar: Also known as confectioners’ sugar, it contributes to the cookie’s tenderness and melt-in-your-mouth quality, as its fine particles dissolve more readily than granulated sugar.
- Vanilla Extract & Fresh Lemon Juice: Vanilla offers a classic warm flavor, while lemon juice brightens the overall taste, adding a subtle tang that complements the sweetness.
- Nutmeg (or Orange/Lemon Zest): A pinch of nutmeg adds a warm, aromatic note. Alternatively, a combination of orange and lemon zest can provide a brighter, more citrusy aroma, elevating the flavor complexity.
- Large Egg: Acts as a binder, holding the ingredients together, and contributes to the richness and a slightly golden hue.
Baking Success: Tips for Perfect Crisp Sugar Cookies
Beyond the ingredients, the baking process itself holds keys to unlocking the perfect crisp sugar cookie. Follow these steps carefully for the best results:
- Preheat Accurately: Ensure your oven is fully preheated to 375°F (190°C) before placing the cookies inside. A consistent oven temperature is vital for even baking and proper crispness.
- Sift Dry Ingredients: Sifting together flour, baking soda, and cream of tartar, then stirring in the salt, ensures these dry ingredients are well combined and evenly distributed throughout the dough. This prevents pockets of leavening agents and ensures a uniform rise and texture.
- Creaming Method is Key: In a separate bowl, thoroughly beat the softened butter, vegetable oil, granulated sugar, and powdered sugar until the mixture is light and creamy. This process incorporates air, which contributes to the cookies’ texture. Then, beat in the vanilla, lemon juice, and nutmeg (or zest), followed by the egg until just combined. Be careful not to overmix after adding the egg.
- Gentle Flour Incorporation: With a mixing spoon, gently stir the dry flour mixture into the butter mixture until it’s just combined. Overmixing at this stage can develop too much gluten, leading to tougher cookies. Mix until no dry streaks of flour remain, but stop as soon as it’s incorporated.
- Chilling the Dough (If Needed): If your dough feels too soft to handle, cover it and chill it for at least 1 hour. Chilling helps to firm up the fats, making the dough easier to work with and preventing excessive spreading during baking, which in turn contributes to a crisper cookie.
- Shaping for Uniformity: Drop the dough by rounded teaspoonfuls (or use a #70 scoop for consistent size) onto an ungreased baking sheet or one lined with parchment paper. Parchment paper is highly recommended for easy cleanup and preventing sticking.
- The Sugar Press Technique: Dip the bottom of a flat glass in granulated sugar and use it to gently press each dough ball down into a uniform circle. This not only flattens the cookies for even baking but also creates a lovely sugary crust on top, adding to the crispness and visual appeal.
- Bake to Golden Perfection: Bake for approximately 12 minutes, or until the edges are nicely browned and the centers are just set. Keep a close eye on them, as oven temperatures can vary. Over-baking can lead to overly hard cookies, while under-baking will result in less crispness.
Customization and Serving Suggestions
While these crisp sugar cookies are wonderful in their classic form, they are also incredibly versatile. Here are a few ideas to customize them:
- Sprinkle Extravaganza: As noted, these cookies take beautifully to sprinkles. Use colorful jimmies, nonpareils, or sanding sugar to match any holiday or theme. Add them right after pressing the dough before baking.
- Flavor Boosts: Experiment with different extracts. A touch of almond extract instead of or in addition to vanilla, or a hint of peppermint for a holiday twist, can transform the flavor profile.
- Citrus Zest: Beyond lemon, try orange or lime zest for a brighter, more aromatic cookie.
- Spice It Up: A pinch of cinnamon, cardamom, or even a very light touch of ginger can add warmth and complexity.
- Mini Chocolate Chips: For a twist, gently fold in a small amount of mini chocolate chips into the dough before chilling.
- Simple Glaze: If you desire a touch more sweetness and a different texture, a simple powdered sugar glaze (powdered sugar, a touch of milk, and a drop of vanilla or lemon juice) can be drizzled over the cooled cookies. However, note that this will soften the crispness slightly.
These crisp sugar cookies are perfect for sharing with friends and family, serving at parties, or simply enjoying with a cup of tea or coffee. Store them in an airtight container at room temperature to maintain their crispness for up to a week.
Recipe: Classic Crisp Sugar Cookies
Crisp Sugar Cookies
Cookie Madness
Pin Recipe
1 hour
10 minutes
1 hour 10 minutes
Dessert
American
40
Ingredients
- 2 cups all purpose flour 250 grams**
- ½ teaspoon baking soda
- ½ teaspoon cream of tartar
- ½ teaspoon salt
- 8 tablespoons salted butter softened
- ½ cup vegetable oil
- ½ cup granulated sugar
- ½ cup powdered sugar
- ½ teaspoon each – vanilla and fresh lemon juice
- 1 pinch nutmeg (or use ⅛ each orange and lemon zest
- 1 large egg
Instructions
-
Preheat oven to 375 degrees F (190°C). Prepare your baking sheets by lining them with parchment paper if desired, or simply leave them ungreased.
-
In a medium bowl, sift together the all-purpose flour, baking soda, and cream of tartar. Sifting ensures that these ingredients are well-distributed and free of lumps. Then, stir in the salt until everything is thoroughly combined. Set this dry mixture aside.
-
In a large mixing bowl, using an electric mixer, beat the softened salted butter, vegetable oil, granulated sugar, and powdered sugar together until the mixture is light, fluffy, and creamy, typically for 2-3 minutes. This step is crucial for incorporating air. Next, beat in the vanilla extract, fresh lemon juice, and the pinch of nutmeg (or citrus zest, if using). Finally, beat in the large egg until it is just combined; avoid overmixing at this stage.
-
Gradually add the reserved flour mixture to the wet ingredients. With a sturdy mixing spoon or on low speed with your electric mixer, stir until the flour is just incorporated and no dry streaks remain. Be careful not to overmix, as this can lead to tough cookies. If the dough feels overly soft or sticky, cover the bowl with plastic wrap and chill it in the refrigerator for at least 1 hour to firm it up. This will make it easier to handle and prevent excessive spreading during baking.
-
Drop rounded teaspoonfuls of dough (or use a #70 cookie scoop for consistent sizing) onto your prepared baking sheets, leaving about 2 inches between each cookie. Dip the bottom of a flat-bottomed glass in granulated sugar and use it to gently press each cookie dough ball down, flattening them into uniform circles. This helps ensure even baking and creates a beautiful, sugary top. If desired, you can sprinkle additional decorative sprinkles on top before baking. Bake for 10-12 minutes, or until the edges are nicely golden brown and the centers appear set. Do not overbake to maintain crispness. Remove from oven and let cool on the baking sheet for a few minutes before transferring to a wire rack to cool completely.
Notes
Conclusion: Your New Favorite Crisp Cookie
These Crisp Sugar Cookies offer a delightful departure from typical sugar cookie recipes. Their distinctive “sandy” texture, combined with an irresistible crispness and rich, balanced flavor, makes them truly memorable. Whether you call them Sawdust Cookies, Amish Sugar Cookies, or simply “the best crisp sugar cookies,” they are sure to become a cherished addition to your baking repertoire. With the simple tips for flour measurement, the right butter, and a dash of creativity for customization, you’re well on your way to baking a batch of truly extraordinary treats that everyone will adore. Happy baking!
