Effortless Excellence: The Best Self-Rising Flour Banana Bread Recipe
Discovering a truly remarkable banana bread recipe can feel like striking gold, especially when it’s as straightforward and delicious as this one made with self-rising flour. You might have found yourself with a bag of self-rising flour leftover from a batch of fluffy biscuits, paired with a few exceptionally ripe, spotty bananas on your counter. This was precisely the happy accident that led to the creation of this delightful recipe. What began as a resourceful way to use up ingredients quickly transformed into a kitchen staple. Now, many enthusiastic bakers find themselves intentionally purchasing self-rising flour with the sole purpose of whipping up this moist, flavorful banana bread.
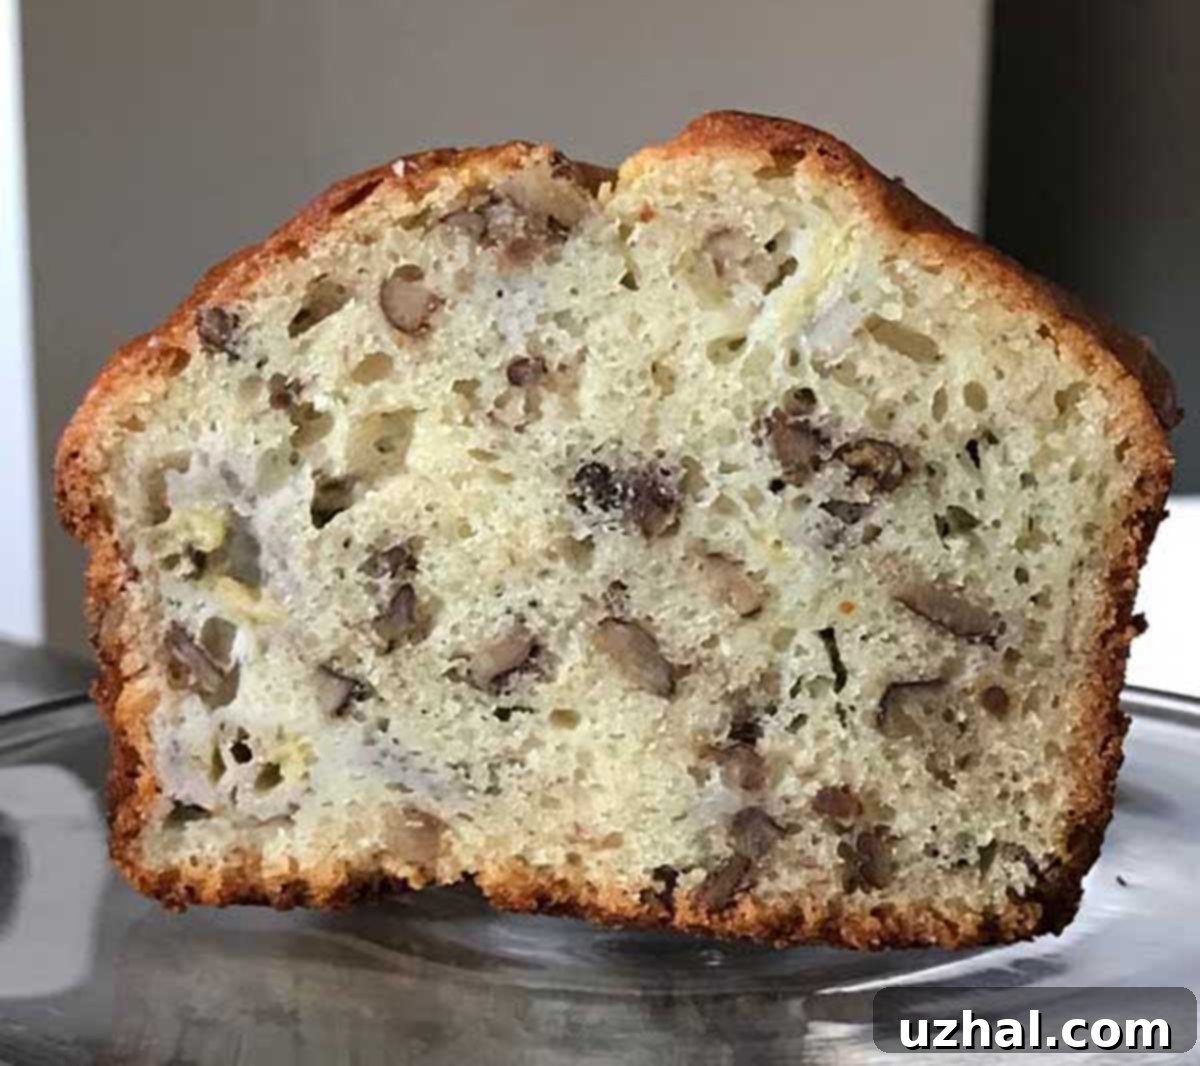
This isn’t just another banana bread recipe; it’s a beautifully simple, fundamental version that consistently delivers outstanding results. Expect a perfectly shaped loaf, boasting a charmingly domed top and an inviting crack running right down its center. The beauty of using self-rising flour lies in its convenience and the unique texture it imparts, making the baking process smoother and the outcome truly satisfying. Prepare for a banana bread experience that is not only easy to achieve but also incredibly rewarding, promising a comforting aroma filling your home and a tender slice of perfection waiting to be enjoyed.
Choosing the Right Self-Rising Flour for Your Banana Bread
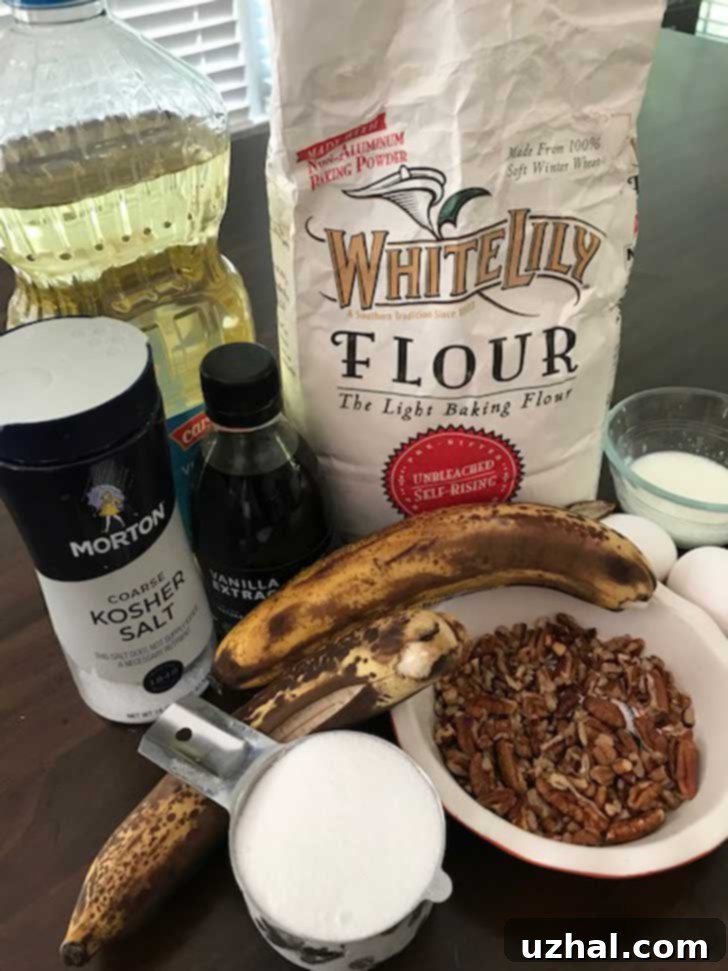
While the original inspiration for this self-rising flour banana bread recipe came from the trusted Martha White brand flour, the beauty of it is its adaptability. Many bakers, myself included, have found excellent results using other high-quality self-rising flours, such as White Lily, which is readily available online. The key takeaway here is that you don’t need to hunt for a specific brand; any reliable brand of self-rising flour will work wonderfully in this recipe. Each brand has a slightly different blend, but the core components of flour, leavening agent (baking powder), and salt remain consistent, ensuring your banana bread rises beautifully.
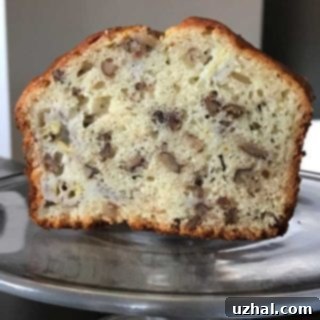
One notable characteristic of baking with self-rising flour, due to the inherent acidity of the baking powder it contains, is that your banana bread might bake up a bit paler than you’re used to, particularly on the inside. However, don’t be fooled by its lighter interior! It will still develop a gorgeous golden-brown crust, adding a delightful textural contrast. To achieve that coveted domed or slightly rounded top – a hallmark of a perfectly baked loaf – it’s crucial to follow the technique carefully. This means avoiding over-mashing your bananas to maintain some structural integrity and ensuring you don’t use excessive amounts of flour. With a bit of attention to detail, you’ll avoid a flat loaf and instead enjoy a beautifully risen, non-crumbly banana bread that’s moist and flavorful through and through. Also, you’ll notice there’s no salt listed in the ingredients; that’s because self-rising flour already incorporates salt, perfectly balancing the flavors.
Understanding Self-Rising vs. Self-Raising Flour: A Crucial Distinction
For many of us who grew up in the Southern US, self-rising flour is a familiar pantry staple, consistently stocked on grocery store shelves. It’s a convenient pre-mixed blend of all-purpose flour, baking powder, and a precise amount of salt. This combination saves a step in baking, as you don’t need to measure out separate leavening and seasoning agents. However, it’s a common misconception, one I only recently clarified for myself, that “self-rising” and “self-raising” flours are identical. They are not, and this distinction can significantly impact your baking results.
In many other countries, particularly in the UK and Commonwealth nations, “self-raising flour” is the common term, and its composition differs slightly. Self-raising flour typically contains only flour and baking powder, crucially omitting the salt. This difference is vital for recipes like our self-rising flour banana bread, which relies on the salt content in the flour for flavor balance and chemical reactions. If you are baking in a region where self-raising flour is the norm, or if that’s what you have on hand, you’ll need to make a small but important adjustment. To achieve the same delicious results as this recipe calls for, simply add approximately ¼ teaspoon of salt to your banana bread batter when using self-raising flour. This small addition will ensure your loaf has the correct flavor profile and texture, preventing it from tasting bland or lacking in structure.

The Secret to Tenderness: Buttermilk and Easy Substitutes
Buttermilk is a star ingredient in this banana bread recipe, contributing significantly to its incredibly moist texture and subtle tangy flavor. The acidity in buttermilk reacts with the leavening agents, creating a lighter crumb and an overall more tender loaf. However, buttermilk isn’t always a staple in every refrigerator, and you might find yourself without it when the banana bread craving strikes. Fear not, as a simple homemade substitute can come to your rescue!
To create a cup of buttermilk substitute, you generally combine 7 ½ ounces of regular milk (dairy or non-dairy) with 1 tablespoon (or ½ ounce) of an acidic agent like lemon juice or white vinegar. Let this mixture stand for about 10 minutes; you’ll notice it will curdle slightly, indicating it’s ready to use. For this particular banana bread recipe, you’ll only need 3 tablespoons of this mixture. This means you’ll have some leftover, which can be stored in the fridge for other baking needs or discarded. If you prefer to make only the exact amount required, you can measure out 3 tablespoons of milk and add a proportional ¾ teaspoon of lemon juice or vinegar. Stir it gently and let it sit for a few minutes until it thickens slightly.
For those who frequently find themselves needing buttermilk for recipes and want to avoid the last-minute scramble, investing in a canister of powdered buttermilk is a game-changer. Brands like Saco are widely available, and there are many other excellent options. Powdered buttermilk offers the convenience of having buttermilk on hand whenever you need it, simply by reconstituting it with water. I keep my canister of powdered buttermilk in the refrigerator, and it truly seems to last forever, making it a highly practical addition to any baker’s pantry. This ensures you’re always ready to bake this wonderfully moist banana bread without a hitch.
Exploring All-Purpose Flour Banana Bread Options
While this recipe champions the ease and unique qualities of self-rising flour, we understand that sometimes you might prefer or only have all-purpose flour on hand. If your baking plans lean towards using standard all-purpose flour, you still have fantastic options for making delicious banana bread. For a universally loved classic, I highly recommend the Starbucks Banana Bread Copycat recipe. It’s renowned for its perfect balance of sweetness and banana flavor, yielding a consistently moist and satisfying loaf that rivals your favorite coffee shop treat. This recipe is a go-to for many who appreciate a rich, tender crumb and that distinctive banana bread taste.
Another excellent choice for all-purpose flour banana bread, which I’ve only more recently discovered but have fallen completely in love with, is the Diamond Walnut Banana Bread recipe. Often found on the back of Diamond Walnuts bags, this recipe is a testament to the fact that sometimes the simplest, most traditional methods yield the best results. It beautifully incorporates the crunch and earthy flavor of walnuts, complementing the sweet bananas perfectly. Both of these all-purpose flour recipes provide a wonderful alternative, ensuring you can enjoy a homemade banana bread no matter which type of flour you have in your pantry.
Beyond Bread: Decadent Self-Rising Double Chocolate Cookies
If you’ve stocked up on self-rising flour for this amazing banana bread, don’t let the rest of the bag go to waste! Self-rising flour is incredibly versatile and can be used to create a variety of other delectable treats. One particular recipe that often gets overlooked, but absolutely deserves your attention, is for these Self-Rising Flour Double Chocolate Cookies. These cookies are truly exceptional and offer a unique texture that’s hard to achieve with regular flour.
What makes them so special? They are remarkably fudgy—almost like a soft piece of fudge in cookie form, yet they still maintain a lovely, slightly crisp cookie shell. The self-rising flour contributes to their tender, chewy interior and helps them achieve a perfect rise without additional leavening agents. If you’re a chocolate lover, these double chocolate cookies are a must-try. They are surprisingly easy to make and provide a rich, intense chocolate experience that will satisfy any sweet craving. Give them a whirl next time you have self-rising flour on hand; you might just find your new favorite cookie recipe!
Baking a Smaller Delight: The One Banana Half Batch Version
Sometimes, you don’t need a whole loaf of banana bread, or perhaps you only have a single, perfectly ripe banana begging to be used. This exact scenario unfolded with my daughter and me one evening. With just one very brown banana available, we decided to embark on a quick baking adventure, making a half batch of this beloved self-rising flour banana bread. It’s an ideal solution for a smaller household, a quick treat, or simply to test out the recipe without committing to a full loaf.
The half batch perfectly filled one mini loaf pan, typically measuring around 3×5 inches, along with a small soufflé-type ramekin dish. This yielded two adorable, perfectly portioned mini loaves. For baking, we utilized a Breville toaster oven, which proved to be incredibly efficient for these smaller portions. The very small but deep loaves were ready in approximately 45 minutes, a shorter baking time than a full-sized loaf, which is great for when you need a quick fix. The results were just as delightful as the full-sized version, with a beautiful domed top. The one baked in the ramekin was particularly charming, puffing up impressively and looking like a giant, irresistible muffin. This half-batch method is perfect for satisfying a sudden craving or for a thoughtful small gift, proving that even a single banana can lead to baking magic!
Recipe

Self-Rising Flour Banana Bread
Cookie Madness
Pin Recipe
Ingredients
- 1 ½ cups self-rising flour (190 grams)
- ⅔ cup granulated sugar (132 grams)
- 2 large eggs
- 3 tablespoons buttermilk (see notes for homemade substitute)
- 1 teaspoon vanilla extract
- ½ cup vegetable oil
- 2 large very ripe bananas (about 8 oz / 230 grams, mashed)
- ¾ cup chopped roasted pecans (or walnuts, optional)
Instructions
-
Prepare for Baking: Preheat your oven to 350°F (175°C). Prepare an 8 ½ by 4 ½ inch loaf pan by greasing only the bottom. For easier removal, you can optionally line the pan vertically with a strip of parchment paper, leaving an overhang on the sides to create a “sling.”
-
Combine Dry and Wet Ingredients: In a large mixing bowl, thoroughly whisk together the self-rising flour and granulated sugar. Create a well in the center, then add the eggs, buttermilk, and vanilla extract. Stir these wet ingredients into the dry until they are just combined and well blended, being careful not to overmix. Once smooth, gently stir in the vegetable oil until fully incorporated.
-
Add Bananas and Nuts: Mash the ripe bananas well, but leave a few small lumps for texture if desired. Fold the mashed bananas into the batter along with the chopped roasted pecans (or walnuts if you prefer). Mix until just distributed.
-
Bake to Perfection: Pour the batter evenly into your prepared loaf pan. Bake for 60-65 minutes, or until a wooden skewer inserted into the center of the loaf comes out clean. The top should be golden brown and domed.
-
Initial Cooling: Allow the banana bread to cool in the pan for about 10-15 minutes. This helps it firm up before removal. Carefully loosen the sides of the loaf by running a knife between the bread and the pan.
-
Complete Cooling: Once the loaf feels sturdy enough to handle, carefully lift it from the pan (using the parchment sling if you made one) and transfer it to a wire rack to cool completely. Slicing into a warm loaf is tempting, but fully cooled banana bread has the best texture and flavor.
Notes
Even More Self-Rising Flour Adventures!
Once you’ve experienced the sheer convenience and delicious results of baking with self-rising flour, you might find yourself eager to explore its full potential. This versatile flour isn’t just for quick breads; it can elevate many other recipes, making them simpler and faster to prepare. Dive into these additional ideas and discover new ways to use that bag of self-rising flour:
- A Collection of Recipes with Self-Rising Flour: Explore a broader range of sweet and savory dishes that benefit from this convenient flour, making your baking journey even more exciting.
- Weekend Baking Tip: How to Make Self-Rising Flour and Cake Flour at Home: If you ever run out of self-rising flour, or want to understand its components better, this guide teaches you how to whip up your own homemade version, along with cake flour for extra delicate bakes.
- Quick and Easy Chocolate Muffins with Self-Rising Flour: Perfect for a fast breakfast or a delightful snack, these muffins are incredibly simple to make, yielding tender and chocolatey results every time.
- Irresistible Self-Rising Flour White Chocolate Macadamia Cookies: Discover how self-rising flour can create wonderfully chewy and soft cookies. The combination of white chocolate and macadamia nuts is a timeless classic, made even easier with self-rising flour.
- Bake a Delightful Small Coconut Layer Cake: Who says self-rising flour is only for quick bakes? Use it to create a tender and fluffy small layer cake, perfect for intimate gatherings or when you want a little slice of celebratory sweetness without a huge undertaking.
