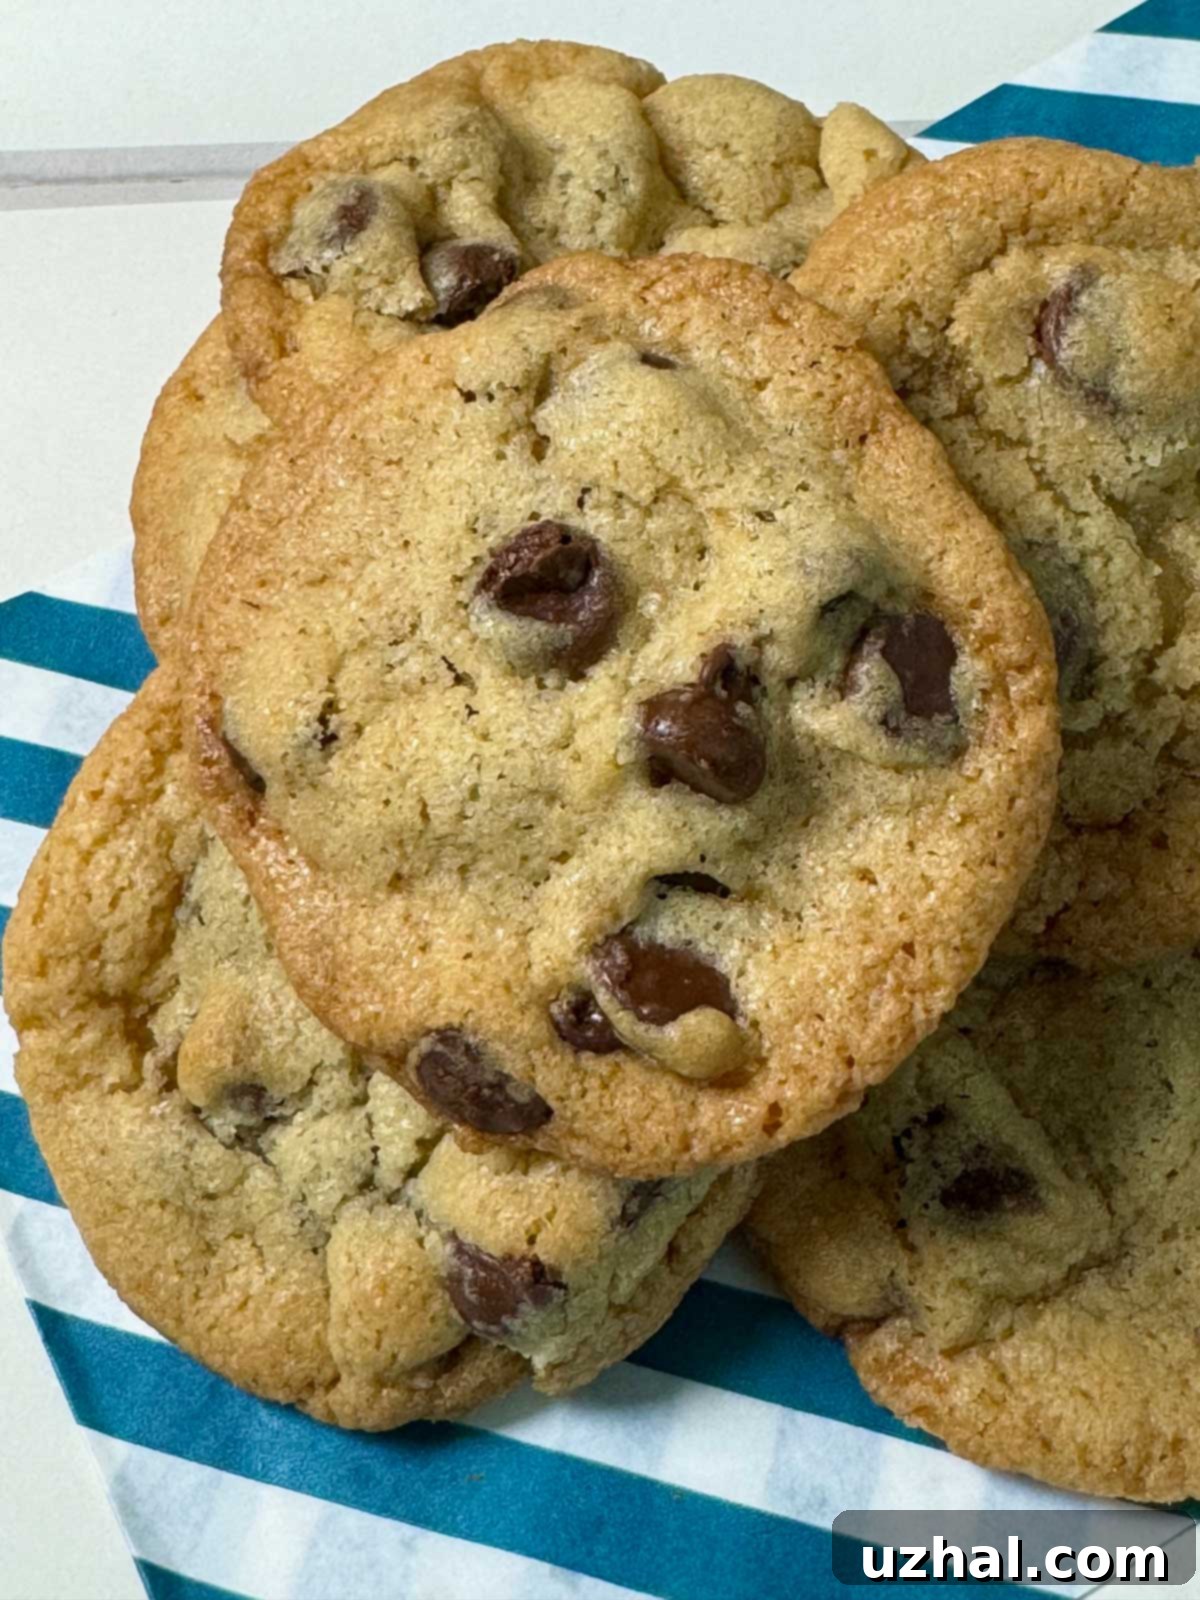
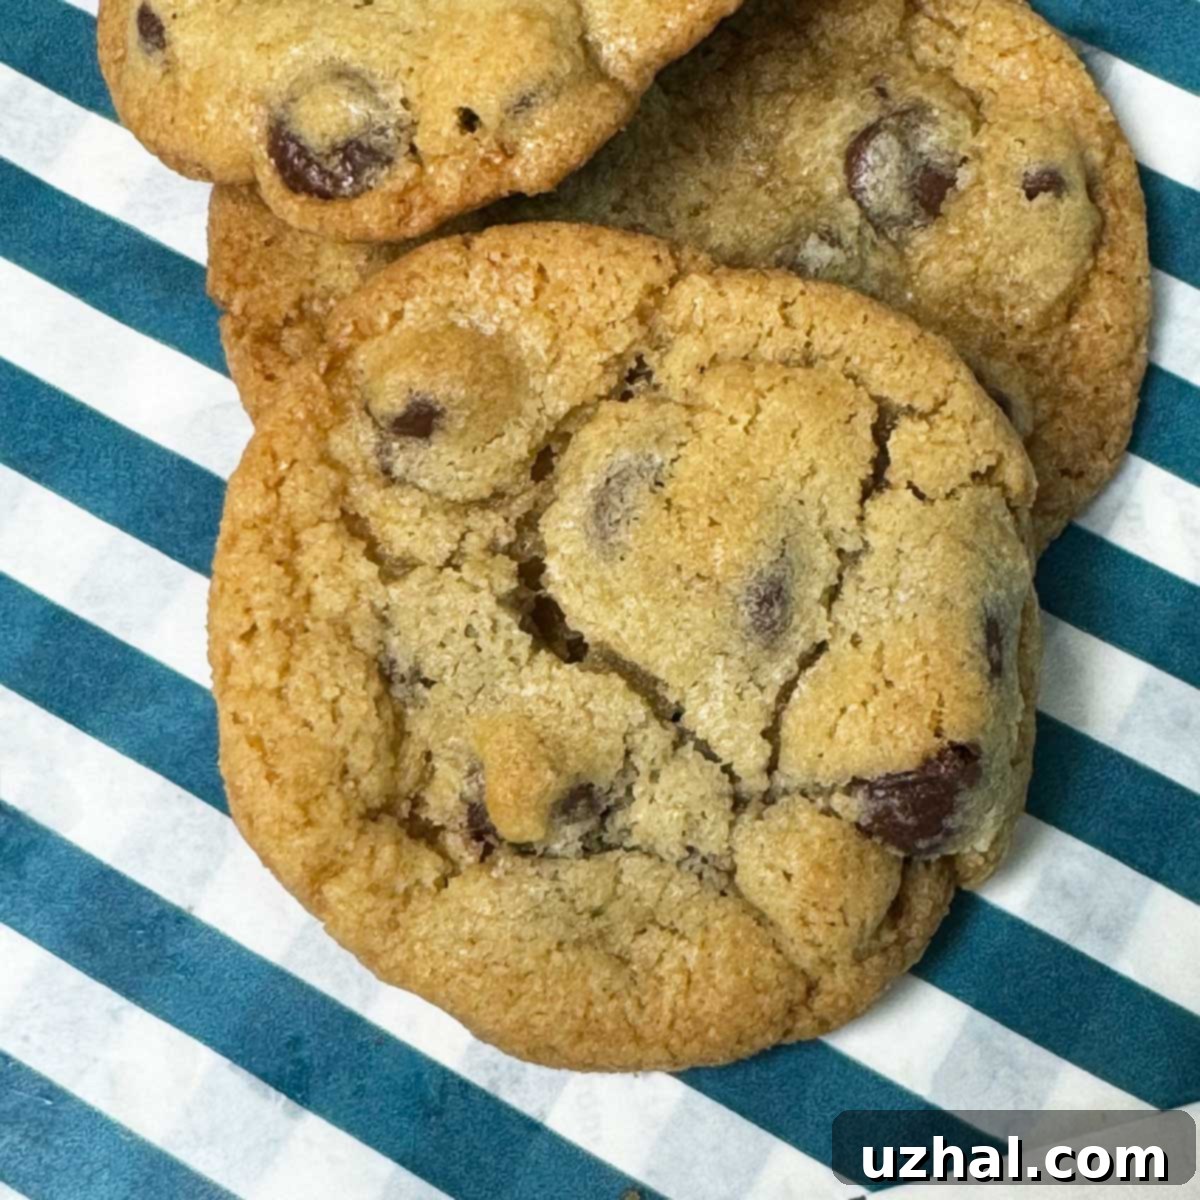
The Original Classic Crunchy Chocolate Chip Cookies Recipe: Achieve Perfect Crispiness Every Time
There’s something uniquely satisfying about a truly crunchy chocolate chip cookie – that delightful snap, followed by a sweet, buttery crumble. While many modern recipes lean towards soft and chewy, the enduring appeal of a crispy cookie remains undeniable. This particular recipe, a beloved classic from the 2005 edition of The King Arthur Cookie Companion, is dedicated to delivering just that: an exceptional crunch that stands the test of time. Over the years, King Arthur Flour has been commendable for their commitment to refining their recipes, often updating them on their website based on invaluable reviewer feedback and culinary advancements. If you compare this classic version to their current online offerings, you’ll observe subtle but significant differences in ratios of sugar, the amount of vinegar, and the baking temperature.
These variations are not arbitrary; they reflect a continuous quest for perfection and adaptation to evolving tastes. However, we firmly believe that this original 2005 formulation holds a special place, offering a distinct and robustly crunchy texture that is truly remarkable. While the updated recipes are fantastic in their own right, sometimes the old ways are the best ways, especially when you’re aiming for that nostalgic, crispy bite. This recipe, with its slightly different ingredient balance, is still incredibly solid and reliable. The key to its success lies in being mindful of the baking process and adhering to a few crucial techniques that ensure every cookie emerges perfectly crisp and golden brown.

Expert Tips for Achieving Perfectly Crunchy Chocolate Chip Cookies
Crafting the ideal crunchy chocolate chip cookie can sometimes feel like a delicate art, as even minor adjustments can significantly impact the final texture. Over the years, I’ve experimented with this Classic Crunchy Chocolate Chip Cookies recipe countless times, achieving consistently good results – though some batches were undeniably crunchier than others! To help you achieve that coveted crispness every single time, here are my top tips, backed by a bit of baking science:

-
Bake Immediately or Strategically Chill the Dough: You have a choice here, but understanding the impact is vital for ultimate crunch. When Classic Crunchy Chocolate Chip Cookies dough is baked immediately after mixing, the vinegar and baking soda have just reacted, creating a burst of air that helps the cookies puff slightly and set with a crisp texture. If you chill the dough, especially overnight, you’ll notice the cookies tend to bake up flatter and often browner. This isn’t necessarily a bad thing! Chilled dough allows the sugar to fully dissolve, leading to enhanced caramelization and promoting the Maillard reaction during baking. This reaction contributes significantly to a deeper flavor and a more consistent, golden-brown hue, which can also correlate with a more uniform crispness across the cookie. While some initial aeration might deflate, the benefits of chilling (especially for flavor development and a distinct flat crispness) are often worth it. For maximum lift and immediate crispness, bake right away. For deeper flavor and a flatter, more uniformly browned crunch, chill the dough for at least an hour, or even overnight.
-
Choose the Right Baking Sheet: The type of baking sheet you use plays a critical role in how your cookies crisp up. Avoid insulated cookie sheets at all costs if you’re aiming for crunch. Insulated sheets are designed to prevent the bottoms of cookies from browning too quickly, which also means they prevent adequate heat transfer for crisping. Instead, opt for a heavy-duty, uninsulated aluminum cookie sheet or a standard rimmed baking sheet. These conduct heat more efficiently and evenly, allowing the cookies to crisp up properly. Similarly, while Silpat silicone baking mats are excellent for non-stick purposes, they can sometimes create a barrier that traps moisture underneath the cookies, hindering their ability to get truly crispy. For the best crunchy results, parchment paper is usually the preferred choice, as it prevents sticking while still allowing for good heat transfer.
-
Embrace Shortening for Texture: In the quest for crispy cookies, shortening is your secret weapon. Unlike butter, which contains water, shortening is 100% fat. This lack of water means less steam is produced during baking, which in turn leads to a more tender, less cake-like crumb, and a crispier final product. Shortening also has a higher melting point than butter, meaning it holds its structure longer in the oven, contributing to less spread and a more consistent crispy texture. While an all-butter cookie offers a rich flavor, a blend of butter and shortening, as called for in this classic recipe, provides the best of both worlds: buttery flavor with an undeniable crunch. Don’t be tempted to swap it out for an all-butter alternative if crispiness is your goal.
-
Pack Your Brown Sugar Firmly: Sugar is not just for sweetness; it’s a critical component for cookie texture, particularly crispness. Brown sugar, with its molasses content, adds moisture and a slight chew, but in the right balance, it also contributes to crispness and caramelization. This recipe specifies “VERY firmly packed” brown sugar for a reason. If you’re not using a kitchen scale, it’s crucial to press the brown sugar down into your measuring cup until it’s completely compacted, leaving no air pockets. An under-measured amount of brown sugar will result in less sugar in your dough, directly impacting the cookie’s ability to crisp up as intended. More sugar means more opportunities for caramelization and structural integrity that supports a crunchy texture.
-
Weigh Your Flour for Precision: Baking is a science, and precision is paramount, especially when it comes to flour. Volumetric measurements (cups) can vary wildly depending on how you scoop and whether the flour is packed or sifted. This recipe, in both its original and updated forms, calls for 2 cups of flour, equating to 240-260 grams. Investing in a simple kitchen scale is one of the best things you can do for consistent baking results. Weighing your flour ensures you’re adding the exact amount needed for the perfect dough consistency, which directly translates to consistent cookie texture. Too much flour can lead to dry, crumbly cookies, while too little can make them spread excessively and become greasy. For true crunch, an accurate flour measurement is non-negotiable.
-
Bake Lower and Slower: This is a golden rule for achieving ultimate crunch. If your cookies aren’t as crispy as you’d like the first time around, try reducing your oven temperature by 25 degrees Fahrenheit (e.g., from 350°F to 325°F) and increasing the baking time. Baking at a slightly lower temperature for a longer duration allows the moisture in the cookies to evaporate gradually and evenly. This process helps to dry out the cookie throughout, from the center to the edges, without burning the exterior. High-temperature baking tends to set the edges quickly while leaving the center softer, but a lower and slower approach ensures uniform baking and maximum crispness. Keep a close eye on them, and bake until they are deeply golden brown across the entire surface.

Craving Chewy Instead? A Classic Chocolate Chip Cookie Variation
While this article champions the classic crunchy chocolate chip cookie, we understand that cookie preferences are wonderfully diverse! If you find yourself in the mood for a softer, semi-chewy cookie rather than a crisp one, King Arthur Flour also offers fantastic alternatives. For instance, their website features a chocolate chip cookie recipe that’s similar to this classic, yet crafted to deliver a delightful chew. Key differences in that variation include a bit less sugar (which can reduce crispness and promote chewiness) and a higher baking temperature (which sets the cookie faster, trapping more moisture). They also often incorporate a touch of almond extract, which adds an intriguing layer of flavor that complements the chocolate beautifully. It’s a testament to how slight adjustments in ingredients and baking methods can completely transform a cookie’s texture, proving there’s a perfect chocolate chip cookie for every preference!
We hope these insights help you achieve your ultimate cookie goals, whether you’re a devout fan of the crunchy classic or occasionally stray to the chewy side. Now, let’s dive into the detailed recipe for those truly irresistible Classic Crunchy Chocolate Chip Cookies!
- Crunchy Oatmeal Chocolate Chip Cookies
- Classic Chocolate Layer Cake
- Crunchy Chocolate Chip Cookies Recipe — All Butter
- Frosted Cakey Brownie
- Top 10 Cookies Summer 2007
Recipe for Classic Crunchy Chocolate Chip Cookies

Classic Crunchy Chocolate Chip Cookies
Anna
Pin Recipe
Ingredients
- ½ cup butter unsalted, room temp (114 grams)
- ½ cup shortening regular or butter flavored (96 grams)
- 1 cup light brown sugar VERY firmly packed (230 grams)
- ½ cup granulated sugar 100 grams
- 2 teaspoons vanilla extract
- ¾ teaspoon salt
- 1 tablespoon apple cider or white vinegar
- 1 large egg
- 1 teaspoon baking soda
- 2 cups all-purpose flour all purpose (240-260 grams)
- 3 cups semisweet chocolate chips
Instructions
-
Preheat your oven to 350 degrees F (175°C). Line your baking sheets with parchment paper for easy release and even baking.
-
In a large mixing bowl, using an electric mixer, cream together the softened butter, shortening, light brown sugar, and granulated sugar until the mixture is light and fluffy. This step is crucial for incorporating air. Beat in the vanilla extract, salt, and vinegar until well combined.
-
Add the large egg and beat well, making sure to scrape down the sides of the bowl to ensure all ingredients are incorporated. Then, add the baking soda and continue to beat until it is thoroughly distributed throughout the mixture. Finally, gradually stir in the all-purpose flour until just combined. Be careful not to overmix. Fold in the semisweet chocolate chips until evenly distributed.
-
Drop the cookie dough by rounded tablespoonfuls or using a small cookie scoop onto the prepared baking sheets, leaving enough space between cookies for spreading. Bake for 10-14 minutes, or until the edges are golden brown and the centers appear set. The exact time will depend on your oven and desired crispness. Let the cookies cool on the baking sheet for a couple of minutes to firm up before carefully transferring them to a wire rack to cool completely. Cooling completely is essential for achieving maximum crunch.
