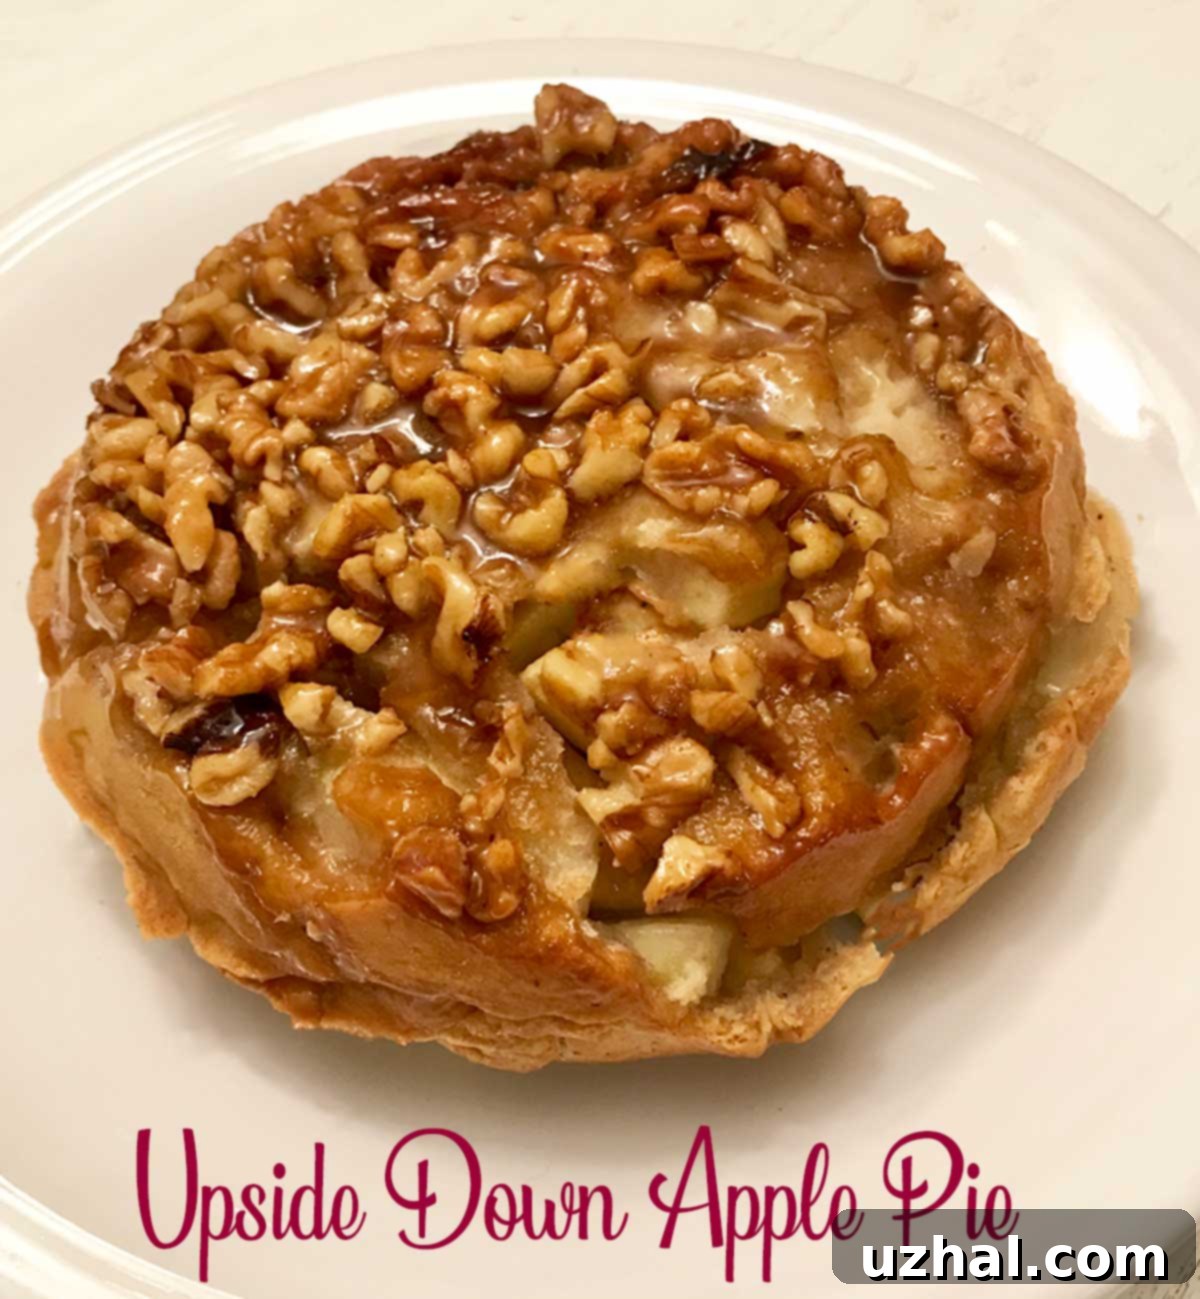
Irresistible Upside Down Apple Pie: The Easiest Recipe with Store-Bought Dough
Prepare to have your perception of apple pie transformed! Six years ago, I first encountered the wonder that is Upside Down Apple Pie, and it was nothing short of a revelation. This isn’t just another apple pie; it’s an experience that often surpasses its traditional counterpart, primarily due to its incredible buttery, brown sugar, and nut topping. Imagine a perfectly caramelized, slightly crunchy layer that forms the base (which eventually becomes the top!) of your pie, preventing any possibility of a soggy bottom crust and adding an unparalleled depth of flavor and texture.
What makes this particular recipe even more exciting is its clever use of ready-to-bake, rolled store-bought pie dough. While I deeply appreciate the art of scratch-made pastry, there are times when convenience is key, and this recipe proves that a high-quality, memorable dessert doesn’t always require hours of dough preparation. It truly elevates a convenience product into something extraordinary, making it perfect for busy weeknights or when you simply crave a fantastic pie without the fuss. Whether you’re making a full-sized version or our scaled-down six-inch Upside Down Apple Pie, this method promises delightful results.
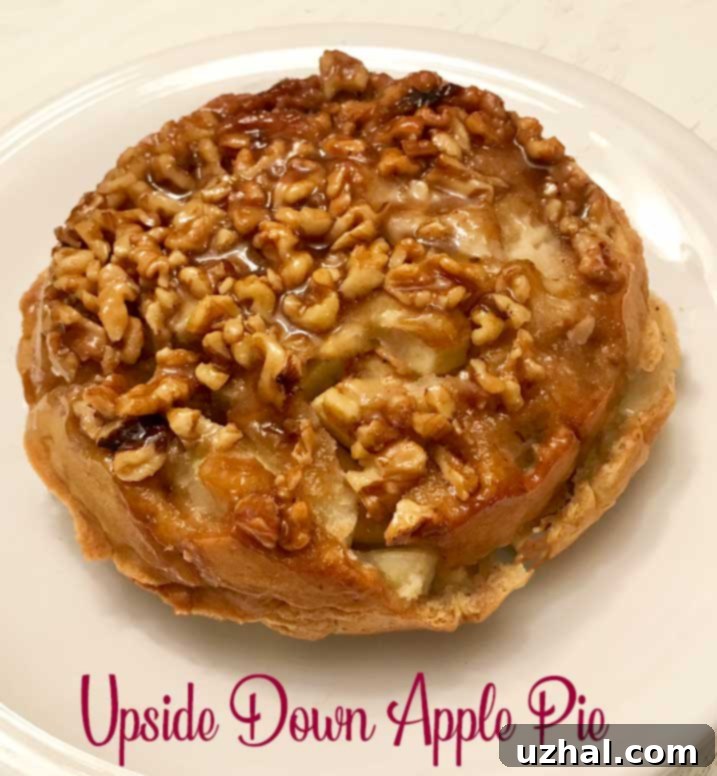
The Magic Behind Upside Down Apple Pie
So, what exactly sets an Upside Down Apple Pie apart? The clue is in the name! Unlike a traditional pie where the fruit filling is covered by a top crust, in this delightful variation, a sweet, buttery, and nutty mixture is spread at the bottom of the pie dish first. This mixture typically consists of melted butter, brown sugar, and chopped nuts (like pecans or walnuts). A pie crust is then laid over this delicious base, followed by the apple filling, and finally, a second crust (or, in our scaled-down version, a cleverly shaped half-crust) to seal everything in.
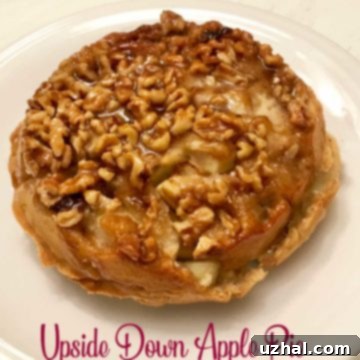
The real magic happens after baking. Once the pie cools slightly, it’s carefully inverted onto a serving plate. This ingenious flip transforms what was once the bottom of the pie into a glorious, caramelized, and nutty top crust. Not only does this technique guarantee a crisp, non-soggy bottom (which becomes the pie’s structural base after flipping), but it also creates a stunning visual presentation. The golden, glistening topping, studded with nuts, is an instant crowd-pleaser and a testament to the pie’s unique charm.
Scaling Down for Simplicity: The 6-Inch Upside Down Apple Pie
While the usual recipe for Upside Down Apple Pie often calls for a 9-inch pie dish and two rolls of dough, our version simplifies things beautifully. We focus on a more manageable 6-inch pie dish and, most remarkably, uses just one roll of store-bought pie dough to create both the bottom and top crusts. This smaller size is perfect for a smaller gathering, a special treat for two, or simply when you want a pie that bakes faster and is less overwhelming.
The technique remains largely similar to its larger counterpart: you still create that irresistible butter, brown sugar, and nut layer at the bottom of your greased 6-inch dish. The primary difference, and perhaps the most creative aspect of this recipe, lies in how we manage to derive two crusts from a single sheet of store-bought dough. It’s an elegant solution for a scaled-down pie that doesn’t compromise on that beloved upside-down experience.
Shaping the Pie Dough: A Clever Solution for a Small Pie
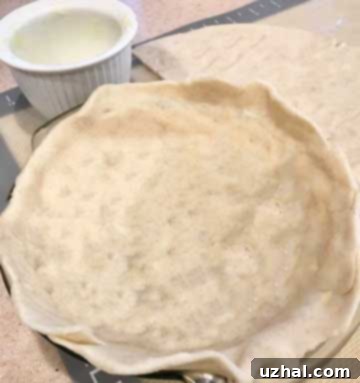
For a standard 9-inch pie, you’d typically use two full circles of pie dough. However, for our ingenious 6-inch pie, we’re making one roll of dough work double duty. The trick involves taking one rolled-out pie dough circle and carefully cutting it in half to create two semicircles. These semicircles will then form your top and bottom crusts. Since a semicircle isn’t a perfect fit for a round pie dish, a bit of trimming and patching is required, but it’s much simpler than it sounds!
You’ll gently lay one of your semicircles over the buttered, nut-filled pie dish. Don’t worry if it doesn’t cover perfectly. Simply trim off any excessively long edges that hang far over the rim. Then, take these trimmed pieces and delicately pinch them onto the areas of the semicircle where coverage is lacking, effectively creating a more complete circle with a small rim to hold the apple filling. The image provides a good visual, though your patched circle might look a bit neater with practice! The beauty of store-bought dough is its forgiving nature, so minimal overhandling won’t typically be an issue. Once the first crust is in place, with the nuts tucked underneath, your apple filling goes right into the middle.
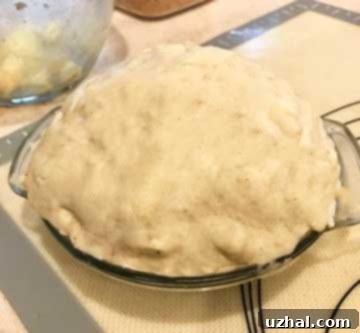
Next, you’ll take your second semicircle of dough and lay it over the prepared apple filling. Again, you’ll use scissors to trim any excess dough and then use those trimmings to patch and seal any exposed apples, ensuring the filling is fully encased within a neat dome of dough. At this stage, your pie will look very much like a conventional apple pie, with no hint of the delicious secret topping hidden underneath. But don’t worry, there’s no turning back! This pie is designed to flip perfectly, and if you’ve sealed the edges well, those apples will remain deliciously hidden inside. Should a small tear occur after flipping, a few extra nuts can easily cover it up, making it look intentional and even more inviting.
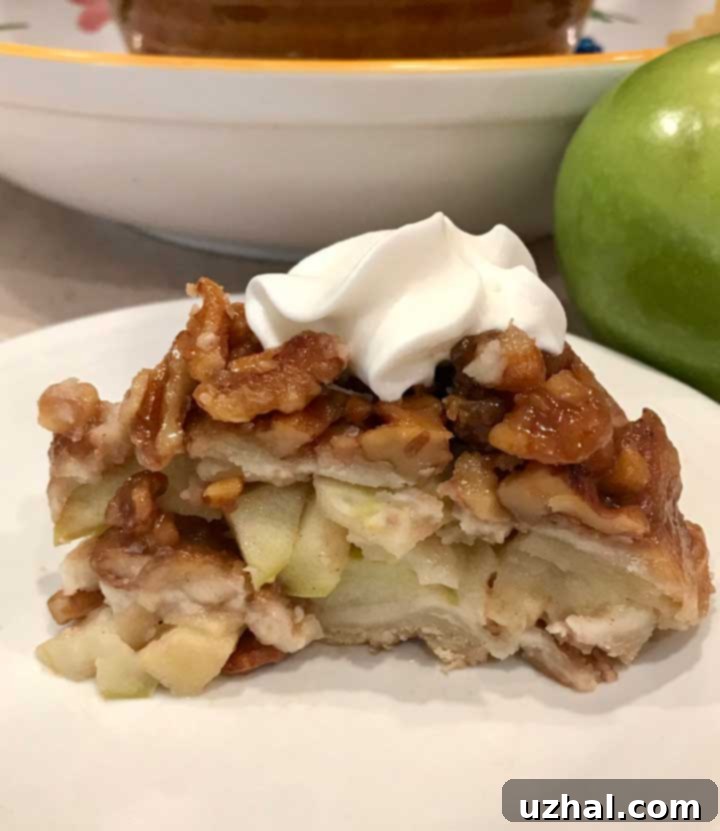
The moment of truth, when it’s time to turn the pie out of the pan, is always an exciting event that can gather everyone in the kitchen! While I can’t guarantee your warm slice will be as impeccably neat as the picture below, its taste will more than make up for it. And for those fortunate enough to have leftovers, the refrigerated slices are incredibly neat and perfect for a delightful breakfast treat. In fact, you might find yourself planning for breakfast leftovers!
Tips for a Perfect Upside Down Apple Pie
- Room Temperature Dough: Always allow your store-bought pie dough to sit at room temperature for about 15-20 minutes before unrolling. This makes it much more pliable and less prone to cracking when you roll it out and shape it.
- Don’t Skimp on the Butter and Brown Sugar: The topping is the star! Make sure your butter, brown sugar, and nut mixture is evenly spread and firmly pressed into the bottom of the pie dish. This creates that desirable, caramelized crust.
- Mix Your Apples: Using a combination of tart apples (like Granny Smith) and sweeter, firmer apples (like Fuji or Jonathan) provides a balanced flavor and texture. The Granny Smiths offer a delightful tang, while the sweeter varieties add depth and ensure the filling isn’t overly sour.
- Press Apples Tightly: When adding the apple mixture, press it down firmly. This helps to eliminate air pockets and ensures a solid, cohesive filling that holds its shape when flipped.
- Seal the Edges: While patching with trimmings, make sure to pinch the dough together securely around the edges. This prevents the apple filling from bubbling out during baking and keeps everything neatly contained.
- Cover Edges with Foil: If your pie crust edges start to brown too quickly during baking, loosely cover them with aluminum foil. This prevents burning while allowing the rest of the pie to cook thoroughly.
- Patience is Key for the Flip: Allow the pie to rest for at least 10 minutes after baking before attempting to flip it. This brief cooling period allows the caramel topping to set slightly, making for a cleaner release from the pan.
- Serving Warm: While delicious at any temperature, Upside Down Apple Pie is particularly enchanting when served warm, perhaps with a scoop of vanilla bean ice cream or a dollop of fresh whipped cream.
Variations to Customize Your Pie
While the classic Upside Down Apple Pie is phenomenal on its own, don’t hesitate to get creative with variations:
- Nut Alternatives: If pecans or walnuts aren’t your preference, try almonds or even a mix of different nuts for the topping. For a nut-free version, simply omit the nuts and increase the brown sugar slightly for a pure caramel crust.
- Spice It Up: Enhance the apple filling with a pinch of ground ginger, a touch of cardamom, or a tiny dash of allspice for a warmer, more complex flavor profile.
- Caramel Drizzle: For an extra layer of decadence, gently warm some store-bought caramel sauce and drizzle it over the pie after it’s flipped.
- Other Fruits: This upside-down technique isn’t just for apples! Consider trying it with pears, peaches, or a mix of berries for a seasonal twist.
This scaled-down Upside Down Apple Pie recipe offers a perfect balance of convenience and gourmet appeal. It’s a testament to how simple ingredients, combined with a clever technique, can result in an absolutely stunning and incredibly delicious dessert. Give it a try, and prepare to impress yourself and your loved ones with this easy yet elegant apple pie!
- Chocolate Marshmallow Squares
- Chocolate Sandwich Cookies
- Oatmeal Chocolate Chip Bars
- Double Chocolate Apple Butter Bread
- Apple Pie Muffins
Recipe: Easy 6-Inch Upside Down Apple Pie
Upside Down Apple Pie with Store Bought Dough
Anna
Pin Recipe
Ingredients
- ½ cup chopped pecans or walnuts
- ¼ cup packed brown sugar
- 3 tablespoons butter melted, plus about 1 tablespoon for greasing the dish
- ½ box ready-to-bake pie crusts (this means 1 single rolled-out crust)
- 2 medium Granny Smith apples (about 10 oz, peeled, cored, and cut into 1-inch chunks)
- 1 large red apple, Fuji or Jonathan (about 6 oz, peeled, cored, and cut into 1-inch chunks)
- 2 tablespoons granulated sugar
- 1 tablespoon all-purpose flour
- ½ teaspoon ground cinnamon
- ¼ teaspoon ground nutmeg
Instructions
-
Preheat your oven to 375 degrees F (190 C). While the oven heats, unroll your pie dough and let it sit at room temperature for approximately 15-20 minutes to become more pliable.
-
Generously brush the entire inside surface of a 6-inch pie dish with about a tablespoon of melted butter, ensuring all sides are coated.
-
In a small bowl, combine the chopped nuts, brown sugar, and 3 tablespoons of melted butter. Mix well until everything is coated. Spread this mixture evenly over the bottom of the greased pie dish, pressing it down firmly to create a compact layer.
-
Gently roll out the single pie dough circle just slightly larger than its original size, then cut it in half to form two semicircles. Carefully drape one semicircle of dough over the nut mixture in the pie dish. Trim any large overhanging edges with kitchen scissors. Use these trimmed pieces to patch and press around the edges of the semicircle to form a complete, enclosed circle with a small rim, ensuring the nuts are fully covered.
-
In a large bowl, combine the peeled and chopped apples, granulated sugar, all-purpose flour, ground cinnamon, and ground nutmeg. Toss gently until the apples are evenly coated. Spoon this apple mixture into the dough-lined pan, pressing it down as tightly as possible to fit in as much as you can. You may have a small amount leftover depending on apple size.
-
Lay the remaining semicircle of pie dough over the apple filling. Once again, trim excess dough with scissors and use the trimmings to patch and seal any exposed apples, effectively creating a neat, domed top crust. Press the edges of the top and bottom crusts together to seal thoroughly.
-
Bake in the preheated oven for 50 minutes. If the crust edges begin to brown too quickly, lightly cover them with aluminum foil. Once baked, let the pie stand at room temperature for 10 minutes before proceeding.
-
To serve, place a serving plate upside down over the pie dish. Carefully but confidently, flip the pie and the dish over together onto the plate. Gently lift the pie dish. Scrape any nuts or caramel that may have stuck to the pan onto the pie, using them to patch any small torn areas on the surface. Serve warm and enjoy!
