Classic Brownstone Front Cake: A Timeless Chocolate Loaf Recipe
In the world of baking, some recipes stand the test of time, becoming beloved classics passed down through generations. Among these cherished treats, the Brownstone Front Cake holds a special place. While many modern kitchens today embrace a variety of loaf pan chocolate cakes, the Brownstone Front Cake is, without a doubt, the original (OG) chocolate loaf cake, predating many of its contemporaries. Its origins trace back to a fascinating piece of American history, first appearing in a quaint pamphlet associated with the grand 1895 Cotton State and International Expo. This makes it more than just a cake; it’s a culinary artifact, a delicious link to the past.
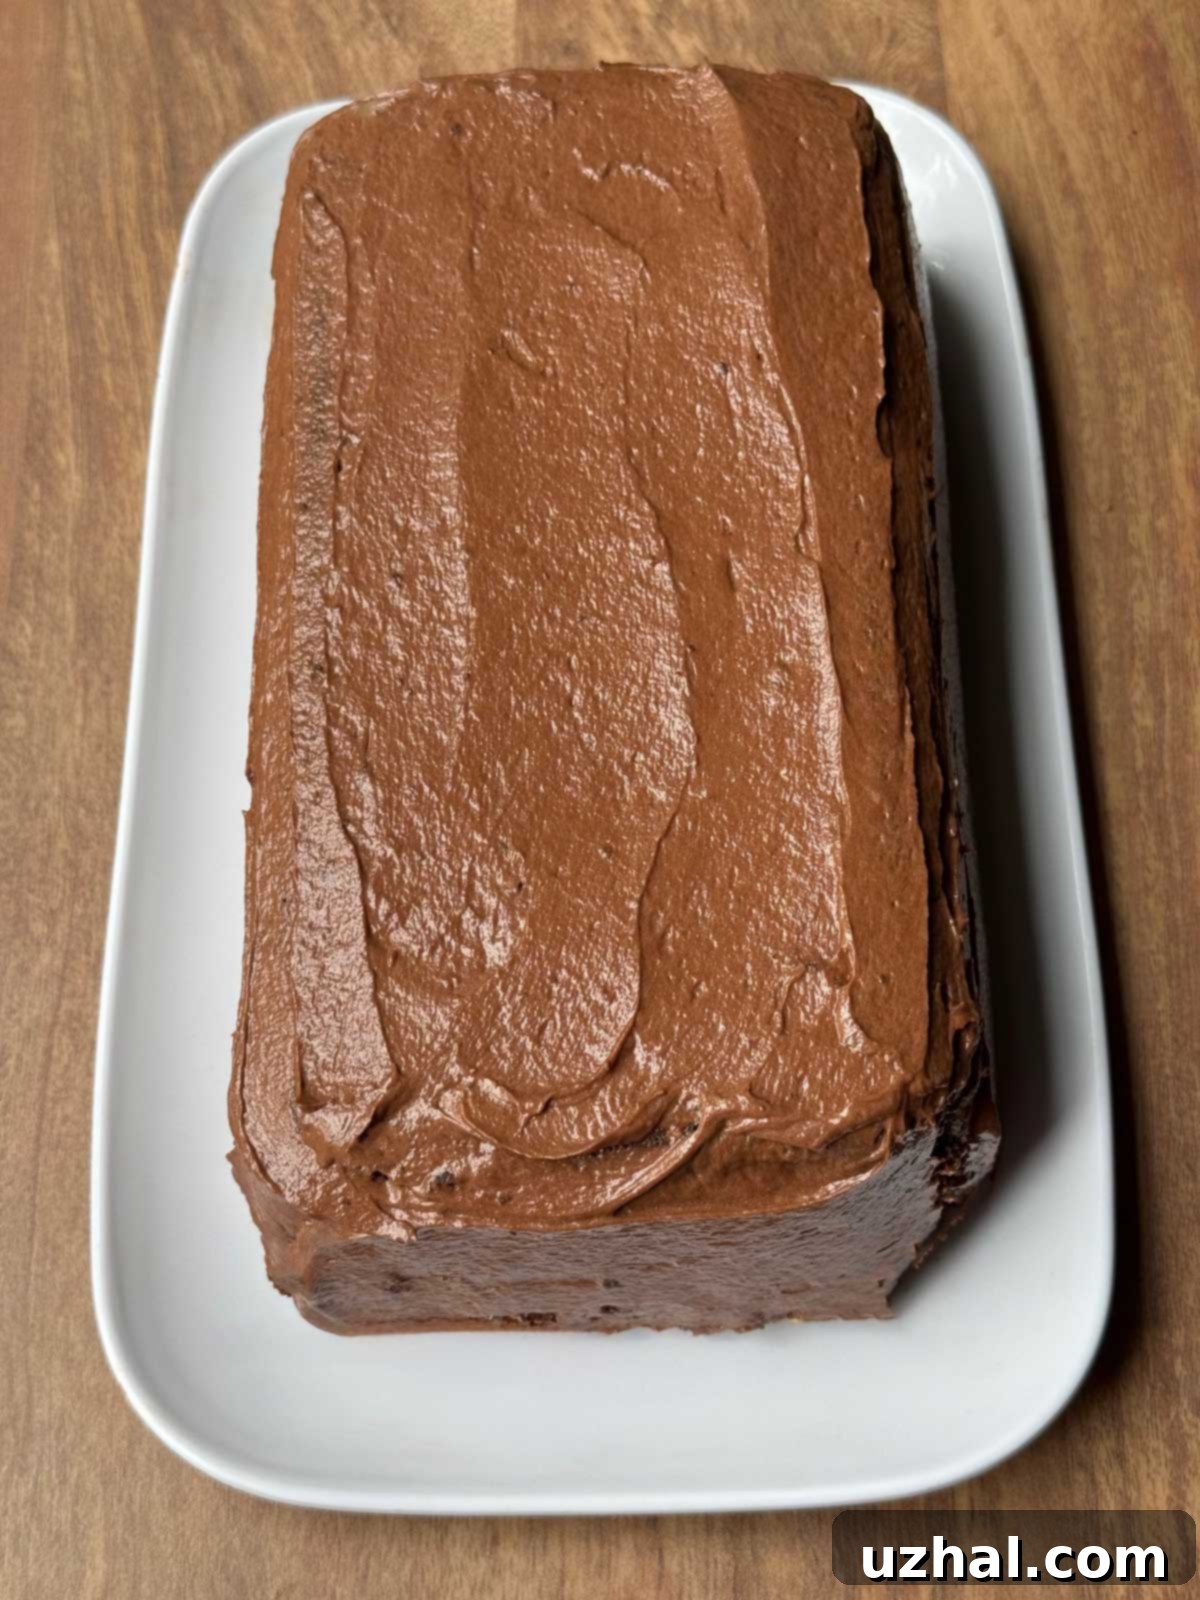
Named for its distinctive rectangular shape, which evokes the elegant fronts of brownstone buildings, this cake is as much a visual delight as it is a treat for the taste buds. Its presence in numerous historical cookbooks solidifies its status as a significant and enduring dessert. This rich chocolate cake, baked to perfection in a loaf pan, offers a unique blend of history and flavor, making it a truly special addition to any baking repertoire. Join us as we delve into the nuances of this classic recipe, exploring its variations, key ingredients, and expert tips to ensure your Brownstone Front Cake is nothing short of perfection.
Understanding Brownstone Front Cake Variations
Like many historic recipes, the Brownstone Front Cake has seen several interpretations over the years, each adding a unique twist while retaining the core essence of the original. Our recipe is a carefully adapted version, drawing inspiration from the rendition by Jeane Anderson, who, in turn, refined it from the esteemed pages of Ladies’ Home Journal and The American Heritage Cookbook. This lineage highlights the cake’s widespread popularity and the subtle evolution it underwent as it traveled through different kitchens.
Key Ingredient Choices and Their Impact
The beauty of these variations often lies in a few key ingredient swaps that can significantly alter the cake’s texture and flavor profile. Here’s a look at some common differences you might encounter:
- Eggs: Whipped Whites vs. Whole Eggs: Some early recipes for chocolate cakes, including certain variations of the Brownstone Front, called for separating eggs and whipping the whites to a stiff peak before folding them into the batter. This technique typically results in a lighter, airier crumb. Our chosen adaptation, however, utilizes whole eggs. This decision contributes to a more tender, moist, and slightly denser crumb – a characteristic many associate with a traditional loaf cake. Using whole eggs also simplifies the baking process, making it more accessible for home bakers.
- Dairy: Buttermilk vs. Sour Cream: Another point of divergence among Brownstone Front Cake recipes is the choice of dairy. Buttermilk is a common ingredient in many classic cakes, known for adding a delicate tang and enhancing tenderness through its acidity. However, for this particular recipe, we opt for full-fat sour cream. The decision to use sour cream is deliberate: it imparts an unparalleled richness and an incredible depth of moisture that elevates the cake’s overall texture and flavor. The higher fat content of full-fat sour cream contributes to a more decadent and tender crumb. While you might be tempted to use lighter versions, we strongly recommend sticking to full-fat for the best results, as it truly makes a difference in the cake’s characteristic moistness.
- Whole Milk Yogurt as an Alternative? For those curious about substitutions, we haven’t extensively tested this specific recipe with whole milk yogurt. However, given its similar fat content and tang to sour cream, it *might* work as a suitable alternative in a pinch, potentially offering a slightly different, perhaps tangier, flavor profile. If you decide to experiment, ensure it’s full-fat yogurt to maintain the desired richness and moisture.
Understanding these variations not only helps in appreciating the nuances of this historical cake but also empowers you to make informed choices if you ever decide to customize your own Brownstone Front Cake experience.
Choosing the Perfect Loaf Pan for Your Brownstone Front Cake
The humble loaf pan is central to the identity of the Brownstone Front Cake, giving it its iconic rectangular shape. However, not all loaf pans are created equal, and selecting the right size is crucial for achieving the desired outcome with this specific recipe. For the most authentic and consistently baked Brownstone Front Cake, a 9×5 inch metal loaf pan is the ideal choice.
Why 9×5 Inches is Essential
It often seems that baking pan sizes have subtly shifted over time. What once was a standard 9×5 inch loaf pan has, in many modern kitchens, been replaced by the slightly smaller 8½ by 4½ inch version. While this difference might appear minor, it can significantly impact your cake, especially for a recipe like the Brownstone Front Cake. This cake yields a generous amount of batter, and baking it in a smaller pan will lead to several issues:
- Increased Depth: A smaller pan means the batter will rise higher, creating a much deeper cake. This extra depth isn’t just aesthetic; it affects the baking process.
- Extended Baking Time: A deeper cake requires a longer time in the oven to cook through to the center. This increases the risk of the edges drying out before the middle is fully baked, potentially leading to a less moist crumb.
- Uneven Baking: The heat may not penetrate as evenly through a significantly deeper batter, which can result in a dome that cracks excessively or a less uniform texture throughout the cake.
Therefore, to ensure even baking, a tender crumb from edge to center, and the correct structural integrity, actively seek out a 9×5 inch loaf pan for this recipe. If you only have an 8½ by 4½ inch pan, you might consider slightly reducing the amount of batter you pour into the pan and baking any excess as cupcakes, or simply being prepared to significantly extend your baking time and keep a close eye on the cake to prevent over-browning.
Preparing Your Loaf Pan
Beyond size, proper pan preparation is key for easy release and a beautifully shaped cake:
- Grease and Flour: Thoroughly grease the inside of your metal loaf pan with butter or baking spray. Then, dust it with a light coating of flour, tapping out any excess. This creates a non-stick barrier.
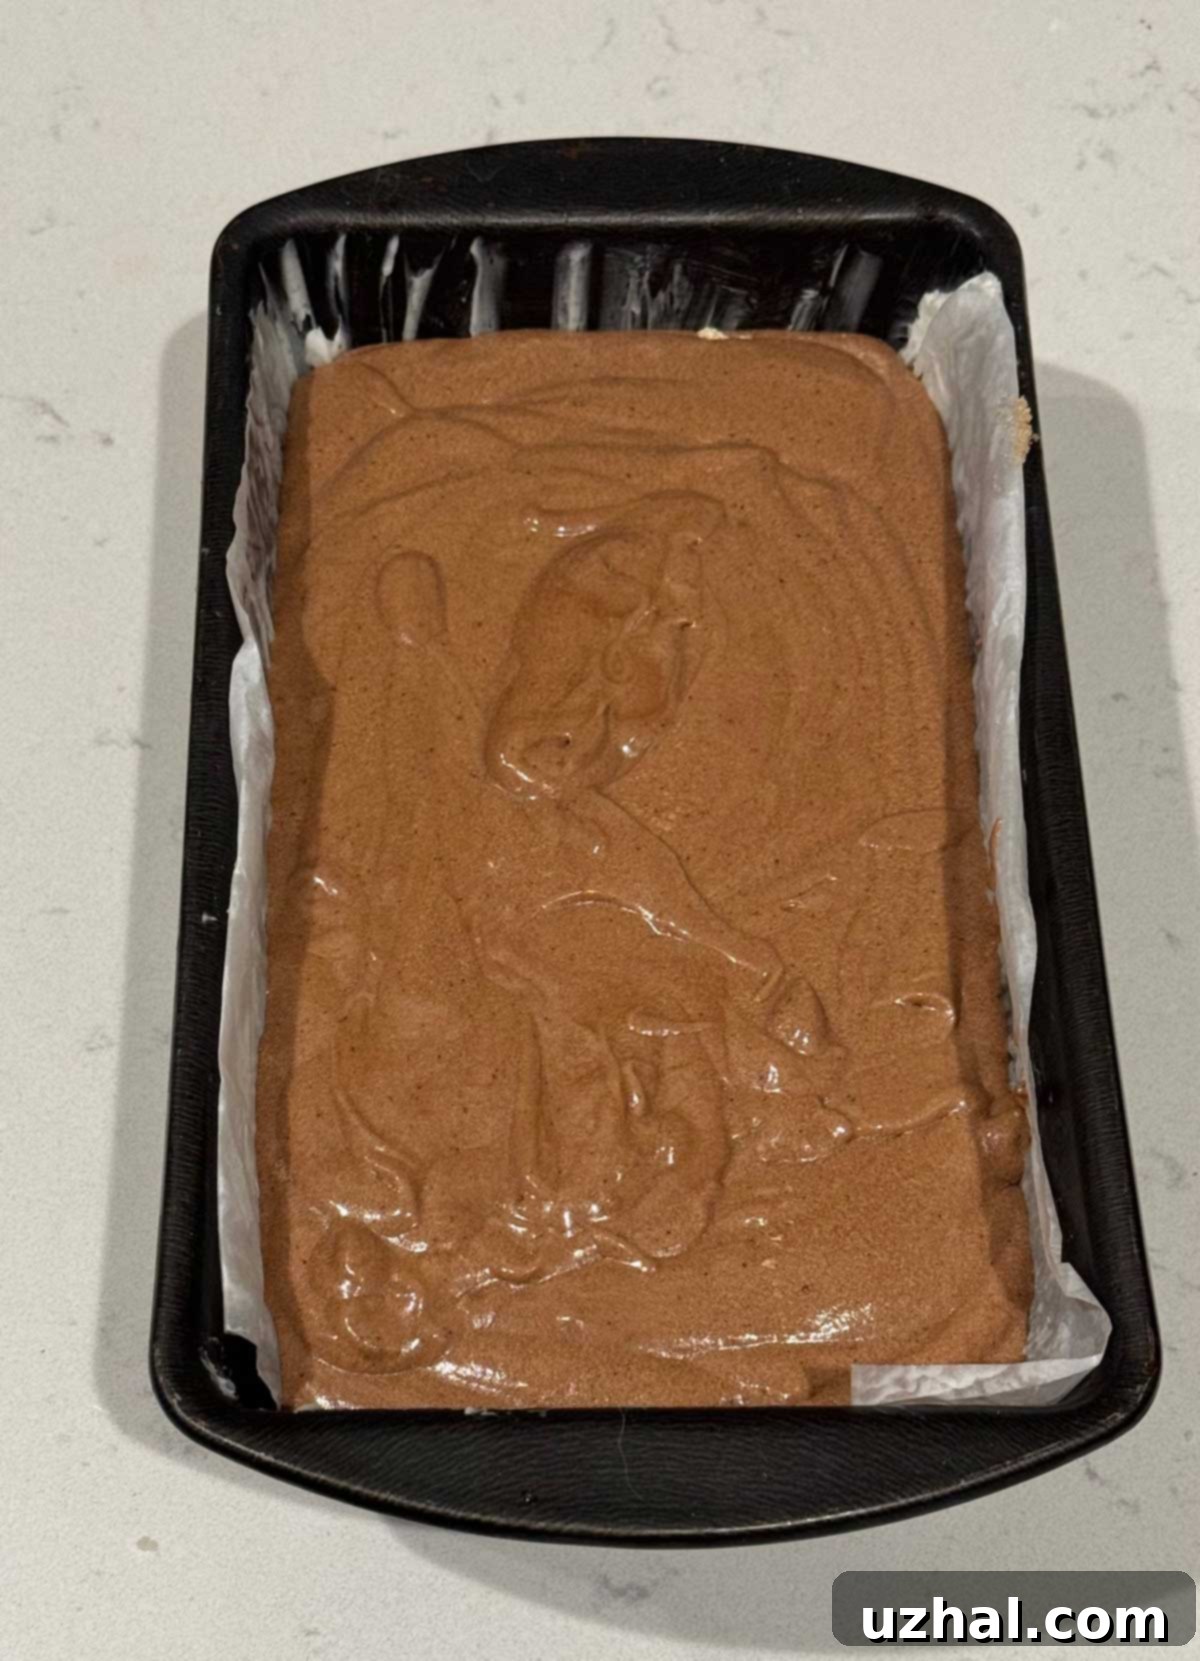
- Parchment Paper Lining: For an extra layer of insurance and incredibly easy removal, cut a strip of parchment paper to fit the bottom and extend up the two long sides of the pan, creating “slings.” Grease and flour the remaining exposed short sides. This method allows you to lift the cooled cake right out of the pan.
By paying attention to your loaf pan size and preparation, you set the stage for a successful and delightful Brownstone Front Cake.
Achieving the Perfect Crumb Texture and Delectable Frosting
The allure of the Brownstone Front Cake lies not only in its historical charm but also in its exquisitely balanced flavor and wonderfully moist crumb. Paired with a rich, smooth frosting, it creates an unforgettable dessert experience. Let’s explore the elements that contribute to these signature characteristics.
The Signature Crumb: Moist, Flavorful, and Not Overly Sweet
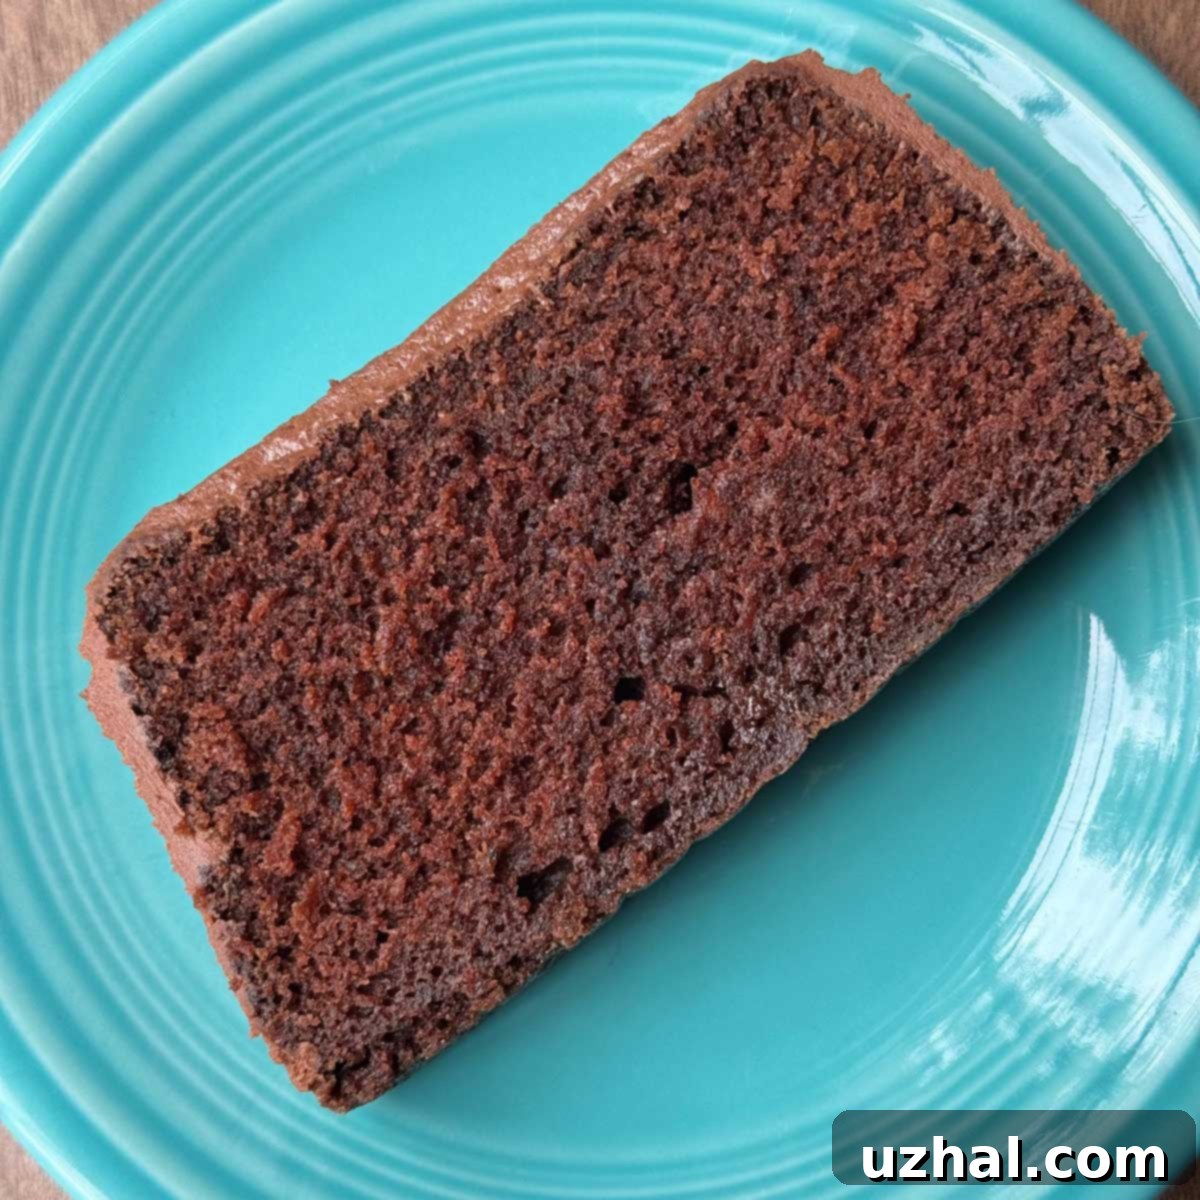
When you take your first bite of a Brownstone Front Cake, you’ll immediately notice its distinct crumb texture. It’s wonderfully moist and tender, yet substantial enough to feel satisfying. Here’s what makes it so special:
- Subtle Chocolate Flavor: This cake contains 2 ounces (56 grams) of unsweetened chocolate in the batter. This might seem like a modest amount for a chocolate cake, and that’s precisely the point. The unsweetened chocolate provides a deep, authentic chocolate background without being overwhelmingly sweet or intensely bitter. It allows other flavors to shine through, creating a more nuanced profile that distinguishes it from super-chocolatey modern cakes. It’s a sophisticated chocolate note rather than a bold, in-your-face cocoa punch.
- Moisture and Depth from Brown Sugar: A significant contributor to the cake’s exceptional moisture and rich flavor is the use of firmly packed brown sugar. Unlike granulated sugar, brown sugar contains molasses, which not only adds a beautiful caramel-like depth to the flavor but also helps retain moisture, resulting in that wonderfully soft and tender crumb. It imparts a subtle chewiness that complements the cake’s overall texture.
- Enhanced Flavor with Salt: While a seemingly small adjustment, we’ve increased the salt slightly from the original recipe. Salt is a flavor enhancer, and in chocolate recipes, it plays a vital role in balancing sweetness and making the chocolate flavor pop. Just a bit more salt ensures that every ingredient, especially the chocolate and brown sugar, is tasted to its fullest potential, preventing the cake from tasting flat or overly sweet. We recommend using Morton kosher salt for its clean flavor profile.
The combination of these elements yields a cake that is flavorful, remarkably moist, and possesses a comforting, homely appeal – a true testament to its classic heritage.
Crafting the Ideal Chocolate Frosting
No Brownstone Front Cake would be complete without its luscious chocolate frosting. The original recipe featured a frosting made with melted unsweetened chocolate, powdered sugar, butter, and a touch of milk and vanilla. While delicious, we’ve opted for a slightly revised approach that is equally satisfying and often more convenient for home bakers:
- Our Cocoa Powder Frosting: We’ve transitioned to a basic cocoa powder frosting, which offers a few advantages. Firstly, it often yields a slightly larger quantity, ensuring ample frosting for your entire loaf. Secondly, and perhaps most importantly, if you use a good quality unsweetened cocoa powder (such as Dutch-processed cocoa), the resulting frosting is just as rich, smooth, and deeply chocolatey as its melted chocolate counterpart. In fact, some argue that cocoa powder frostings can have an even more intense and purer chocolate flavor.
- Achieving Perfection: The key to this frosting is to beat the softened butter until creamy, gradually incorporate the powdered sugar, cocoa powder, and vanilla, and then add milk a tablespoon at a time until you reach your desired smooth, fluffy, and spreadable consistency. Don’t be afraid to adjust the milk content to get it just right – a thicker frosting provides more structure, while a slightly thinner one spreads more easily.
This cocoa powder frosting perfectly complements the cake’s moist crumb and subtle chocolate notes, adding a layer of indulgence that completes the Brownstone Front Cake experience. Its velvety texture and rich flavor provide a beautiful contrast to the tender cake, making each bite truly delightful.
The Enduring Appeal of Loaf Cakes
Beyond its rich history and delicious flavor, part of the Brownstone Front Cake’s timeless appeal lies in its format: the loaf cake. Loaf cakes, in general, are celebrated for their simplicity and versatility, making them a favorite in home kitchens worldwide. They offer a comforting, less formal alternative to multi-layered confections, yet they deliver just as much satisfaction.
Their rectangular shape makes them incredibly easy to slice, whether you’re serving thick, generous portions for a cozy dessert or thinner slices for a coffee break treat. They’re also remarkably portable, perfect for potlucks, picnics, or sharing with neighbors, often requiring nothing more than a simple wrap. This ease of transport and serving, combined with their ability to stay moist for days, contributes significantly to their enduring popularity. A loaf cake often feels more approachable than a towering layer cake, inviting everyone to enjoy a piece without fuss. The Brownstone Front Cake perfectly embodies these qualities, offering a slice of history in a practical, beloved form.
Expert Baking Tips for a Flawless Brownstone Front Cake
Even the simplest recipes benefit from a few expert tips to ensure perfect results every time. Here’s how to make your Brownstone Front Cake truly exceptional:
- Room Temperature Ingredients are Key: Ensure your eggs, butter, and sour cream are at room temperature. This allows them to emulsify better with other ingredients, creating a smoother, more uniform batter and a finer crumb texture. Cold ingredients can cause the batter to curdle or become lumpy.
- Measure Flour Correctly: For accuracy, spoon your flour into the measuring cup and then level it off with a straight edge (like the back of a knife). Scooping flour directly from the bag can compact it, leading to too much flour and a dry, dense cake.
- Don’t Overmix the Batter: Once you add the flour mixture, mix just until combined. Overmixing develops the gluten in the flour, which can result in a tough, chewy cake. A few lumps are perfectly fine; they’ll usually disappear during baking.
- Oven Temperature Accuracy: Ovens can vary significantly. Using an oven thermometer is a small investment that can make a huge difference in baking consistency. A properly calibrated oven ensures even baking and prevents burnt edges or undercooked centers.
- Testing for Doneness: The best way to check if your loaf cake is done is by inserting a wooden skewer or toothpick into the center. It should come out clean or with a few moist crumbs attached, but no wet batter. Remember that cooking times can vary, so trust your toothpick test over the clock.
- Proper Cooling is Crucial: Allow the cake to cool in the pan for about 15 minutes after baking. This allows it to firm up and prevents it from crumbling when inverted. Then, gently invert it onto a wire rack to cool completely. Cooling on a rack ensures air circulates around the entire cake, preventing condensation that could make the bottom soggy. Frost only when the cake is completely cool.
Serving and Storage Suggestions
Once your Brownstone Front Cake is baked and beautifully frosted, you’ll want to enjoy it at its best. Here are some serving and storage recommendations:
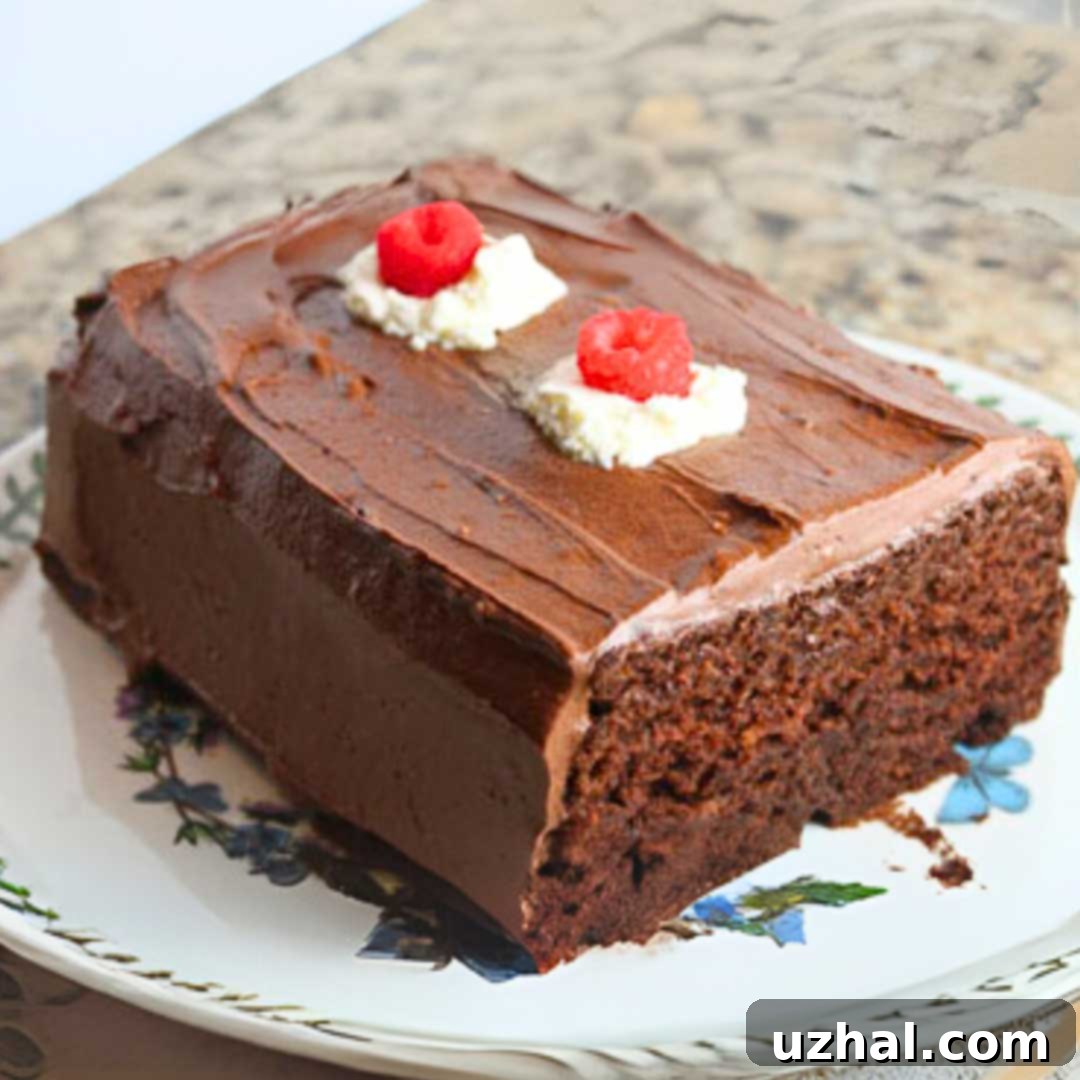
- Serving Suggestions: This cake is delightful on its own, a perfect accompaniment to a cup of coffee or tea. For a more indulgent treat, serve a slice slightly warmed with a scoop of vanilla bean ice cream or a dollop of fresh whipped cream. A sprinkle of chocolate shavings or a few fresh berries can also elevate its presentation.
- Storage at Room Temperature: The Brownstone Front Cake typically stays moist and fresh for 3-4 days when stored properly at room temperature. Keep it in an airtight container to prevent it from drying out. If your kitchen is particularly warm, you might consider refrigerating it.
- Refrigeration: If storing in the refrigerator, especially if frosted, ensure it’s in an airtight container to protect it from absorbing other food odors and to retain moisture. Bring it back to room temperature for about 30 minutes before serving for the best flavor and texture. It will last for up to a week in the fridge.
- Freezing for Later Enjoyment: This cake freezes exceptionally well, making it perfect for preparing ahead or saving leftovers. Wrap unfrosted slices or the entire loaf tightly in plastic wrap, then again in aluminum foil. It can be frozen for up to 2-3 months. Thaw overnight in the refrigerator, then bring to room temperature before frosting and serving. Frosted cake can also be frozen, though the frosting texture might change slightly upon thawing.
- Quick Chocolate Cupcakes with Flour Based Frosting
- Favorite Cocoa Layer Cake
- Mini Chocolate Chip Cream Cake
- Ten Great Chocolate Cakes
Recipe: Classic Brownstone Front Cake
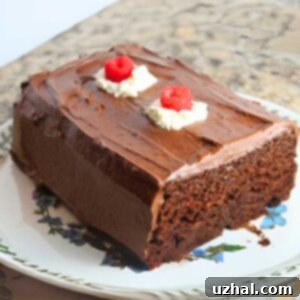
Classic Brownstone Front Cake
Anna
Pin Recipe
Ingredients
- 1 cup boiling water, divided use (230 grams)
- 2 oz unsweetened chocolate, chopped (56 grams)
- 1 ¾ cups all-purpose flour (230 grams)
- 1 teaspoon baking soda
- ½ teaspoon salt (Morton kosher)
- 4 oz unsalted butter, softened (114 grams)
- 1 ¾ cups firmly packed brown sugar (350 grams)
- 2 large eggs room temperature
- 1 tsp. vanilla extract
- ½ cup sour cream (120 grams)
Chocolate Frosting
- 4 tablespoons softened butter, unsalted or salted) (56 grams)
- 1 ½ cups powdered sugar (180 grams)
- ⅛ teaspoon salt plus a pinch or two as needed
- ⅓ cup unsweetened cocoa powder (30 grams)
- 1 teaspoon vanilla
- 2-4 tablespoons whole milk
Instructions
-
Preheat your oven to 325 °F (160 °C). Prepare a 9×5 inch metal loaf pan by greasing it thoroughly and lining the bottom and long sides with a rectangle of parchment paper. This will ensure easy removal of your finished cake.
-
In a microwave-safe 2-cup measuring cup or a small saucepan, bring ½ cup of the water to a rolling boil. Carefully add the chopped unsweetened chocolate and let it stand for a few minutes until the chocolate softens. Stir vigorously until it’s completely melted and smooth. To help cool the mixture down more quickly and ensure the total liquid amount is correct, stir in the remaining ½ cup of water (or room temperature coffee for a richer chocolate flavor). Set aside to cool slightly.
-
In a separate medium bowl, sift together the all-purpose flour, baking soda, and salt. Whisk these dry ingredients thoroughly to combine them evenly. Set this mixture aside.
-
In the bowl of a stand mixer fitted with the paddle attachment, or using a hand mixer, beat the softened unsalted butter on medium speed until it is light and creamy. Gradually add the firmly packed brown sugar and continue beating on high speed for about 3 minutes, scraping down the sides of the bowl as needed, until the mixture is light and fluffy.
-
Add the room temperature large eggs one at a time, beating for approximately 30 seconds after each addition to ensure they are fully incorporated. Once all eggs are mixed in, beat in the vanilla extract.
-
Gently stir the sour cream into the cooled chocolate mixture. A complete blend isn’t necessary at this stage; it will all come together later in the batter.
-
Alternately add the chocolate-sour cream mixture and the dry flour mixture to the butter-sugar mixture in three parts, beginning and ending with the dry ingredients. Mix on low speed until everything is just blended after each addition. Once all ingredients are incorporated, beat on medium speed for about 1 minute to ensure a smooth, even batter. Be careful not to overbeat, as this can make the cake tough.
-
Pour the prepared batter evenly into your greased and lined 9×5 inch loaf pan. Bake on the center rack of your preheated oven at 325 °F (160 °C) for one hour to one hour and 15 minutes. The cake is done when a wooden skewer or toothpick inserted into the center comes out clean or with only a few moist crumbs attached. Baking time can vary based on your oven and the specific dimensions of your loaf pan.
-
Once baked, let the cake cool in the pan for approximately 15 minutes. This allows it to firm up before handling. Then, carefully invert the loaf onto a wire rack to cool completely before frosting.
Chocolate Frosting
-
In a medium bowl, beat the softened butter (unsalted or salted) with half of the powdered sugar until smooth and creamy. Beat in the unsweetened cocoa powder and vanilla extract until well combined. Gradually add the whole milk, starting with 2 tablespoons, alternating with the remaining powdered sugar. Continue beating and scraping the sides of the bowl until the frosting is smooth, fluffy, and reaches your desired spreadable consistency. You may need up to 4 tablespoons of milk depending on the desired thickness. Spread generously over the completely cooled Brownstone Front Cake.
Why You’ll Love This Classic Chocolate Loaf Cake
The Classic Brownstone Front Cake is more than just a dessert; it’s a slice of history, a comforting treat, and a testament to enduring baking traditions. Its moist, tender crumb, subtle yet rich chocolate flavor, and easy-to-manage loaf format make it a perfect choice for any occasion. Whether you’re a seasoned baker looking to connect with a vintage recipe or a novice seeking a foolproof chocolate cake, this recipe is sure to become a beloved staple in your kitchen. Enjoy the delightful process of baking and savoring this timeless chocolate creation!
