Mastering the Marbled White Chocolate Cheesecake: Your Go-To Recipe for a Show-Stopping Homemade Dessert
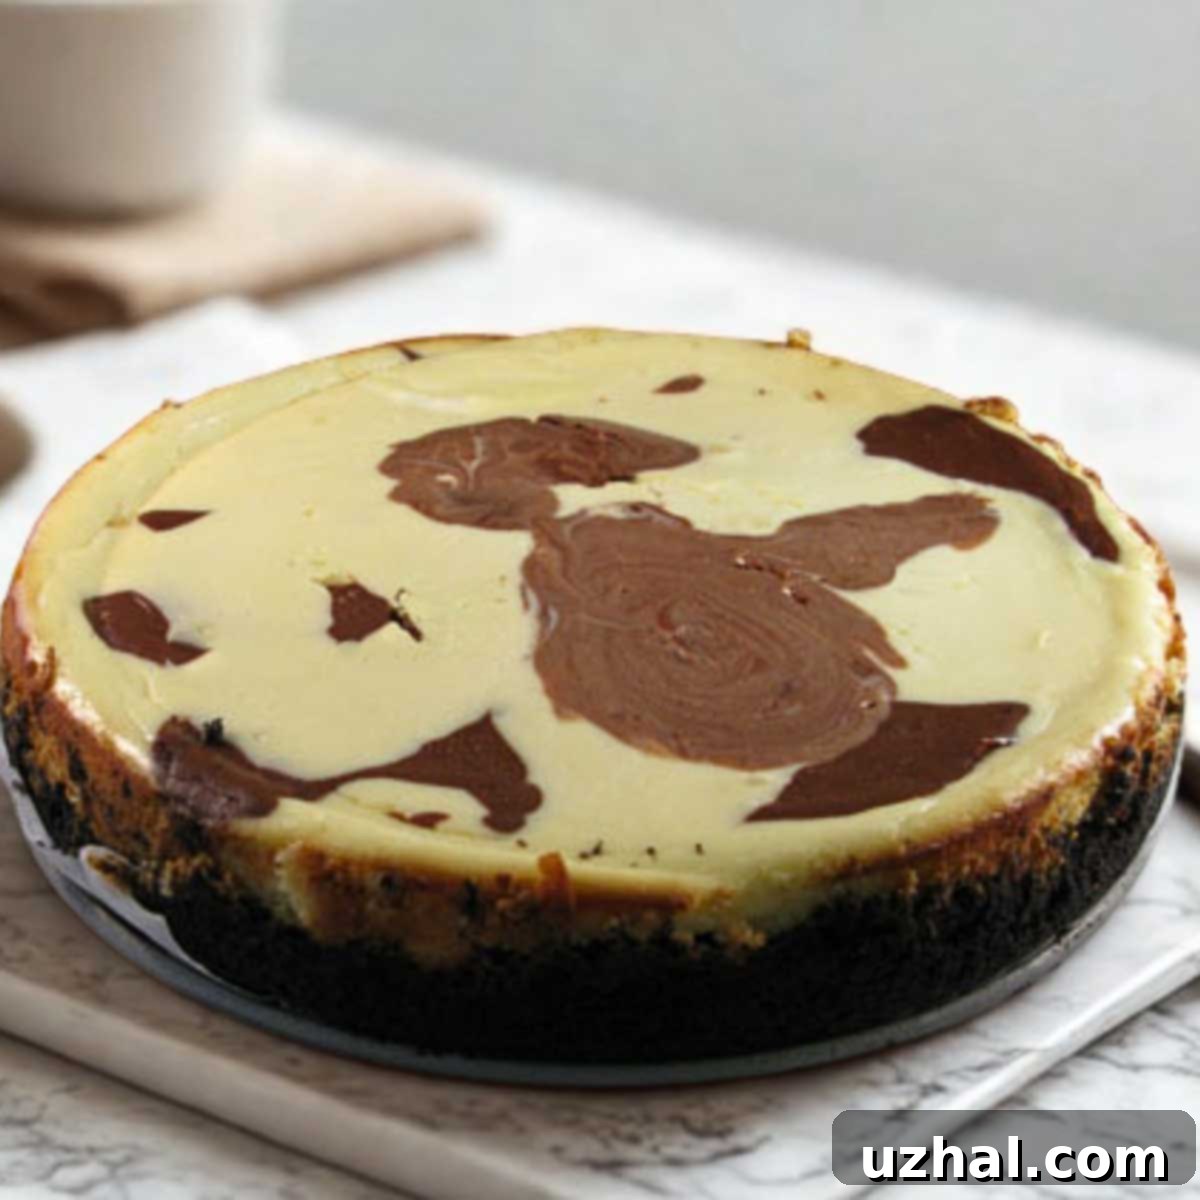
There’s an undeniable joy and a profound sense of accomplishment that comes with baking a cheesecake from scratch. Especially when that cheesecake manages to look incredibly sophisticated and gourmet, yet surprisingly comes together with just a handful of common pantry ingredients and a simple, artistic swirl of melted chocolate. This particular Marbled White Chocolate Cheesecake, a timeless classic drawing its inspiration from a beloved vintage Kraft recipe, truly excels on all fronts. It promises a dessert experience that is decadently smooth, remarkably rich, and visually captivating, all thanks to the dramatic marbled pattern created by a dark chocolate swirl over a luxurious, creamy white chocolate filling.

The foundation of this exquisite cheesecake is wonderfully straightforward: a crushed Oreo cookie crust. This buttery, chocolatey base bakes up to a delightful slight crispness, providing the perfect textural and flavor contrast to the soft, velvety smooth filling. From this simple start, the journey to a perfect cheesecake is one of mindful whisking, artful swirling, and allowing your oven to work its gentle magic. This recipe celebrates the simplicity of classic baking while delivering results that look anything but simple.
The Irresistible Allure of the Oreo Crust
Every great cheesecake begins with a phenomenal crust, and for this Marbled White Chocolate Cheesecake, nothing beats the classic appeal of an Oreo crust. Crushed Oreo cookies, blended with melted butter, create a dark, crumbly, and wonderfully chocolatey foundation that is both easy to make and incredibly satisfying. The slight bitterness of the dark chocolate cookie forms a harmonious balance with the sweet, rich white chocolate filling. This crust doesn’t just hold the cheesecake together; it adds another layer of flavor and texture that elevates each bite. If you’re feeling adventurous, you could experiment with other chocolate cookies, but the Oreo truly is the gold standard for its deep flavor and perfect texture.
Crafting the Silky White Chocolate Filling
The heart of this cheesecake is its creamy, dreamy white chocolate filling. Made with softened cream cheese, granulated sugar, and a hint of vanilla extract, the base is already a winner. The addition of melted white chocolate takes it to another level, infusing it with a subtle sweetness and an unparalleled creaminess. The key to a smooth, lump-free filling is to ensure your cream cheese is thoroughly softened to room temperature before you begin. This allows it to whip up light and airy, creating that signature cheesecake texture. Beating in the eggs gently, one at a time, ensures they are just incorporated without overmixing, which helps prevent cracks and maintains the delicate structure of the cheesecake as it bakes.
The Art of the Marble Swirl: Easier Than It Looks
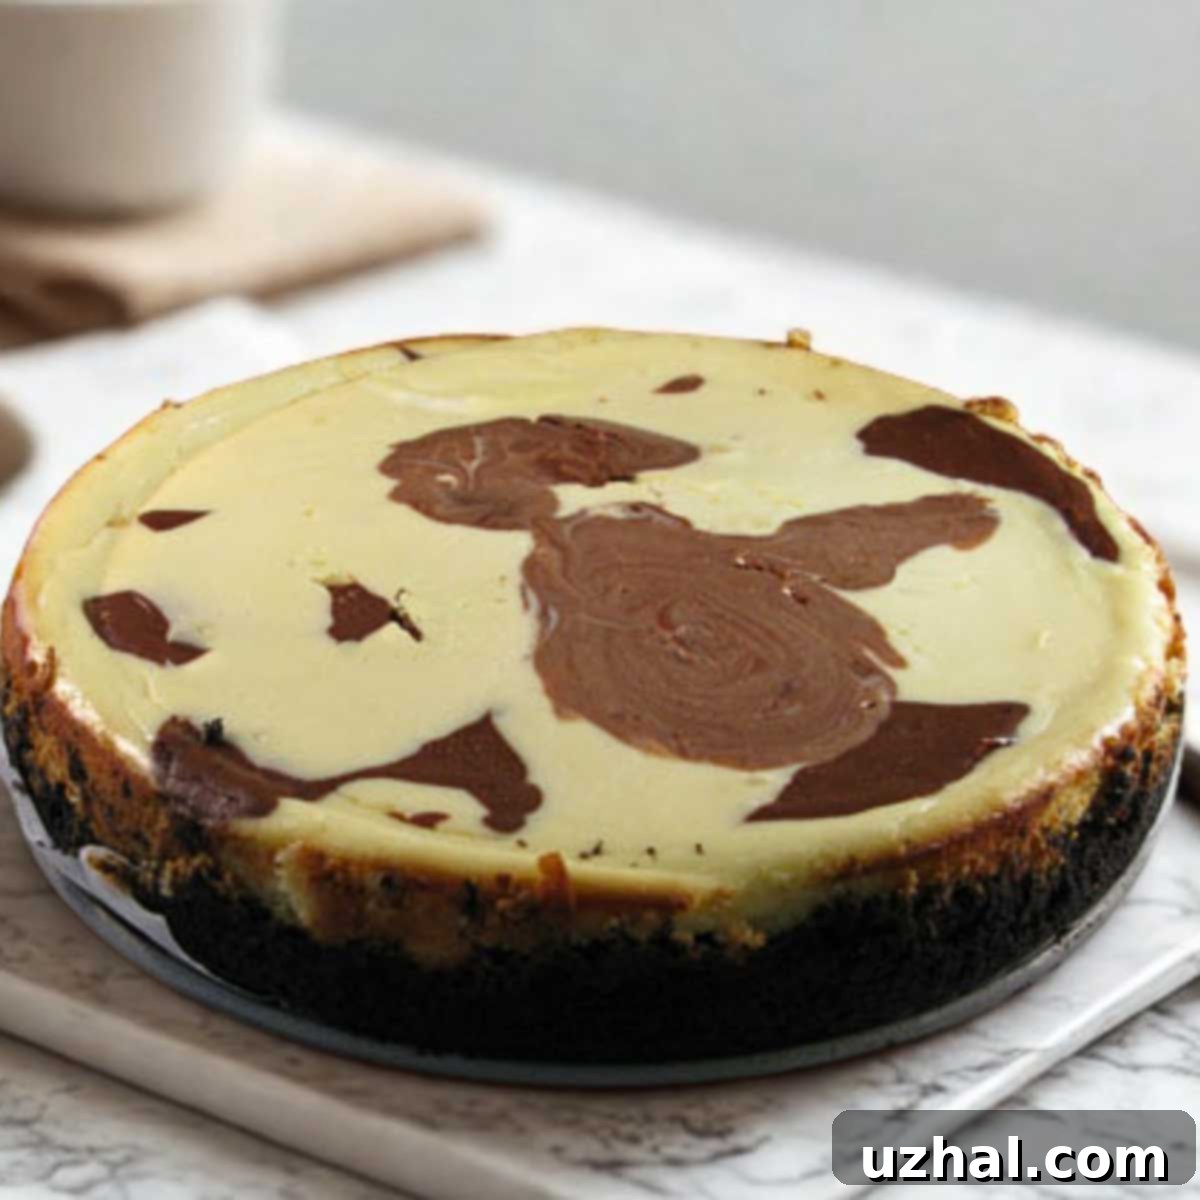
One of the most captivating aspects of this Marbled White Chocolate Cheesecake is its stunning visual appeal. The marbled look makes it appear as though it just stepped out of a high-end bakery, yet the technique to achieve it is surprisingly simple and requires no special artistic skills. The magic happens when you alternate spoonfuls of the creamy white chocolate batter and the darker, contrasting chocolate batter (made by swirling in melted dark or semi-sweet chocolate). Once both batters are in the pan, a gentle swirl with a knife or skewer is all it takes to create an elegant, unique design that looks incredibly intentional and sophisticated. Each slice reveals a beautiful pattern, making every serving a work of edible art.
This dessert is an exceptional choice for a wide array of occasions. Whether you’re hosting a festive holiday gathering, a sophisticated dinner party, or simply craving something a little extra special for a weekend treat without the usual fuss, this Marbled White Chocolate Cheesecake fits the bill perfectly. Its impressive appearance and delightful flavor profile guarantee it will be the star of any dessert table.
Baking and Chilling for Perfection
Achieving the perfect cheesecake texture involves more than just mixing the ingredients. Proper baking and, crucially, ample chilling time are essential for a flawless result. While the original recipe doesn’t call for a water bath, ensuring your oven temperature is consistent and not overbaking the cheesecake are key. The cheesecake is done when the sides are set, but the middle still has a slight wobble. This “wiggle” indicates it will continue to set as it cools, resulting in that incredibly creamy, melt-in-your-mouth texture. Once baked, allowing it to cool completely on a wire rack before chilling is important. Then, the true test of patience begins: transferring it to the refrigerator. Chilling for at least 4 hours is necessary for it to fully set, but for the absolute best flavor and texture, chilling it overnight is highly recommended. The flavors deepen, and the texture becomes even more dense and luxurious, making every moment of waiting well worth it.
Tips for a Flawless Cheesecake
- Room Temperature Ingredients: Always use softened cream cheese and room temperature eggs. This ensures a smooth batter without lumps and helps prevent cracks during baking.
- Don’t Overmix: After adding the eggs, mix just until combined on low speed. Overmixing can incorporate too much air, leading to cracks.
- Cooling is Key: Allow the cheesecake to cool gradually. Rushing the cooling process can cause the cheesecake to crack. Leave it on the counter for at least an hour before transferring to the fridge.
- Chill Thoroughly: Patience is a virtue here. A well-chilled cheesecake not only slices cleaner but also boasts a superior texture and enhanced flavor. Aim for overnight chilling if possible.
- Springform Pan: A springform pan is essential for easy removal and beautifully intact sides. Greasing it well ensures the crust doesn’t stick.
Once your Marbled White Chocolate Cheesecake has chilled to perfection, simply slice it up, serve it as is, or garnish with a sprinkle of chocolate shavings, fresh berries, or a dollop of whipped cream. Then, prepare yourself for a cascade of compliments, as this dessert is truly a crowd-pleaser that will leave everyone asking for the recipe. This indulgent treat effortlessly combines elegance with comfort, making it a beloved staple for any dessert enthusiast.
Ready to swirl your way to this magnificent dessert? Here’s the full recipe!
- Peanut Butter Cheesecake Brownies
- Marbled Peanut Butter Brownies
- Buttermilk Marble Cake Baked in a 9×13 inch Pan
- Marbled Cream Cheese Brownies
- Marbled Cream Cheese Pumpkin Pie
Recipe

Marbled White Chocolate Cheesecake
Anna
Pin Recipe
Ingredients
- 24 Oreos (whole cookies, including cream filling)
- 5 tablespoons unsalted butter, melted
- 24 oz full-fat cream cheese, softened to room temperature
- ½ cup granulated sugar
- 1 teaspoon pure vanilla extract
- 3 large eggs, at room temperature
- 6 oz good quality white chocolate, melted and slightly cooled
- 2 oz dark or semi-sweet chocolate, melted and slightly cooled
Instructions
-
Preheat your oven to 350 degrees F (175 degrees C). Lightly grease a 9-inch springform pan to prevent sticking.
-
In a food processor, finely crush the Oreos until they resemble fine crumbs. Transfer the crumbs to a bowl, add the melted butter, and mix until well combined. Press this mixture firmly into the bottom and slightly up the sides of the greased springform pan. Bake the crust for 10 minutes. Remove from oven and let it cool slightly while you prepare the filling.
-
In a large mixing bowl, using an electric mixer, beat the softened cream cheese on medium speed until it is completely smooth and free of lumps. Gradually beat in the granulated sugar and vanilla extract, continuing to beat until the mixture is light and fluffy. Reduce the mixer speed to low and add the eggs, one at a time, beating just until each egg is fully incorporated into the batter. Be careful not to overmix at this stage.
-
Carefully spoon out 1 cup of the cheesecake batter into a separate small bowl. Combine this reserved batter with the melted dark chocolate, stirring until smooth and uniformly colored. Add the melted white chocolate to the remaining larger portion of batter in the mixing bowl and stir well to combine.
-
Begin to pour the white chocolate mixture and the dark chocolate mixture alternately into the prepared Oreo crust in the springform pan. You can dollop spoonfuls of each color, creating a scattered pattern.
-
Using a knife or skewer, gently swirl through the batters to create a marbled effect. Be careful not to overmix, or the colors will blend too much. Bake on the center rack of your preheated oven for 40 minutes, or until the edges of the cheesecake are set and appear firm, but the very center still wiggles slightly when gently shaken. This ensures a creamy texture. Remove the cheesecake from the oven and cool completely on a wire rack. Once fully cooled, transfer it to the refrigerator and chill for at least 4 hours, but for the best texture and flavor, chilling it overnight is highly recommended.
