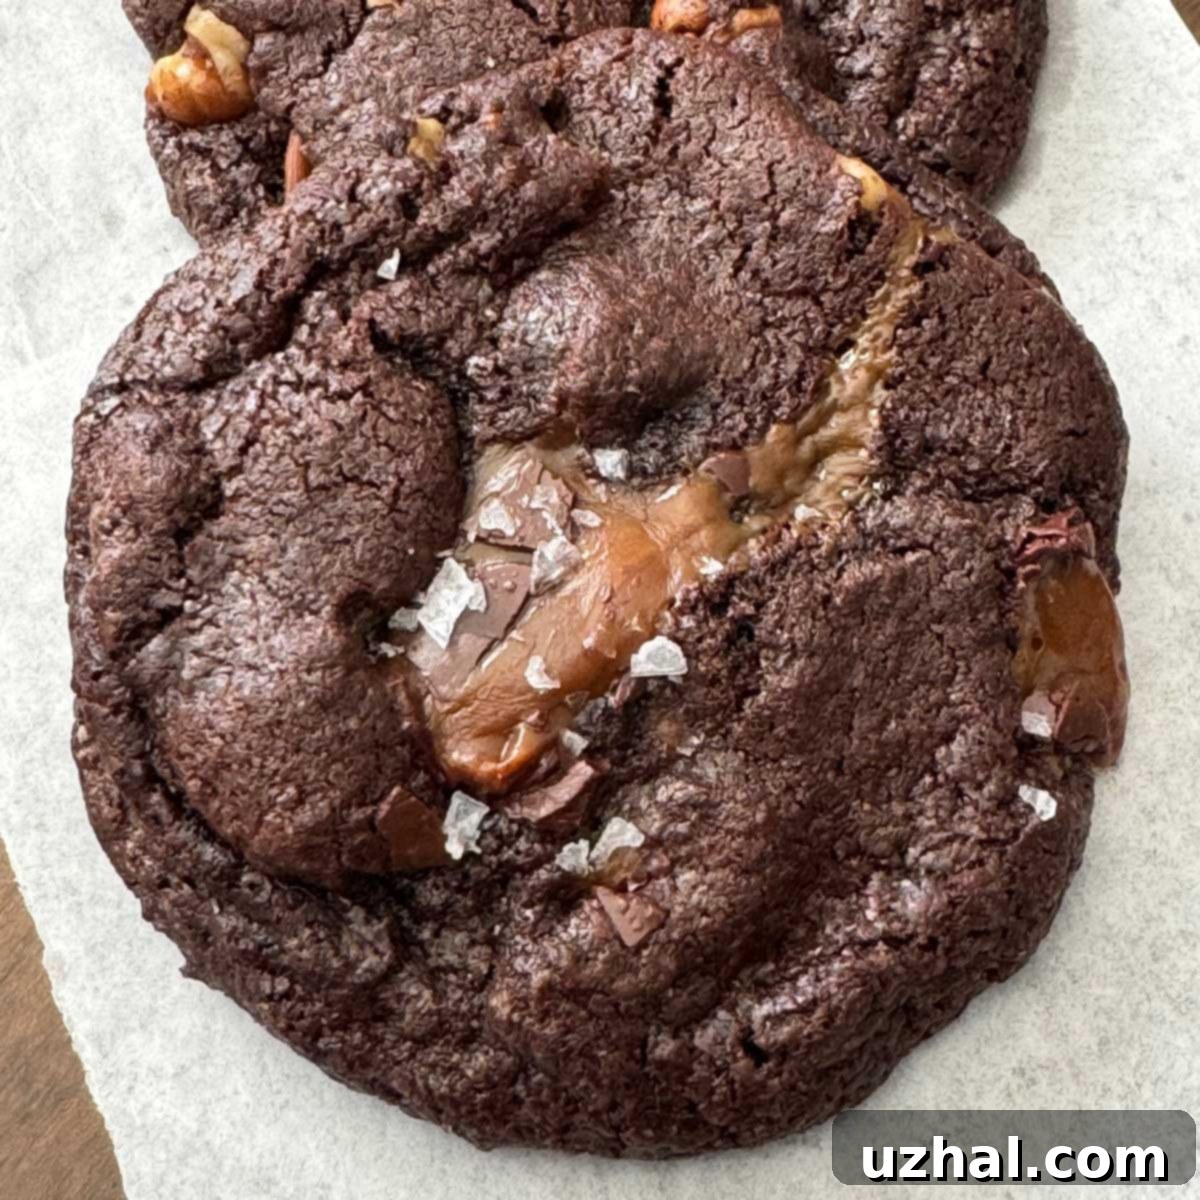
Mastering Jewel’s Gourmet Turtle Cookies: The Ultimate Bakery-Style Copycat Recipe
For anyone who has ever savored the delights of a good grocery store bakery, the name “Jewel” often evokes fond memories, especially for those in the Chicago area. Within the bustling bakery section of Jewel-Osco, a true culinary treasure awaits: their legendary Chocolate Turtle Cookies. These irresistible treats are known by several names, including Gourmet Turtle Cookies or sometimes Turtle Brownie Cookies, and are typically sold in convenient clamshells, usually containing four generously sized cookies. Their reputation is well-earned, delivering a perfect symphony of rich chocolate, crunchy pecans, and wonderfully gooey caramel that creates an unforgettable experience. While Kroger, Jewel’s parent company, offers a similar product called Private Selection Turtle Cookies, many aficionados agree that Jewel’s original version sets a remarkably high standard for this classic flavor combination. This comprehensive guide will not only explore what makes these cookies so exceptional but, more importantly, will provide you with a meticulously developed copycat recipe to recreate their magic right in your own kitchen.
The Irresistible Allure of Bakery-Style Chewy Texture
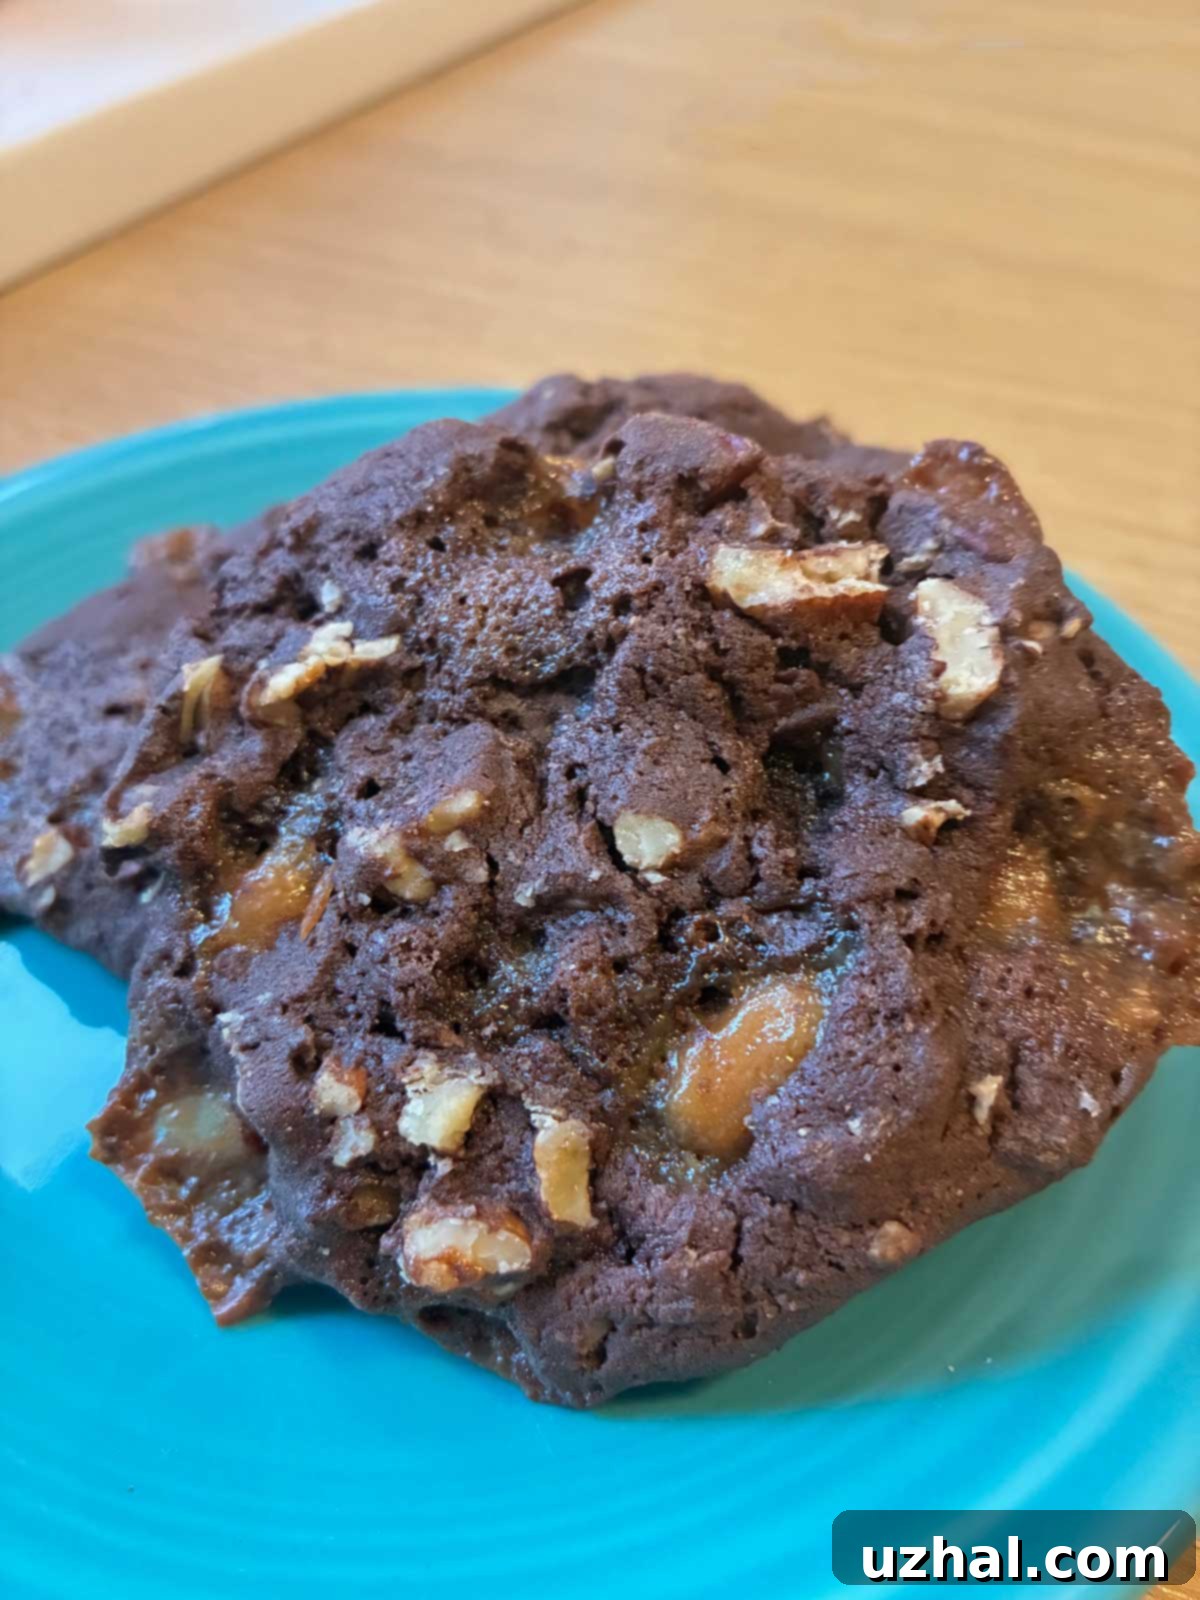
What truly elevates these Jewel Turtle Cookies above many others is their extraordinary texture and the lavish amount of high-quality inclusions. Each cookie, weighing in at a substantial 2 ounces, is unapologetically loaded with an abundance of perfectly toasted pecans and luscious, melt-in-your-mouth caramel bits. Jewel’s bakery truly doesn’t hold back on the good stuff! Beyond their intensely sweet and deep chocolaty flavor, these cookies boast a signature chewy, almost fudgy texture that practically falls apart in your mouth. This unique characteristic is often attributed to a precise underbaking technique, perhaps a special blend of ingredients, or even a proprietary baking method. Whatever the secret behind this culinary marvel, this distinctive, soft-chewy quality significantly contributes to their standing as one of the finest grocery store cookies available. While it’s possible that Jewel sources its cookie dough from a specialized wholesale bakery, the consistent quality and exceptional taste of the final product are undeniable, making them a perennial favorite among those seeking a gourmet cookie experience. Replicating this exact balance of chewiness, richness, and perfect caramel behavior was the cornerstone of developing this copycat recipe.
Embarking on the Homemade Copycat Journey
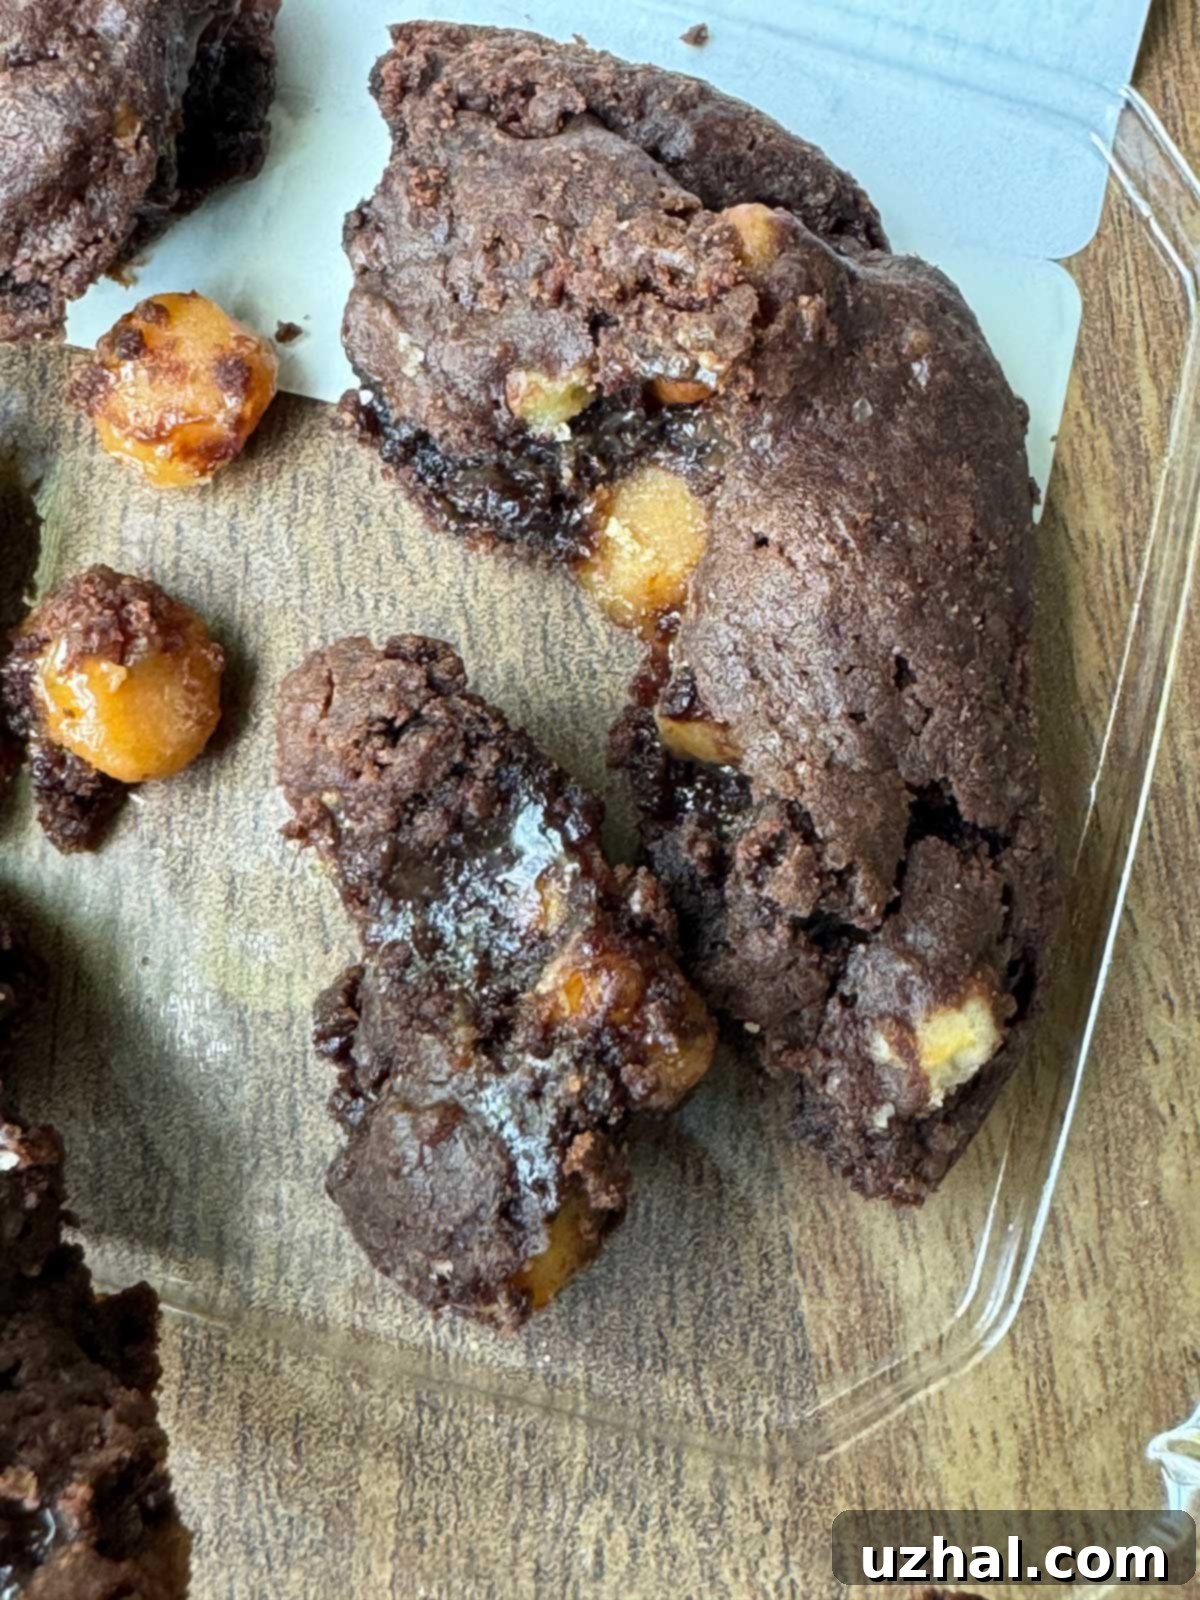
It’s a common phenomenon: when a food item is truly exceptional and becomes a source of nostalgic comfort, the desire to recreate it at home becomes an urgent culinary quest. After my move from Chicago to Raleigh, the absence of those incredible Jewel Turtle Cookies became profoundly noticeable, sparking a determined mission to develop a perfect homemade copycat. The journey began with extensive research and experimentation, trying out various existing copycat recipes available online. Many of these attempts yielded genuinely delicious chocolate cookies, and certainly satisfied the basic craving for chocolate and pecan. However, a persistent and critical challenge emerged that none of the existing recipes seemed to fully address: the unique behavior of the caramel bits. The original Jewel cookies featured caramel that was simultaneously perfectly melted and gooey in some areas, yet surprisingly retained its distinct shape and remained incredibly soft and chewy in others, never hardening. This specific caramel characteristic proved to be the most significant hurdle in achieving an authentic replication. It became clear that mastering the caramel was the key to truly capturing the essence of Jewel’s beloved cookie experience, going beyond just a tasty cookie to an exact replica of the original bakery delight.
The Caramel Conundrum: Achieving Perfectly Soft and Melty Caramel Bits
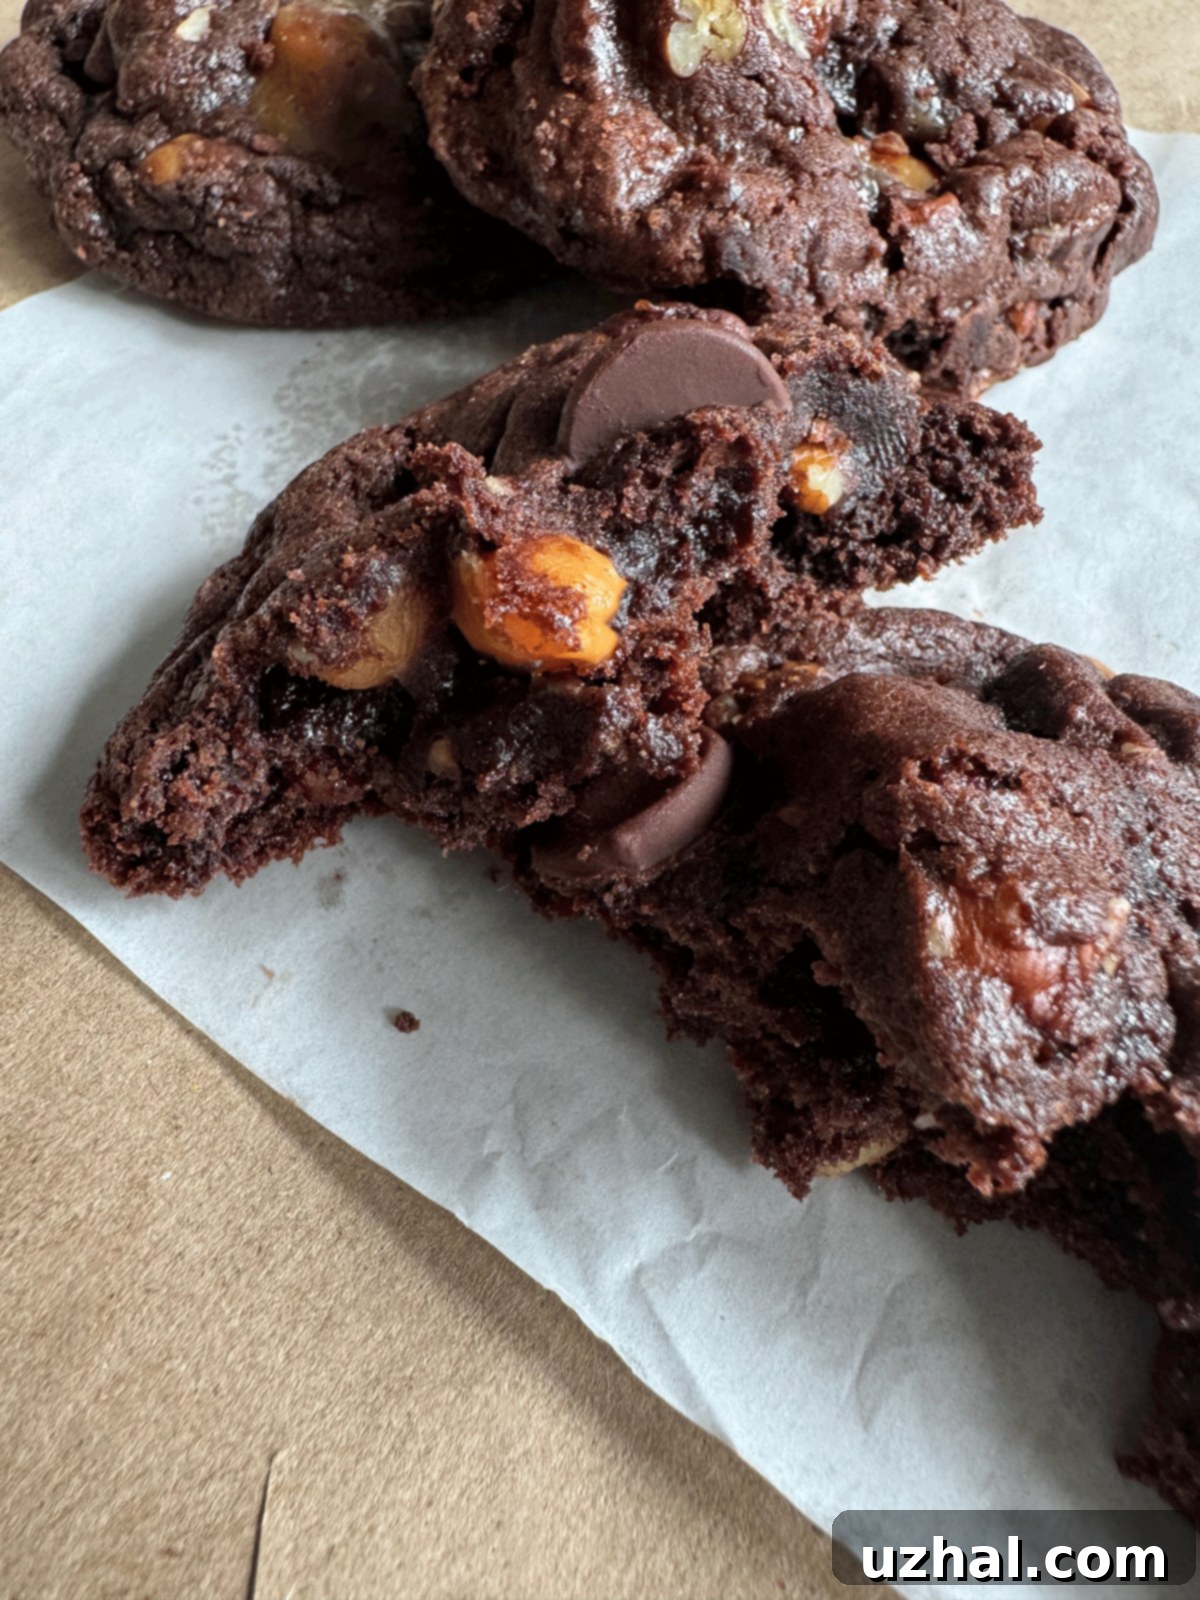
The sublime quality of Jewel’s Turtle Cookies is, without a doubt, intrinsically linked to the exceptional nature and behavior of their caramel. The store-bought cookies are celebrated for their generous inclusion of caramel bits, a portion of which melts into luscious, buttery pockets of liquid gold, while other pieces remarkably maintain their structural integrity, remaining wonderfully soft and chewy without ever solidifying into a hard, brittle texture. This delicate balance of melted and distinct, yet soft, caramel is absolutely vital for an authentic Jewel cookie experience. For most home bakers in the United States, Kraft caramel bits are the most common and easily accessible option. However, a frequent and frustrating issue encountered when baking with these standard caramel bits is their tendency to dry out significantly during the baking process, transforming into firm or even crunchy nuggets that detract from the desired melt-in-your-mouth quality. This challenge necessitated a dedicated and creative approach to ensure that the caramel in our copycat recipe remained just as soft, gooey, and irresistible as in the original bakery version.
Innovative Caramel Solution: Creamy Caramel Chunks for Enhanced Spread
The first successful strategy developed to combat the caramel-drying problem involved a clever transformation of the standard Kraft caramel bits. By gently melting these caramels with a small amount of cream, a richer, more luxurious, and inherently softer caramel consistency was achieved. This creamy mixture was then re-solidified in the freezer, making it firm enough to be cut into small, manageable chunks. This technique proved to be highly effective, guaranteeing that the caramels remained incredibly soft and delightfully melty throughout the baking process. An added, welcome benefit of this creamy caramel preparation was its subtle influence on the cookie dough itself: the added moisture and fat from the creamed caramel caused the cookies to spread slightly more during baking. This enhanced spreading contributed to that coveted flat, chewy, bakery-style aesthetic that is so characteristic of the original Jewel cookies. While this method worked beautifully, delivering a truly luxurious caramel experience, the quest for an even simpler solution that still yielded perfectly distinct and soft caramel bits persisted.
The Ingenious Butter Barrier for Caramel Bits
To further refine the caramel technique and allow the bits to retain their distinct shape while remaining soft, a second, equally ingenious experiment was devised: the “butter barrier” method. This technique involves lightly tossing the individual caramel bits in a small quantity of melted butter. Following this coating, these butter-laden caramel pieces are immediately frozen. The scientific principle behind this is simple yet effective: the frozen butter creates a protective, insulating barrier around each caramel piece. When these butter-coated, frozen caramel bits are then folded into the cookie dough – a recipe that often calls for freezing the dough balls before baking – a wonderfully harmonious baking process unfolds. The frozen butter coating helps to prevent the caramel from being directly exposed to the high oven heat, thereby inhibiting it from drying out prematurely. The remarkable result is caramel bits that not only maintain their appealing shape but also remain incredibly soft, gooey, and chewy, never succumbing to the dreaded hard or rock-like texture. This butter barrier method proved to be a resounding success, offering a straightforward, yet highly effective, way to achieve the desired caramel texture, perfectly mimicking the celebrated qualities of the original Jewel Turtle Cookies.
Exploring Alternative Caramels for Effortless Baking
While the butter barrier method offers a fantastic and reliable solution for standard caramel bits, some home bakers might prefer an even more streamlined approach or have access to a wider variety of caramel products. If you wish to bypass the steps of melting, cutting, or even tossing Kraft caramel bits, there are excellent pre-made alternatives that naturally deliver a similarly creamy and soft texture. Brands such as Sander’s offer high-quality caramels that are inherently softer and melt beautifully without needing extensive pre-treatment. Although Sander’s caramels typically have a slightly darker hue, they contribute a wonderful depth of flavor and an extra layer of luxurious chewiness to the cookies. A delightful “problem” (if one can call it that!) is that Sander’s caramels are often enrobed in chocolate, meaning your cookies will have an even more decadent chocolate boost – a welcome addition for most chocolate enthusiasts! Despite the extra chocolate, these caramels integrate exceptionally well, providing a rich, chewy element that, while subtly different from Jewel’s exact profile, still creates an equally delicious and satisfying cookie. Werther’s Soft Caramels are another superb option; simply unwrap them, tear or coarsely chop them into your desired size bits, and freeze them briefly before incorporating them into the cookie dough. Freezing these softer caramels helps them retain their shape better and prevents excessive melting and spreading during the initial phases of baking, ensuring delightful pockets of gooey goodness within each cookie.
Expert Tips for Baking Perfect Turtle Brownie Cookies
Crafting a batch of copycat Jewel Turtle Brownie Cookies that truly rival the bakery original goes beyond just following a recipe; it involves understanding key baking principles. Here are some expert tips to help you achieve perfect, bakery-quality results every single time:
- Choose Your Flour Wisely for Optimal Texture: While most all-purpose flours will yield acceptable results, for cookies with that signature soft, tender crumb, we highly recommend using a lower protein brand. Options like White Lily, Pillsbury, or Gold Medal are ideal. Lower protein flours develop less gluten during mixing, which directly translates to a more delicate, less chewy cookie. If your go-to is a higher protein flour such as King Arthur, your cookies will still be incredibly flavorful and offer a satisfying chew, but they might possess a slightly firmer or “stiffer” texture. Don’t be afraid to experiment to discover which flour best delivers your preferred cookie texture.
- Harness the Power of a Convection Oven: To achieve the beautiful, crinkled surface and delightful cracks characteristic of professional bakery cookies, baking in a convection oven at 350°F (175°C) is highly recommended. The circulating hot air in a convection oven facilitates more rapid drying of the cookie’s exterior. This accelerated surface drying promotes the formation of those desirable cracks while simultaneously ensuring that the interior remains wonderfully soft, fudgy, and moist. This exquisite contrast between a slightly crisp, fractured exterior and a tender, gooey interior is a hallmark of truly exceptional cookies.
- Embrace Dutch Process Cocoa for Authentic Flavor: The rich, dark chocolate flavor and appealing deep color of the original grocery store bakery cookies are achieved through the use of Dutch process cocoa. It is absolutely crucial to stick with this type of cocoa powder for replicating their authentic profile. Dutch process cocoa has undergone an alkalization process that neutralizes its natural acidity, resulting in a darker color and a milder, less bitter, more mellow chocolate taste. Using natural cocoa powder will not only significantly alter the flavor profile but will also impact the leavening action of the cookies, as natural cocoa typically reacts with baking soda to provide lift. For the best results, always opt for high-quality Dutch process cocoa from reputable brands such as Guittard, Ghirardelli, or Callebaut.
- Consider Pasteurized Eggs for Safe Underbaking: Given that these cookies are intentionally designed to be slightly underbaked to achieve their ultimate soft, chewy, and gooey texture, some bakers might prefer to use pasteurized eggs, readily available in cartons, for enhanced food safety. While the internal temperature reached during baking generally mitigates any concerns, using pasteurized eggs offers an additional layer of peace of mind, especially when aiming for a wonderfully soft and moist center. Brands like Bob Evans egg whites or Egg Beaters are excellent, convenient choices. Alternatively, a single medium or large whole egg will work perfectly fine; just ensure it’s at room temperature for optimal emulsification with the butter and sugar, leading to a smoother dough.
- Never Skip Toasting the Pecans: Toasting your pecans is a deceptively simple step that makes an enormous difference in the overall flavor of your cookies. The heat brings out and intensifies the natural oils within the nuts, deepening their nutty flavor and providing a delightful crunch that beautifully complements the rich chocolate and gooey caramel. You can dry toast them in a skillet over medium heat, stirring frequently until they become fragrant and slightly golden, or spread them evenly on a baking sheet and toast them in the oven at 350°F (175°C) for approximately 8-10 minutes. For a quick microwave method, spread pecans on a paper towel and heat on high for 1 minute, then shuffle and continue heating at 30-second intervals until fragrant – but watch them closely to avoid burning, as microwave power varies.
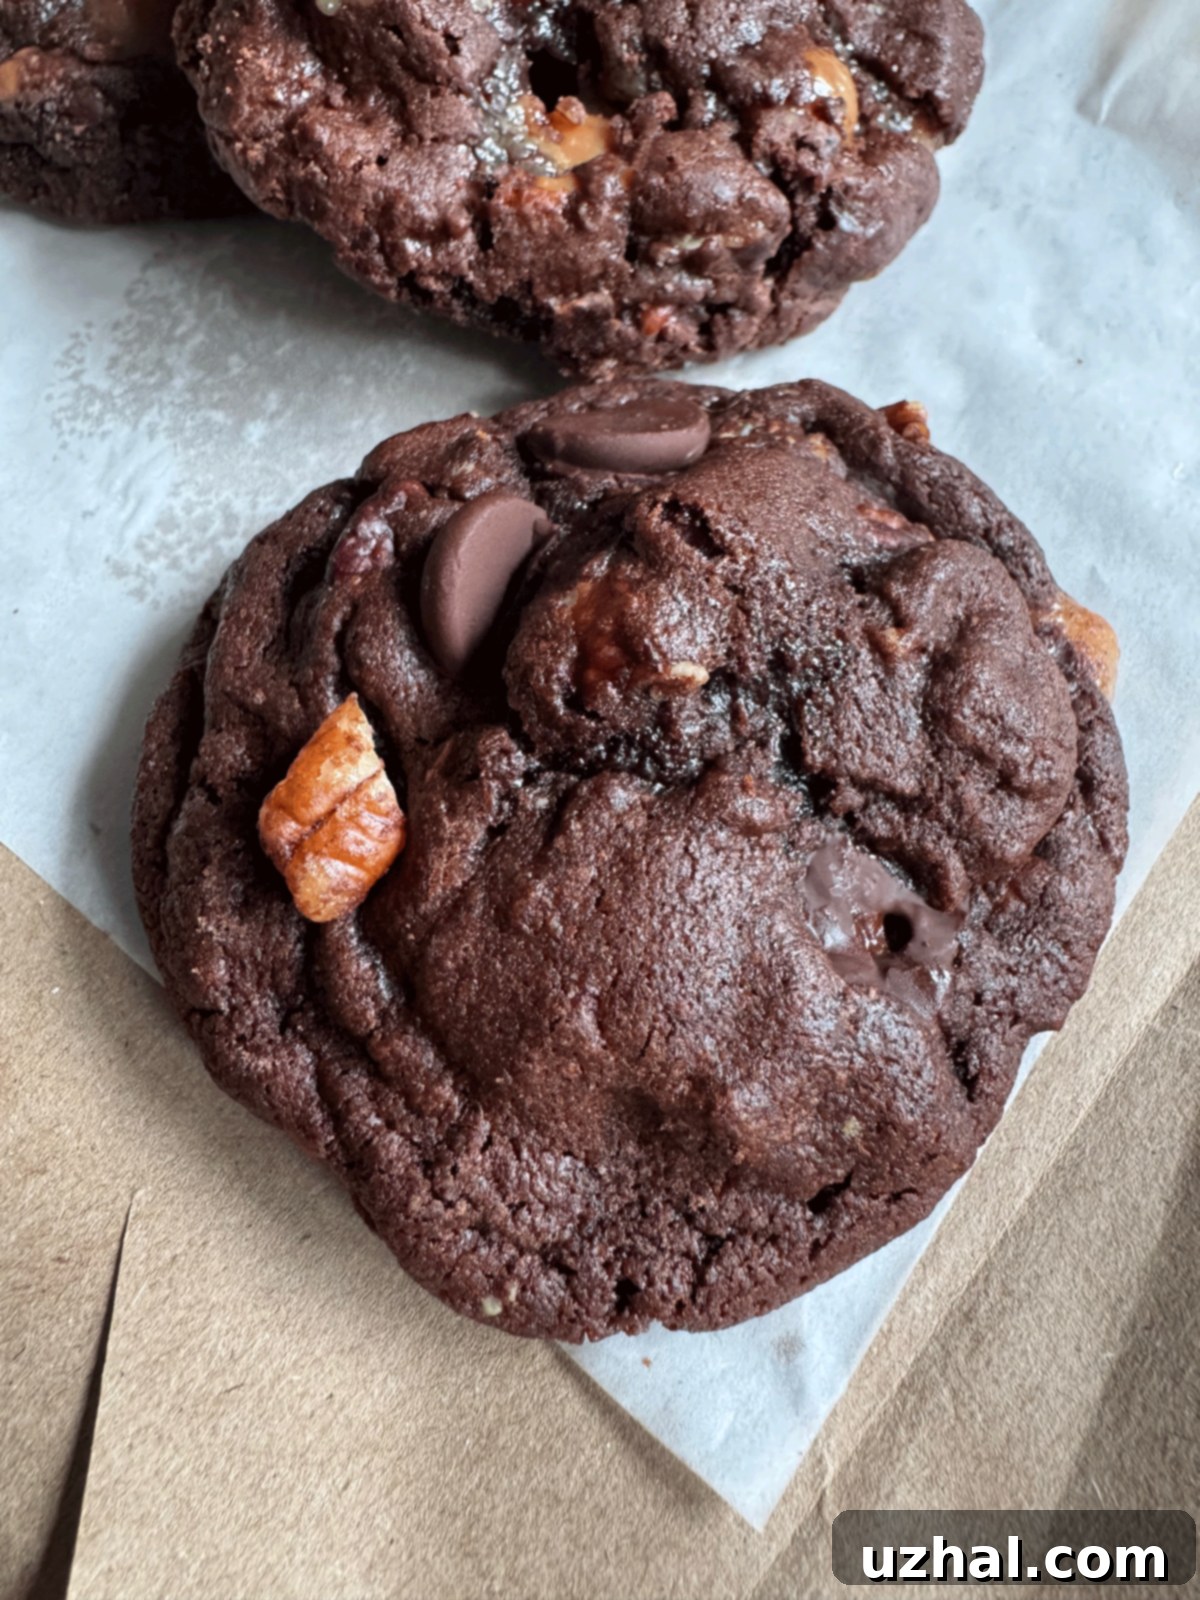
- Optional: Add Chocolate Chips for Extra Indulgence: While the traditional Jewel Turtle Cookies don’t typically include additional chocolate chips beyond the rich chocolate dough itself, there’s absolutely no rule against enhancing your homemade copycat creation! Given the inherent richness of these cookies, you only need a few extra chips for a delightful burst of additional chocolate. For the best aesthetic and textural results, we recommend gently poking a few Ghirardelli Bittersweet Chips (or your preferred type of chocolate chip) into the already formed dough balls just before you freeze them or place them in the oven. This method creates appealing pockets of melted chocolate that add yet another layer of decadence and visual appeal.
Why Turtle Desserts Have Endured Through the Years
The “turtle” concept in desserts, characterized by the harmonious trifecta of chocolate, caramel, and pecans, has been a universally beloved combination for generations. This iconic flavor profile originated from the classic Turtle Candy, which first graced American palates in the early 20th century. These candies were aptly named for their charming resemblance to a turtle’s shell, with clusters of pecans forming the “legs” and “head” peeking out from beneath a dome of chocolate and caramel. The enduring popularity of turtle desserts, whether in the form of candies, cakes, ice creams, or, as in this case, cookies, stems from this perfectly balanced symphony of flavors and contrasting textures. The bittersweet richness of the chocolate provides a deep, satisfying base, while the buttery, sweet caramel offers a luscious, gooey counterpoint. The toasted pecans, with their earthy notes and satisfying crunch, add essential texture and nutty depth, completing the sensory experience. It’s a classic flavor profile that possesses a timeless appeal, captivating a wide audience across various culinary applications. Jewel’s Gourmet Turtle Cookies stand as a testament to this enduring charm, elevating the traditional candy into a sophisticated, chewy cookie form that truly captures and celebrates the essence of this iconic flavor combination, making it a beloved treat that continues to delight.
- Kroger Pumpkin Chocolate Chip Cookies Clone
- Cranberry Turtle Bars
- Easy Homemade Chocolate Turtles
- Sea Turtle Brownies
- Life Cereal Cookies
Recipe: Jewel Turtle Cookies Copycats
Now that you’re armed with the secrets and expert tips for crafting these magnificent cookies, it’s time to put your newfound knowledge and baking skills to the test. This meticulously detailed recipe will guide you through each step, ensuring you achieve that perfect, coveted balance of rich chocolate, wonderfully gooey caramel, and crunchy toasted pecans, just like the beloved cookies from Jewel’s bakery. Get ready to impress your taste buds and loved ones!
Jewel Turtle Cookies Copycats
Anna
Pin Recipe
Ingredients
Caramel Bits Prep
- ½ cup caramel bits (100 grams, or use pre-softened options like Werther’s Soft Caramels, chopped)
- 2 teaspoons melted unsalted butter (plus a dash of vanilla if desired, essential for the butter barrier technique)
Cookie Dough
- 1 cup pecan halves, toasted and coarsely chopped (114 grams, toasting enhances flavor significantly)
- 1 stick unsalted butter, softened (114 grams, ensure it’s at room temperature for smooth creaming)
- ¾ cup granulated sugar (150 grams)
- 1 teaspoon molasses (7 grams, for that signature chewy texture and depth of flavor)
- 1 teaspoon pure vanilla extract (use good quality vanilla for the best aroma and taste)
- 1 medium or large egg (or use 45 grams pasteurized eggs like Bob Evans egg whites or Egg Beaters, at room temperature for optimal dough consistency)
- 1 cup all-purpose flour (125-130 grams, lower protein brands like White Lily are recommended for a tender crumb)
- ⅓ cup Dutch process cocoa powder (35 grams, crucial for rich, dark chocolate flavor and color)
- ½ teaspoon baking soda (provides essential lift and texture in combination with Dutch cocoa)
- ¼ teaspoon salt (omit if using salted butter; salt enhances all flavors and balances sweetness)
Instructions
-
1. Prepare Caramel Bits: Begin by tossing the caramel bits (or your chosen alternative like chopped Werther’s Soft Caramels) in the melted unsalted butter. For an extra layer of complementary flavor that enhances the chocolate, consider adding a small dash of vanilla extract to the melted butter before tossing. Spread these butter-coated caramels evenly in a single layer on a parchment-lined plate or a small baking sheet. Freeze them until the butter coating is completely solid – this crucial step establishes the “butter barrier” which prevents the caramel from drying out during baking. Keep them frozen until you are ready to fold them into your cookie dough. This preparation step is flexible and can be done just before baking or well in advance for convenience.
-
2. Toast and Chop Pecans: To deepen their nutty aroma and flavor, toast the pecan halves. Arrange them in a single layer on a baking sheet and bake in a preheated oven at 350°F (175°C) for approximately 8-10 minutes, or just until they release a wonderful fragrance and achieve a slightly darker hue. Alternatively, you can dry toast them in a skillet on the stovetop over medium heat, stirring constantly to prevent burning. Once toasted, allow the pecans to cool completely to room temperature before coarsely chopping them; cooling them prevents them from releasing excessive oil and making your cookie dough greasy.
-
3. Cream Wet Ingredients: In a spacious mixing bowl, utilizing an electric mixer on low speed, cream together the softened unsalted butter, granulated sugar, molasses, and pure vanilla extract. Mix them just until they are thoroughly blended and no visible streaks of butter remain, creating a light and fluffy base. Next, add the room temperature egg (or your chosen pasteurized egg substitute) and continue mixing until it is fully incorporated into the mixture. Remember to frequently scrape down the sides of the bowl with a spatula to ensure all ingredients are evenly combined and the dough consistency is uniform. This careful creaming process establishes the essential foundation for a tender and flavorful cookie.
-
4. Combine Dry Ingredients: In a separate, medium-sized bowl, meticulously measure your all-purpose flour. The most accurate method is to weigh it using a kitchen scale (aim for 125-130 grams); if measuring by volume, lightly spoon the flour into a measuring cup and level it off with a straight edge, avoiding packing the flour. Whisk together the flour, Dutch process cocoa powder, baking soda, and salt until they are exceptionally well combined and completely free of any lumps. Thorough mixing at this stage is crucial for ensuring even leavening and consistent flavor distribution throughout your baked cookies.
-
5. Form the Dough: Gradually introduce the dry flour mixture into the wet chocolate mixture. Stir or beat on the lowest speed possible just until a soft, cohesive dough forms. It’s important to be mindful not to overmix at this stage, as excessive mixing can lead to the development of too much gluten, resulting in tough cookies. Once the flour is mostly incorporated, gently fold in the coarsely chopped, toasted pecans and the prepared frozen caramel bits. Mix just until these delightful inclusions are evenly distributed throughout the rich cookie dough.
-
6. Scoop and Freeze Dough Balls: Line a small baking tray or a dinner plate with parchment paper to prevent sticking. Using a cookie scoop or your hands, portion out balls of dough, aiming for approximately 2 ounces (about 55-60 grams) for each cookie. This recipe should generously yield about 13 or 14 substantial cookies. Cover the scooped dough balls tightly with plastic wrap and freeze them until they are completely solid. Freezing the dough is a critical step; it significantly helps to prevent excessive spreading during baking, allowing the cookies to achieve their desired thickness and that perfectly chewy, fudgy center. Furthermore, it offers the convenience of baking fresh, warm cookies whenever a craving strikes, straight from the freezer.
-
7. Preheat Oven: When you’re ready to indulge, preheat your oven to 350°F (175°C). Prepare a baking sheet by lining it with parchment paper; this prevents sticking, ensures even heat distribution, and makes for easy cleanup. If you are fortunate enough to possess a convection oven or a toaster oven equipped with a convection setting (such as a Breville), we highly recommend utilizing it for superior crackle, texture, and overall baking performance. Preheat it to the “cookies” setting or engage the convection bake mode for the absolute best results, as previously outlined in our expert baking tips.
-
8. Bake Until Perfection: Carefully place the frozen cookie dough balls onto the prepared baking tray, ensuring ample space between each one to allow for proper spreading. Bake them just until delicate cracks begin to appear on the top surface of the cookies, and the edges appear set, but the very center still looks slightly underbaked and soft. This particular degree of “underbaked-ness” is the secret to achieving that signature chewy, fudgy texture that defines Jewel’s cookies. This process typically takes around 10 to 12 minutes, but remember that baking times can vary significantly between different ovens. Feel free to experiment with the exact degree of doneness you prefer to tailor the chewiness to your taste. If, for any reason, your cookies spread more than you desire, gently push the edges inward with a spatula while they are still warm and pliable, and make a mental note to slightly increase the flour content or pecan amount in your next batch, or consider trying a different brand of butter. However, with the frozen dough, excessive spreading should not be a major issue.
-
9. Cool and Freeze for Enhanced Texture: Once your cookies are baked to your preferred perfection, promptly remove the baking sheet from the oven. Carefully slide the parchment paper, with the cookies still on it, directly onto your kitchen counter to begin the cooling process. While the cookies are still warm and possess some malleability, immediately transfer them (still on the parchment paper) to the freezer. This rapid cooling and setting process is invaluable for firming up their structure and truly enhancing that perfectly chewy, fudgy texture that makes these cookies so exceptional.
-
10. Serve and Enjoy: To truly savor these gourmet delights, simply allow them to return to room temperature before serving. They are absolutely exquisite when the caramel inside is slightly soft and wonderfully gooey. Any remaining cookies can be stored in an airtight container at room temperature for a few days, or for prolonged enjoyment, they can be kept in the freezer, ready to be thawed and enjoyed whenever a craving strikes for a taste of bakery perfection.
We genuinely hope that this comprehensive guide and detailed recipe empower you to bake an exceptional batch of these Jewel Turtle Cookies copycats. The extraordinary combination of a rich, fudgy chocolate base, perfectly gooey caramel, and satisfyingly crunchy toasted pecans creates a truly unforgettable and deeply satisfying treat. Whether you’re chasing the sweet nostalgia of a beloved Chicago grocery store favorite or simply seeking a new gourmet cookie to master and add to your baking repertoire, this recipe offers a rewarding challenge with consistently delicious results. Don’t hesitate to experiment with the various caramel methods discussed, or even add a few extra chocolate chips to customize your cookies – making it your own is a cherished part of the baking fun! We encourage you to share your experiences and creations with us. Happy baking!
