Ultimate Homemade Hazelnut Bread Recipe: Aromatic, Flavorful, and Perfectly Baked
Who would have thought that a spontaneous trip to Trader Joe’s in mid-July, amidst a global pandemic, would lead to such a delightful culinary discovery? Despite the unusual circumstances, I stumbled upon a fresh batch of hazelnuts, and their irresistible aroma whispered promises of something special. It was then that this Hazelnut Bread recipe felt destined to come to life. And a big shout out to the cheerful Trader Joe’s clerk who, upon innocently asking about my “project for the day,” patiently listened to my overly enthusiastic, excruciatingly detailed description of this very recipe. Their kindness always makes shopping there a joy!
The Secret to Maximum Hazelnut Flavor: Infusion Mastery
As I eagerly explained to my new Trader Joe’s confidant, the brilliance of this recipe, originally inspired by Cooking Light, lies in its innovative approach to flavor extraction. Instead of simply folding roasted nuts into the dough, this method takes the hazelnut essence to an entirely new level. The process involves two key steps: first, you toast the hazelnuts to intensify their natural oils and nutty aroma. Then, and this is where the magic happens, you soak these toasted hazelnuts in hot water.
This hot water infusion isn’t just a casual step; it’s a deliberate technique to create a deeply flavorful hazelnut-infused liquid. As the nuts steep, their rich, earthy notes and delicate sweetness are released into the water. This hazelnut-infused water then becomes the liquid foundation for the bread dough. The result? A bread that isn’t just speckled with hazelnuts, but one where every single crumb carries a pervasive, authentic hazelnut flavor that is simply unparalleled. It’s a game-changer for anyone who truly loves the distinctive taste of hazelnuts, ensuring a maximum flavor impact in every bite.
Choosing and Preparing Your Hazelnuts for Optimal Flavor
To achieve the best possible flavor in your hazelnut bread, starting with high-quality hazelnuts is essential. Look for nuts that are plump, firm, and free from any discoloration or shriveling. Whole, raw hazelnuts are ideal, allowing you to control the toasting process yourself. While my pandemic-era Trader Joe’s find was unexpectedly fresh, always aim for the freshest possible nuts for the most vibrant flavor.
Once you have your hazelnuts, the toasting step is crucial. Spreading them in a single layer on a rimmed baking sheet and toasting them in a preheated oven (as per the recipe) awakens their deep, complex flavors. Keep a close eye on them, as nuts can go from perfectly toasted to burnt very quickly. After toasting, the recipe suggests rubbing off their skins. This step is not just for aesthetics; hazelnut skins can sometimes impart a slightly bitter taste. While it’s nearly impossible to remove every single speck of skin, removing the majority will contribute to a smoother, sweeter hazelnut flavor in your bread.
Loaf Pan Hazelnut Bread: Shaping Your Perfect Loaf
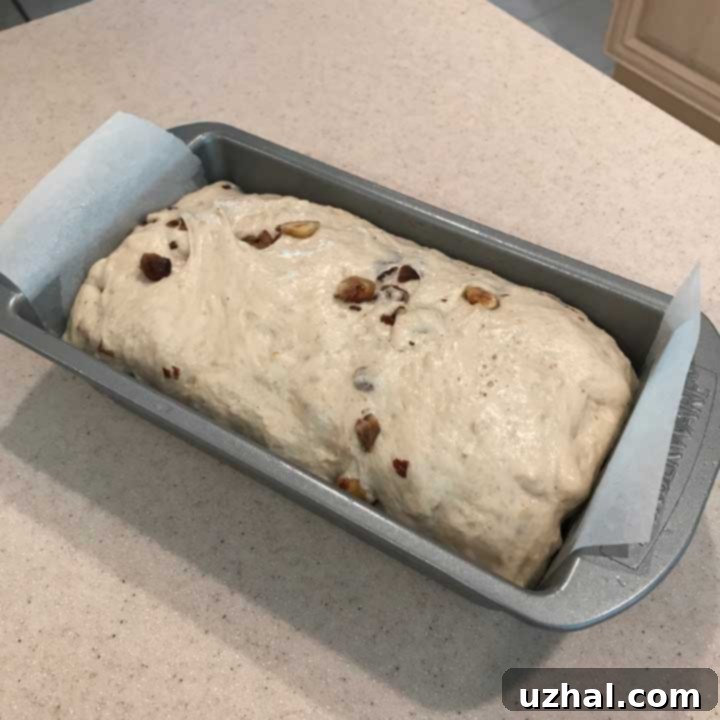
The original version of this delightful hazelnut bread was designed to be baked as a round, rustic loaf, which certainly has its charm. However, I’ve recently found myself gravitating towards loaf pan-shaped breads. Perhaps it’s the constant, hopeful thought of making perfect sandwiches, or simply the ease of slicing a uniform loaf. For this iteration, I opted for a standard 9×5 inch loaf pan. While it yields a delicious bread, it’s worth noting that it results in a somewhat shorter loaf in this size pan.
If you’re after a taller, more imposing loaf with a bit more height, consider using a slightly smaller pan. My next experiment will involve squishing the dough into an 8 ½ by 4 ½ inch pan to see if it achieves that desired rise without any structural compromise. The choice between a round free-form loaf and a pan-baked one ultimately depends on your preference for presentation and utility. A round loaf is beautiful for a centerpiece or tearing apart at the table, while a rectangular loaf is inherently practical for consistent slices, making it ideal for toast and sandwiches.
Regardless of the pan you choose, ensure it’s properly greased, and consider a parchment paper sling for easy removal. The rising process in the pan is critical; don’t rush it. The dough should truly crest the top of the pan before baking to ensure a light, airy crumb, as this bread doesn’t experience a dramatic oven spring. Patience during the second rise will be rewarded with an impeccable texture.
How to Use Hazelnut Bread: Versatile and Delicious Serving Suggestions
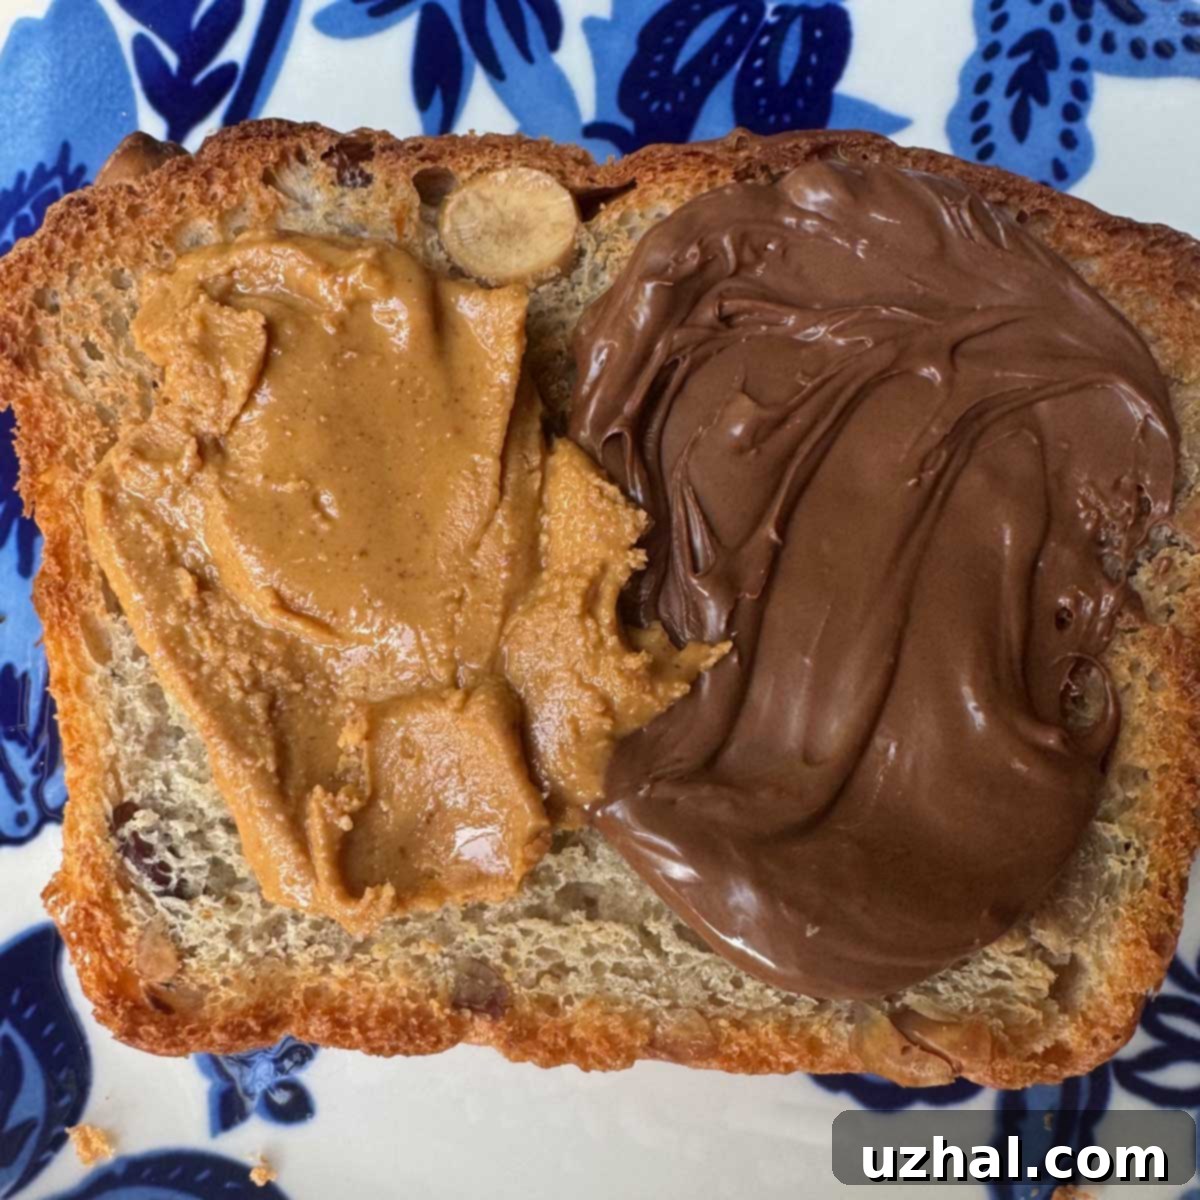
This hazelnut bread is so incredibly versatile, it quickly became a staple in our kitchen. Our go-to has been enjoying it simply as toast, often slathered with butter for a pre-dinner treat. The robust hazelnut flavor truly shines through when toasted, creating an aromatic delight that’s hard to resist. But don’t let its strong character limit your imagination!
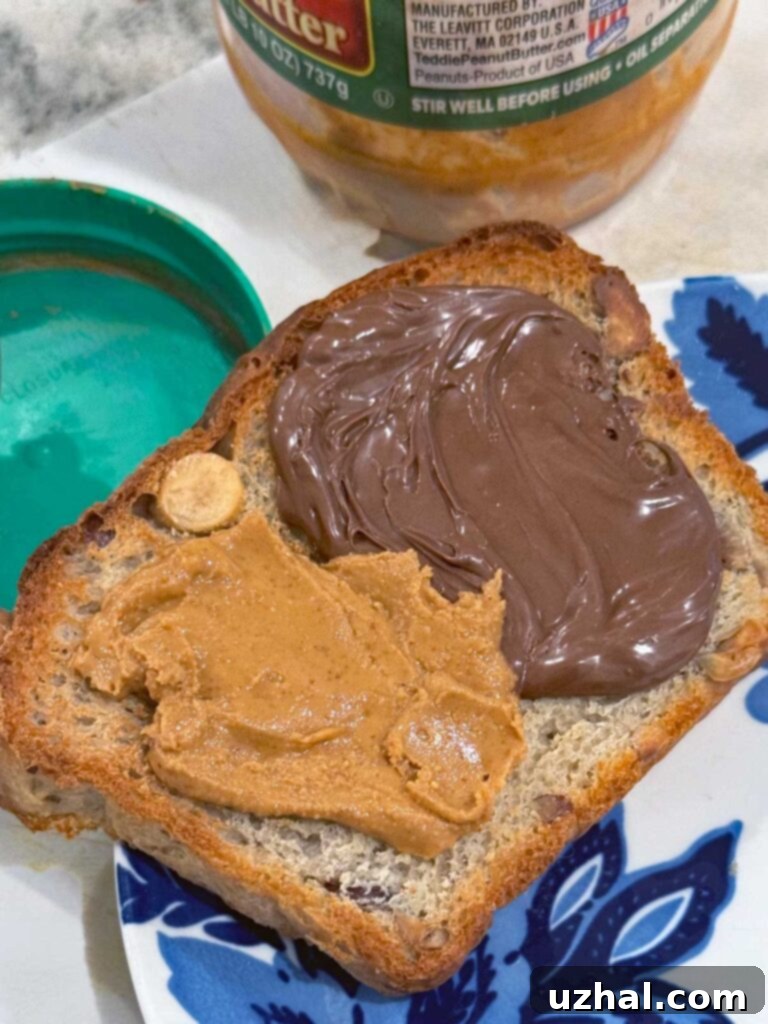
While it certainly could serve as a unique sandwich bread, its distinctive taste means you’ll want to be selective with your fillings. A Hazelnut BLT sounds intriguing, with the smoky bacon and fresh greens providing a wonderful contrast to the nutty bread. For something more adventurous, a Hazelnut Turkey sandwich with a crumble of tangy blue cheese could be a surprisingly delicious combination, adding a layer of sophisticated flavor. We haven’t quite reached those experimental heights yet, still reveling in the simple pleasure of spreading peanut butter on our slices. It’s so good, I haven’t even gotten around to the seemingly obvious choice of Nutella, which promises an indulgent hazelnut-on-hazelnut experience!
Beyond sandwiches and toast, consider transforming this bread into other delectable treats. Imagine Hazelnut French Toast, where the infused bread soaks up custardy batter and fries to a golden crisp. Or perhaps a rich Hazelnut Bread Pudding, offering a comforting dessert that highlights the nuts’ inherent sweetness. Pair it with strong coffee or a cup of tea for a luxurious breakfast, or serve it alongside a cheese board with a sharp cheddar or creamy goat cheese for an unexpected savory twist. The possibilities are truly endless once you embrace the bold flavor this bread offers.
- Hazelnut Butter Chocolate Chip Cookies
- Chocolate Hazelnut Biscotti Thins
- Hazelnut Cream Cake
- Hazelnut Paste Chocolate Chip Cookie Recipe
- Chocolate Hazelnut Chewies
Recipe
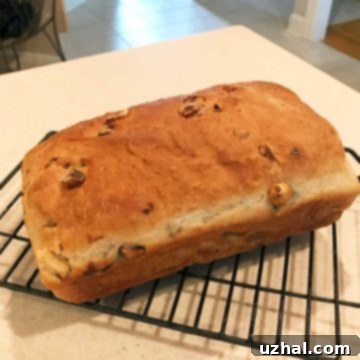
Hazelnut Bread
Anna
Pin Recipe
20 minutes
35 minutes
2 hours
2 hours
55 minutes
Breakfast
American
10
Ingredients
-
¾
cup
chopped hazelnuts -
1 ½
cups
boiling water -
2 ¼
teaspoons
active dry yeast -
2
tablespoons
brown sugar -
1 ¼
teaspoons
salt -
2 ¾ to 3
cups
of bread flour
Instructions
-
Preheat the oven to 350°F (175°C). Lay the chopped hazelnuts on a rimmed cookie sheet and toast them for approximately 10 minutes, or until fragrant and lightly browned. Watch carefully to prevent burning. Once toasted, rub off as many skins as you can using a clean kitchen towel.
-
Bring 1 ½ cups of water to a rolling boil using a stovetop pot or microwave. Place the toasted and mostly de-skinned hazelnuts into the boiling water and let them steep for about 30 minutes. Allow the water to cool naturally until it reaches approximately 130°F (54°C). Strain the water into a separate bowl, ensuring any hazelnut debris or remaining skins are left behind. Set the strained hazelnuts aside on a paper towel to dry completely.
-
Check the temperature of your hazelnut-infused water. It should be between 110°F and 115°F (43°C-46°C) for optimal yeast activation. If it’s too cool, gently warm it slightly. If it’s too hot, let it cool down. Pour the water into the bowl of a stand mixer. Add the active dry yeast and brown sugar, then let this mixture stand undisturbed for 5 minutes. This allows the yeast to proof, creating a foamy layer on top, indicating it’s active. Add 2 cups of the bread flour and the salt to the mixer bowl. Stir well to combine, then gradually add the remaining bread flour (up to 1 cup) until a soft, not-too-sticky dough forms.
-
Attach the dough hook to your stand mixer and knead the dough on medium-low speed for 8 minutes. The dough should become elastic and pull away cleanly from the sides of the bowl as it kneads. After kneading, let the dough rest in the bowl for 10 minutes to relax the gluten. Then, stir in the dried hazelnuts you set aside earlier. Transfer the dough to a lightly greased bowl (or simply leave it in the mixer bowl if it’s large enough). Cover the bowl loosely with plastic wrap or a damp kitchen towel and let it rise in a warm place for about one hour, or until it has visibly doubled in bulk. Once risen, gently punch down the dough to release the air.
-
Lightly grease a 9×5 inch loaf pan. For easy removal, you can line it with a strip of parchment paper, leaving an overhang on the longer sides. Shape the dough into a loaf and place it evenly into the prepared pan. Cover the pan with a piece of plastic wrap that has been lightly oiled to prevent sticking. Let the dough rise again in a warm spot for another 40 minutes, or until it reaches just shy of the top of the pan. It’s crucial to allow sufficient time for this second rise, as this bread will not rise significantly more in the oven.
-
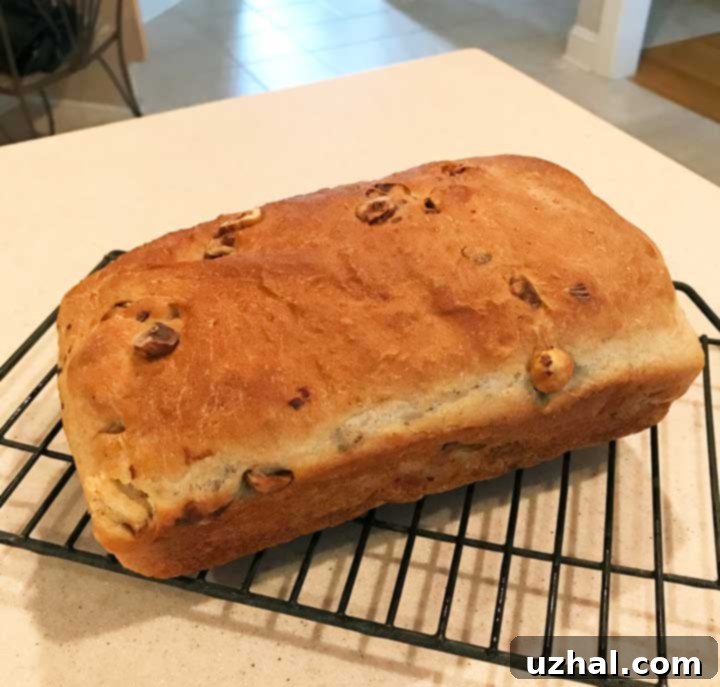
Bake the bread in your preheated 375°F (190°C) oven for about 35 minutes, or until the crust is golden brown and the loaf sounds hollow when tapped on the bottom. Remove the bread from the oven and let it cool in the pan for 30 minutes. This allows the internal structure to set. After 30 minutes, carefully turn the bread out from the pan onto a wire rack to cool completely before slicing and serving. Enjoy your aromatic, homemade Hazelnut Bread!
bread, Hazelnut, homemade, yeast bread
Tried this recipe?
Let us know how it was!
