Homemade Cookies & Cream Ice Cream: The Ultimate Jeni’s Splendid Recipe
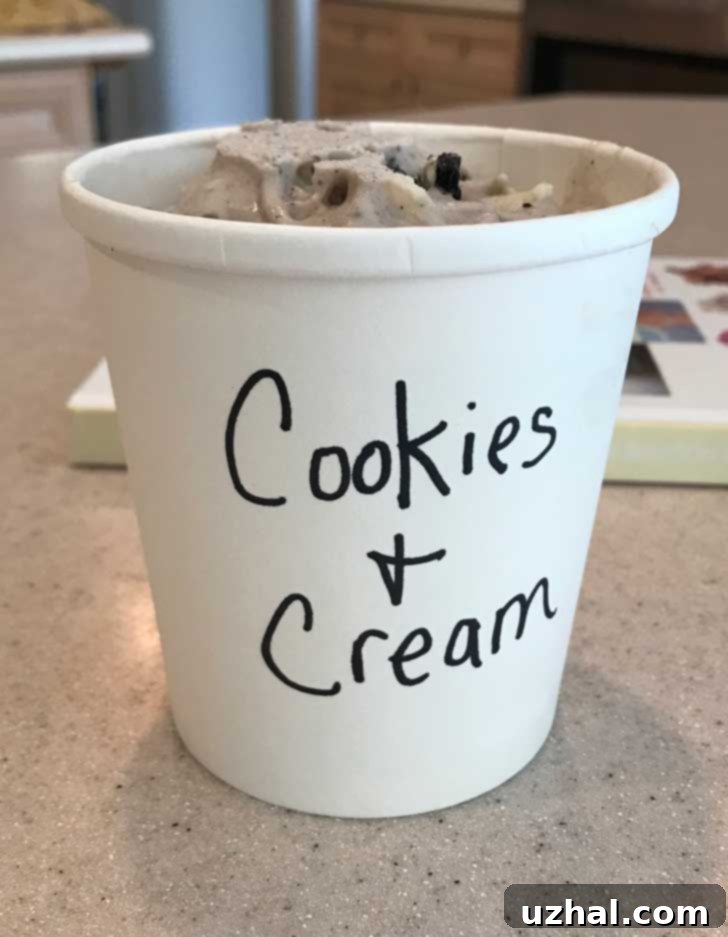
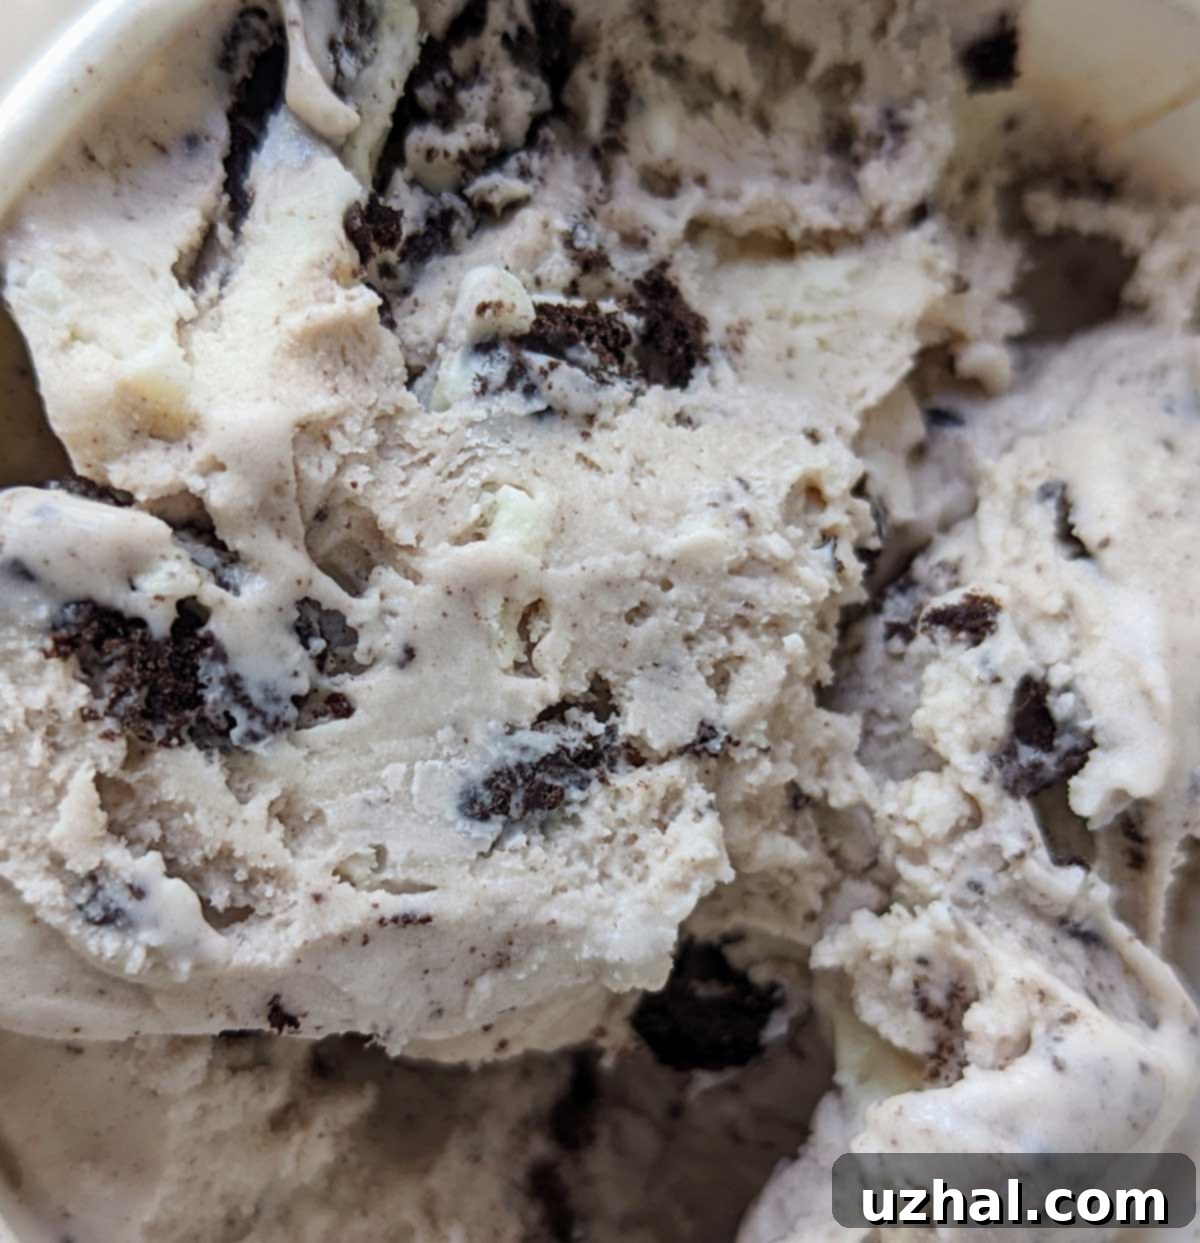
Prepare to elevate your dessert game with this incredible recipe for homemade Cookies & Cream Ice Cream, built upon the foundation of the acclaimed Jeni’s Splendid egg-free ice cream base. This method promises a texture that is exceptionally smooth, dense, and scoopable, rivaling the finest artisanal creameries. You’ll discover a subtle yet delightful hint of cheesecake in every bite, a unique characteristic imparted by the cream cheese in the base. While this decadent treat was once known as “Oreo Cheesecake Ice Cream” to highlight that nuanced flavor, we’ve returned to the universally loved “Cookies & Cream” name, emphasizing the star attraction: chunks of rich, chocolatey sandwich cookies swirled throughout a luxurious vanilla base. Get ready to create a truly unforgettable frozen dessert that will impress everyone who tries it.

The Genius of Jeni’s Splendid Egg-Free Ice Cream Base
For many years, the conventional wisdom for making truly luxurious ice cream hinged on egg yolks, meticulously tempered into a rich custard. However, Jeni Britton Bauer, the brilliant mind behind Jeni’s Splendid Ice Creams, revolutionized the industry with her innovative egg-free base. Her technique proves that you can achieve unparalleled creaminess and texture without a single egg, a boon for those with allergies or anyone seeking a simpler, more streamlined process.
Jeni’s genius lies in understanding and leveraging the natural proteins present in milk – casein and whey. By boiling the milk, these proteins undergo a transformation, enhancing their ability to create a thick, stable, and incredibly smooth emulsion. The inclusion of a small but critical amount of cream cheese further contributes to this stability, preventing the formation of large, icy crystals and imparting that characteristic dense, slightly chewy consistency. Finally, a touch of starch, such as cornstarch or tapioca, acts as a natural stabilizer and thickener, binding moisture and ensuring the ice cream remains beautifully scoopable straight from the freezer. This master base is celebrated for its incredible versatility, providing a perfect foundation for a vast array of flavors, from classic vanilla bean to complex fruit infusions, and, of course, our irresistible Cookies & Cream.
Mastering Your Cookies & Cream Ice Cream: Key Notes and Expert Tips
The Subtle Charm of Cream Cheese
The small quantity of cream cheese in this recipe is not just an ingredient; it’s a secret weapon. Its primary role is to act as an emulsifier and stabilizer, contributing significantly to the luxurious texture and preventing ice crystal formation. Beyond its technical contributions, cream cheese introduces a nuanced, tangy undertone that some palates immediately identify as a subtle “cheesecake” flavor. This delightful acidity brightens the overall profile of the ice cream, providing a counterpoint to the sweetness of the base and the richness of the chocolate sandwich cookies. To ensure the cream cheese blends seamlessly and prevents any tiny lumps in your custard, it is absolutely crucial to soften it thoroughly to room temperature and whisk it until perfectly smooth before gradually incorporating the warm milk mixture. A silky-smooth cream cheese foundation guarantees a supremely smooth ice cream.
Achieving Perfect Sweetness: Ratios Matter
While personal preference for sweetness varies, the sugar and corn syrup ratios in this ice cream recipe are carefully balanced for both flavor and crucial scientific reasons. Sugar isn’t merely for taste; it’s a vital component that lowers the freezing point of the ice cream mixture, actively preventing the formation of large, unpleasant ice crystals. This chemical reaction is what gives the ice cream its smooth, scoopable texture rather than an icy, hard block. Light corn syrup plays a similar role, further contributing to the soft, chewy consistency and preventing iciness, while also adding a subtle glossiness. Deviating significantly from these specified amounts can compromise the delicate balance, potentially resulting in an icy, crumbly, or overly soft ice cream. If you generally prefer desserts that are less sweet, consider using a less sugary brand of chocolate sandwich cookies or reducing the quantity of cookies, rather than altering the base ingredients. Trusting the recipe’s ratios for the base ensures you achieve that perfect, creamy consistency every time.
Cornstarch vs. Tapioca Starch: A Texture Experiment
The choice between cornstarch and tapioca starch offers a fascinating opportunity to fine-tune the texture of your ice cream. Both starches serve as excellent thickeners and stabilizers, binding free water in the mixture to inhibit ice crystal growth. However, they impart slightly different characteristics. Cornstarch, the original ingredient in many Jeni’s recipes, delivers a wonderfully clean and smooth finish without any discernible starchy taste. Many home cooks find it perfectly suitable for achieving a rich, creamy base. Upon experimenting with tapioca starch, we observed that the custard mixture became noticeably thicker and developed a “slicker” or more elastic quality. This translated into a churned ice cream that felt even silkier and denser on the palate. While both options yield fantastic results, if you’re seeking a slightly more luxurious, almost “chewy” mouthfeel, tapioca starch might be your preferred choice. Whichever you select, always ensure it is thoroughly whisked into a small slurry with cold milk before being incorporated into the hot liquid to prevent lumps.
Choosing and Preparing Your Chocolate Sandwich Cookies
The “cookies” are the heart and soul of Cookies & Cream ice cream, and your choice can truly elevate the experience. While the classic Oreo is undeniably popular and delivers that iconic flavor, don’t hesitate to explore other chocolate sandwich cookie brands you love. Some may offer different levels of cocoa intensity or cream filling sweetness, allowing for subtle variations in your final product. When preparing the cookies, aim for a mix of textures. Break or coarsely chop about half of the cookies before adding them during the last few minutes of churning. The ice cream maker will gently crush them further, infusing the base with a beautiful grey hue and deep cookie flavor. The remaining cookies can be more finely or coarsely chopped, depending on your preference for bite-sized chunks, and then gently folded in right at the very end of churning. This two-stage addition ensures both a uniform cookie flavor throughout the ice cream and distinct, satisfying pieces in every spoonful.
Essential Equipment for Homemade Ice Cream Success
Having the right tools is key to a smooth and enjoyable ice cream-making process:
- Ice Cream Maker: A reliable model is crucial. Remember to freeze the bowl thoroughly – typically for at least 24 hours – before you plan to churn.
- Heavy-Bottomed Saucepan (4-8 quarts): Prevents scorching and provides ample space to prevent boil-overs when cooking the base. An 8-quart pot is ideal for peace of mind.
- Large Mixing Bowl: Essential for efficiently softening the cream cheese and gradually whisking in the hot base.
- Whisks (small and large): A smaller whisk for creating the starch slurry, and a larger one for mixing the base.
- Airtight Storage Container: For freezing your finished ice cream and protecting it from freezer burn.
- Rubber Spatula: Indispensable for scraping down bowls and gently folding in your delicious cookie chunks.
- Fine-Mesh Sieve (optional): For an extra-smooth base, strain the custard after cooling.
Tips for a Perfectly Smooth and Creamy Batch
To ensure your homemade Cookies & Cream ice cream is nothing short of perfect, keep these expert tips in mind:
- Chill Thoroughly: This is perhaps the most critical step. The ice cream base must be completely cold – ideally refrigerated for a minimum of 4 hours, or even overnight. A super-chilled base churns faster and produces smaller ice crystals, resulting in the creamiest texture. An ice bath can significantly speed up the initial cooling process.
- Lump-Free Cream Cheese: As highlighted, take the time to soften and whisk your cream cheese until absolutely smooth. Any small lumps will remain in the finished ice cream.
- Boil with Caution: When boiling the base, stay near the stove and watch it closely to prevent boil-overs, especially during the 4-minute boil.
- Don’t Overcook the Starch: Once the starch slurry is added, return the mixture to a boil just until it thickens slightly, about 2 minutes. Overcooking can lead to a gluey or excessively thick texture.
- Add Vanilla at the Right Time: Vanilla extract’s delicate flavor can be diminished by high heat. Stir it in after the base has cooled slightly off the stove.
- Mind the Fill Line: Never overfill your ice cream maker bowl; the mixture will expand significantly as it churns.
- Optimal Freezing: After churning, transfer the ice cream to an airtight container and allow it to “cure” in the coldest part of your freezer for at least 2-4 hours to firm up to the ideal scoopable consistency. For best results and to prevent freezer burn, press a piece of parchment paper or plastic wrap directly onto the surface of the ice cream before sealing the container.
- Troubleshooting Icy Ice Cream: If your ice cream turns out icy, it often means the base wasn’t chilled enough, or the sugar/corn syrup ratio was incorrectly altered.
Serving Suggestions and Storage
Once your delectable homemade Cookies & Cream Ice Cream is perfectly set, get ready to enjoy! It’s absolutely divine on its own, served in a classic cone or a simple bowl. For an elevated dessert experience, consider pairing it with warm chocolate fudge sauce, fresh berries, or even transforming it into gourmet ice cream sandwiches using homemade chocolate chip cookies. If you’re lucky enough to have leftovers, store them in an airtight container in the coldest section of your freezer. Properly stored, your homemade ice cream will maintain its superb quality for up to two weeks, though it’s so good, it likely won’t last that long!
- Chocolate Chip Cookie Dough Brownies
- Oreo Ice Cream Cake
- Chocolate Brownie Cheesecake Ice Cream
- Oreo Cheesecake
- Homemade Ice Cream Sandwiches With Mint Ice Cream
Recipe

Jeni’s Splendid Ice Cream Base with Cookies & Cream
Anna
Pin Recipe
Ingredients
- 3 ½ tbsp. cream cheese, softened (52 grams)
- 2 cups whole milk (480 grams)
- 4 tsp. cornstarch or tapioca starch
- 1 ¼ cups heavy cream (280 grams)
- ⅔ cup sugar (130 grams)
- 1 ½ tbsp. light corn syrup (30 grams)
- ¼ teaspoon salt
- 1-2 teaspoons vanilla (use 1 for cookies & cream and 2 for vanilla)
- 10 Oreos or other chocolate sandwich cookies, chopped
Instructions
-
Put the cream cheese in a large mixing bowl. Soften it by letting it sit out for an hour OR put it in the microwave for 10 seconds. Stir until creamy and smooth. It’s very important to soften the cream cheese, otherwise the custard will have little lumps of it throughout.
-
In a small bowl or custard cup, stir together the cornstarch and 2 tablespoons of the milk to make a slurry. Set aside.
-
Add the remaining milk to a 4 quart or larger saucepan. I prefer using an 8 quart pot so there’s no chance of boil over. Just don’t use anything smaller than 4 quarts. Along with the milk, add the cream, sugar, corn syrup and salt.
-
Bring to a boil over medium high. Once it’s at a boil, cook for 4 minutes, keeping a close eye on it so that it doesn’t boil over. You can give it a stir occasionally if you need to. It should be a steady, rolling boil.
-
Remove from heat and whisk in the cornstarch mixture. Return to the heat and bring to a boil again, but this time whisking just until thickened, about 2 minutes. It won’t be as thick as pudding, but more like a thin gravy or white sauce.
-
Remove the pot from the stove. Pour about ¼ cup of the hot milk into the bowl with the softened cream cheese and whisk until smooth. Gradually whisk in the remaining milk mixture. Let cool just slightly and stir in the vanilla.
-
Now it’s time to let it cool down and you have some options. You can quick cool it in a tub of ice water or just let it cool in the refrigerator. I typically do a combination of both. Submerge the bowl of custard in a larger bowl of ice water or in a sink filled with ice water and let sit, whisking often, for 20 minutes. Cover, then transfer to the refrigerator until it is chilled. The ice bath should give you a good head start so the custard should be cold within two hours.
-
Pour mixture into an ice cream maker. Begin processing as usual. While ice cream maker is going, break up about 3 to 5 of the cookies and let the machine crush them (ice cream will turn grey from the cookies). Process according to manufacturer’s instructions. Towards the very end, add remaining cookies. Transfer ice cream to a storage container and freeze until set.
