Fluffy & Firm Perfection: Baking Butter’s Famous Homemade Marshmallows (No Egg Whites!)
Having embarked on countless marshmallow-making adventures over the years, I can confidently say that few recipes compare to the sheer delight of Butter’s Famous Marshmallows. This exceptional recipe hails from Butter Baked Goods: Nostalgic Recipes From a Little Neighborhood Bakery by the talented Rosie Daykin, owner of the renowned Butter Baked Goods in Vancouver. While the cookbook is brimming with over 100 tempting recipes, from light-as-air muffins to comforting cookies and elegant cakes, it was specifically Butter’s Famous Marshmallows that instantly captured my attention and sent me scurrying to the kitchen.
Jump to Recipe

Homemade Marshmallows Without Egg Whites: The Secret to Superior Texture
Through extensive experimentation with various recipes, I’ve made a crucial discovery: marshmallows crafted without egg whites offer a distinct advantage. They tend to be a little firmer, which provides a satisfying bite, and impressively, they seem to maintain their freshness for a longer period. My previous go-to recipe was from Epicurious, a solid contender in its own right. However, Rosie Daykin’s Butter Baked Goods recipe edges it out by being just a tad bit fluffier—a remarkable feat for an egg-white-free marshmallow!
What sets this recipe apart in terms of ingredients and method? It utilizes a different ratio of corn syrup, incorporates a more generous amount of salt (which beautifully balances the sweetness), and boasts a significantly higher quantity of vanilla extract. Beyond the flavor and texture improvements, this recipe offers a simplified approach to homemade marshmallow making. You won’t need to meticulously monitor a candy thermometer, nor will you have to scour stores for specialty ingredients like potato starch. These delightful gourmet marshmallows are simply coated in regular powdered sugar, making the entire process more accessible and enjoyable for home bakers of all skill levels.

Unleashing Creativity: Flavoring Your Homemade Marshmallows
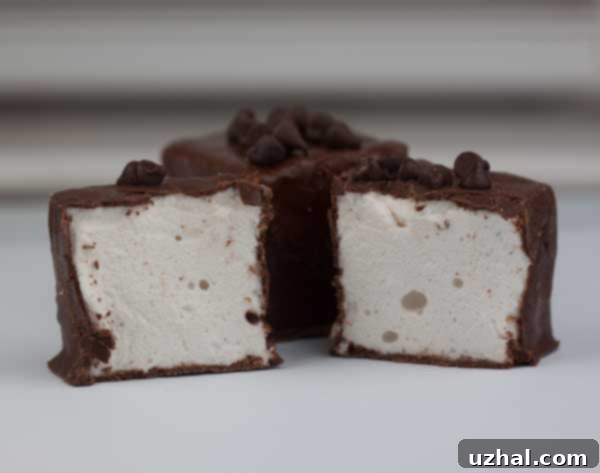
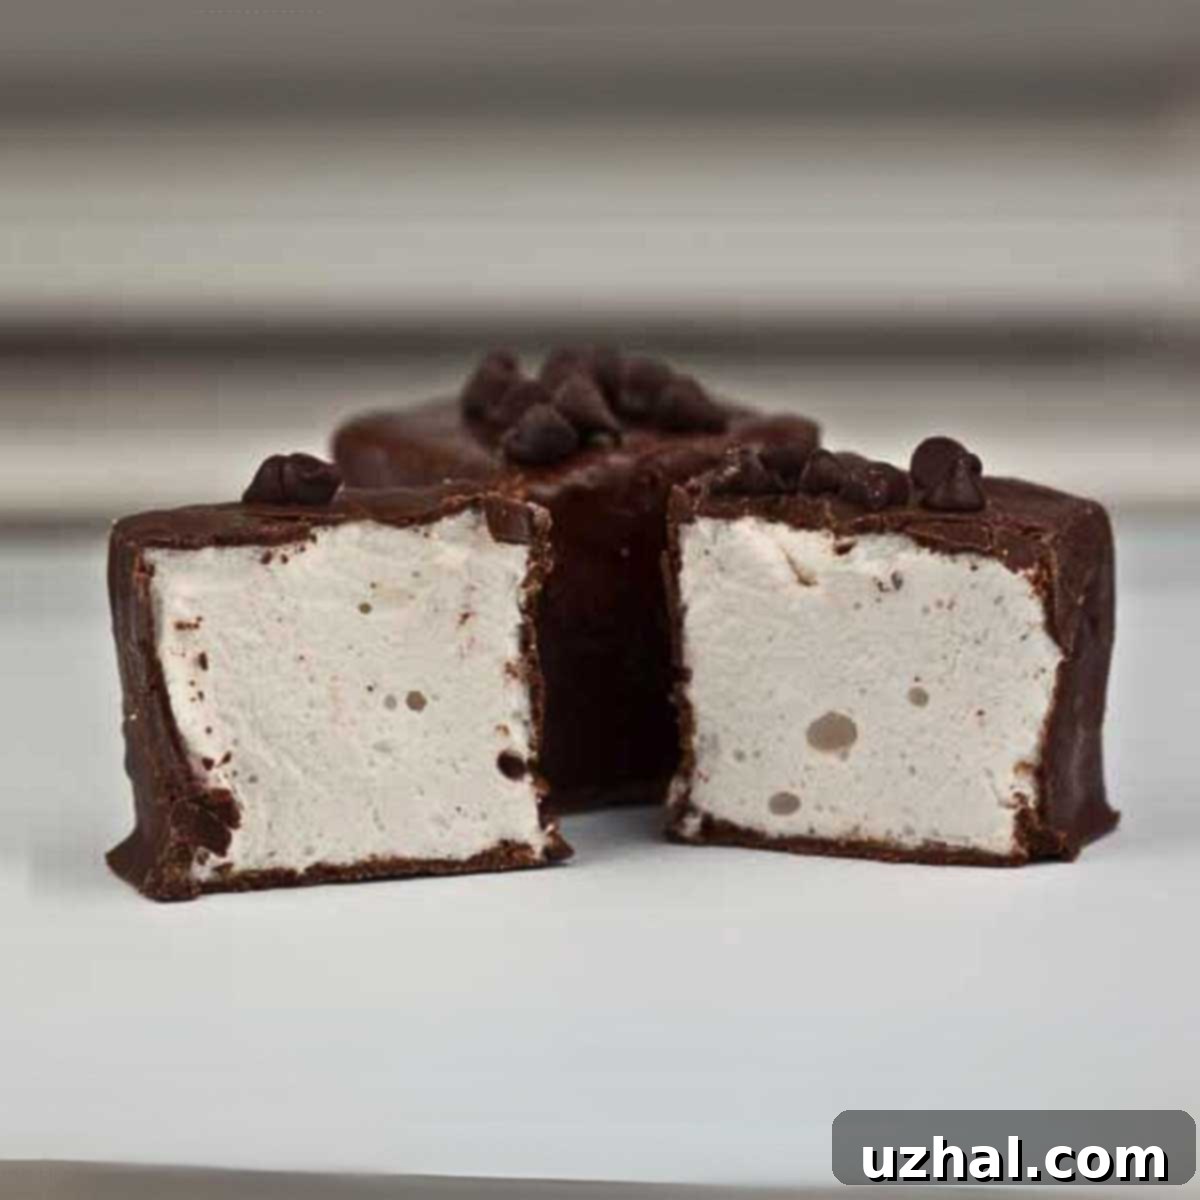
Once you’ve successfully whipped up a batch of these glorious marshmallows, you’ll find yourself with approximately 64 pieces of pillowy perfection, ready to be enjoyed in myriad ways. Whether you prefer to dip them in rich, melted chocolate, toast them over a campfire for classic s’mores, or simply enjoy them on their own, the possibilities are endless. And then there’s the exciting realm of flavoring!
My partner, Todd, has been persistent in his requests for a coconut variation, a delightful idea that I’m eager to explore. In the meantime, I’ve been conducting my own informal taste tests, experimenting with various brands of vanilla extract to discern how different qualities impact the final marshmallow flavor. With two full tablespoons of pure vanilla going into this recipe, its presence is undeniable. On the first day, the vanilla flavor can be quite bold and prominent. However, after the marshmallows have had a chance to sit, especially if coated in chocolate, the vanilla mellows into a more subtle and harmonious note. It’s crucial to use a high-quality vanilla extract that you genuinely love, as its essence will truly shine through.
Don’t limit yourself to vanilla! The recipe notes below offer fantastic ideas for toasted coconut, raspberry, mint, coffee, and cinnamon marshmallows. Beyond these, consider incorporating almond extract, orange zest, lemon oil, or even a touch of your favorite liqueur for an adult twist. The key is to add extracts or colorings at the very end of the whipping process, as specified in the instructions, to ensure proper marshmallow volume and consistency.

Choosing the Right Pan Size for Your Marshmallow Needs
An often-overlooked detail that significantly impacts your homemade marshmallow experience is the pan size. If your ultimate goal is to create perfectly portioned marshmallows for s’mores—nestled snugly between graham crackers—I highly recommend pouring the mixture into a 9×13-inch pan. This larger pan size will result in shorter, wider marshmallows that are ideal for sandwiching, minimizing the need for horizontal trimming.
Conversely, using a 9-inch square pan, as specified in the original recipe, yields gloriously big and bouncy marshmallows. These taller, more substantial cubes are absolutely perfect for dipping into chocolate, adding a luxurious float to a mug of hot cocoa, or even decorating festive desserts. During my first attempt with the 9-inch square pan, my marshmallows were indeed quite tall, requiring me to painstakingly cut them in half horizontally to fit my graham crackers for s’mores. While still delicious, the extra step highlighted the importance of pan choice. Next time, for s’mores, I’ll definitely opt for the 9×13-inch pan to achieve that ideal, ready-to-use shape.
Small Batch Marshmallows: Scaling the Recipe with Ease
The versatility of this recipe is another reason it holds the top spot for me. Recently, spurred by a strong craving for fresh marshmallows and a surplus of gelatin envelopes needing to be used, I decided to make a half batch. Using a standard 9×5-inch loaf pan, the recipe performed flawlessly, yielding a smaller, more manageable quantity of delicious homemade marshmallows.
As I was making this batch in a new kitchen with an unfamiliar stove, I opted for a candy thermometer to ensure precision in sugar syrup temperature. I removed the syrup from the heat precisely when it reached 238 degrees F (114 degrees C), which corresponds to the soft-ball stage. This measurement confirmed that the recipe’s alternative instruction—to boil for 1 minute at a rolling boil—is indeed accurate and reliable for those without a thermometer. This flexibility makes the recipe approachable for everyone, whether you prefer precise temperature readings or a simpler timing method.
Butter’s Famous Marshmallows Recipe
“If there is one item that really put Butter on the map, I would have to say it’s our marshmallows. Back in 2007, when Butter first opened, the gourmet marshmallow was still a bit of a mystery. Most people didn’t know there was a tasty alternative to store-bought marshmallows available. But word soon got out, people started talking, and my brain got ticking. Butter now makes 18 flavors of marshmallows, and I’m always coming up with new varieties-but Butter’s Vanilla Marshmallows are the classic we opened our doors with.” — Rosie Daykin
Author: Anna
Rating: 5 out of 5 stars (from 4 votes)
Prep Time: 20 mins
Cook Time: 1 min
Total Time: 21 mins
Course: Dessert
Cuisine: American
Servings: 65
Keyword: Homemade Marshmallows
Pin Recipe
Ingredients
- 1 cup water
- 3 envelopes unflavored gelatin (21 grams total)
- 2 cups granulated sugar (400 grams)
- ½ cup light corn syrup (should be around 160 grams)
- ½ teaspoon salt
- 2 tablespoons pure vanilla extract
- Generous amount of icing sugar (about 2 cups, for coating the marshmallows)
Instructions
- You will need a 9×9 inch pan, buttered. (Note: a 9×13 inch pan will also work, yielding shorter marshmallows).
- In the bowl of a stand mixer fitted with a whisk attachment, pour in 1⁄2 cup of the water and sprinkle evenly with the gelatin. Set aside to allow the gelatin to bloom and fully absorb the water.
- In a medium saucepan over high heat, combine the granulated sugar, corn syrup, salt, and the remaining 1⁄2 cup of water. Bring the mixture to a vigorous, rolling boil and continue to boil for exactly 1 minute. Immediately remove the saucepan from the heat. (Optional: If using a candy thermometer, remove when the mixture reaches 238 degrees F / 114 degrees C).
- Turn the stand mixer to low speed and mix the bloomed gelatin once or twice, just to combine it with the water. Slowly and carefully add the steaming hot sugar mixture, pouring it gently down the side of the mixer bowl. Continue to mix on low speed. Exercise extreme caution at this stage, as the sugar mixture is incredibly hot and can cause severe burns; this is not a task for children.
- Increase the mixer speed to high and continue to whip the marshmallow batter for 10 to 12 minutes. During this time, the mixture will almost triple in size and transform into a very thick, glossy, and voluminous batter. Scrape down the sides of the bowl frequently to prevent the growing batter from overflowing. Stop the mixer, add the pure vanilla extract, and then whip briefly again, just until the vanilla is fully incorporated.
- Quickly transfer the marshmallow mixture to your prepared baking pan. Using a buttered spatula or bench scraper, spread it evenly across the pan. Work swiftly, as the marshmallow begins to set and becomes more challenging to manipulate as it cools.
- Grease a sheet of plastic wrap generously with butter or a neutral oil. Lay this greased plastic wrap directly over the top of the marshmallow mixture. Press down firmly on the plastic wrap to ensure it seals smoothly and tightly against the surface of the marshmallow, preventing any air pockets.
- Allow the marshmallow to set undisturbed at room temperature for a minimum of 3 hours, or preferably overnight. Attempting to cut the marshmallow too soon will result in a sticky, soft, and difficult-to-handle mess.
- Once fully set, generously sprinkle a clean work surface or large cutting board with icing sugar. Run a thin knife along the top edge of the pan to help loosen the marshmallow slab from the sides. Carefully invert the pan and flip the entire marshmallow slab out onto the prepared counter or board. Scoop up handfuls of the icing sugar and thoroughly rub it over all exposed sides of the marshmallow slab, coating it completely.
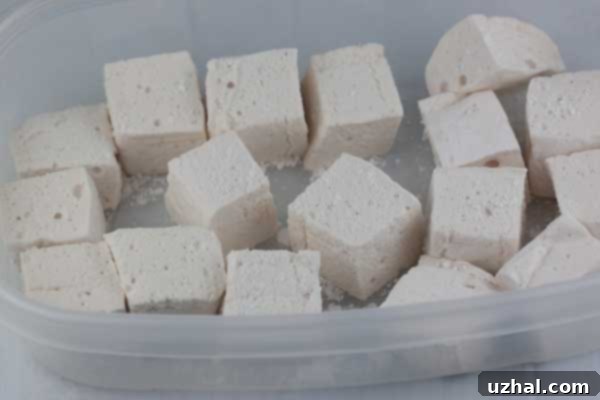
- Using a large, sharp, buttered knife or a pizza cutter, cut the slab into approximately 1-inch by 1-inch squares. Roll each of the freshly cut marshmallow squares in the remaining icing sugar to ensure they are fully coated and no longer sticky. If you—and most of your kitchen—end up speckled with marshmallow residue by the end of this delightful process, fear not! It’s primarily sugar, so a little hot water and some elbow grease will have everything sparkling clean in no time.
Notes & Marshmallow Variations
- TOASTED COCONUT MARSHMALLOWS: My personal favorite! Substitute the 2 cups of icing sugar with 3 cups of unsweetened shredded coconut for coating. To prepare the coconut: Preheat your oven to 325°F (160°C). Spread the coconut onto a cookie sheet in a single, even layer and bake for about 15 minutes, stirring every 5 minutes to ensure even toasting, until the coconut achieves a beautiful golden brown color. Remove from the oven and allow to cool completely. Follow Steps 8 and 9 to coat the marshmallows completely in the toasted coconut.
- RASPBERRY MARSHMALLOWS: In a small saucepan over medium heat, gently warm 1⁄4 cup of raspberry jam (any variety will work) until it becomes runny, which should take about 3 minutes. Remove from the heat. Place a fine sieve over a small bowl and pour the warm jam through the sieve to remove any seeds, creating a smooth puree. Add this raspberry puree and one drop of red food coloring at Step 4 of the main recipe, ensuring it’s mixed in thoroughly at the end of the whipping process.
- MINT MARSHMALLOWS: These are absolutely fantastic when added to hot chocolate! Incorporate 1 teaspoon of mint extract and 1 drop of green food coloring at Step 4 of the recipe. It is crucial to add these flavorings and colorings at the very end of the whisking process; adding them too early can interfere with the marshmallow’s ability to achieve its proper volume and fluffiness.
- COFFEE MARSHMALLOWS: For a rich coffee flavor, substitute 1⁄2 cup of strongly brewed coffee or espresso instead of the water in Step 1, and use another 1⁄2 cup of strongly brewed coffee or espresso instead of the water in Step 2.
- CINNAMON MARSHMALLOWS: Another wonderfully warm option for your hot chocolate, or even better, melted atop sweet potatoes during Thanksgiving! Add 2 teaspoons of ground cinnamon at Step 4 of the recipe.
(Recipe courtesy of Butter Baked Goods: Nostalgic Recipes From a Little Neighborhood Bakery by Rosie Daykin)
Tips for Marshmallow Mastery
- Preparation is Key: Always butter your pan thoroughly and consider lining it with parchment paper (buttered as well) for easier removal of the marshmallow slab.
- Humidity Matters: Marshmallows are sensitive to humidity. On very humid days, they might take longer to set or remain slightly stickier. Choose a dry day for best results.
- Stand Mixer Advantage: While theoretically possible with a hand mixer, a stand mixer is highly recommended for the 10-12 minutes of continuous high-speed whipping required. This ensures maximum fluffiness and proper texture.
- Hot Sugar Safety: Be extremely cautious when handling the hot sugar syrup. Wear long sleeves or an apron to protect your skin, and pour slowly and steadily down the side of the mixer bowl to prevent splashes.
- Patience for Setting: Do not rush the setting time. Giving your marshmallows at least 3 hours (or better yet, overnight) at room temperature ensures they firm up sufficiently for clean cutting.
- Storage: Once cut and coated, store homemade marshmallows in an airtight container at room temperature for up to two weeks. They can also be frozen for longer storage.
Creative Serving Suggestions for Your Homemade Marshmallows
Beyond the obvious delight of enjoying them plain, Butter’s Famous Marshmallows open up a world of culinary possibilities:
- Elevated Hot Chocolate: Nothing beats a few homemade marshmallows melting into a rich, steaming mug of hot chocolate. Experiment with mint or coffee variations for an extra special treat.
- Gourmet S’mores: As discussed, tailor your pan size for perfect s’mores, then toast them over a fire, stovetop burner, or under the broiler for that gooey, golden perfection.
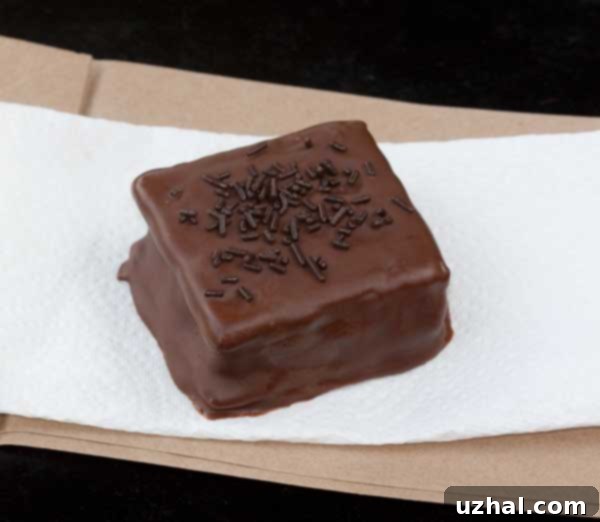
- Dipped Delights: Melt your favorite chocolate (dark, milk, or white), dip the marshmallows, and then adorn them with sprinkles, crushed nuts, or a drizzle of contrasting chocolate.
- Dessert Toppings: Cut them into smaller pieces and use them to top brownies, cupcakes, ice cream sundaes, or even fruit salads.
- Edible Gifts: Package them beautifully in cellophane bags tied with ribbon for a charming and delicious homemade gift.
- Marshmallow Rice Krispie Treats: Use your homemade marshmallows as the base for an incredibly soft and flavorful batch of rice krispie treats.
More Delicious Recipes from Our Kitchen
If you enjoyed making these homemade marshmallows, you might also like these other delightful recipes:
- Morning Cinny Buns
- Amazing Hard Boiled Egg Oatmeal Cookie
- Famous Banana Bread
- Chocolate Marshmallow Squares
- Frosted Marshmallow Brownies
Tried this recipe?
Let us know how it was! We love hearing about your baking adventures.
